Welcome to the country! We have always loved coming home for a meal – country or not. There’s nothing better than coming home to the smell of dinner cooking and enjoying it in the setting of your own home! Even if it’s something as simple as Barbecued Chicken in the crock pot, when you serve it to people you love in an inviting setting, you will be touching hearts, as well as stomachs!
We are enjoying having Alli and her fiance’, Andrew here on the weekends as Andrew comes to intern at our church! My husband told them the only reason they were excited abut coming was due to the food. I’m not sure about that, but I love it when they get excited about what we’re having for dinner!
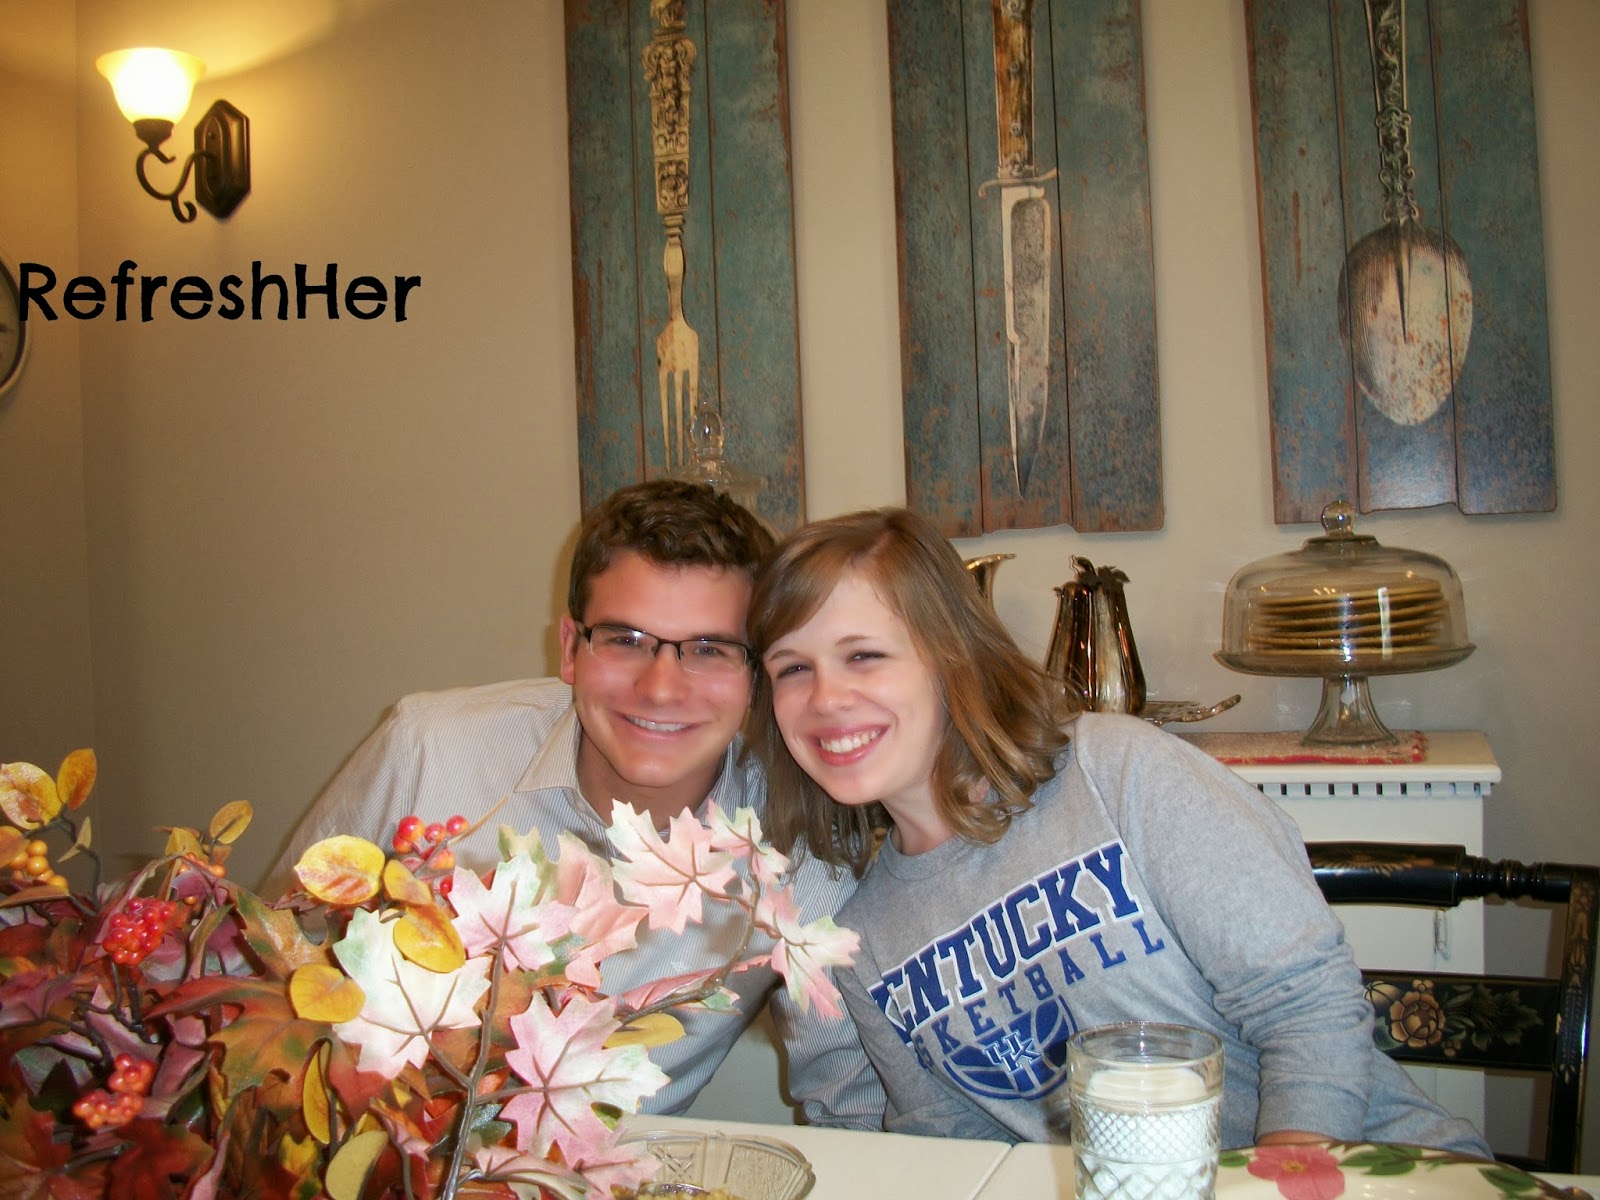 |
| The cute couple (and a little look into my dining area!). Alli, the author of The Cheerful Closet, will gasp when she sees I’ve posted this picture of her after she’d changed out of her adorable Sunday outfit! Oh well, that’as the risk you take when your mother is also a blogger! =) |
Barbecued chicken was indeed on our menu, but also a little twist on a potato recipe that I found on Pioneer Woman’s blog. These are Red potatoes that are boiled, then popped into a hot oven to crisp up. They are fantastic! I realized they’re also a good choice for a fast Sunday potato. I boiled them before going to church, then did the second half of the prep when I got home.
Here’s what we had yesterday:
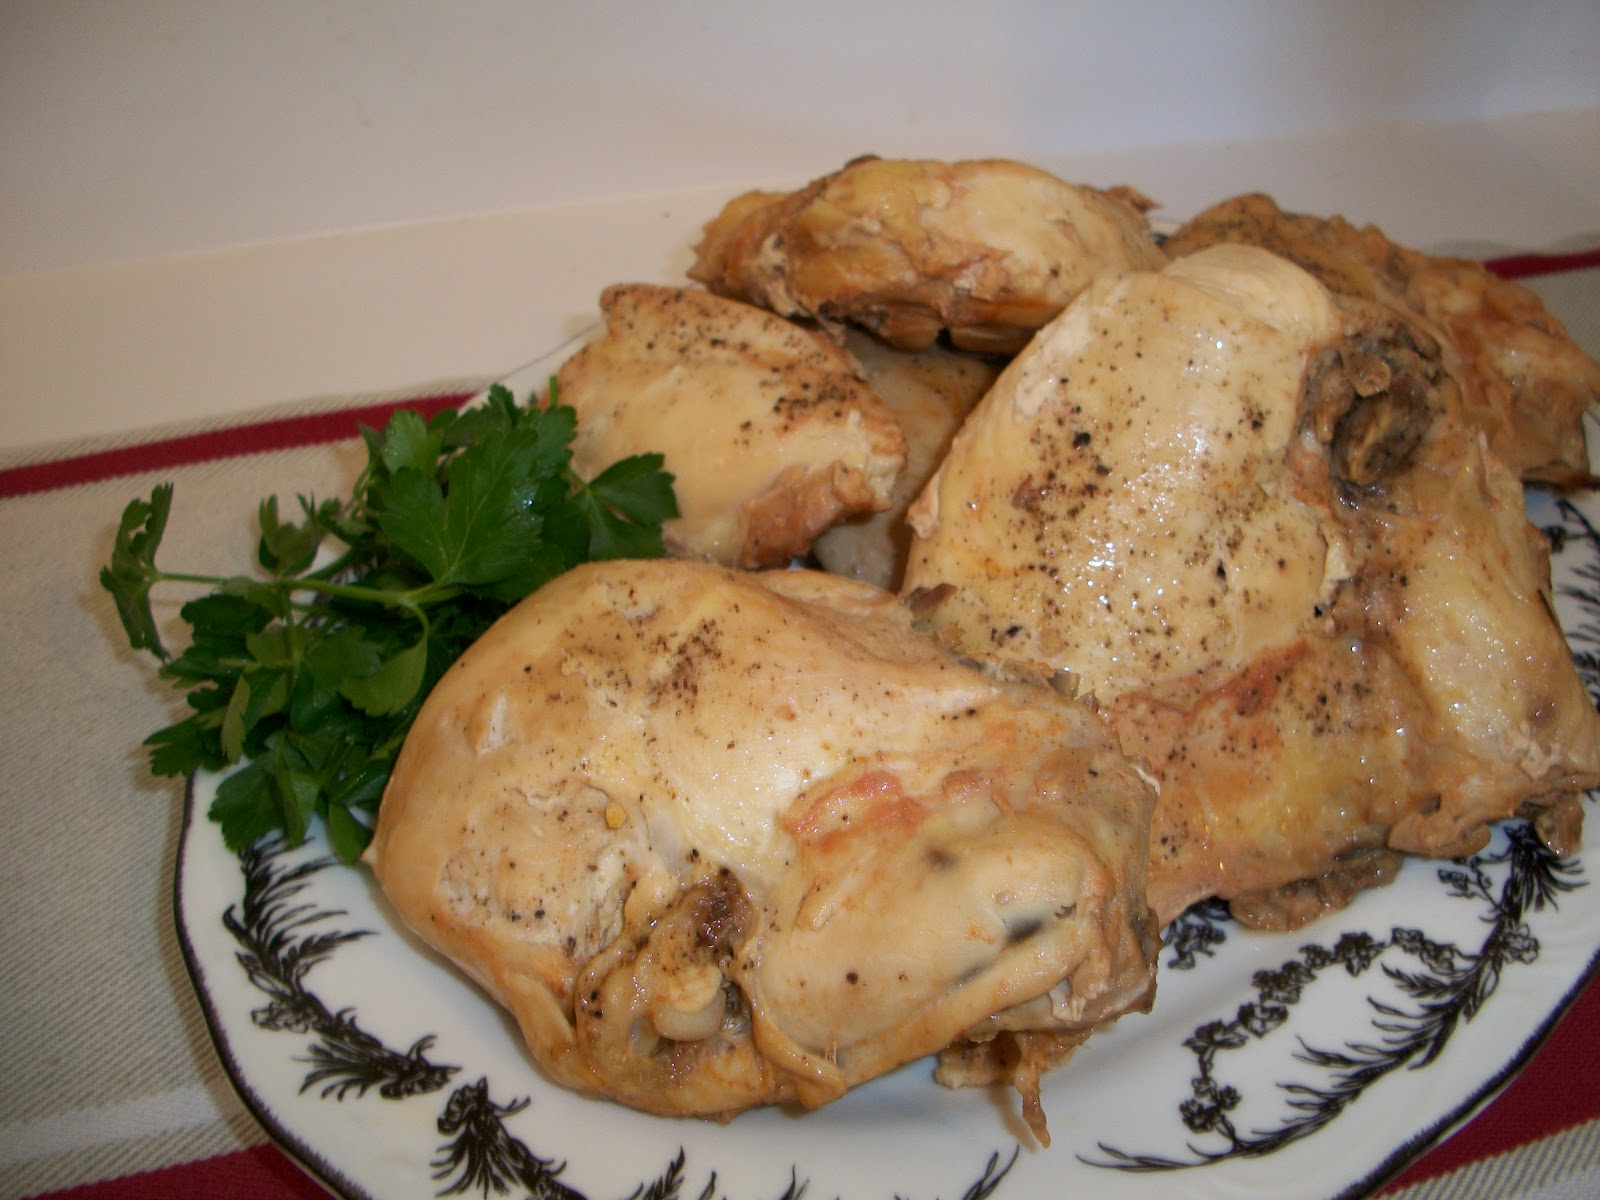
Barbecued Chicken
Hot Crash Potatoes
Corn Saute’
French Bread
Caramel Banana Pound Cake
To do the chicken in my crock pot, I placed the chicken in the bottom then poured barbecue sauce over top. I also add about 1/2 cup of water. I put it on low so it wouldn’t dry out. Mine cooked for about four hours. My crock pot cooks a bit fast, so you may need to adjust the time for yours.
For the Smash potatoes, boil red skinned potatoes in water until fork tender. Place on a baking sheet and smash them down a little flat.

Place them on a baking sheet, sprayed with cooking spray. Drizzle with olive oil. Salt and pepper them. I added some salt/garlic/rosemary blend I had. Add whatever herbs you like. Place them in a 425 degree oven for about 20 minutes, or until crispy. Sprinkle with parsley.
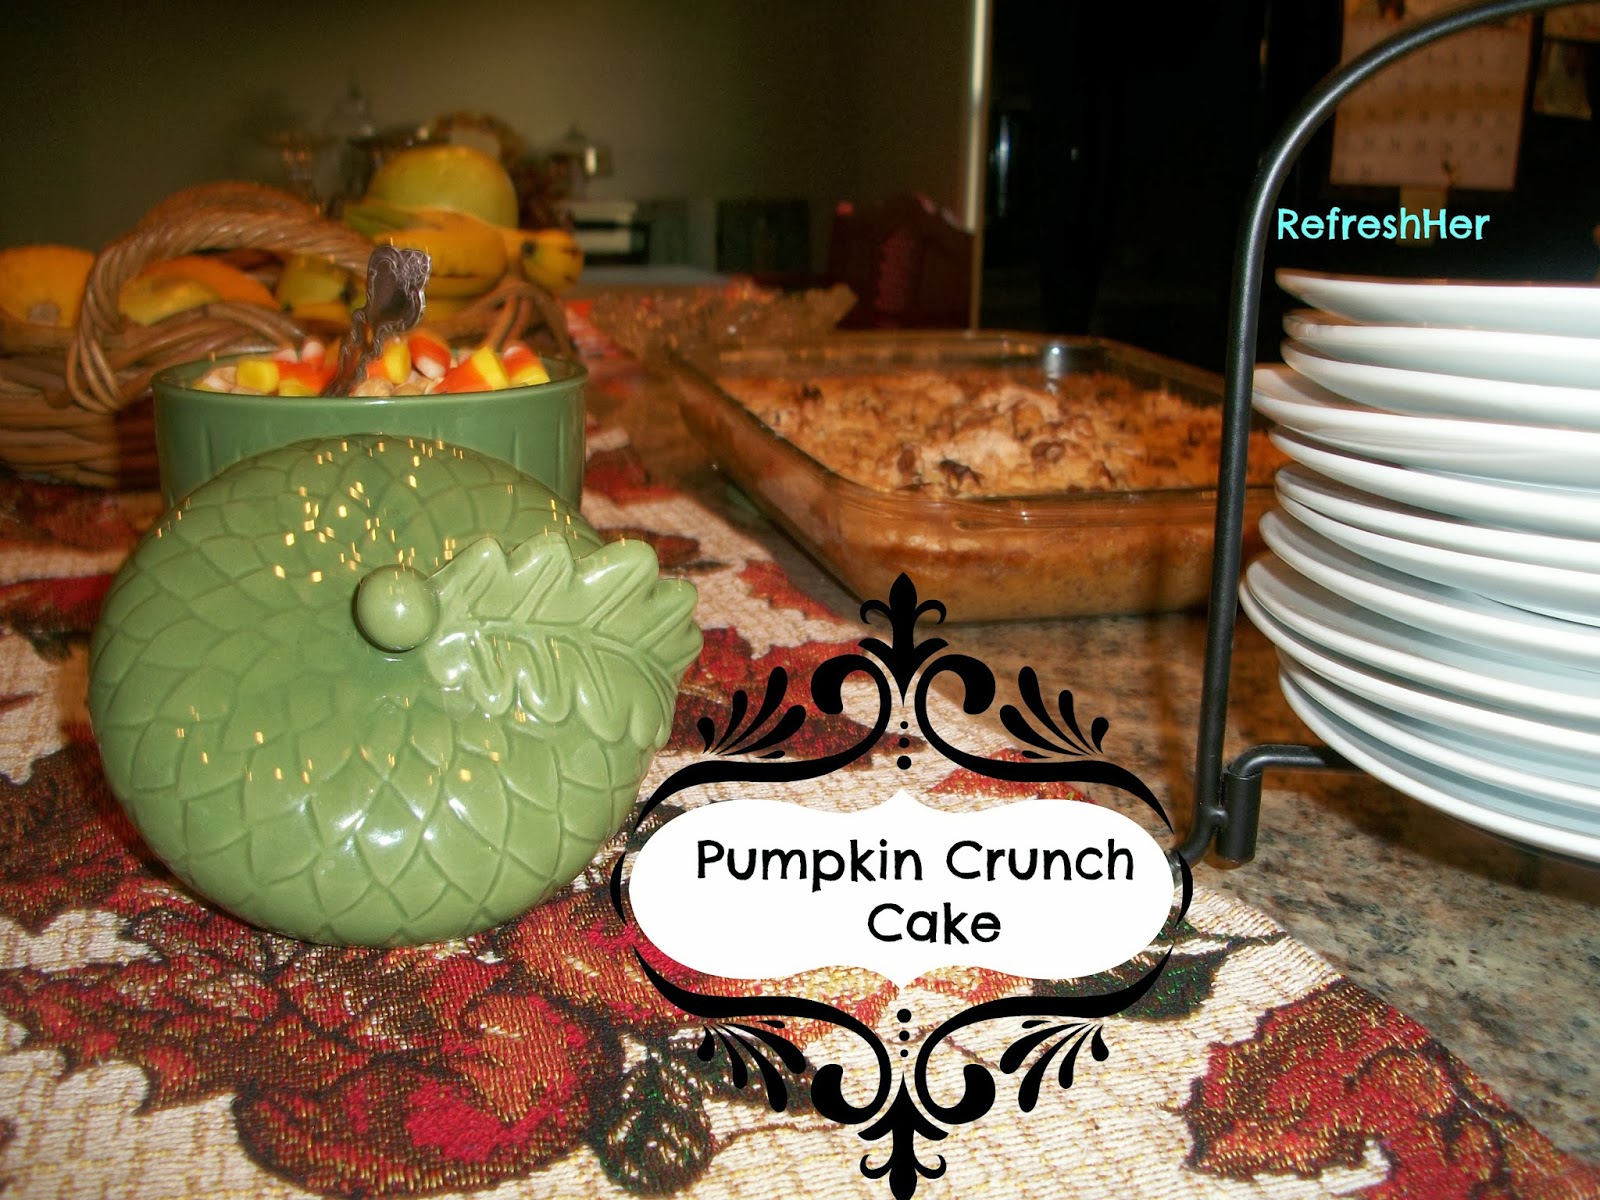
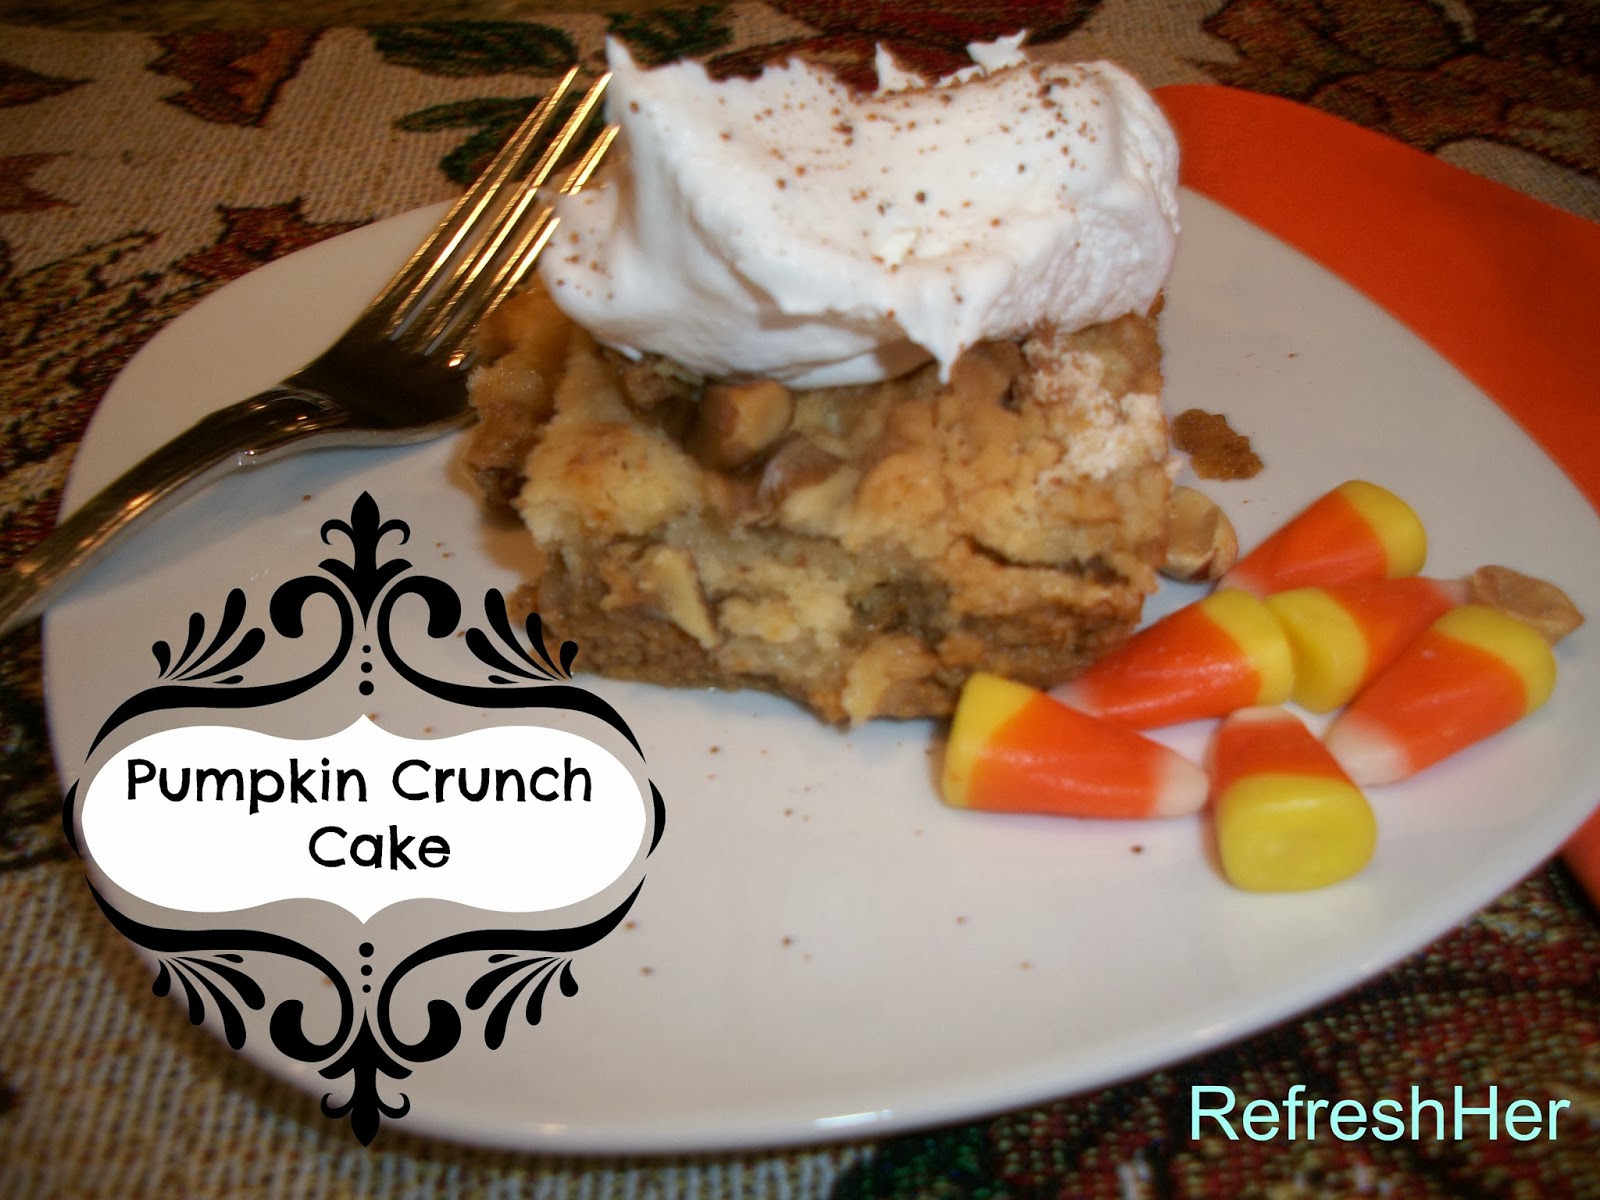
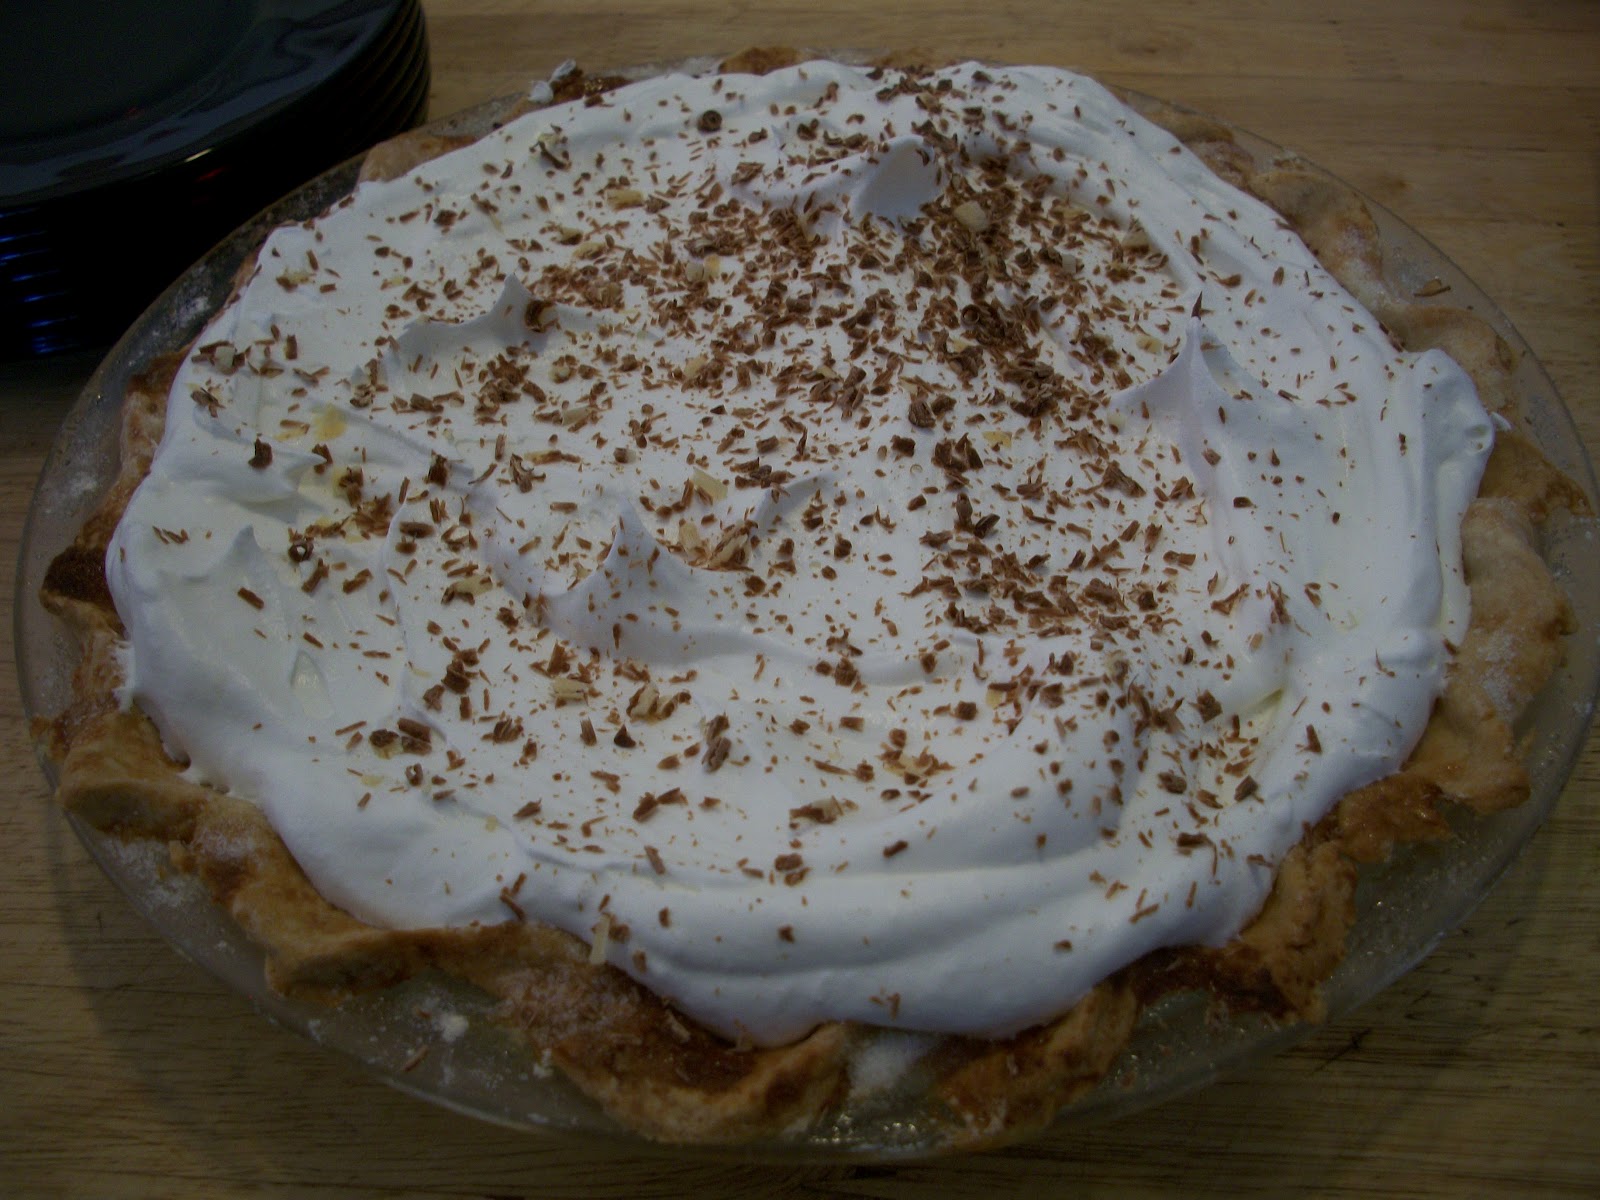
This is a simple, but super yummy ending to a meal…
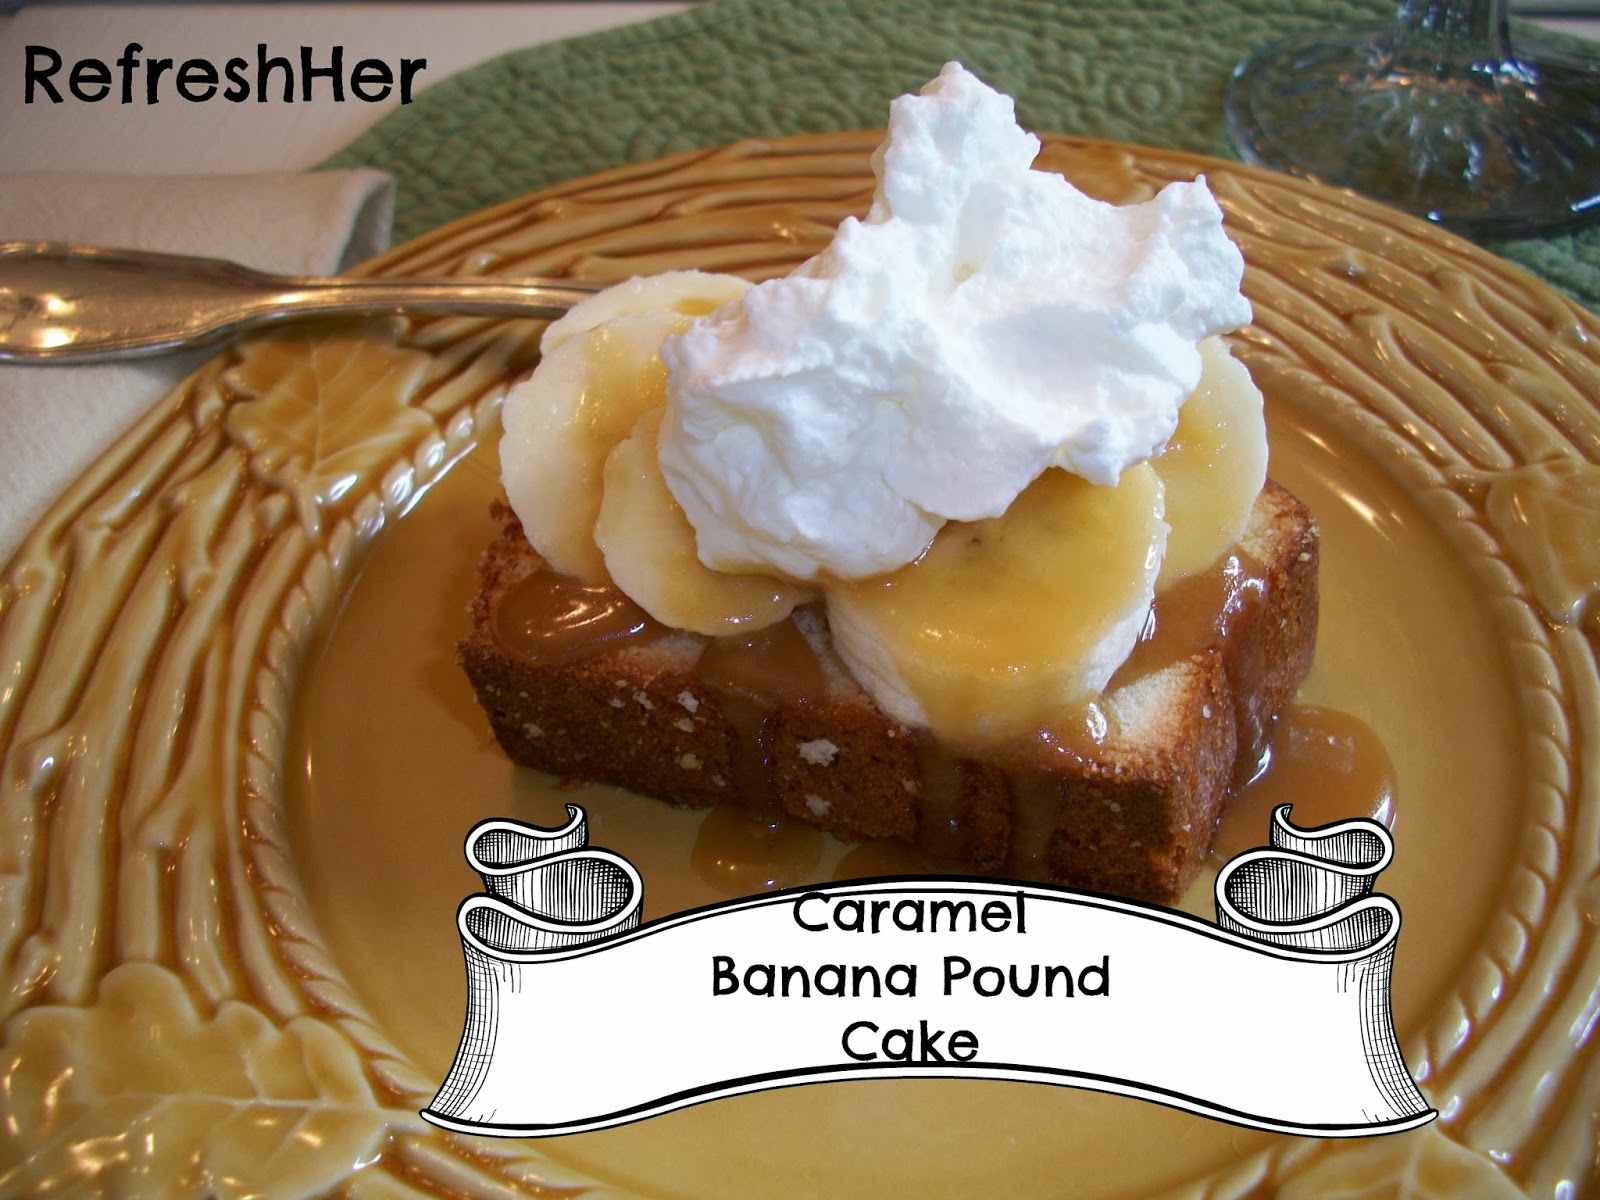
Ingles had pound cake buy one, get one free last week, so I chose a dessert to use that yummy baked- ahead cake. This is a dessert that you just assemble! Place pound cake on a dessert plate, then layer with sliced bananas. Drizzle with warm caramel sauce (I made one up last week, but you could just buy an ice cream topping) and top with whipped cream.
Caramel Sauce:
½ Cup butter
1 cup brown sugar
½ tsp. salt
1 tsp. vanilla
½ cup evaporated milk
In saucepan, melt butter, brown sugar, and salt. Bring to a boil, stirring with a whisk. Add vanilla and milk. Cook for a few minutes until it thickens a bit. Refrigerate leftovers.
Pastor Encouragement – Pray that your pastor will use wise time management and that he will seek God’s perspective for his schedule, guarding his time against unnecessary interruptions.
Husband Encouragement: Is your husband a forgiving man? Does he keep short accounts of your problems? Express your thankfulness for such a man. Does your husband seem to harbor grudges against you? If so, could there be things you need to change? Do you possibly need to ask forgiveness for an offense?
No matter how your husband handles his heart, you are called to freedom from bitter roots. Take time today to dig them out and remove what’s contaminating your relationship with your husband and with the Lord.
What was on your menu this weekend?
Is anyone giving out encouragement? Are you seeing fruits from it?
Thanks for stopping by my country kitchen today!
With love from the country,