Uncategorized

What’s cookin’ in the Country? Simplifying cake making

Easter 009a

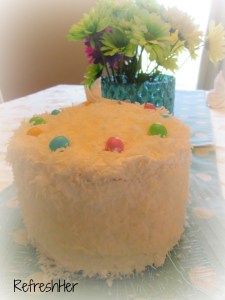
For our Easter dessert last weekend, I made my traditional dessert – Coconut Cake with Lemon Filling.  It’s from Southern Living and it’s the perfect dessert for Easter or Christmas or Ground Hog day or Lincoln’s Birthday or trash picking up day…you get the idea.  It’s so yummy I really only make it once a year.

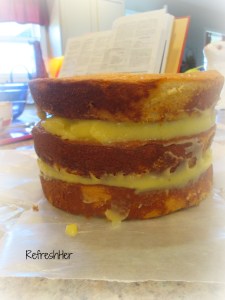
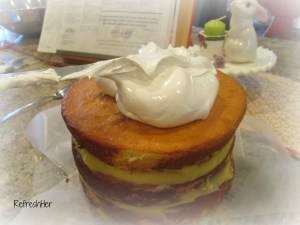
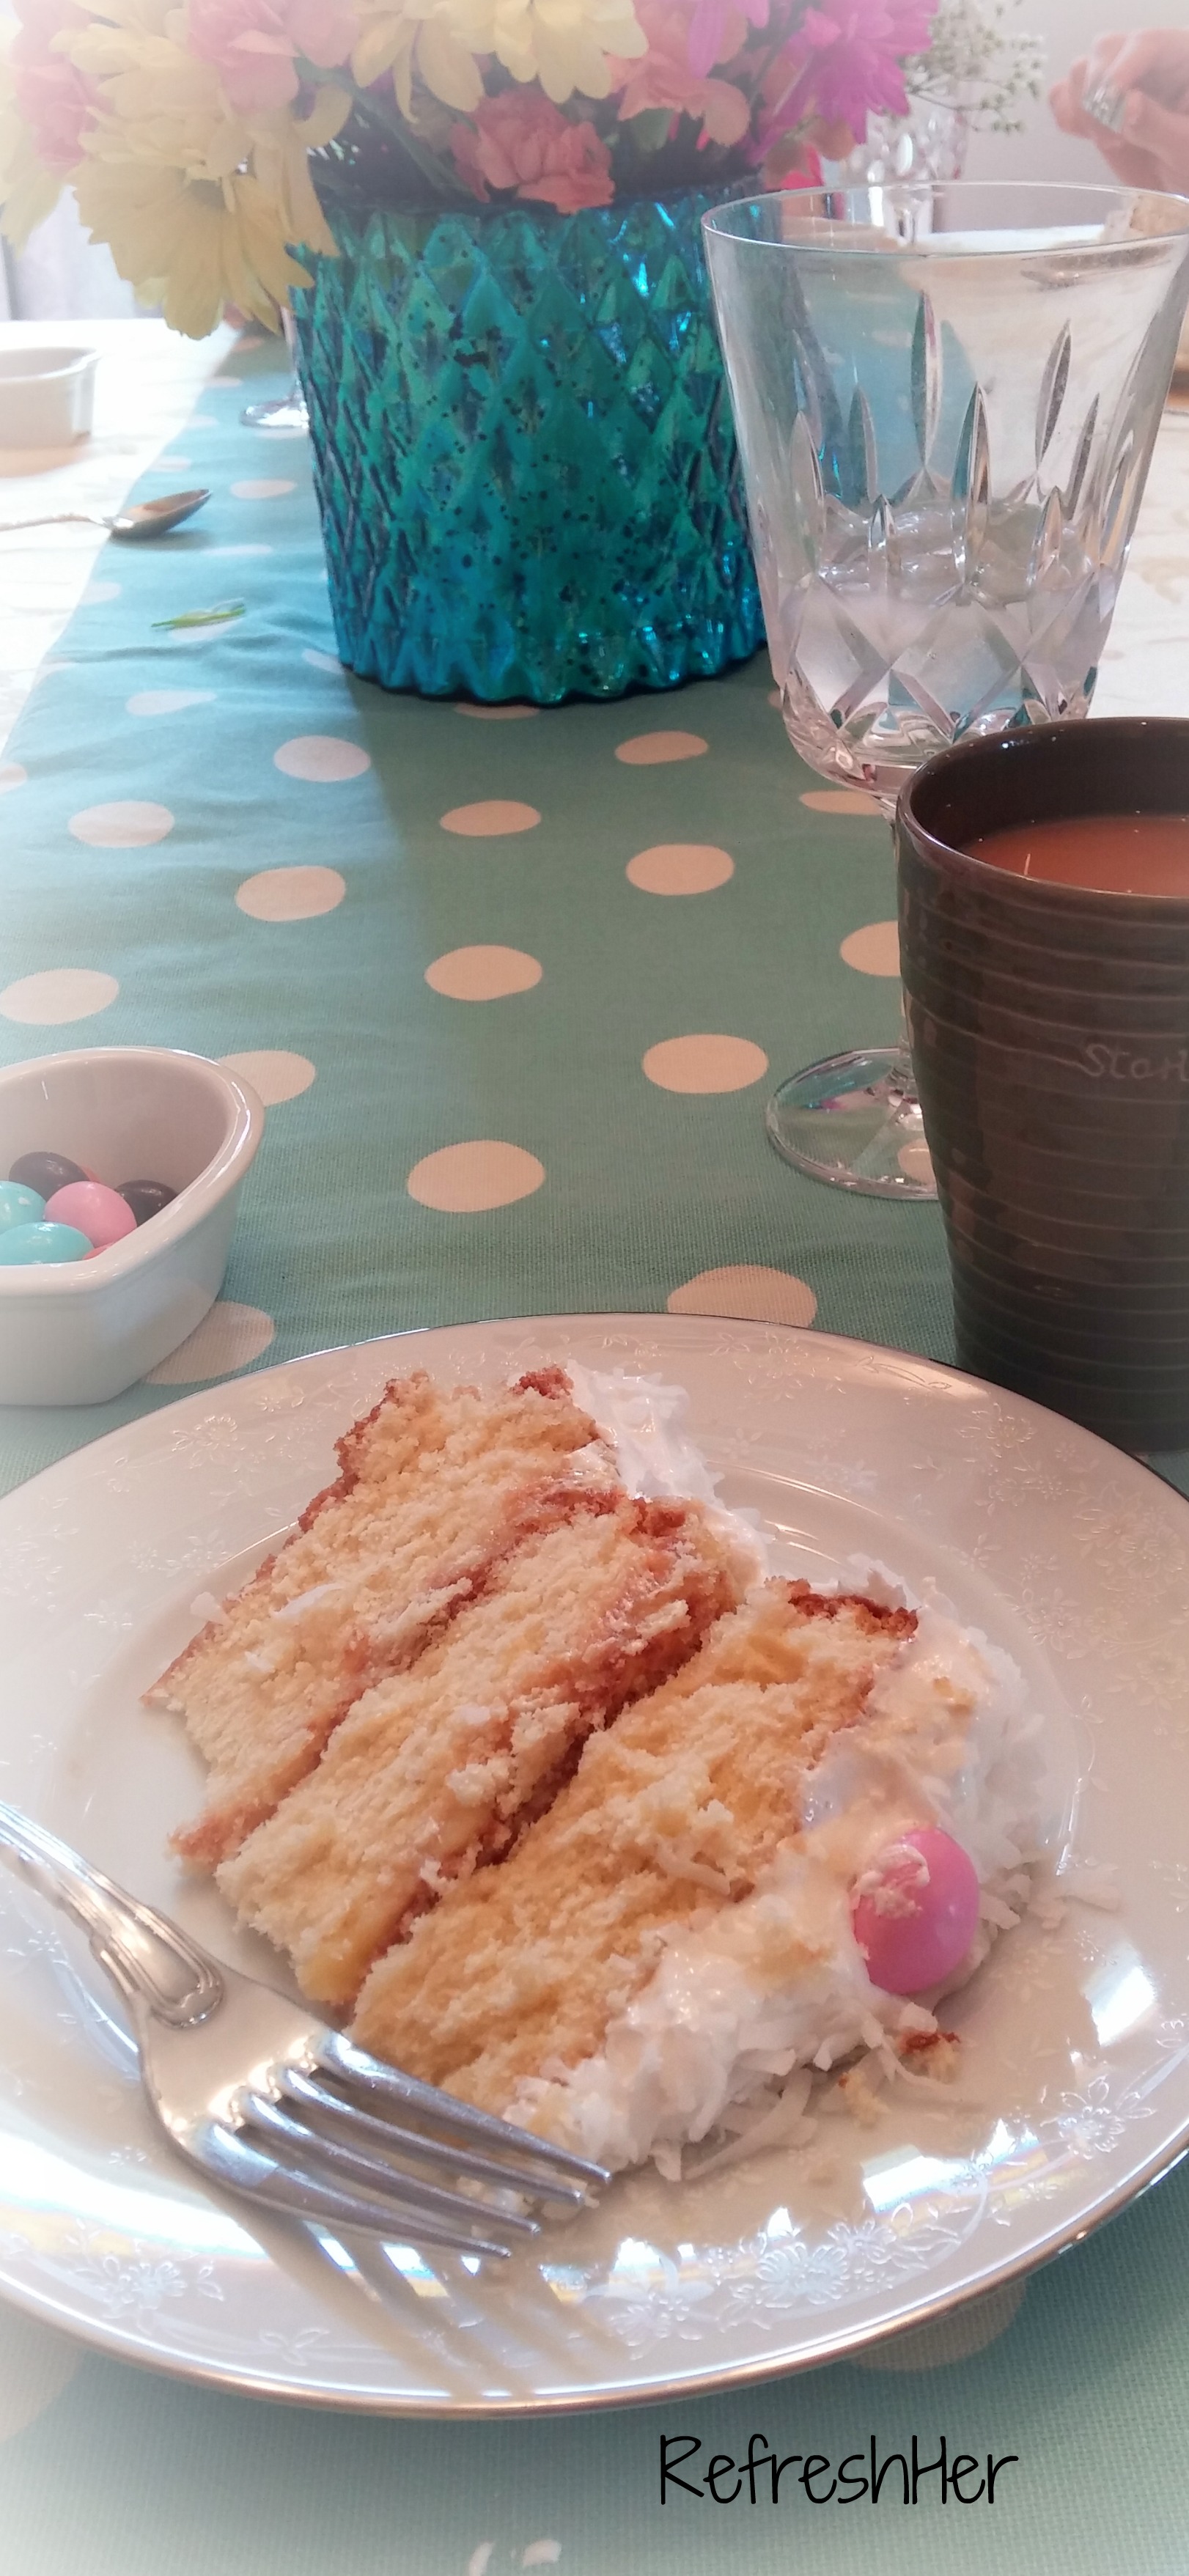
The cake is a golden batter – not a white cake, but it’s three layers with a homemade Lemon curd in between.  The fluffy white icing balances out the tartness of the filling just perfectly!

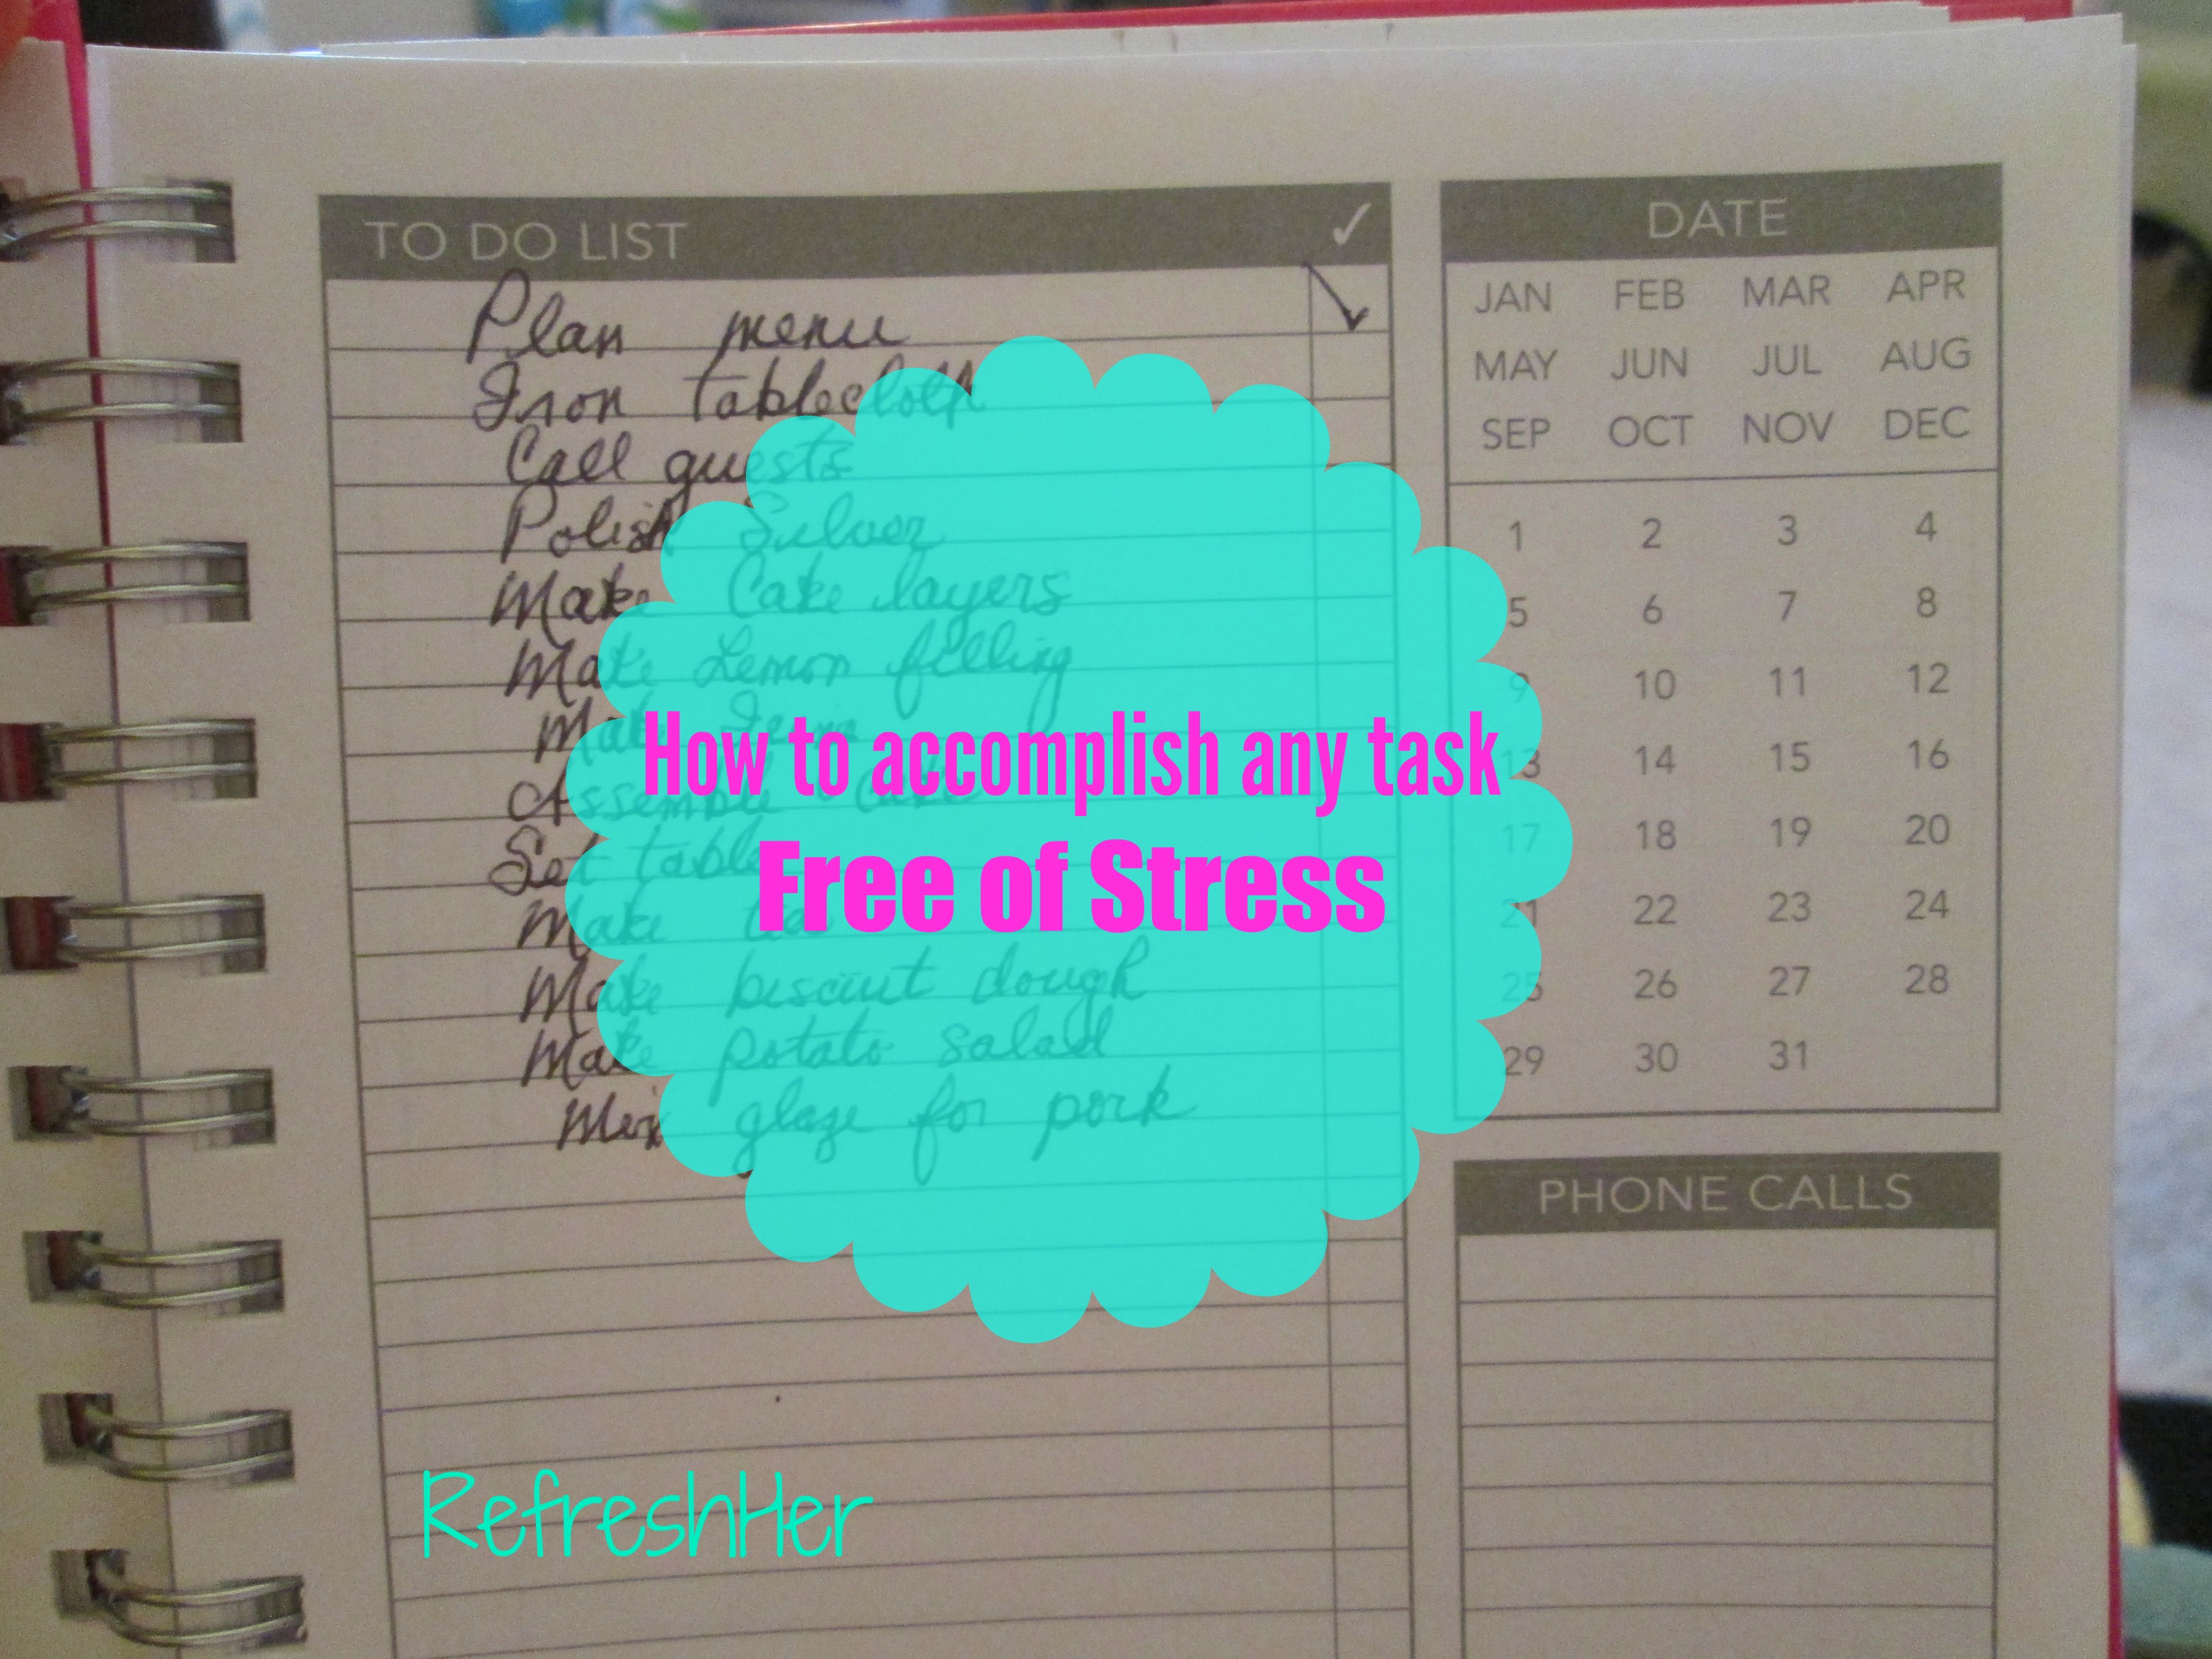
Like any cake of this nature, it can take lots of time to make and can be intimidating to a beginning baker.  However,I am writing this post to simplify the whole process.  You can do a cake like this!!!!

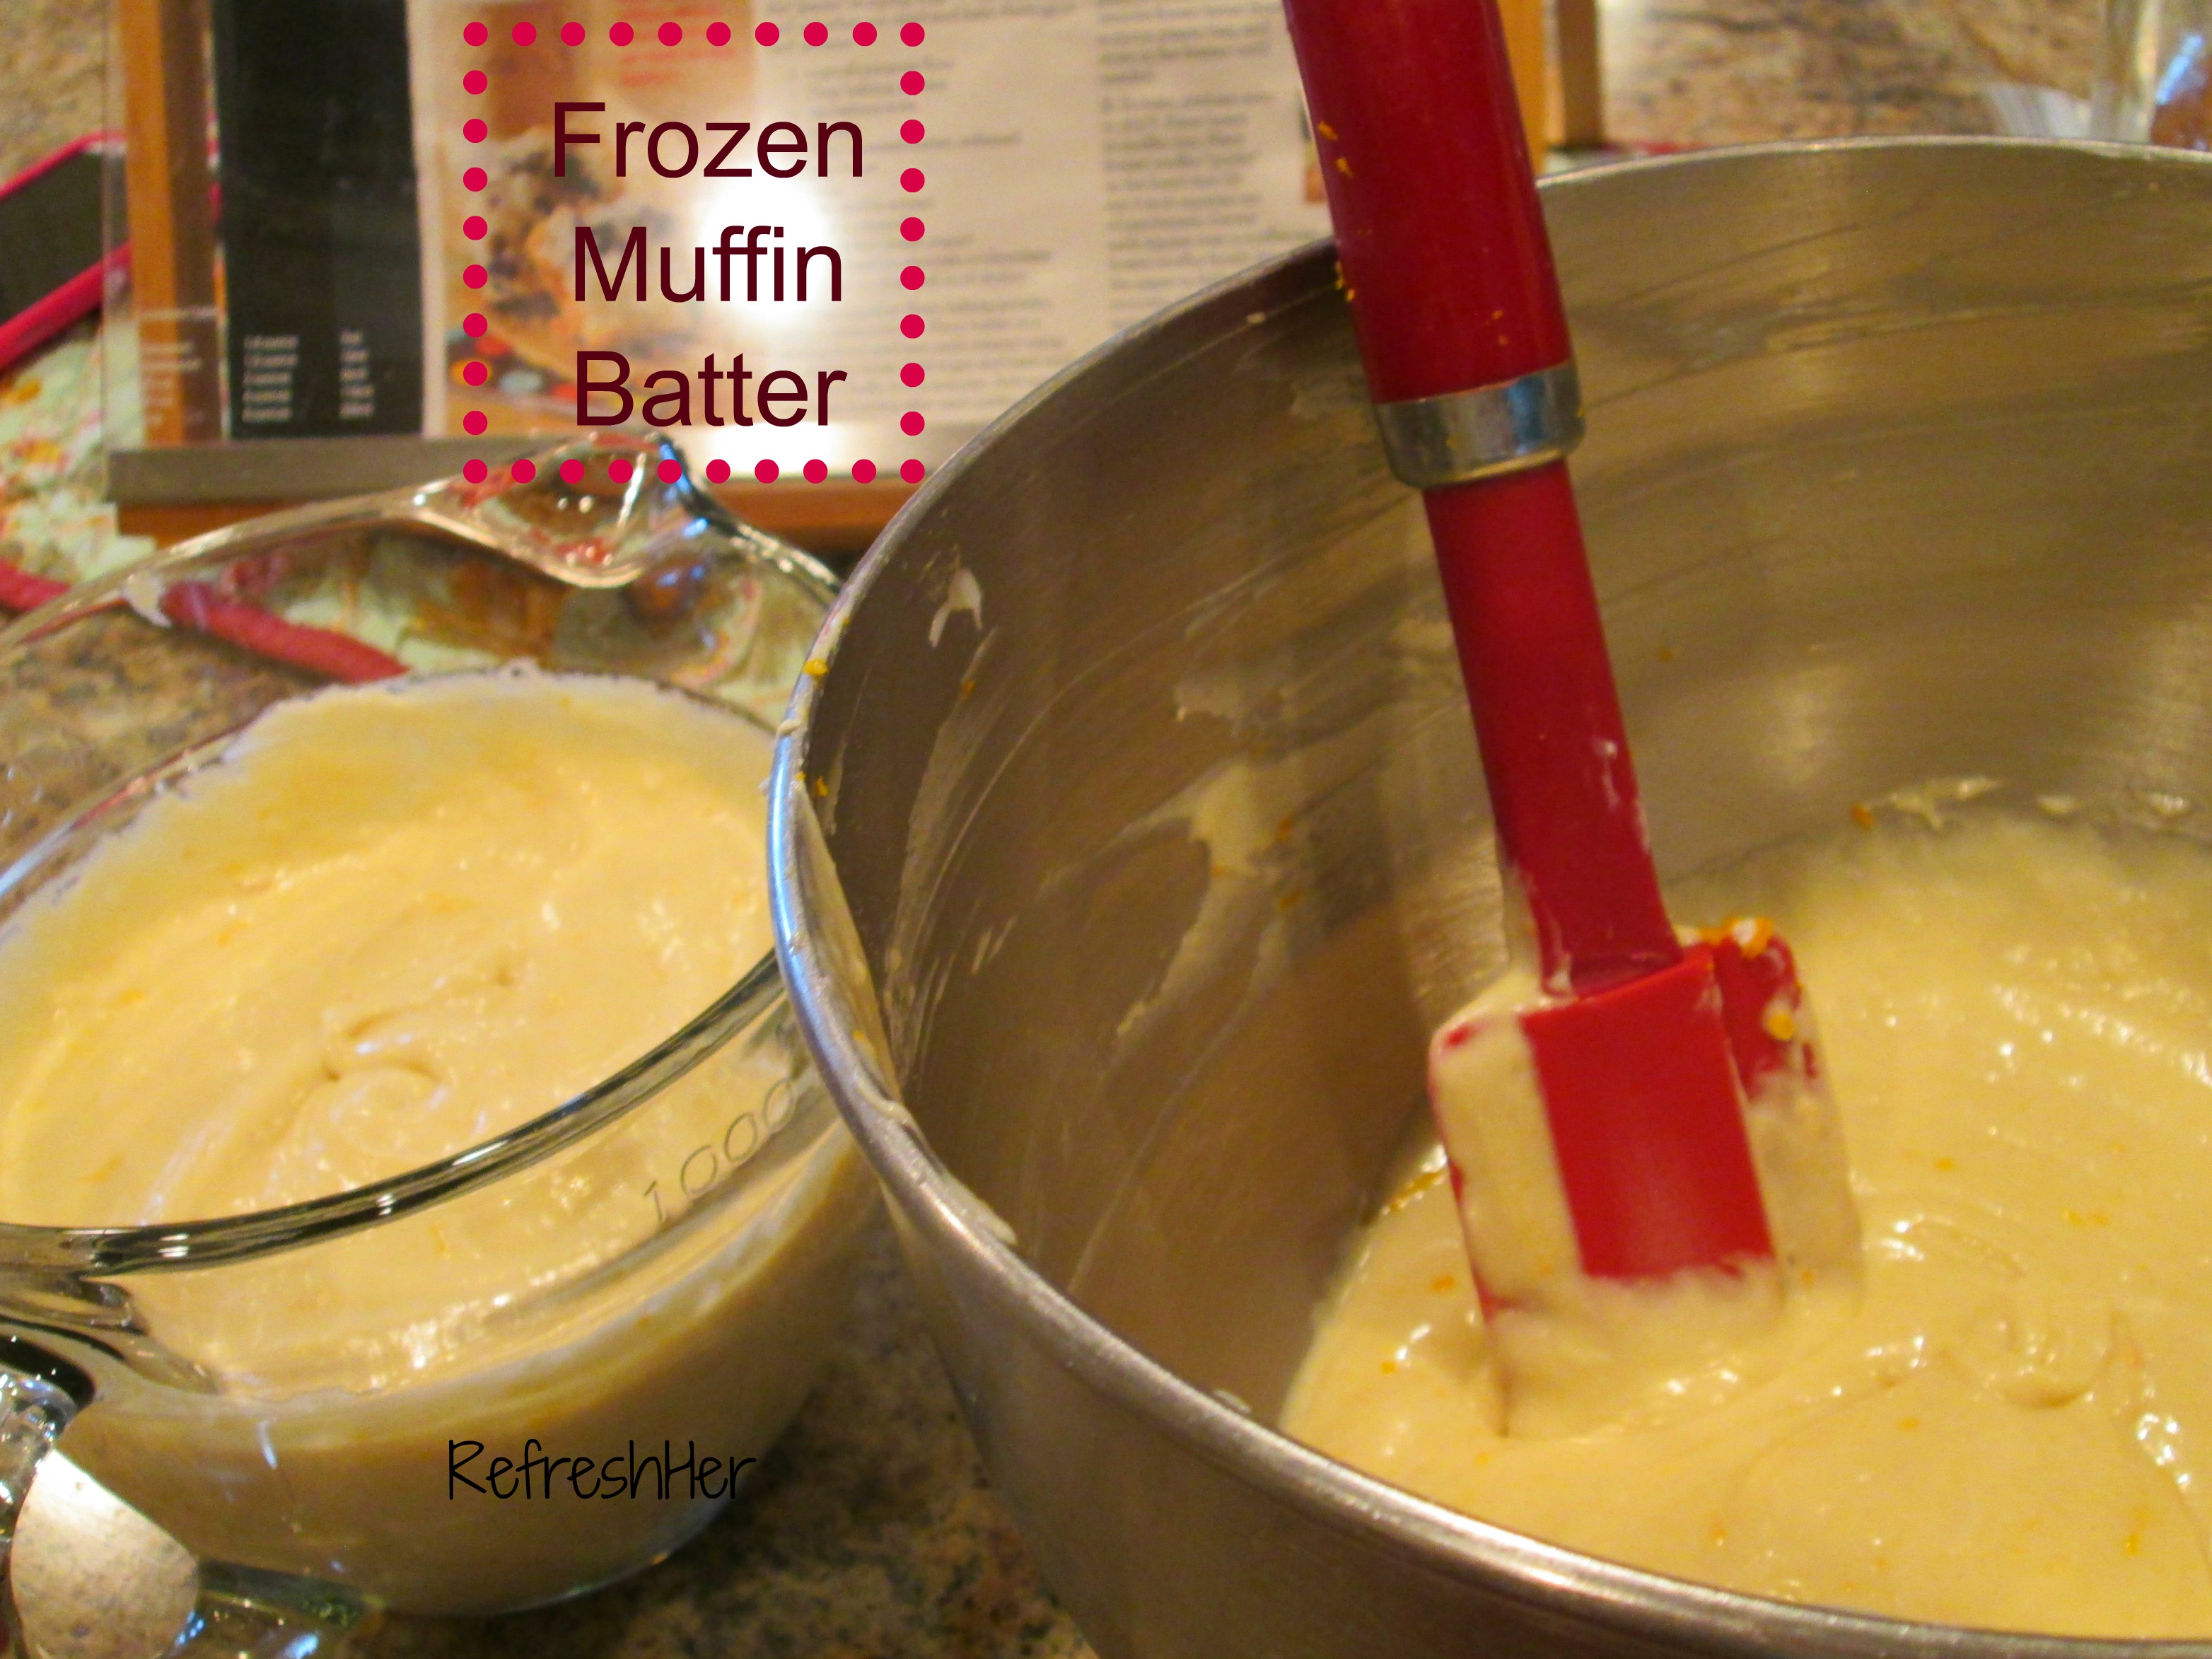
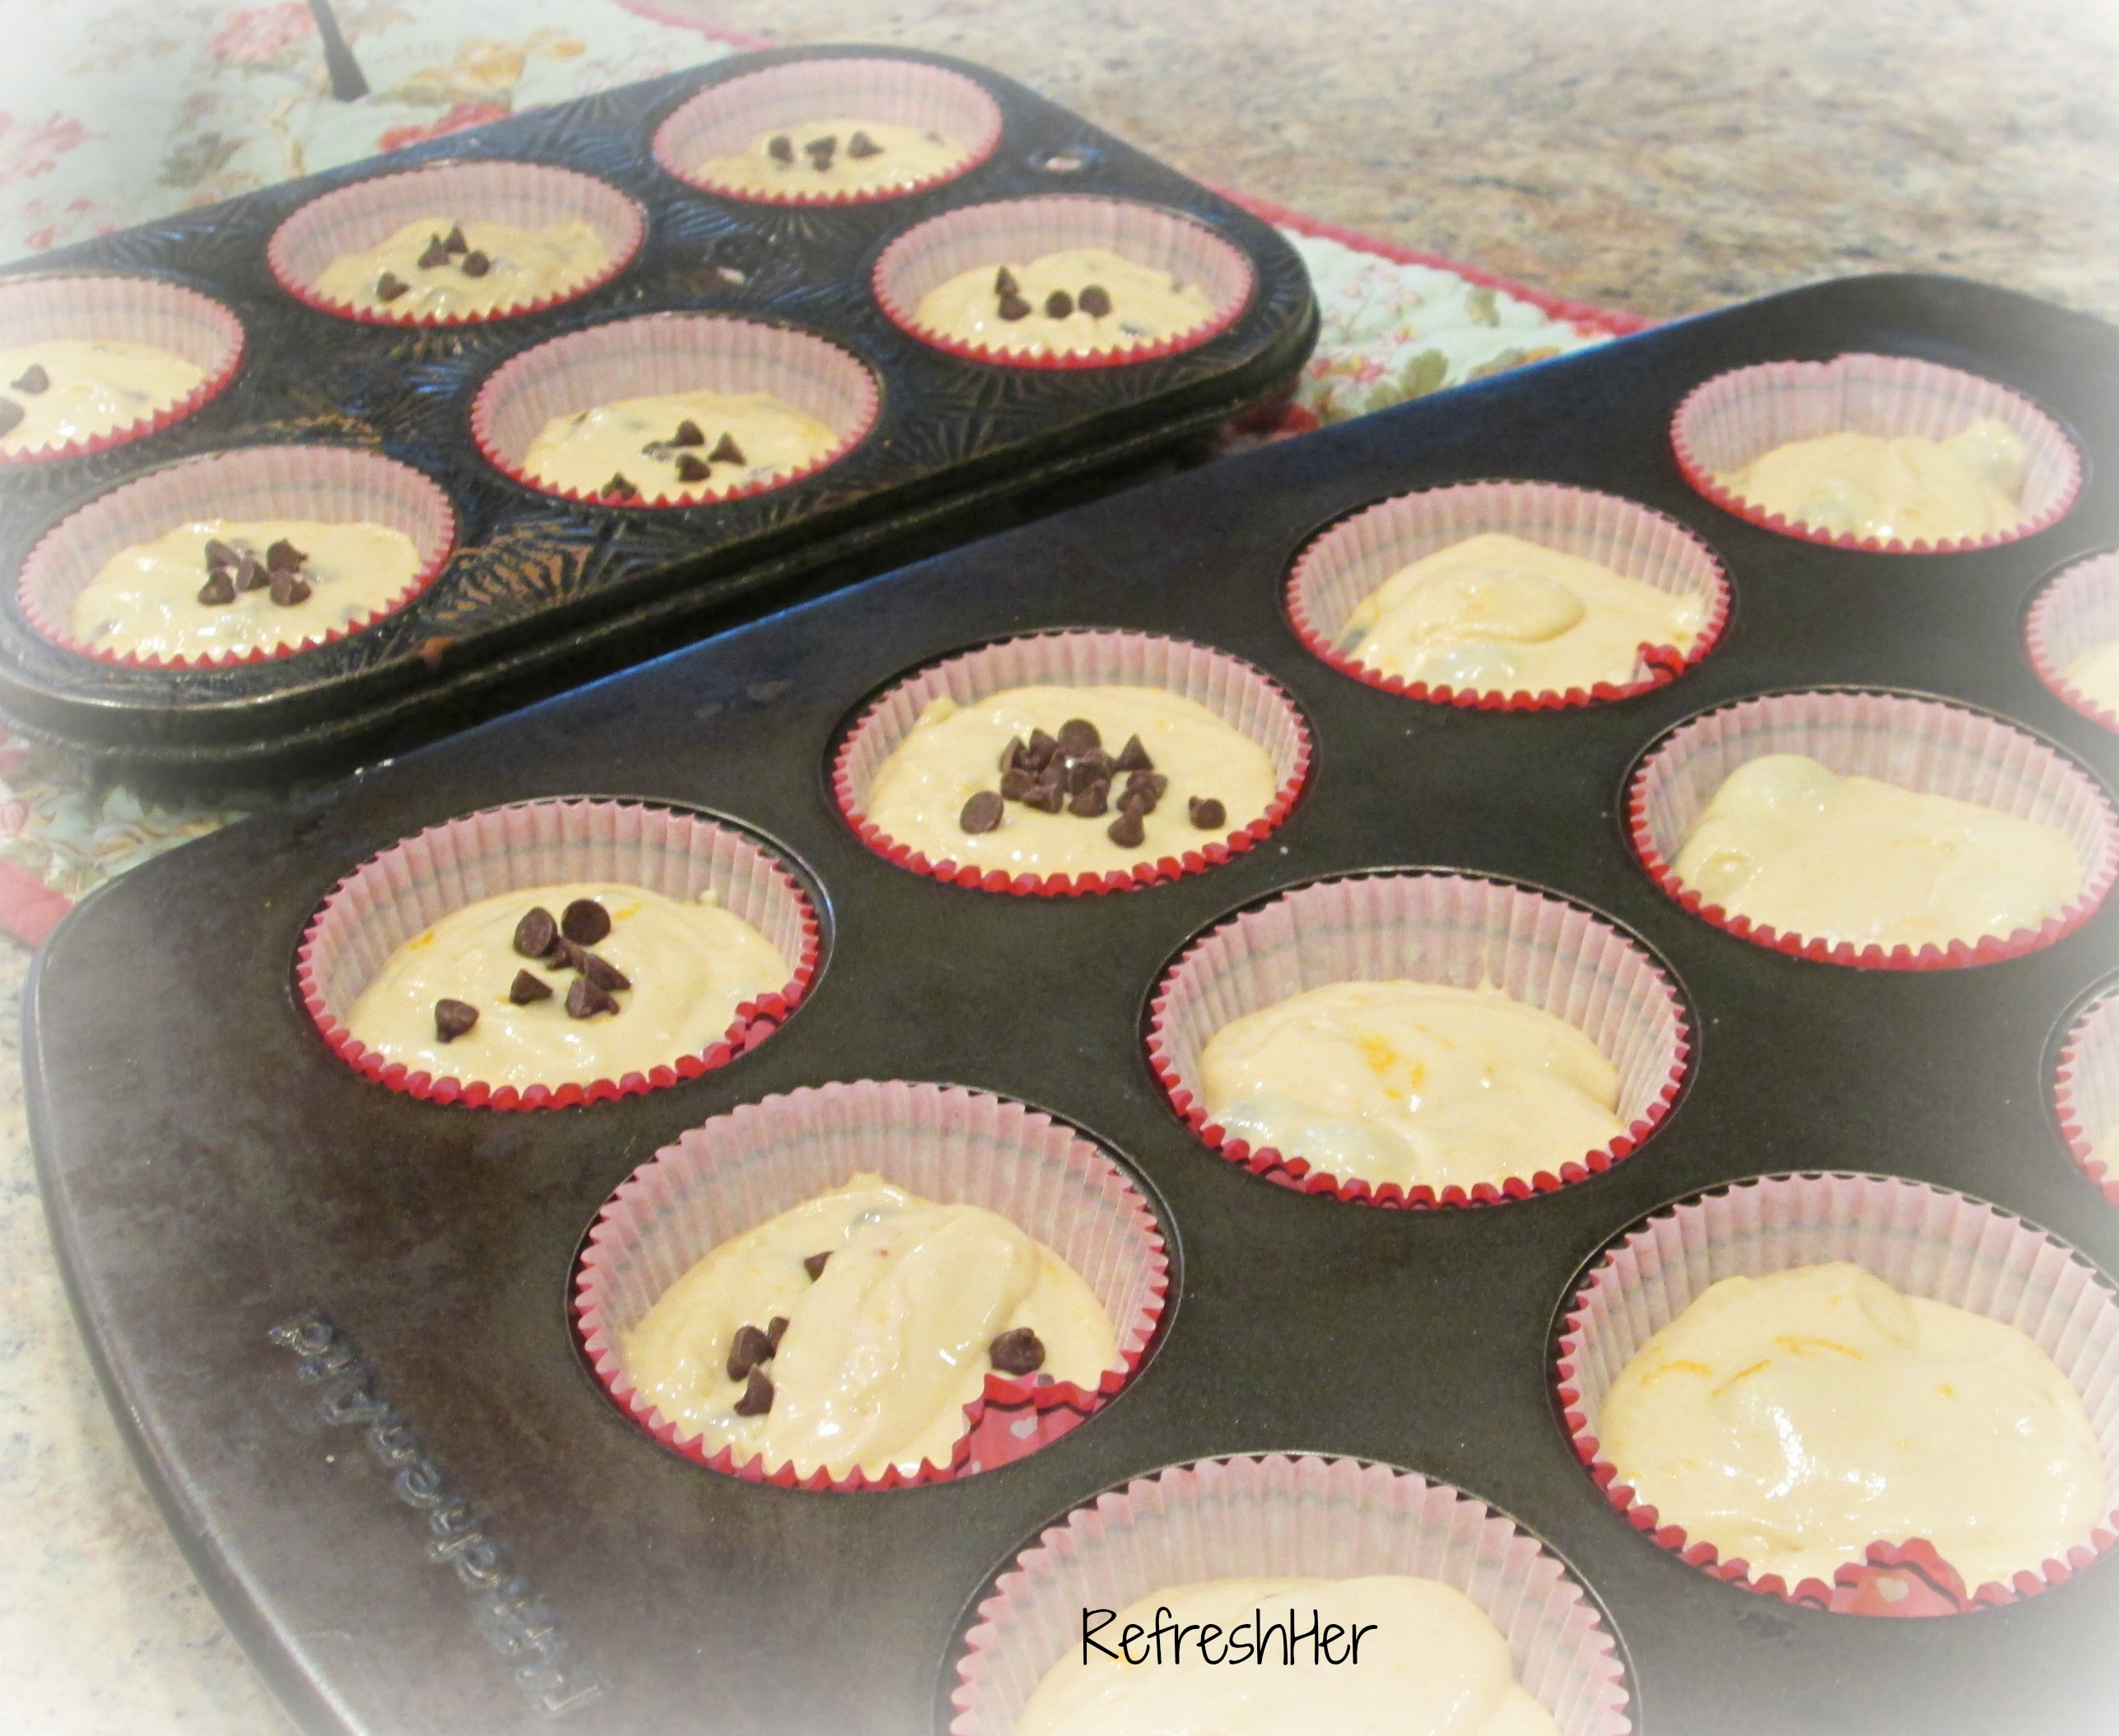
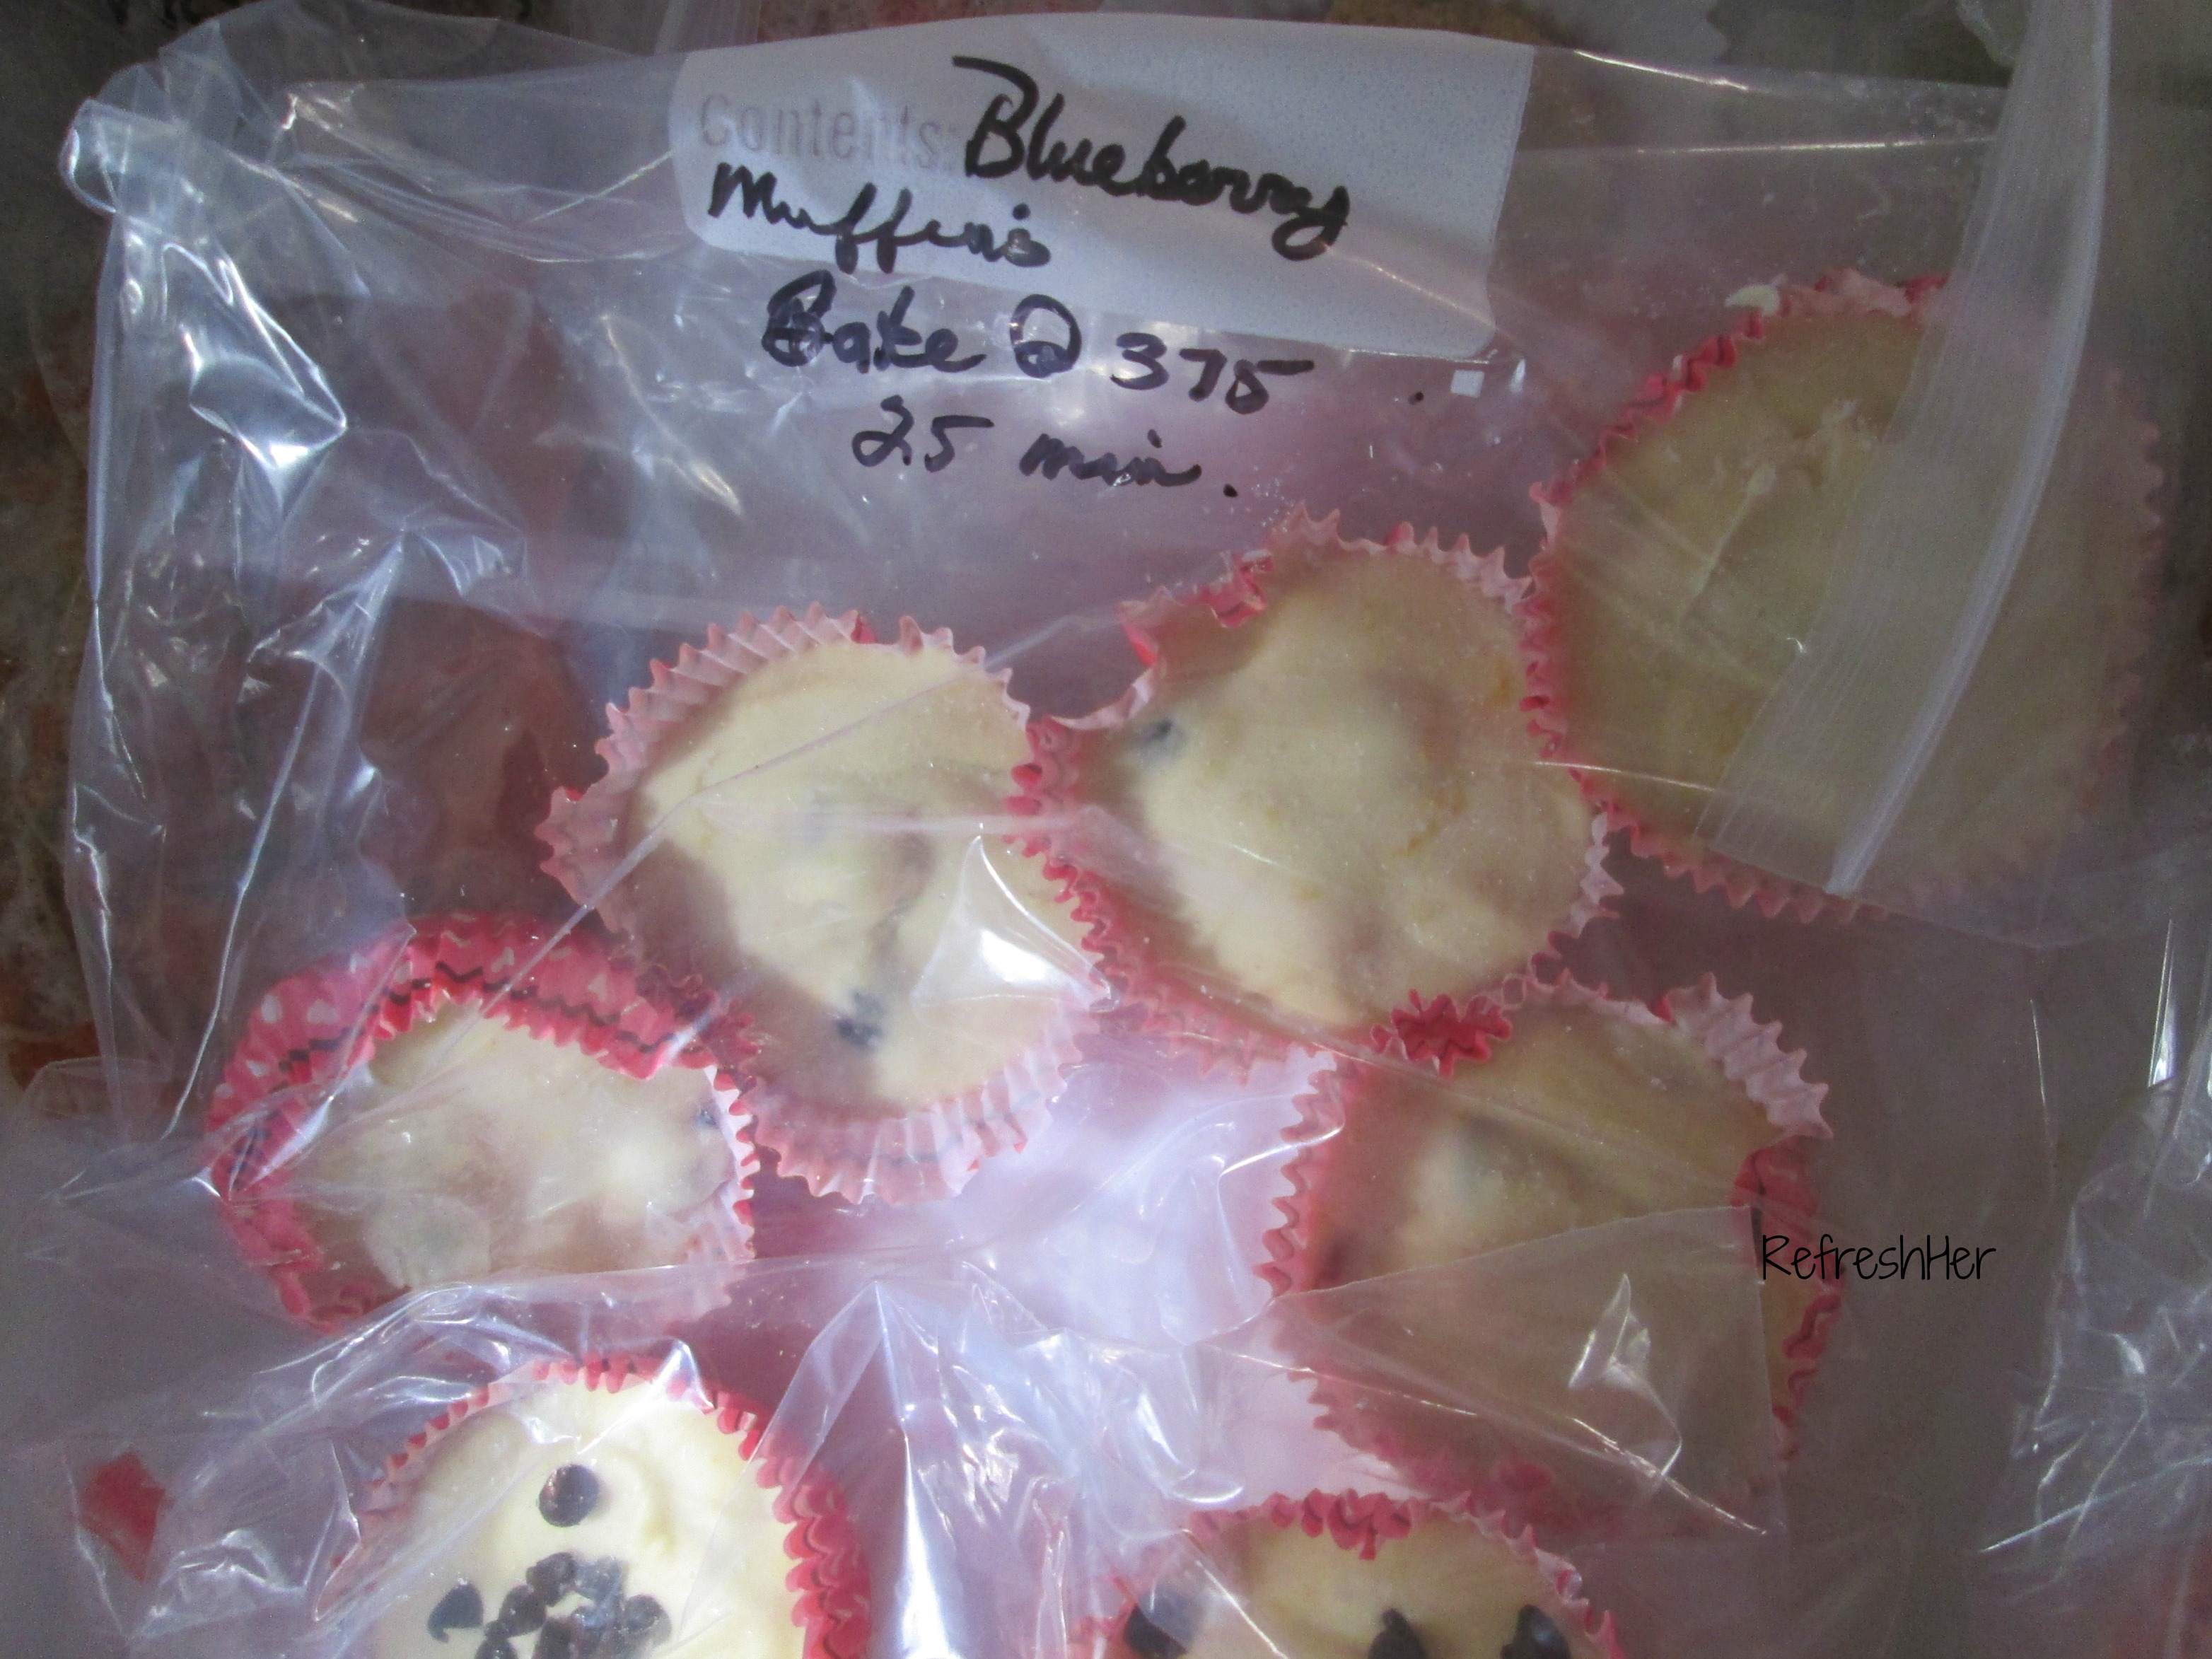
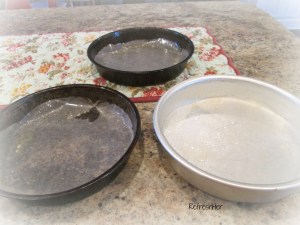
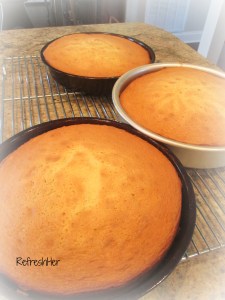
  1. Start by making and baking the cake layers a week  (or even two weeks) before you need the finished cake.  Always, always, always put waxed paper in the cake pans for easy removal!  I don’t care if the recipe says to grease and flour the pans, I always use waxed paper instead.  No use making a cake if half of it sticks to the pan!
  2. After cooling the baked layers, wrap them in plastic Wrap and then place each layer in a freezer bag. Freeze until needed.
  3. Make the filling for the cake a day or two before you need the finished cake.  This will allow time for it to set up and thicken nicely and it will spread on the cake layers easily.
  4. The day you need the cake, make the icing.
  5. Take the layers out of the freezer.  Place waxed paper pieces on the cake plate to keep the plate free of icing, crumbs and coconut.  Place filling between the layers.
  6. Start by putting a large scoop of icing on the top and push it over the sides of the cake.  Smooth icing.  Top with coconut.  Remove waxed paper from under cake layers.

When you work ahead and do a part of the whole recipe a little at a time, it really is a simple process (I am resisting the urge to say “it’s a piece of cake! But it really is!).

Here’s the recipe for the Coconut Cake from Southern Living:

cake20150405_143452

Coconut Cake with Lemon Filling

Ingredients

1 cup unsalted butter, softened
2 cups sugar
4 large eggs, separated
3 cups all-purpose flour
1 tablespoon baking powder
1 cup milk
1 teaspoon vanilla extract
1/8 teaspoon salt

1. Beat butter at medium speed with an electric mixer until fluffy; gradually add sugar, beating well. Add egg yolks, one at a time, beating after each addition.

2. Combine flour and baking powder; add to butter mixture alternately with milk, beginning and ending with flour mixture. Beat at low speed until blended after each addition. Stir in 1 tsp. vanilla.

3. Beat egg whites and salt at high speed with an electric mixer until stiff peaks form. Stir about one-third of egg whites into batter; fold in remaining egg whites. Spoon batter into 3 greased and floured 9-inch round cake pans.

4. Bake at 350° for 18 to 20 minutes or until a wooden pick inserted in center comes out clean. Cool in pans on wire racks 10 minutes; remove from pans, and cool completely on wire racks.

5. Spread Lemon Filling between layers. Spread Fluffy White Frosting on top and sides of cake. Sprinkle top and sides with coconut; garnish, if desired.

Lemon Filling 

Ingredients

1 cups sugar
1/4 Cup corns starch
1 cup boiling water
4 egg yolks, lightly beaten
1/3 cup fresh lemon juice
2 tablespoons butter

1. Combine sugar and cornstarch in a medium saucepan; stir in 1 cup boiling water. Cook over medium heat, stirring constantly, until sugar and cornstarch dissolve (about 3 minutes). Gradually stir about one-fourth of hot mixture into yolks; add to remaining hot mixture, stirring constantly with a wire whisk. Stir in lemon juice.

2. Cook, stirring constantly, until thickened. Remove from heat; stir in butter. Cool, stirring occasionally.

White Fluffy Icing
Ingredients

1 cup sugar
1 1/2 cups water
2 tablespoons light corn syrup
4 egg whites
1/4 teaspoon cream of tartar

1. Combine first 3 ingredients in a small heavy saucepan; cook over medium heat, stirring constantly, until clear. Cook, without stirring, until mixture reaches soft-ball stage or candy thermometer registers 240°.

Easter 006

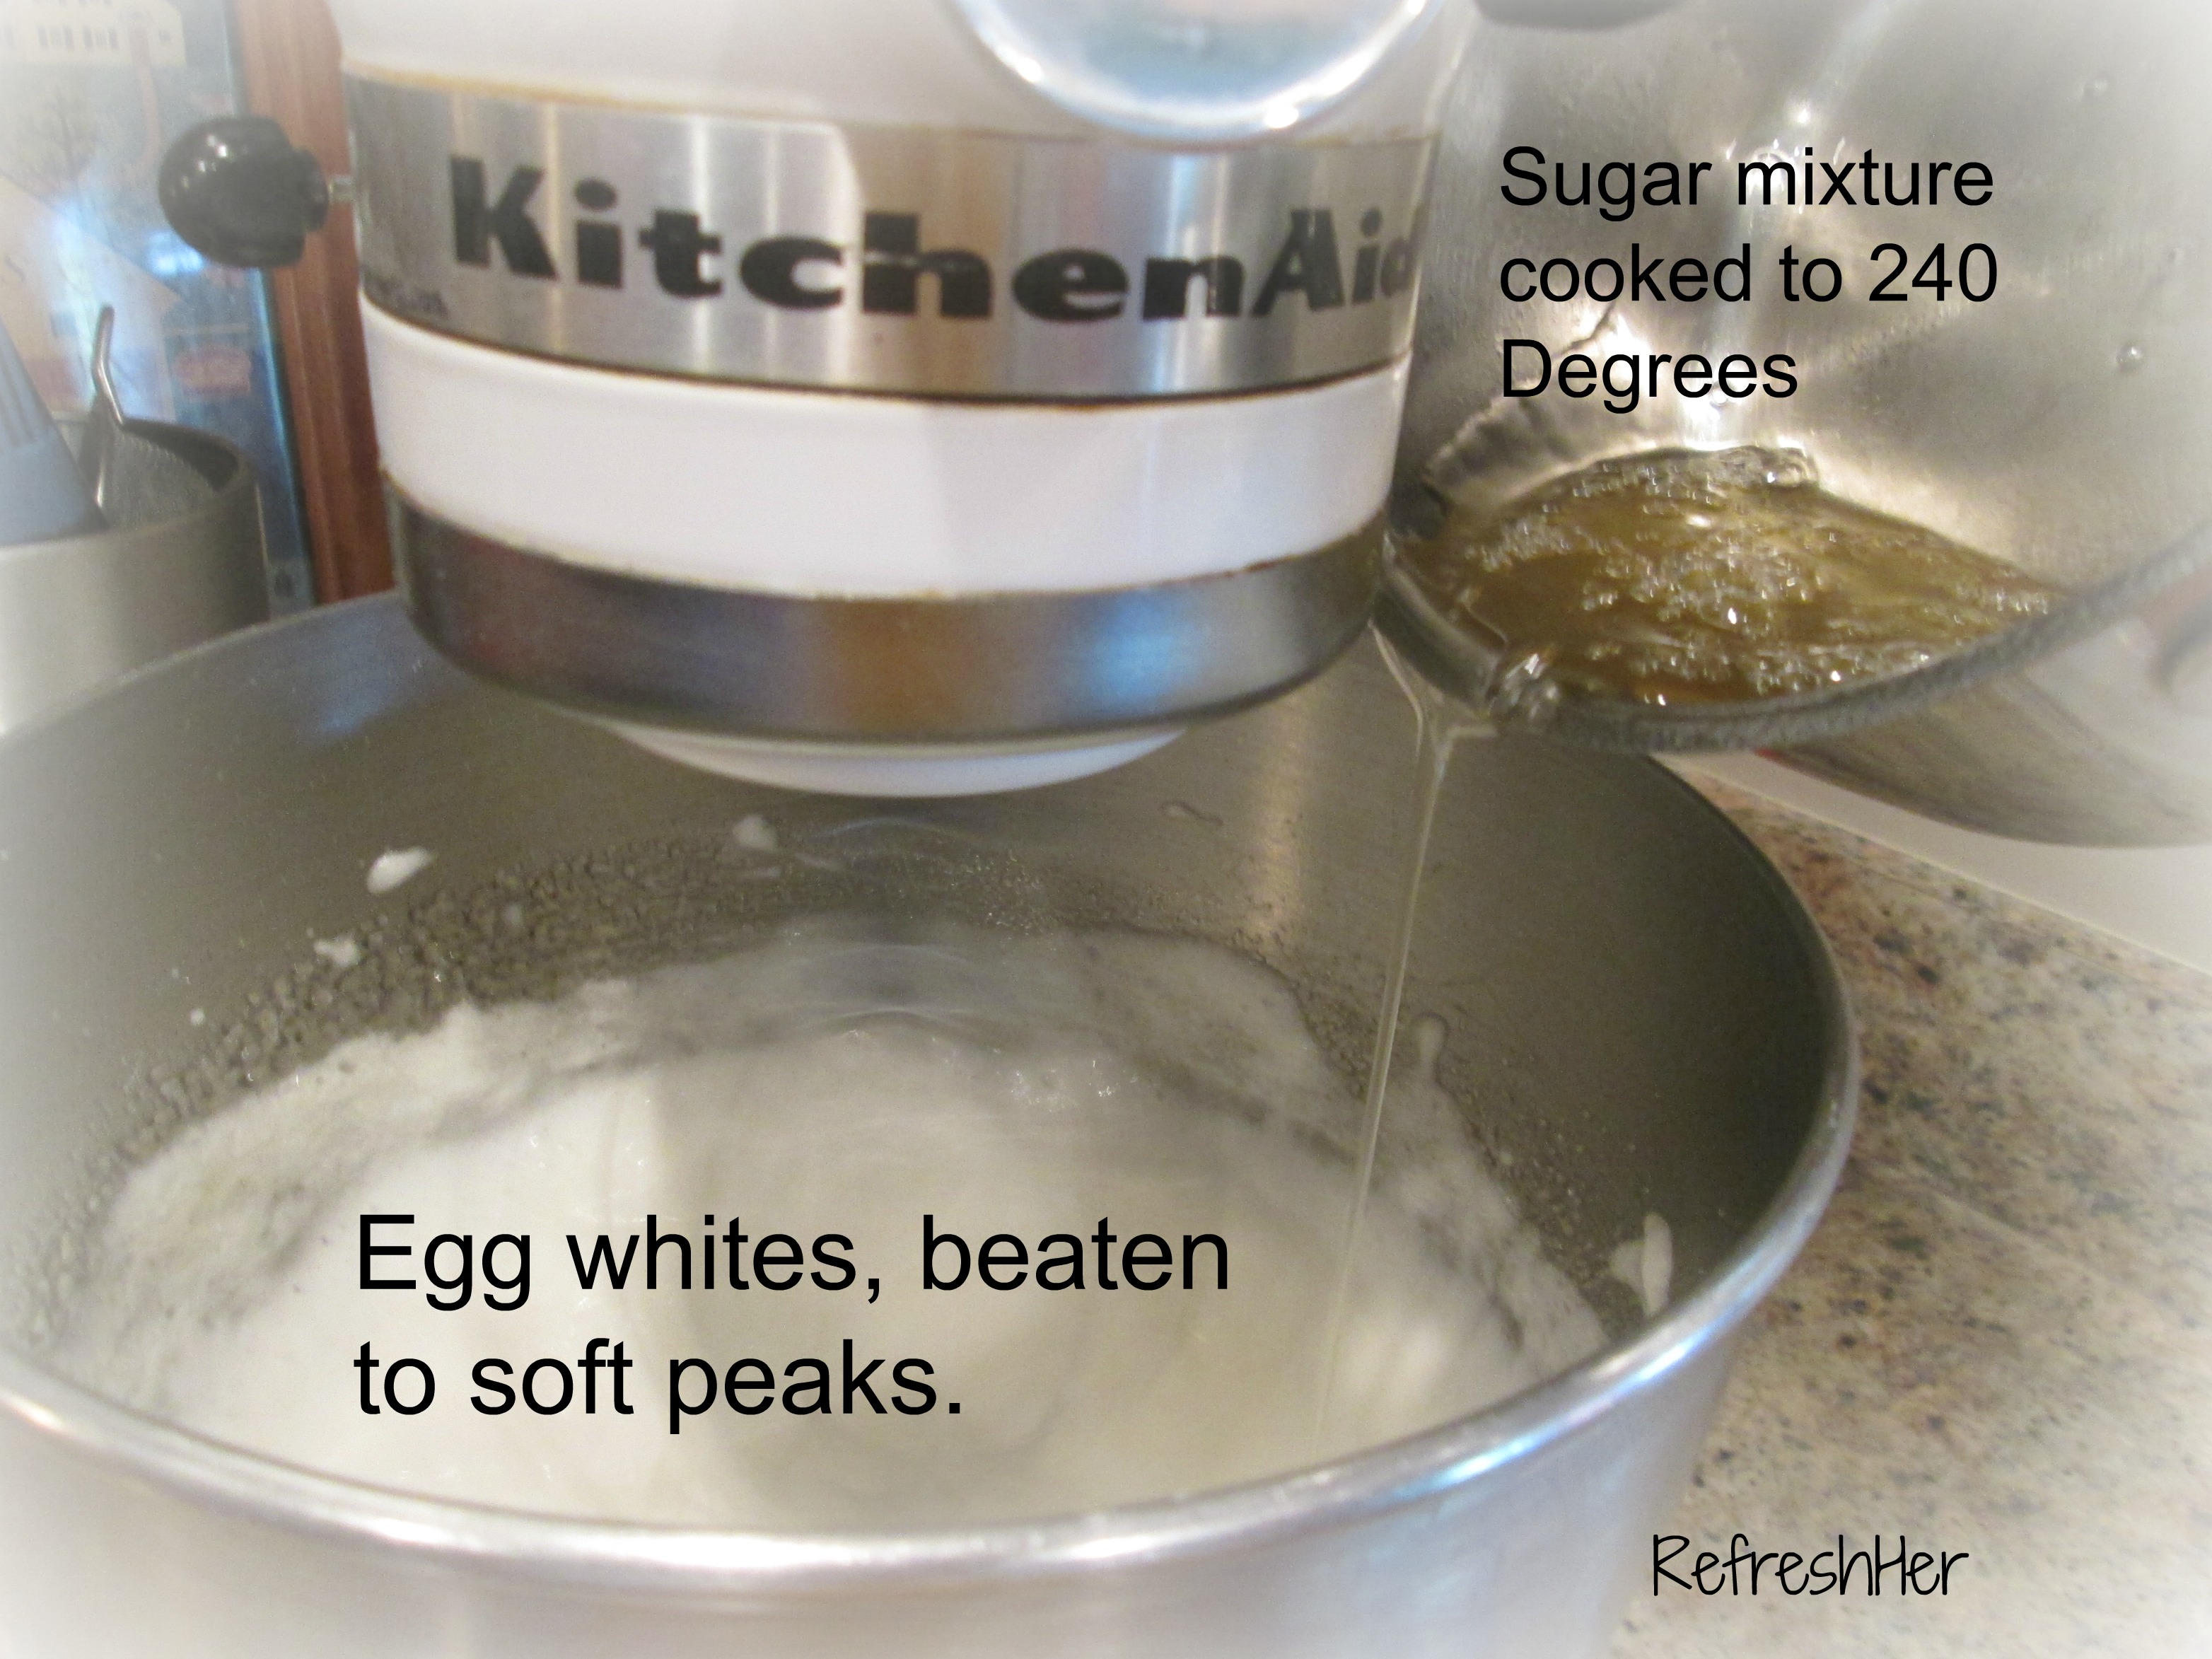
2. Beat egg whites and cream of tartar at high speed with an electric mixer until soft peaks form; slowly add syrup, beating constantly. Beat until stiff peaks form and frosting is desired consistency.
Top cake with one cup flaked coconut.

Do you enjoy baking detailed kind of desserts like this cake?  I’ll bet if you hesitate it’s because it looks too complicated.  Try this sure method, and see if you don’t have a success on your hands…and some really delicious icing!

With love from my country kitchen,

8E63C63AC0BC189BF1C68B03C74DBB5F

Uncategorized

A Broken Tooth

As juicy and delicious as Tootsie Roll Pops are, I haven’t had one in about twenty years.  My reason?  One day I was enjoying my favorite flavor (chocolate) and I had gotten past the hard sucker part and was enjoying the Tootsie Roll in the middle when I felt something give way in my mouth.  It was part of my tooth!  I literally got sick to my stomach.  Curious, my tongue felt the area of the strangeness and realized that I had just successfully pulled the crown off my tooth with the sticky candy.

I made an appointment at the dentist to have it repaired, but up until that time, that tooth was a source of much discomfort.  When I ate, I had to chew on the other side of my mouth since that back tooth was now useless.  I tried to keep any kind of food from floating to the broken tooth, to avoid any more decay or trouble.  I totally overused the other teeth, just trying to avoid the one that was out of commission.  I was so relieved after it got repaired and I could use it once again!  However, my personal rule is –  NO MORE TOOTSIE ROLL POPS!

When I recently read Proverbs 25:19, I was made to think back to my injured tooth incident.  The verse reads,

Confidence in an unfaithful man (or woman) is like a broken tooth…

Why?

  • An unfaithful woman brings discomfort to others because she can’t be counted on.  Things that should be done are left lacking, causing difficulty for everyone else.
  • An unfaithful woman can’t be used.  She’s not trustworthy.  She’s not ready.
  • An unfaithful woman is avoided.  Why call and ask her to serve in a ministry or lead this or help with that…it’s better to find someone else.  She’s made a name for herself.

But, like my tooth, an unfaithful woman can be “fixed!”  Simply by seeing her sin of unfaithfulness, and confessing that to the Lord, God can equip and use her once again.  Her life can be steady and sure, bringing eternal rewards One day at the Bema Seat!

I’m proud to say, that I know a woman who is NOT a broken tooth, but a faithful, solid trustworthy servant of the Lord.  We just recently honored her at church; her name is Reva.  She has served in our church nursery for over 45 years!  You could count on her to be there!  You could be sure she would let someone know if she was going to be out due to sickness or vacation.  You could trust her to be a loving worker and doting on those babies.  You could bank on her week in and week out!

She is moving away, and she will be missed greatly at Boones Creek Bible Church, but I know that wherever she attends church, she will carry her faithfulness with her!  We love you, Reva!  May your tribe of faithful women increase!!!

Are you considered faithful, or more like a broken tooth?  It’s a question we all need to ask ourselves and our Savior.

With love,

8E63C63AC0BC189BF1C68B03C74DBB5F

Uncategorized

Stress-free Accomplishments

tasks list 002

I’m not sure if there’s any better feeling than to have accomplished a long task list.  The pressure is relieved, and the daunting tasks are finished!  You can finally breathe!

But what about the hours, days, weeks or even months that led up to that accomplishment?  Can they be stress-free as well?  I’m here to say, YES, they can!  Anything from months of planning for a wedding, preparing for a conference or an upcoming vacation, or desiring to spring clean your whole house – there is a way to get it done without stressing over it.

Let me share with you my step by step process to accomplish any task I have, relatively stress-free.

I’ll show examples for how I’ve planned out this week to prepare for having guests here for Easter dinner.

1.  Write it down.  Write everything that you need to accomplish by said date.  Having it on paper is concrete and will       enable you to remember what needs to be finished and what you’ve already completed.

tasks list 003

2.  Assign each task a date.  Delegate a day/week/ or month to each task. Try to even out the tasks – don’t overload your schedule with more than you’ll really be able to accomplish in that time span.

tasks list 0043.  Check it off.  As you accomplish each task, check it off.  I love seeing those check marks!

4.  Do extra tasks if you have extra time.  If you have extra time after completing the assigned task, do any other task   you can.  For instance, my Friday on the schedule above looks pretty empty, because I know I might be having a guest over that day.  However, if I have extra time, I’ll go ahead and do a couple of the Saturday tasks, like making the tea or setting the table.

If you have a long-range event, write down what needs to be done.  Work backwards.  Go to the date of the event, and work back to today.  Assign each task a date, giving each week or month a job on your list. Give yourself some “wiggle room” by planning to have things done a little before the exact date it’s needed. Cross each task off the list when it gets done. Do extra tasks as you have time.  When the event arrives, you’ll realize that everything is finished, and you didn’t have to worry or rush to complete it!

A friend shared a quote with me from Adrian Rogers who said,

“There is enough time in every day
to gracefully do what God wants you to do.”

Jesus lived that out, didn’t He?  He was never rushed, frantic or stressed.  Plan so you won’t have to stress, but also rely on the Lord to give you the wisdom to know what to do and the grace to do it ~ Stress-free!

What do you do to lessen the stress in your life and accomplish your goals?  Does my plan seem do-able?

With love,

8E63C63AC0BC189BF1C68B03C74DBB5F

Uncategorized

What’s Cookin’ in the Country?

I like to make life as easy as possible by doing anything/everything as much ahead of time as possible.  That’s especially true when it comes to simplifying my morning routine.  When I recently found a recipe in Relish Magazine for muffin batter that could be frozen, I knew I had to try it!  The result?  A delicious muffin that was in the oven first thing in the morning and ready to eat in 20 minutes! No mess, no fuss, just hot, fluffy muffins, better than any Toaster Strudel or Pop Tart!  This is a great way to simplify the day AND start the day!

You could add any kind of mix-in that you’d like.  I made half Chocolate Chip and half Blueberry.  You could use strawberries, nuts, blackberries,  dried Cranberries, or a number of other choices!

Mix up the batter and divide it in half.

stock, Freezer muffin batter 002

Toss a tablespoon of flour in with the mix-in so it won’t sink to the bottom of the muffin.  

stock, Freezer muffin batter 004

Fold in the added ingredient…

stock, Freezer muffin batter 007

Pour into muffin tins, lined with paper liners, then place muffin tin in the freezer.

Freeze batter for several hours or overnight.

stock, Freezer muffin batter 008

Place frozen muffin batter into freezer bags and store in freezer until needed.

Stock, freezer muffin batter 001

Place as many as you need in a muffin pan and bake in 375 degree oven for about 20 minutes
or until  golden.

Stock, freezer muffin batter 002
Relish Magazine’s photo

Here’s the recipe for the batter:

3 cups flour

1 Tbl baking powder

1/2 tsp baking soda

1/2 tsp salt

10 Tbl butter, softened

1 cup sugar

2 eggs

1 tsp vanilla extract

1 cup buttermilk

1/2 cup plain Greek Yogurt (I used sour cream)

1 cup blueberries or chocolate chip or other add in of choice

I added a couple tablespoons of Orange zest and loved the flavor it gave both of the muffins!

Directions

  1. Whisk together flour, baking powder, baking soda and salt. Place butter in a mixing bowl and beat until creamy using an electric mixer. Add sugar and beat until light and fluffy, 2 to 3 minutes. Add eggs one at a time, beating after each addition. Add vanilla. Add flour mixture and buttermilk and yogurt alternately to egg mixture, beginning and ending with four mixture. Beat until just combined. Fold in blueberries.
  2. Grease 18 muffin cups. Spoon batter into muffin cups until about two-thirds full. Cover muffin tins with plastic wrap and place in freezer for at least 6 hours. Then remove frozen batter from the tins, place in a ziptop plastic bag, and store in the freezer until needed.
  3. To bake, preheat oven to 375 degrees. Place liners in muffin tins. Place frozen muffin ” pucks” in the lined tins. Or cut 7-inch squares out of parchment. Center each square over a muffin cup and push the frozen muffin firmly into the cup, allowing the paper to fold up above it. Bake 25 to 30 minutes, until golden brown and the tops spring back when pressed.  Makes 18

Whenever I have oranges, before I peel them, I zest the rind and place it into a small Ziploc bag and put it in the freezer to use in baking.  You get double use from the oranges that way!

stock, Freezer muffin batter 003

How’s that for simplifying your morning routine?!  

What do you do to simplify the morning?

With love from my country kitchen,

8E63C63AC0BC189BF1C68B03C74DBB5F