
One of our favorite summer treats is Strawberry Freezer Jam. I’ve made it for years and we smear it on toast, PB&J sandwiches, biscuits, and muffins (especially these). I also love taking a jar as a hostess gift. I make up several “runs” of the recipe each May, and we try to ration it out to make it last until the next fresh/local strawberry season. It could be called a domestic crisis if we run out!
The freezer jam is quicker to make than the cooked jam, and it’s a really simple process. Another great thing is that once you get a stash of jars stocked up your only cost is the ingredients for the jam. This recent batch cost me $20 and I made 18 jars! That’s a great value!
But spite the fantastic taste and the value, sometimes people are afraid to try making it for fear that it won’t set up, and then they’ll have wasted all the ingredients and money involved. But If you’re one of those people who are afraid to try it on your own, I thought I’d walk you through each of the steps, using my pictorial guide below.
Note: I make my Strawberry Freezer Jam using the recipe on the Sure-Jell box.
- Sterilize your jars and lids in the dishwasher, or in very hot, soapy water.

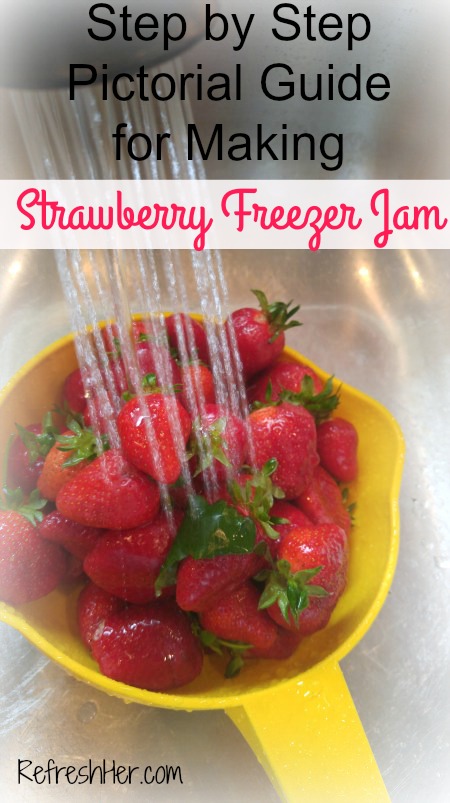
- Wash the strawberries before hulling.

- Cut off the stems. Slice berries.

- Using a potato masher, mash the berries – don’t make them soup. Leave it a little chunky See next photo.

- There should be some chunks

- Add sugar. Be sure to measure it exactly as recipes states. Level off cups.

- Let set for 10 minutes, stirring occasionally

- Put Sure-Jell and 3/4 Cup water in a small sauce pan.


- Bring to a boil, stirring constantly and boil 1 minute —–
10. Stir cooked pectin into strawberry/sugar mixture. Stir for three minutes, or until sugar is dissolved.
11. Ladle into jars, leaving 1/2 inch at the top. Wipe rims and screw on lids.
12. If you like, do a little test with a small amount of jam, just to see if it has set up —–
12. Leave on counter for 24 hours, then either refrigerate for immediate use, or freeze up to a year.

Enjoy the fruit of your labor!
Have you made jam? If not, what is keeping you from trying? Will this pictorial guide encourage you to try?
Refresh your family and your freezer with some Strawberry Jam!


Hi Denise,
I found your blog through your daughter, Whitney. Thanks for sharing this detailed recipe. I usually can strawberries using the cooked method, but I’m going to try freezer jam this year. Several people have claimed it tastes fresher, and your post motivated me to go for it. One question I have is do you stir the pectin with the water while you’re waiting for it to come to a boil, or do you start stirring once it comes to a boil? Thanks!!
LikeLike
I’m sorry! I just saw your question. Hope I’m not too late! I stir the water and pectin together, then get the heat going. I hope it turns out great!
Let me know how it goes!
Thanks for reading!
LikeLike
Hi Denise,
It went really well! I actually got the strawberries yesterday. Thank you for getting back to me. I’m excited to make this jam a yearly tradition. Have a wonderful weekend!
LikeLike
Hi Denise,
It went really well! I actually got the strawberries yesterday. Thank you for getting back to me. I’m excited to make this jam a yearly tradition. Have a wonderful weekend!
LikeLike
That’s so great to hear; thank you for sharing the good results! Way to go!!
LikeLike
Reblogged this on RefreshHer and commented:
Strawberry season is almost here! Yesterday I had a Zoom Strawberry Freezer Jam lesson with ladies from my church. We had such a fun time together and it was almost like having them in the kitchen with me!
I thought I’d do two things today –
1. Share the detailed post I did a couple years ago with pictures for each step of jam making.
2. Share the link to the video that was recorded yesterday during our Zoom class. You’ll find that video here – https://youtu.be/2aTi7G3-IkY
If you have any qualms about how to make Jam, you’ll have help each step of the way with this post/video. So, happy jam making!!
LikeLike