I’m a southerner. I’m a biscuit lover and I’m a baker. Put those three things together and it means that over the years, I have tried to perfect both my recipe and results of homemade biscuits. Where else would I turn but to Southern Living? They are the cream of the crop, or in this case the best of the biscuits!
I recently gave SL’s Best Buttermilk Biscuits a couple of runs and they turned out really good! They have those buttery layers that are typified in a perfect biscuit. They were simple to do and only required three ingredients – Self-rising flour, Buttermilk and Butter. No worries if you don’t have self-rising flour – just add 1 1/2 tsp baking powder and 1/2 tsp salt for each cup of flour.
The secret to the flaky layers is the folding of the dough. Follow the instructions to fold and turn, fold and turn and you’ll get perfect results! Here’s the recipe:
Buttermilk Biscuits
Ingredients
Preparation
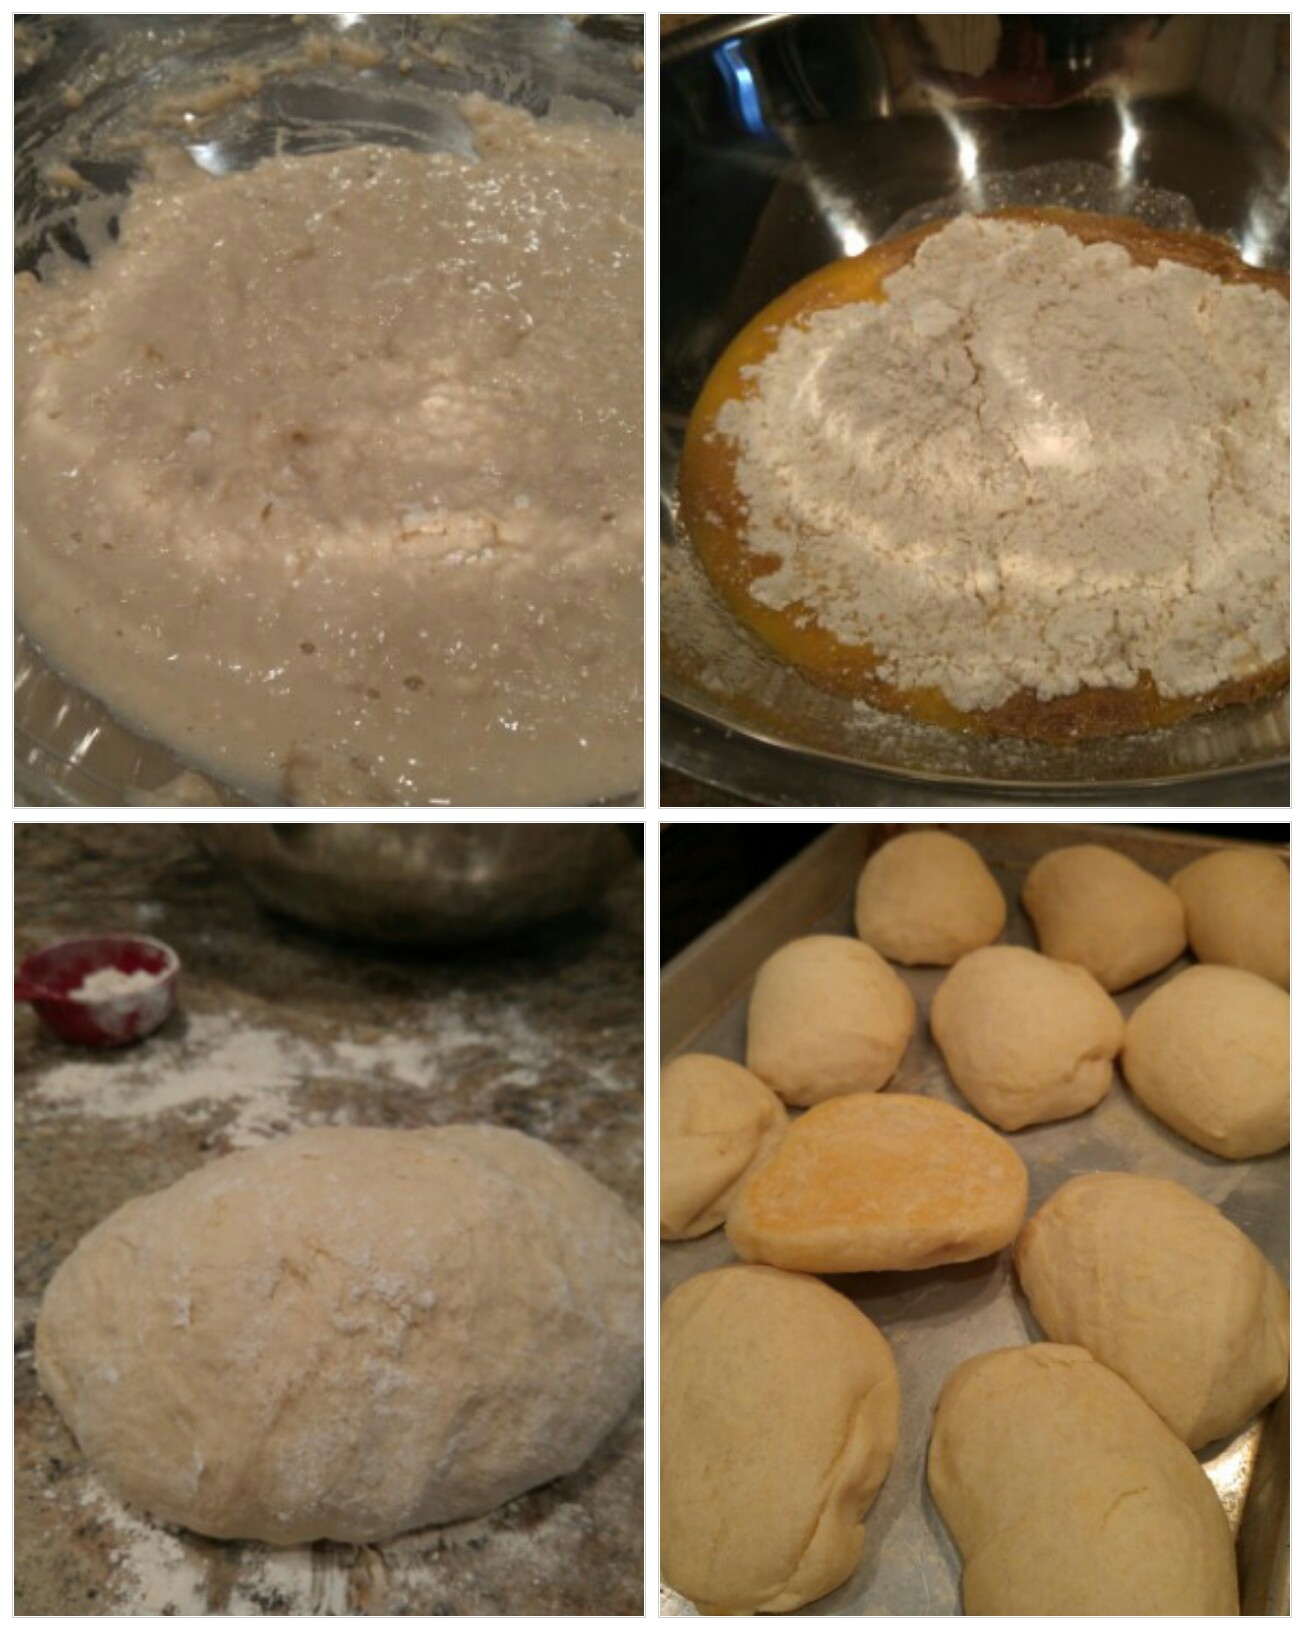
1. Preheat oven to 475°. Grate frozen butter using large holes of a box grater. Toss together grated butter and flour in a medium bowl. Chill 10 minutes.
2. Make a well in center of mixture. Add buttermilk, and stir 15 times. Dough will be sticky.
3. Turn dough out onto a lightly floured surface. Lightly sprinkle flour over top of dough. Using a lightly floured rolling pin, roll dough into a 3/4-inch-thick rectangle (about 9 x 5 inches). Fold dough in half so short ends meet. Repeat rolling and folding process 4 more times.
4. Roll dough to 1/2-inch thickness. Cut with a 2 1/2-inch floured round cutter, reshaping scraps and flouring as needed.
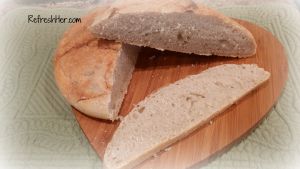
5. Place dough rounds on a parchment paper-lined jelly-roll pan. Bake at 475° for 15 minutes or until lightly browned. Brush with melted butter.

Add a biscuit to a breakfast of scrambled eggs, bacon and fresh fruit, topped with yogurt and granola and you have a hearty start to your day!

Have you mastered biscuit making? I hope you’ll try this recipe and method if you’re still trying to find the perfect recipe! It lives up to Southern Living’s reputation!
With love from my country kitchen,