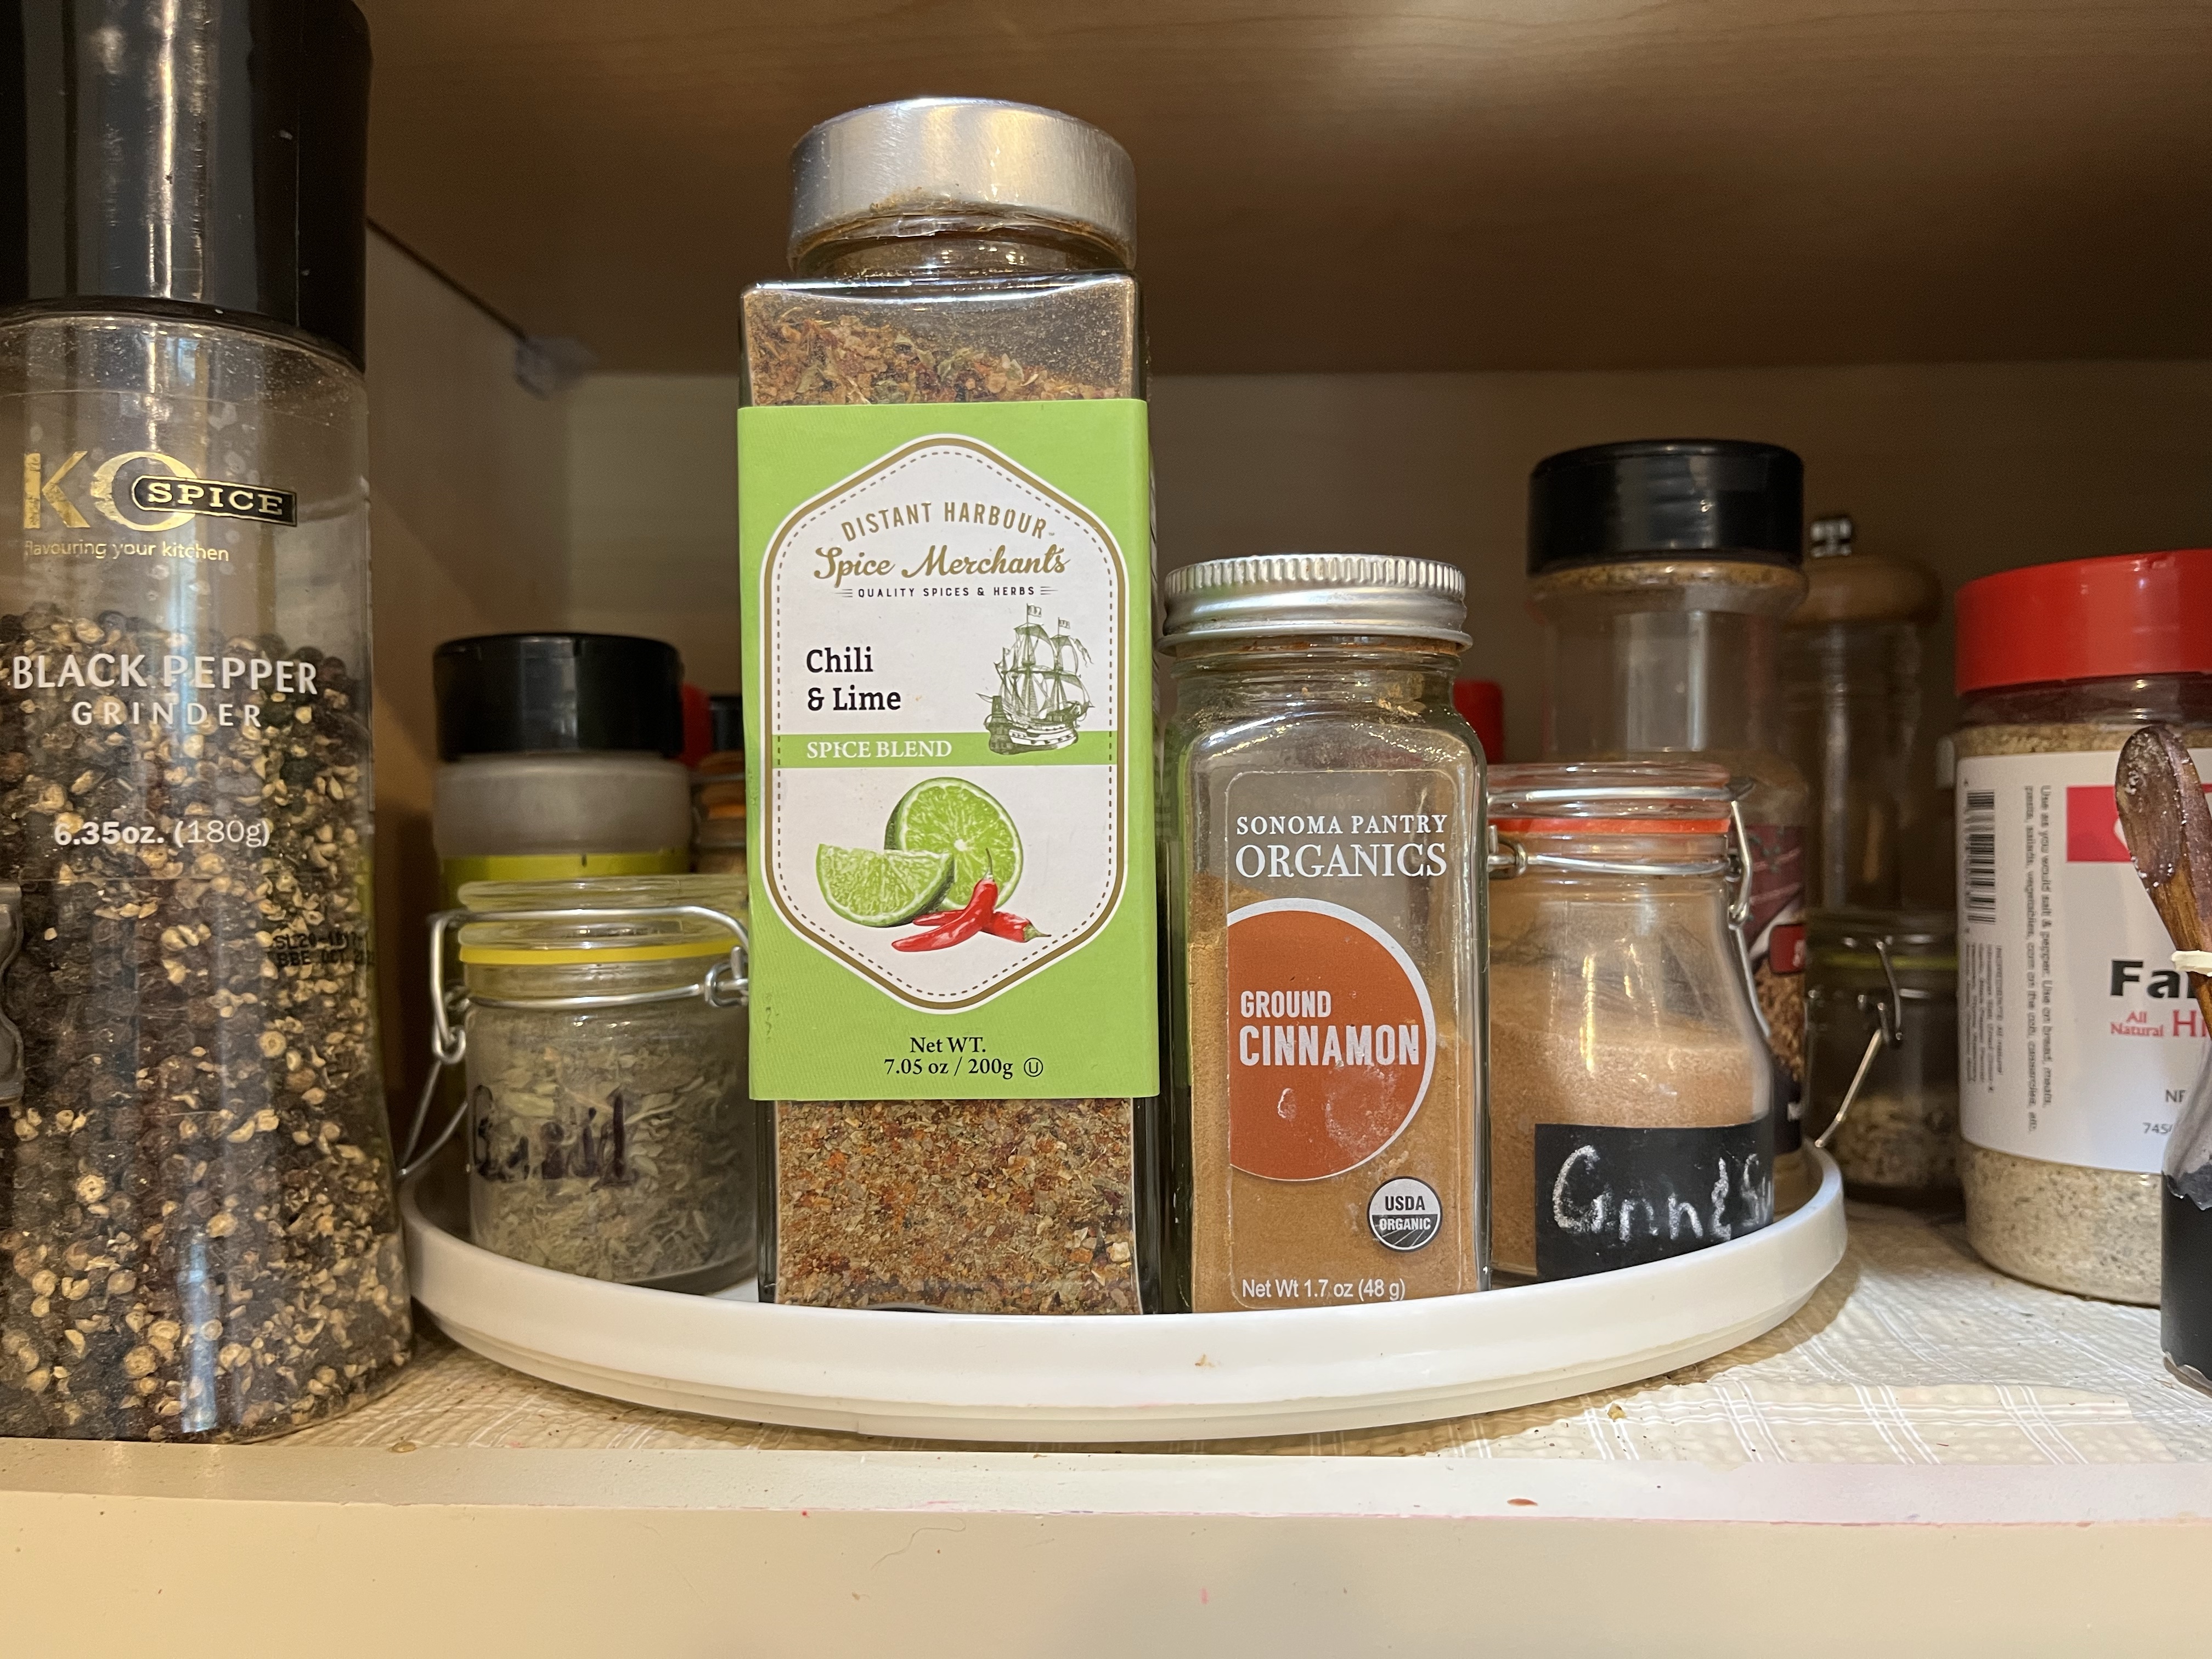
This weekend I had a couple hours when my love for organizing and my love for cooking collided. It was a needed collision! My spice cabinet that had been in good order at one time, had sadly gotten out of hand. It made my cooking more difficult, and I even found that I sighed inwardly any time I needed to search for a spice.
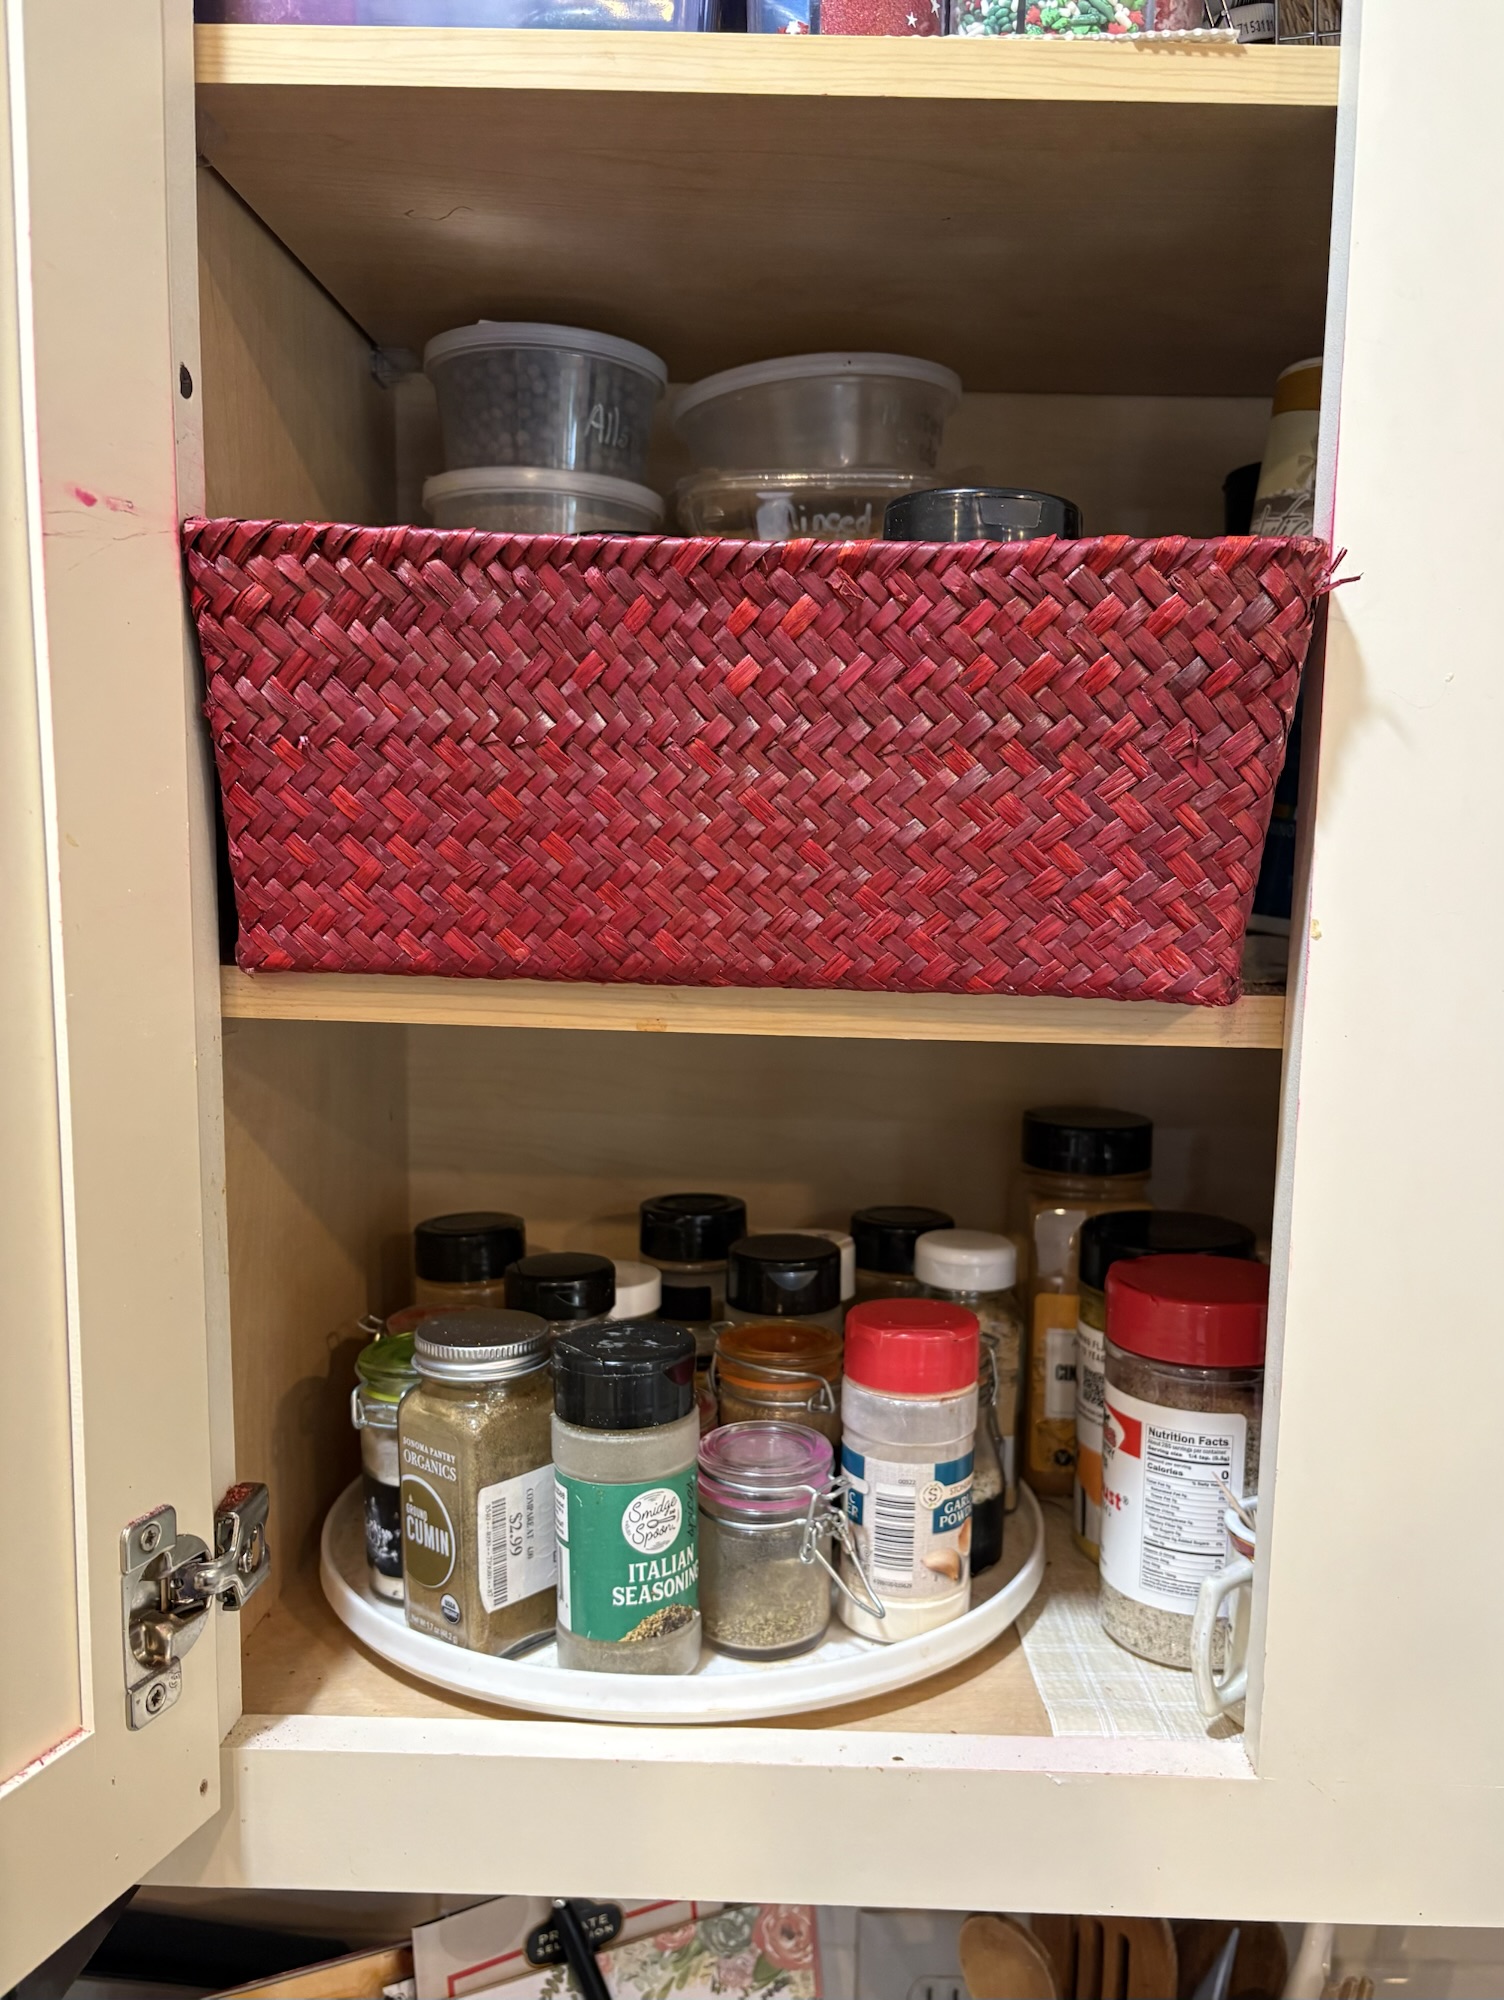
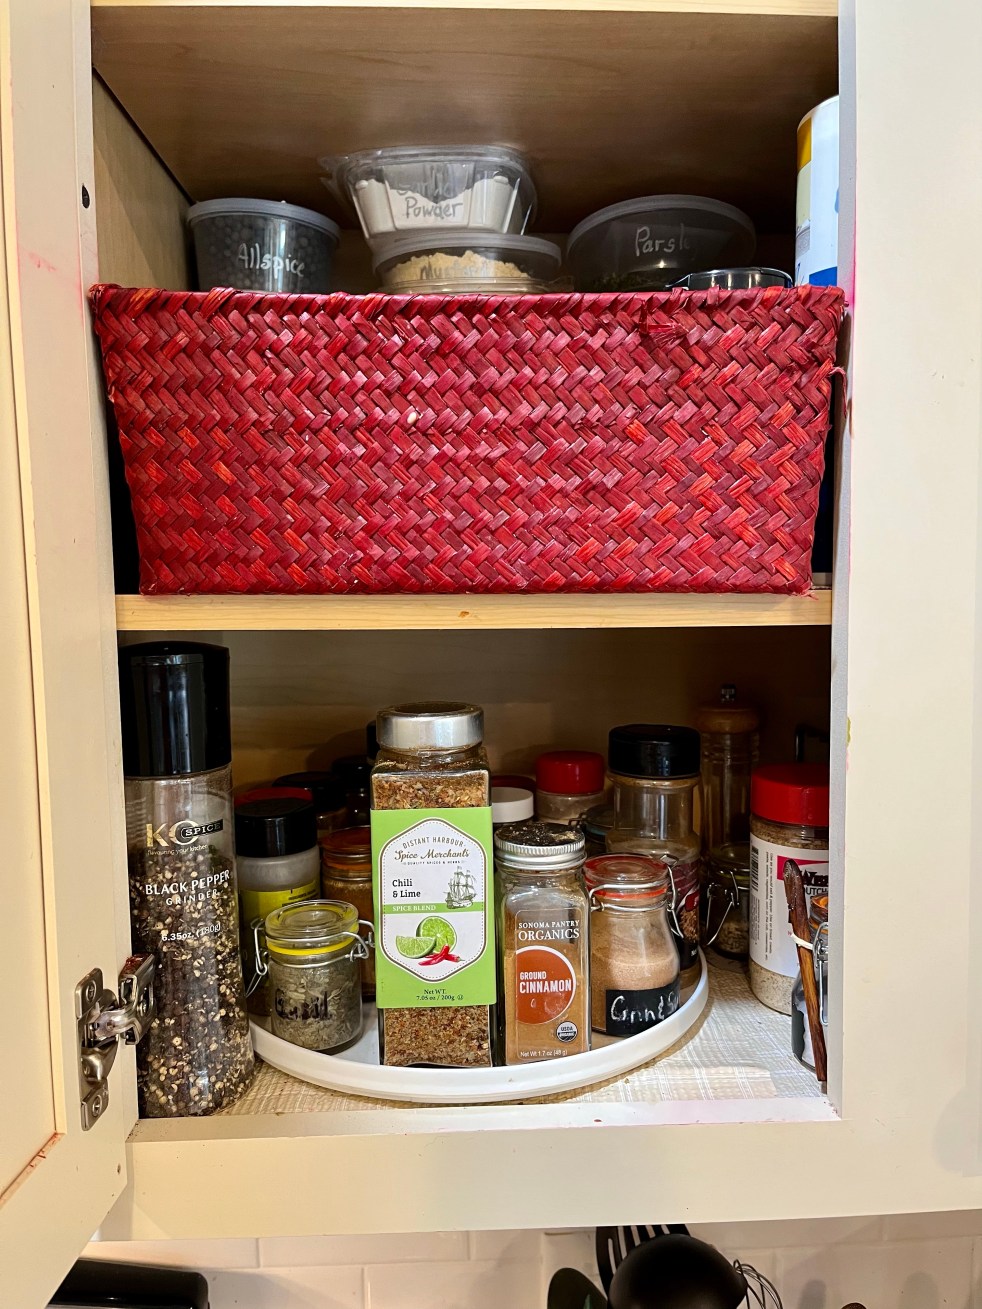
Here’s the other side of the mess cabinet.