
I pinned an ever-so-cute Bunny Napkin Fold on one of my Pinterest boards and decided that I would fold my napkins like that this Easter. Last week I got out my freshly ironed napkins, along with the on-line instructions from Martha Stewart and tried my hand at this delicate fold. Um, sure! I felt like a magician because the bunny kept disappearing! I’d see the formation of the ears, then I couldn’t figure out how to finish it, or it would pop open after I thought I had it secured. But you know what? I kept trying until I got it!
Anything worth doing is worth working at until you master it! What thing in your spiritual life do you need to keep working at, with God’s help? Bible study? Memorization? Witnessing? Don’t quit!
I don’t do well with drawings or written instructions! I’m a visual learner who has to see the real thing in pictures to progress at any speed. Once I learned how to do this fold, I snapped pictures in case anyone else does better with snapshots than drawings. Here you go.

My instruction pictures are using a pink napkin so you can see it better. The stiffer the napkin, the easier it will be and the better it will look. I like the looks of my pink napkin better than the cream colored, though I’ve never seen a pink bunny!
Step 1 –
Fold starched napkin into thirds to form a rectangle. (If you’re using a square napkin, you’ll need to fold in half, and then fold in half again to get a long rectangular shape.)

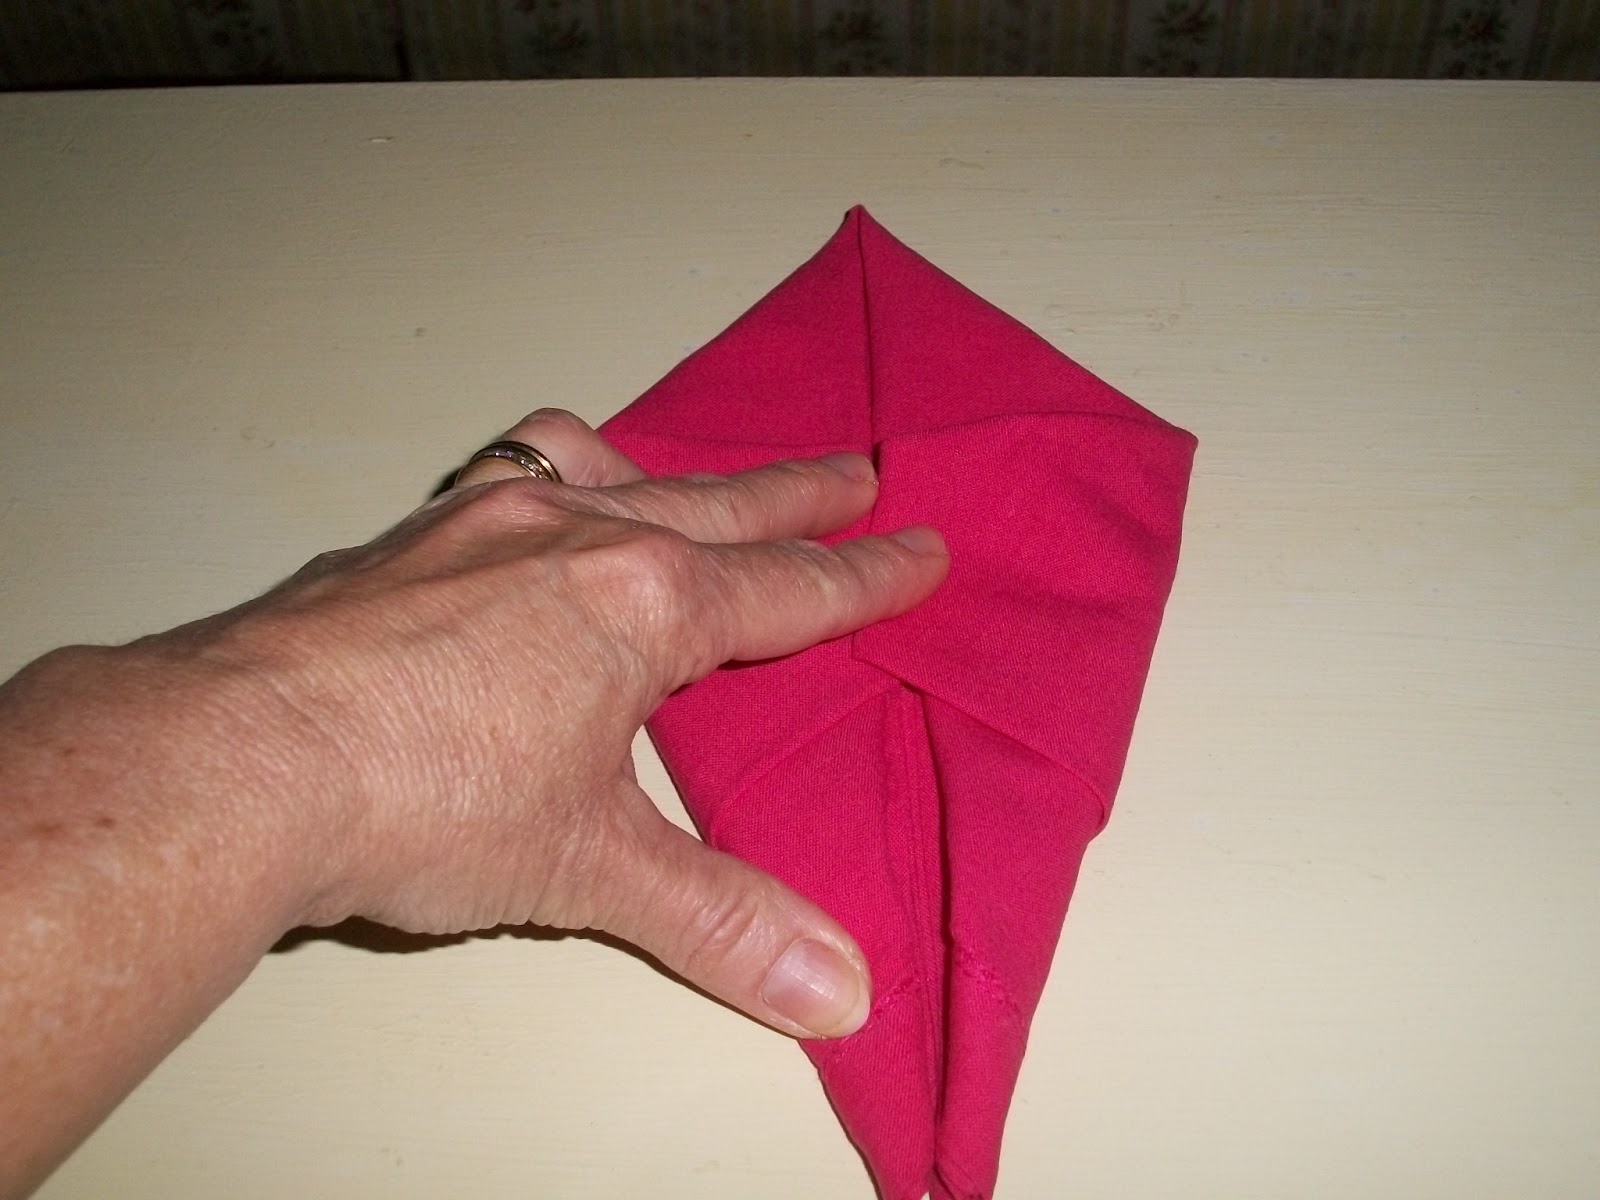
Step 2 –Crease in half to create a center line for reference That was Martha’s instruction. I would just say to – Find the center of the napkin and fold top corners down to this center line.

Step 3 –
Fold up bottom corners. Don’t worry about that little fold on the side.

Step 4 –
Step 5a –
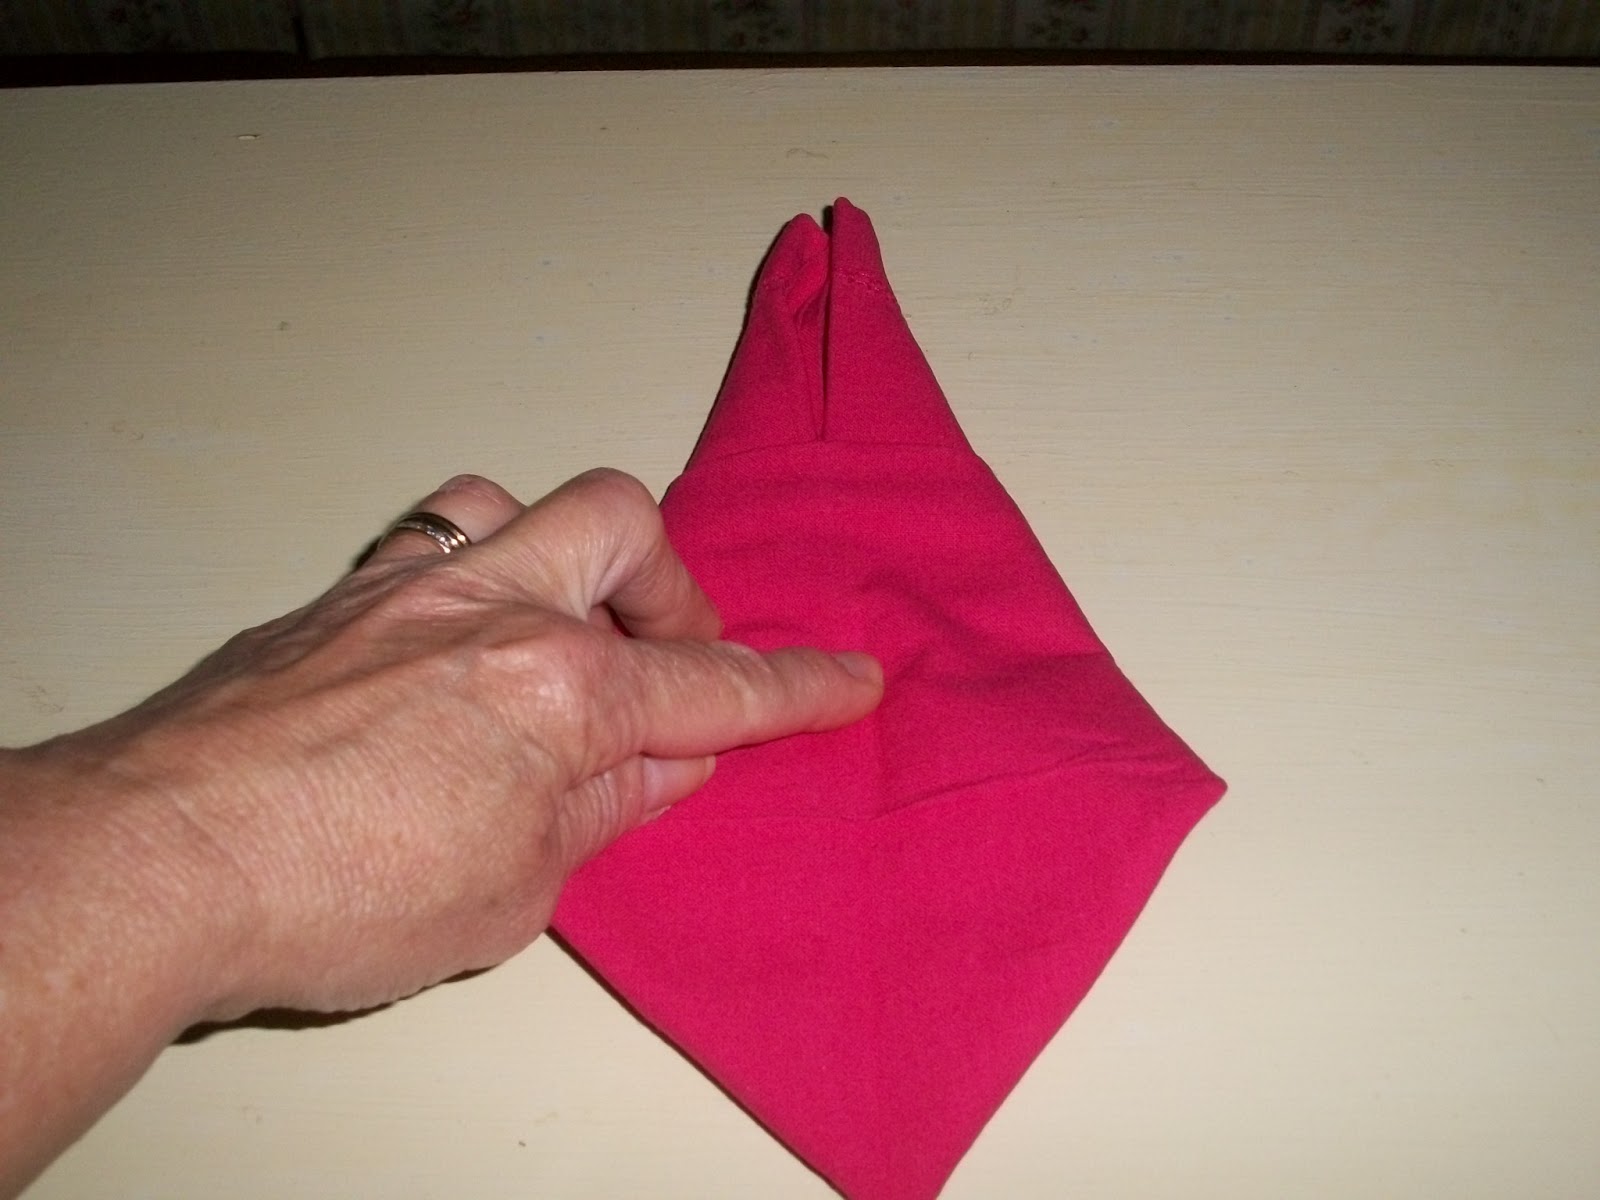
Step 5b –
Step 6 –
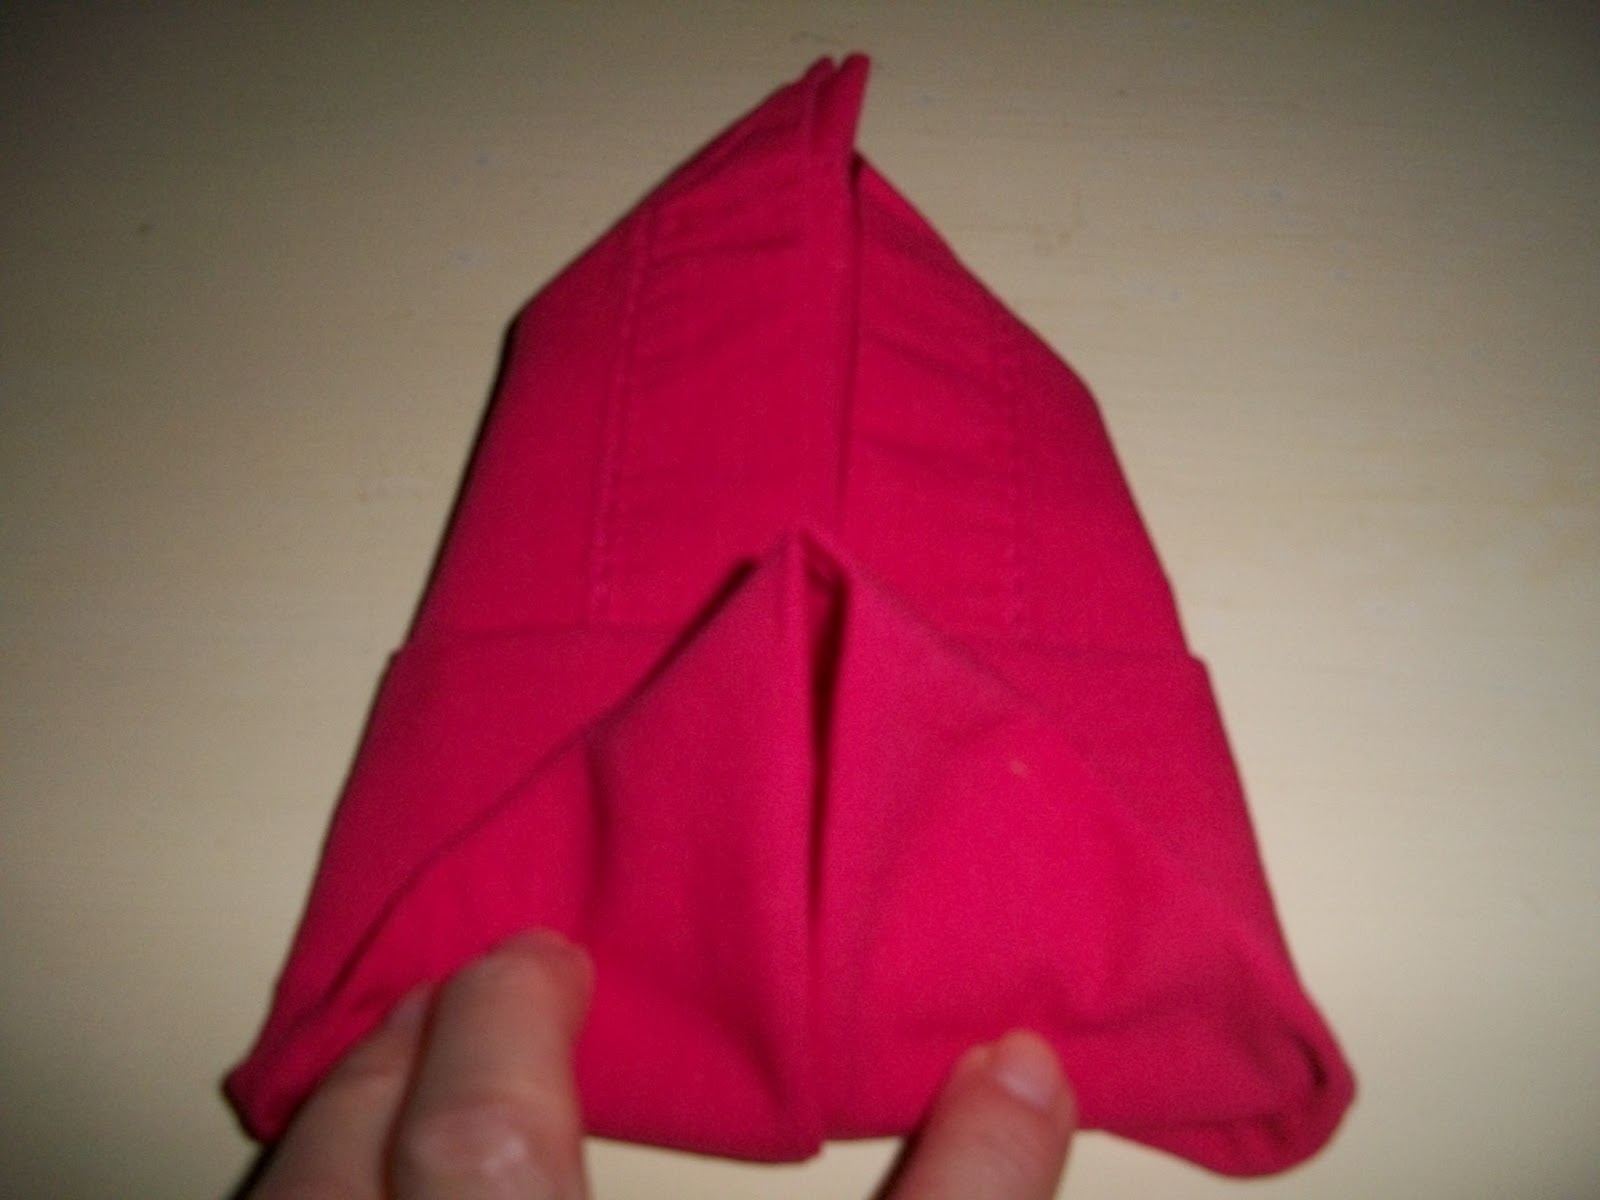
To fasten: Fold left and right corners back (really towards the front of the bunny); tuck one corner into the pocket of the other. Pull out bunny ears first; open up base.
Here’s a picture of the other side of the bunny – the side that is “tucked.” See how it goes into the fold? Depending on the size of your napkin you might only have a little to tuck. Just keep working with it until it stays put. Again, the stiffer the napkin the easier this will be.

While you’re holding the tucked corners, fluff up the ears and make the tail stand up. At first it looks like this…kind of pitiful.

Keep working until it looks like this…
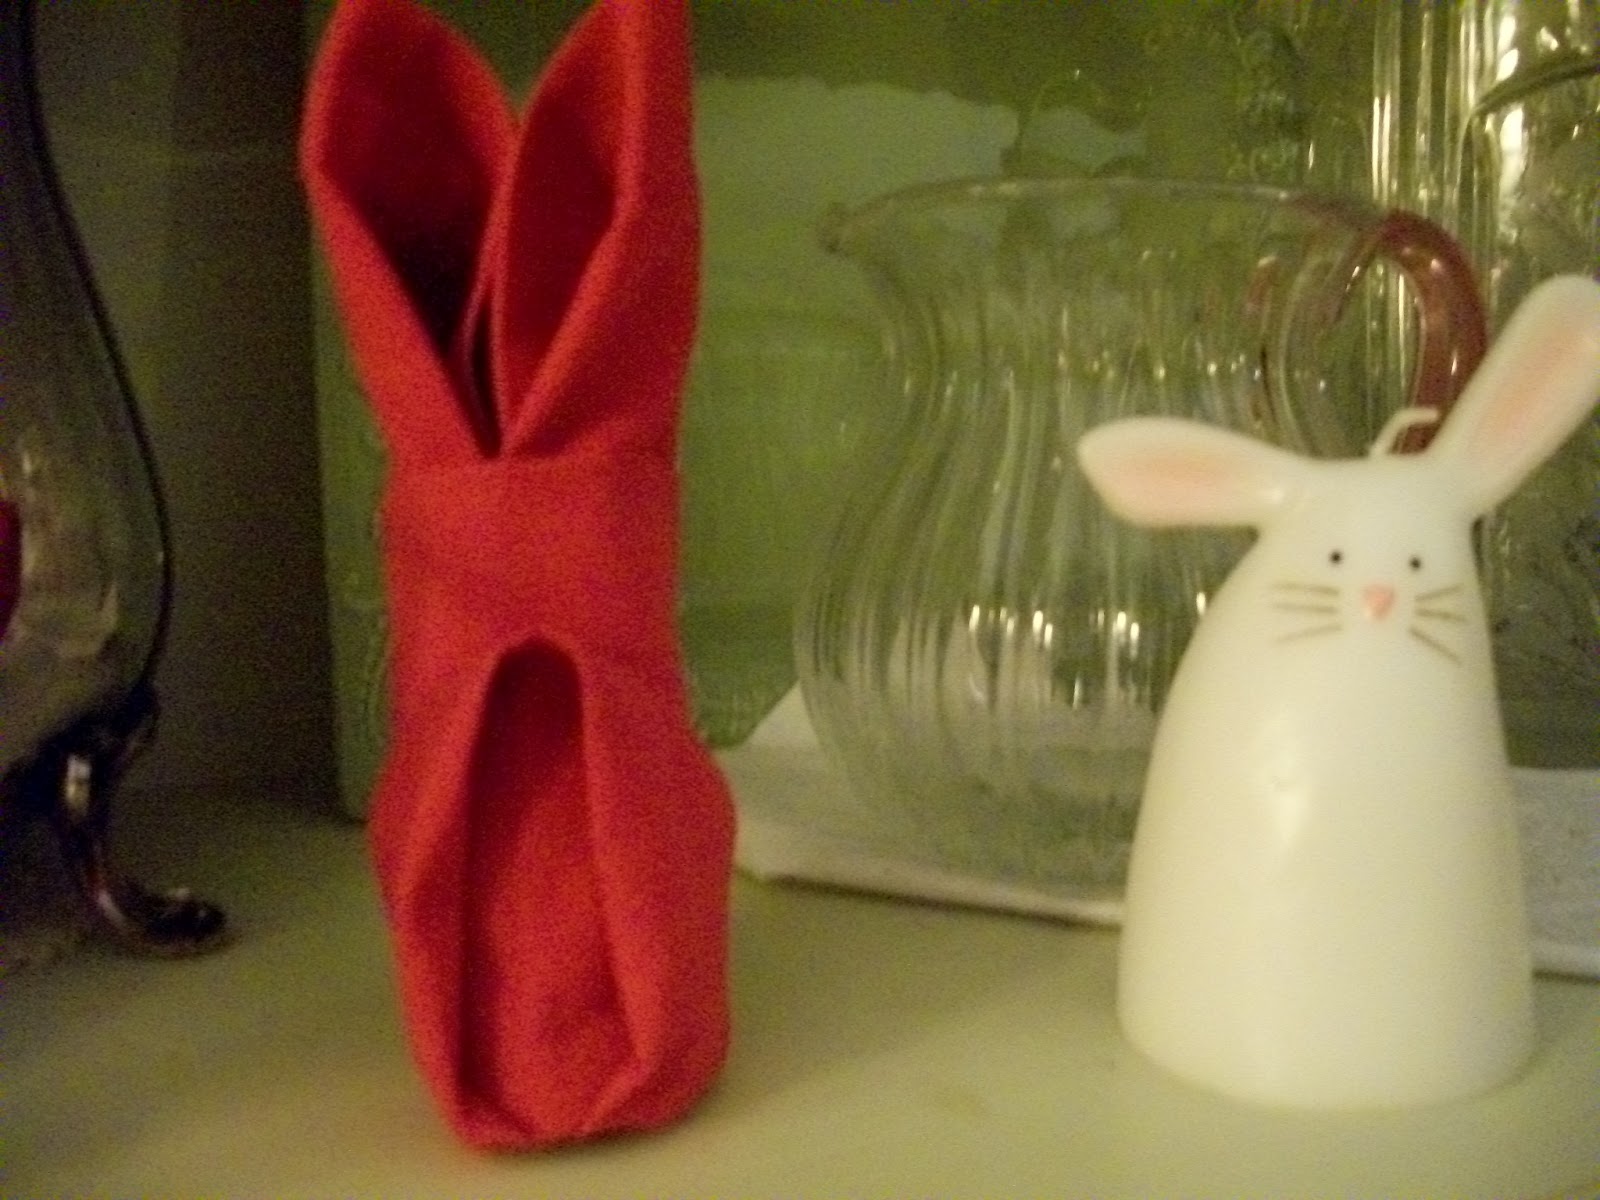
Isn’t it adorable?
Hmmm, will I gasp when my Easter guests unfold this little guy? =) Nah, there’s more where he came from!
From my parsonage windows,


2 thoughts on “A Peek Inside the Parsonage”