canning · Easy recipe

Homemade Dill Pickles – One Jar At A Time

Andy Griffith fans will know that Aunt Bea gave home-canned Dill Pickles a bad name! There is some fear in going to all the trouble and expense of canning your own pickles, only to have them turn out to be “kerosene cucumbers.”

Thank heaven I found a recipe recently that allows you to make a small batch. These are so simple and best yet – they are delicious!

If you have a small garden patch your cucumber yield is not enough to make a huge batch of pickles. Or if you’re blessed, as I am to have gracious friends who share their fresh produce with you, it’s really nice to have a way to make pickles with just a small amount of cucumbers.

When dear friends brought us some super crispy pickling cukes, I just knew they were perfect for some dill spears and slices! I went searching for a recipe that didn’t require canning and made a small batch.

I loved the flavor of the recipe I found. They’re not too spicy or overpowering. I do believe a huge part of the success of these was using a cucumber that is fresh and crisp.

Here’s the simple process…

Ingredients

  • 2-3 pickling cucumbers, prepared as you wish…sliced, spears or whole
  • 4 sprigs of dill
  • 1/2-1 clove of garlic, sliced
  • 1/2 tsp mustard seed
  • Pickle Brine – see below

Instructions

  1. Wash your pickles well and remove the blossom end.
  2. Slice them as desired – slices or spears.
  3. Add mustard seed, garlic and dill sprigs to your jar, then put your prepared cucumbers in.
  4. Add the brine to fill the jar and cover your cucumbers. If I have some parts of the cucumbers that rise above the brine, snip of a piece of the cuke so that all parts of all cucumbers are submerged below the brine.
  5. Put lids on your jars and refrigerate. Because these are not being canned and instead kept in your refrigerator, you don’t need special jars…just make sure the jars and their lids are clean. I boiled my lids and jars for 10 minutes in a large pot.
  6. If you can let the pickles sit for 2-3 weeks they have more time for the flavor to develop. I’ve read that you should consume them before 3-4 months…we won’t have to worry about that!

Pickle Brine

  • 2 quarts cold water
  • 6 ounces apple cider vinegar
  • 3 ounces pickling salt
  1. Mix all ingredients and stir until salt is dissolved.
  2. Store in a container in your refrigerator.

The first two jars I made are just about gone, but now I have a jar of pickle brine sitting in my fridge just waiting for cucumbers and herbs to be mixed in! It’s so easy and Aunt Bea would agree that these are so much faster than canning 16 jars!!

That crunch little slice added great flavor to my Turkey Burger slider!

If you’re afraid of making a big batch of pickles, give these a try! You may just be tempted to enter them into the county fair!

Have you tried making your own pickles? What do you eat with a them? Oh, and in case the picture above made you hungry for onion rings, here are my two favorite recipes – a non-healthy but fabulous one, and a healthy one!

canning · Home decor · Home making

Easy Does It!

Sometimes it’s the simplest changes or additions that bring the greatest blessings! I’m starting a new series, Easy Does it, that I’ll feature every now and then of easy things that have made life better or a little easier in my home.

Let’s get started!

  1. After being gifted a bushel of cucumbers, I decided to try my hand at 14-Day Pickles (wish me luck!). I attempted to gather all my ingredients, except I couldn’t find pickling salt on any store shelves! While I was on the search for the missing salt to make my first round of homemade pickles, my husband came across this Mrs. Wages 1 Step Pickling brine. It only takes 5 minutes to cut up the cucumbers and slide them into a clean jar! You let them set overnight and they’re ready to eat!

The result? They are delicious! The package costs a couple of dollars and makes one quart jar of pickles. They offer several different kinds of pickles and also salsa! If you’re not into canning but enjoy a good pickle, you need to try these! No canning is necessary. They’ll keep in your fridge a week. They do all the work and you get to take the credit! Five minutes work and eight hours to wait is it. That’s lots easier than my 14-day recipe!!

Mrs. Wages Pickling Brine makes making homemade pickles 5-Minutes of easy prep!

I’m laughing at my caption…it sounds like a commercial! But hey, they really are good!

2. It’s amazing to me how long I’ve had some of the items I use daily. Age does that, I hear! I’ve had a basket that I have used on my patio for probably more than 30 years. It’s super sturdy and is great as a tray for outside entertaining I usually set it in the middle of the patio table and keep a centerpiece on it, but I also use it to serve beverages and desserts. Recently I looked at it and realized that it had seen better days. I couldn’t get rid of it because the bones of the basket are still in great shape! So, I went to the utility shed and found a can of black spray paint…just the thing to give it new life! A few coats of paint and a couple hours later and it looked brand new!

That was easy!

Sooo much better!

3. Our outside back door rug also got my recent attention one day this week. Its cute little bicycle print had worn off of the surface, leaving just the bristles and dirt. Not long after, I was in Hobby Lobby and found their Spring decor marked down 75% off! They had all kinds of outdoor rugs to choose from! The one I found was only $5! It’s bright colors are perfect for the back porch and the design is still in season! It brightened up the doorway so much! That’s was a simple back porch improvement!

Liza approves, too!!

4. One morning this week when getting coffee cream out of the fridge, I noticed an area on a shelf that needed to be wiped off. An hour later the entire fridge had been completely emptied, shelves taken out, washed and returned to their places. Been there?
When I returned the vegetables and fruits to their drawers, I thought how much better it would be to put something instead of paper towel there to catch the drips from berries and veggies. I had already placed two vinyl place mats on the bottom shelves and decided that would do the trick in the drawers, too! During my next trip to The Dollar Tree, I purchased two more vinyl place mats, cut them to the size of the drawer and placed them at the bottom where the drips will be easily wiped off simply by removing the place mat. The perk is that they’re colorful and pretty! That will be easier to keep clean!

These were four little ideas/changes that were so easy and made me smile this week! Is there one that inspired you?

Refresh yourself by being part of a solid Bible preaching church this weekned!

canning · freezer · How-to Video

(L)Oven Monday – Pictorial Guide to Strawberry Freezer Jam

Strawberry season is almost here! Yesterday I had a Zoom Strawberry Freezer Jam lesson with ladies from my church. We had such a fun time together and it was almost like having them in the kitchen with me!
I thought I’d do two things today –
1. Share the detailed post I did a couple years ago with pictures for each step of jam making.
2. Share the link to the video that was recorded yesterday during our Zoom class. You’ll find that video here – https://youtu.be/2aTi7G3-IkY

If you have any qualms about how to make Jam, you’ll have help each step of the way with this post/video. So, happy jam making!!

RefreshHer

Jam3a

One of our favorite summer treats is Strawberry Freezer Jam. I’ve made it for years and we smear it on toast, PB&J sandwiches, biscuits, and muffins (especially these). I also love taking a jaras a hostess gift. I make up several “runs” of the recipe each May, and we try to ration it out to make it last until the next fresh/local strawberry season. It could be called a domestic crisis if we run out!

The freezer jam is quicker to make than the cooked jam, and it’s a really simple process. Another great thing is that once you get a stash of jars stocked up your only cost is the ingredients for the jam. This recent batch cost me $20 and I made 18 jars! That’sa great value!

But spite the fantastic taste and the value, sometimes people are afraid to try making it for fear that it…

View original post 260 more words

canning · Home making

Canning Peaches at Home

For years I was really afraid to try canning at home.  I think I was scared by stories of pressure canners and the horrific results.  I have chosen to go the route of a water bath in a “big ol’ canner,” as we say in East Tennessee.  It’s simple, it’s easy and it’s so gratifying.  Today I’m sharing the simple method I’ve been doing for the last three years with great success.  As you can see in my pictures, there are lots of pots of water, so if you can boil water, you can can fruits and vegetables!  

Things You’ll Need:

  • Water Bath Canner (or pressure canner)
  • Quart Sized Jars, Lids, and Rings
  • Jar Utensil Set: containing a jar funnel, bubble remover and headspace tool, magnetic lid lifter, and jar lifter.
  • Peaches (about 15lbs for 6 quart sized jars)
  • Sugar 
  • Lemon Juice or Fruit Fresh
  • Large and Small Pots
Before getting started, make sure you pre-wash all the jars and rings.  The dishwasher works great for this.  Now you can prepare the water bath canner.  
 canning peaches 3.jpg
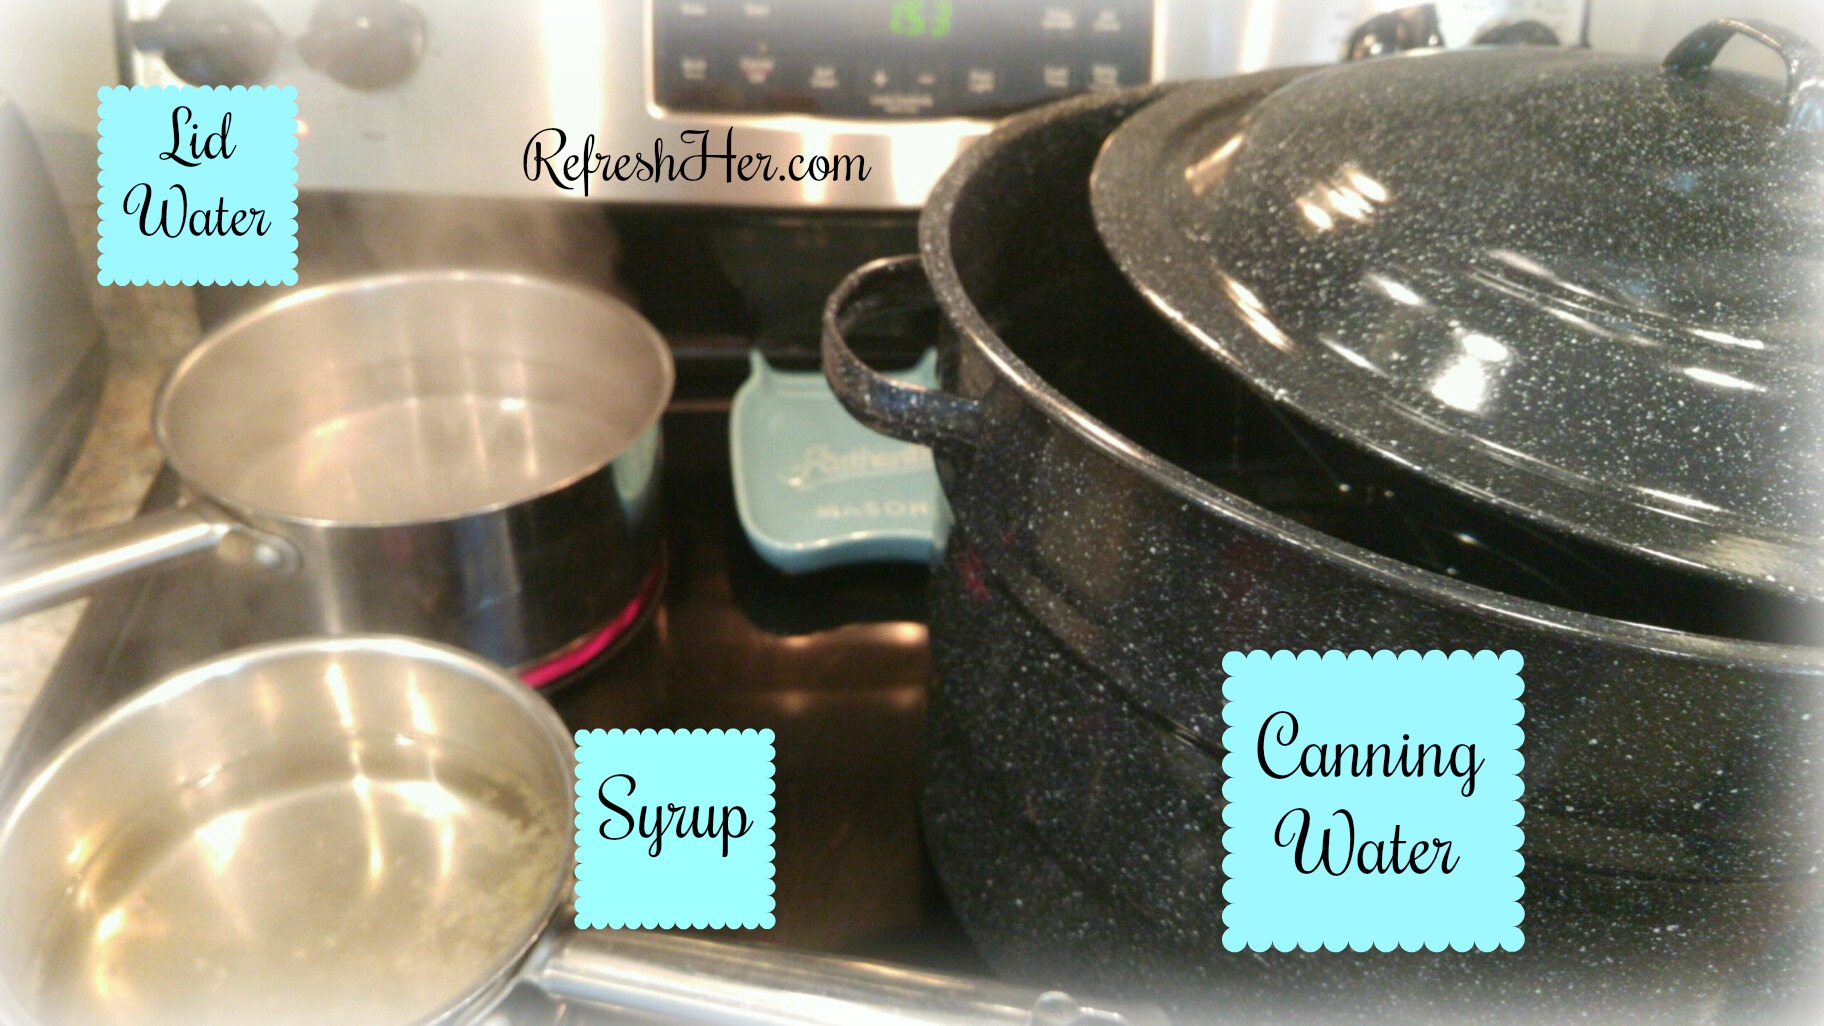
Fill the water bath 2/3 full with water and place on stove top over high heat to bring to a boil.
Rings can be re-used each time you do canning, but the lids should be replaced.  There is a chance they won’t seal with repeated use.
The easiest way to clean the lids is to put them in a small pot of almost boiling water for about 5 minutes.
First rinse the peaches with cold water.
canning peaches 4.jpg
Since we don’t want to peel all the peaches by hand, we are going to blanch them. Bring a large pot of water to a boil and drop the peaches in and let sit for 30-40 seconds. I set the timer on the microwave so I don’t lose track of the seconds.
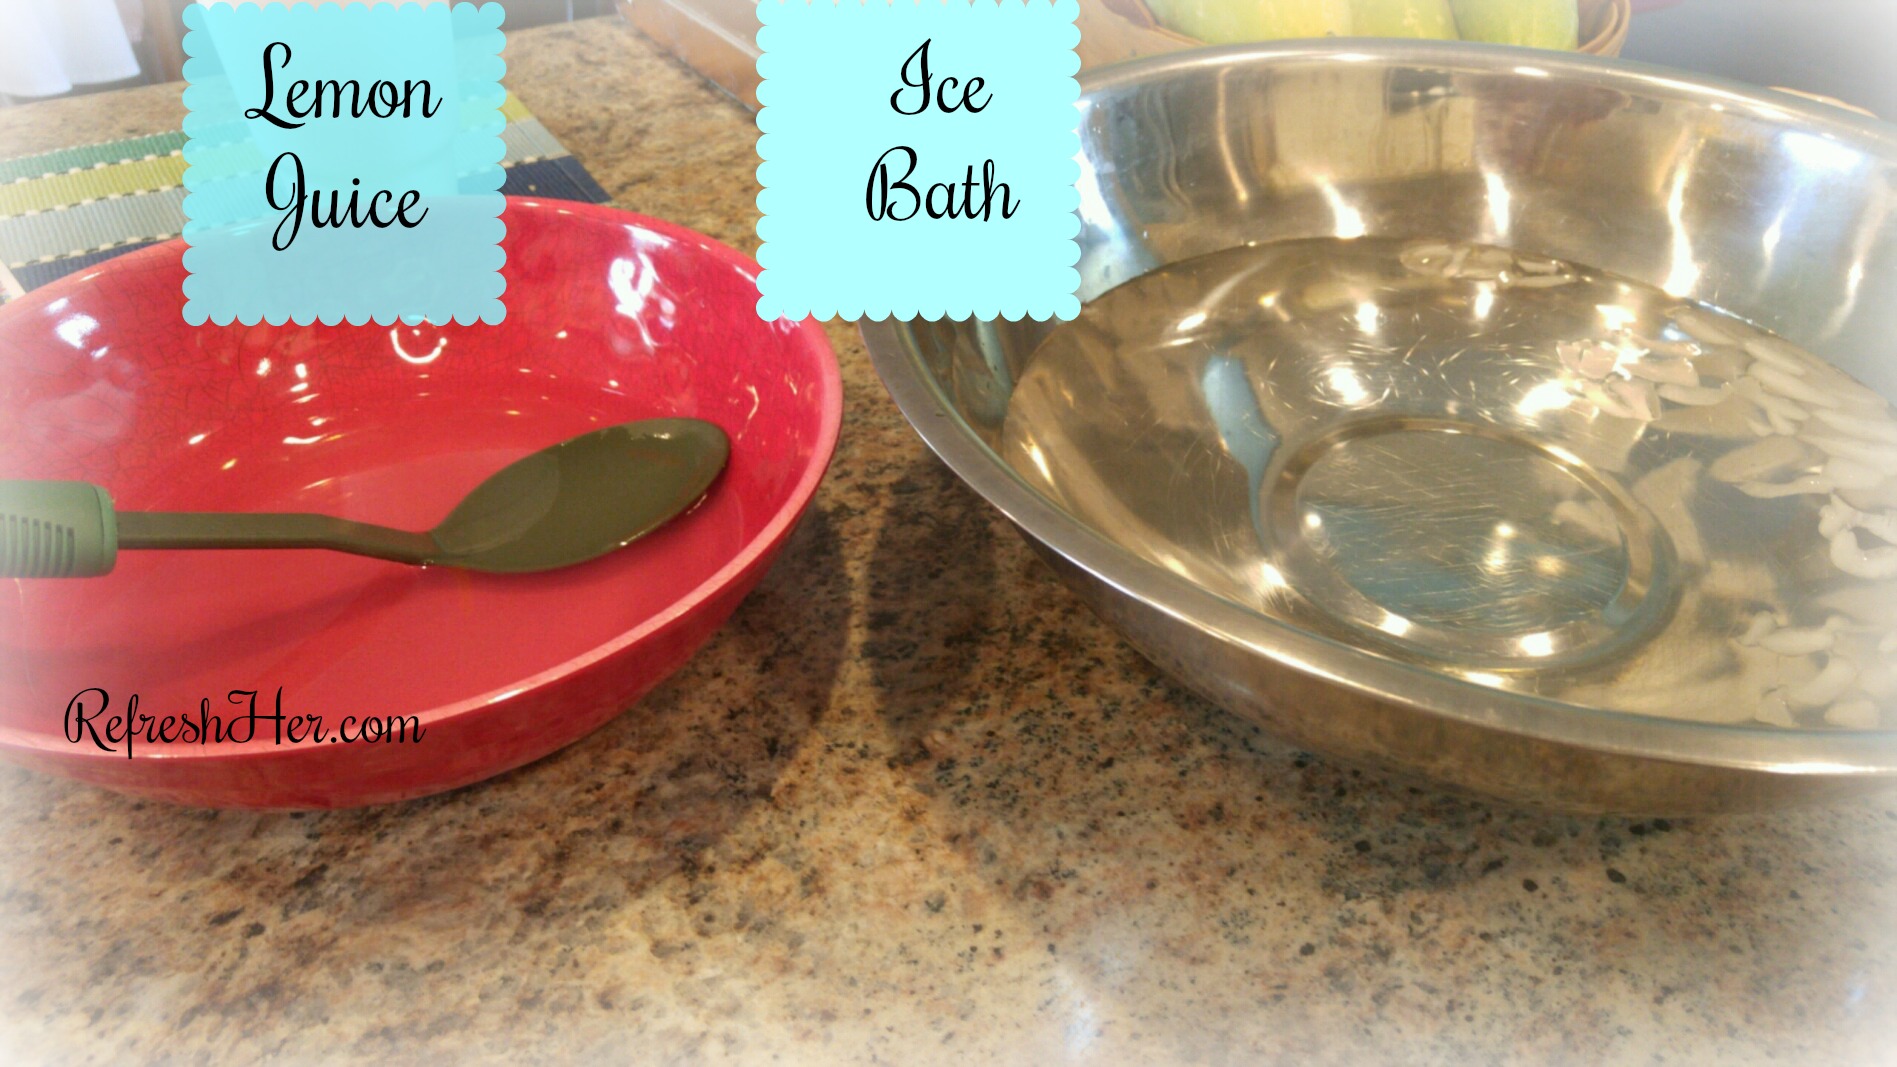
Use a slotted spoon to remove the peaches from the pot and place in a large bowl or sink filled with ice cold water.
Take peaches out one at a time, slice them in half, give it a quick turn and they will split open. The peels should slide off easily and you can remove the pits.
Slice the peaches and soak them in lemon water. I use about 1/4 cup lemon juice in about 3 cups of water. This will help keep the peaches from browning. You can also use Fruit Fresh instead of soaking the peaches. Just sprinkle it over the top of the sliced peaches.
 canning peaches 2
Remove the peaches from lemon water and place in a large bowl. Now is a good time to start the syrup. You can make a light, medium or heavy syrup. For the light syrup use 6 cups of water and 2 cups sugar, for medium syrup: 6 cups water and 3 cups sugar, and for heavy syrup: 6 cups water and 4 cups sugar. I use the light syrup. Heat the water in a medium pan and slowly mix in the sugar. Bring to a light boil, turn down the heat, and keep warm.
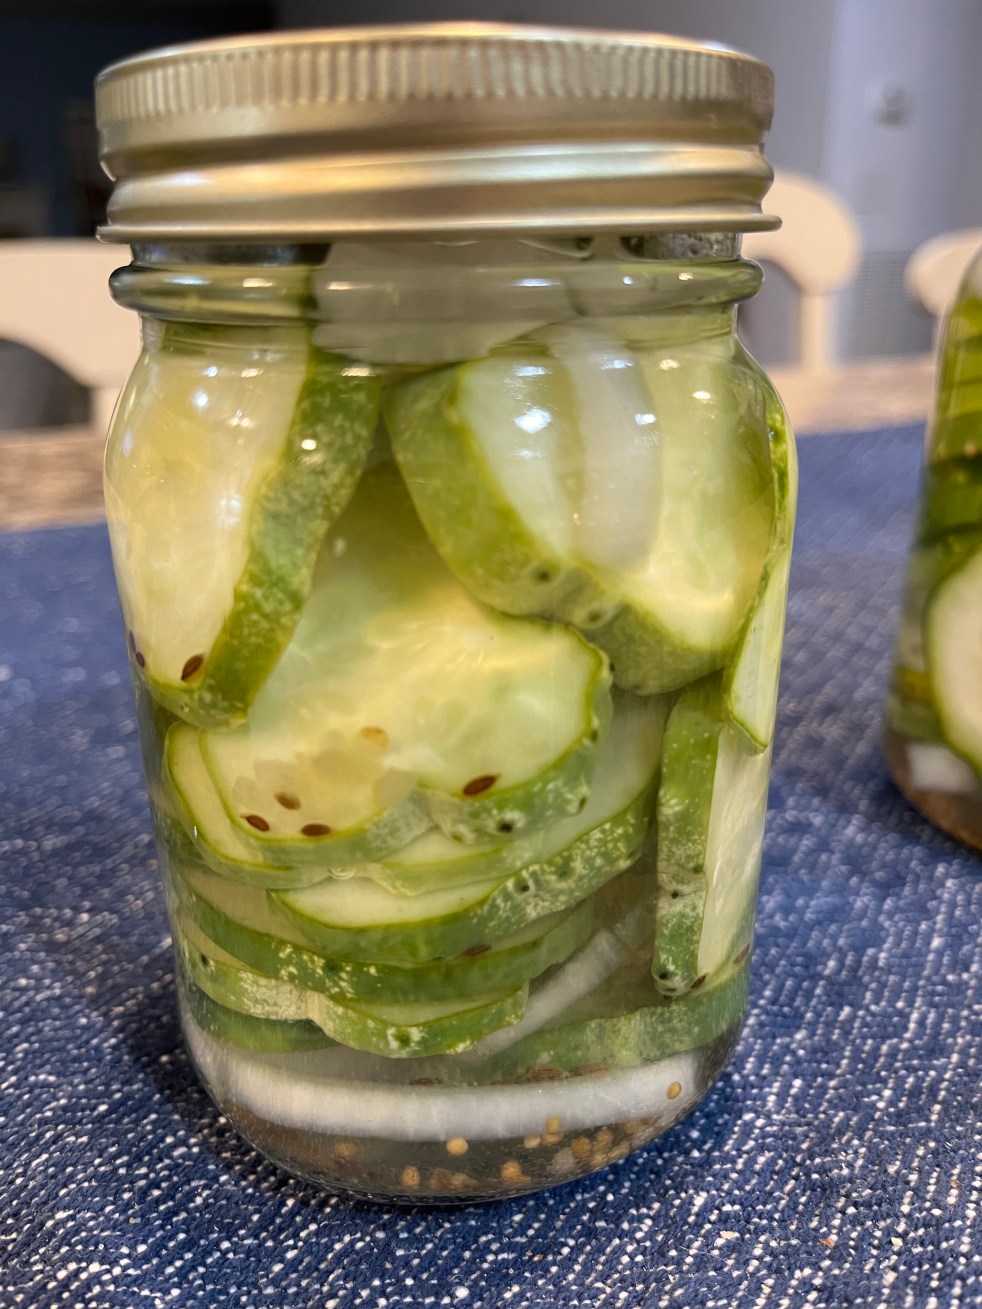
I do what’s called the “raw pack” method where I don’t pre-cook the peaches and I just add them to the jars.
Once peaches are added, pour in the syrup. The one batch of syrup should fill 6 jars if you filled them with plenty of peaches. You should have 1/2 to 1 inch of head space at the top.
canning peaches 1
Use a knife or canning tool to press against peaches to remove air bubbles. Tilt the jars slightly and press peaches towards the middle. You will need to do this for the “raw pack” method.
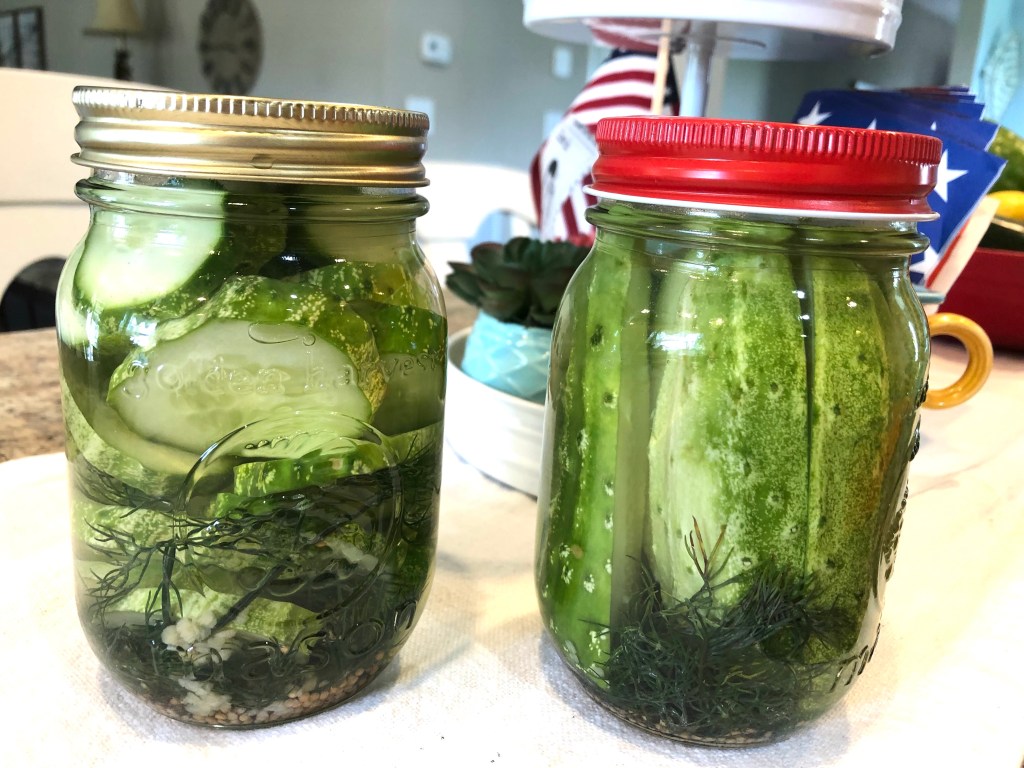
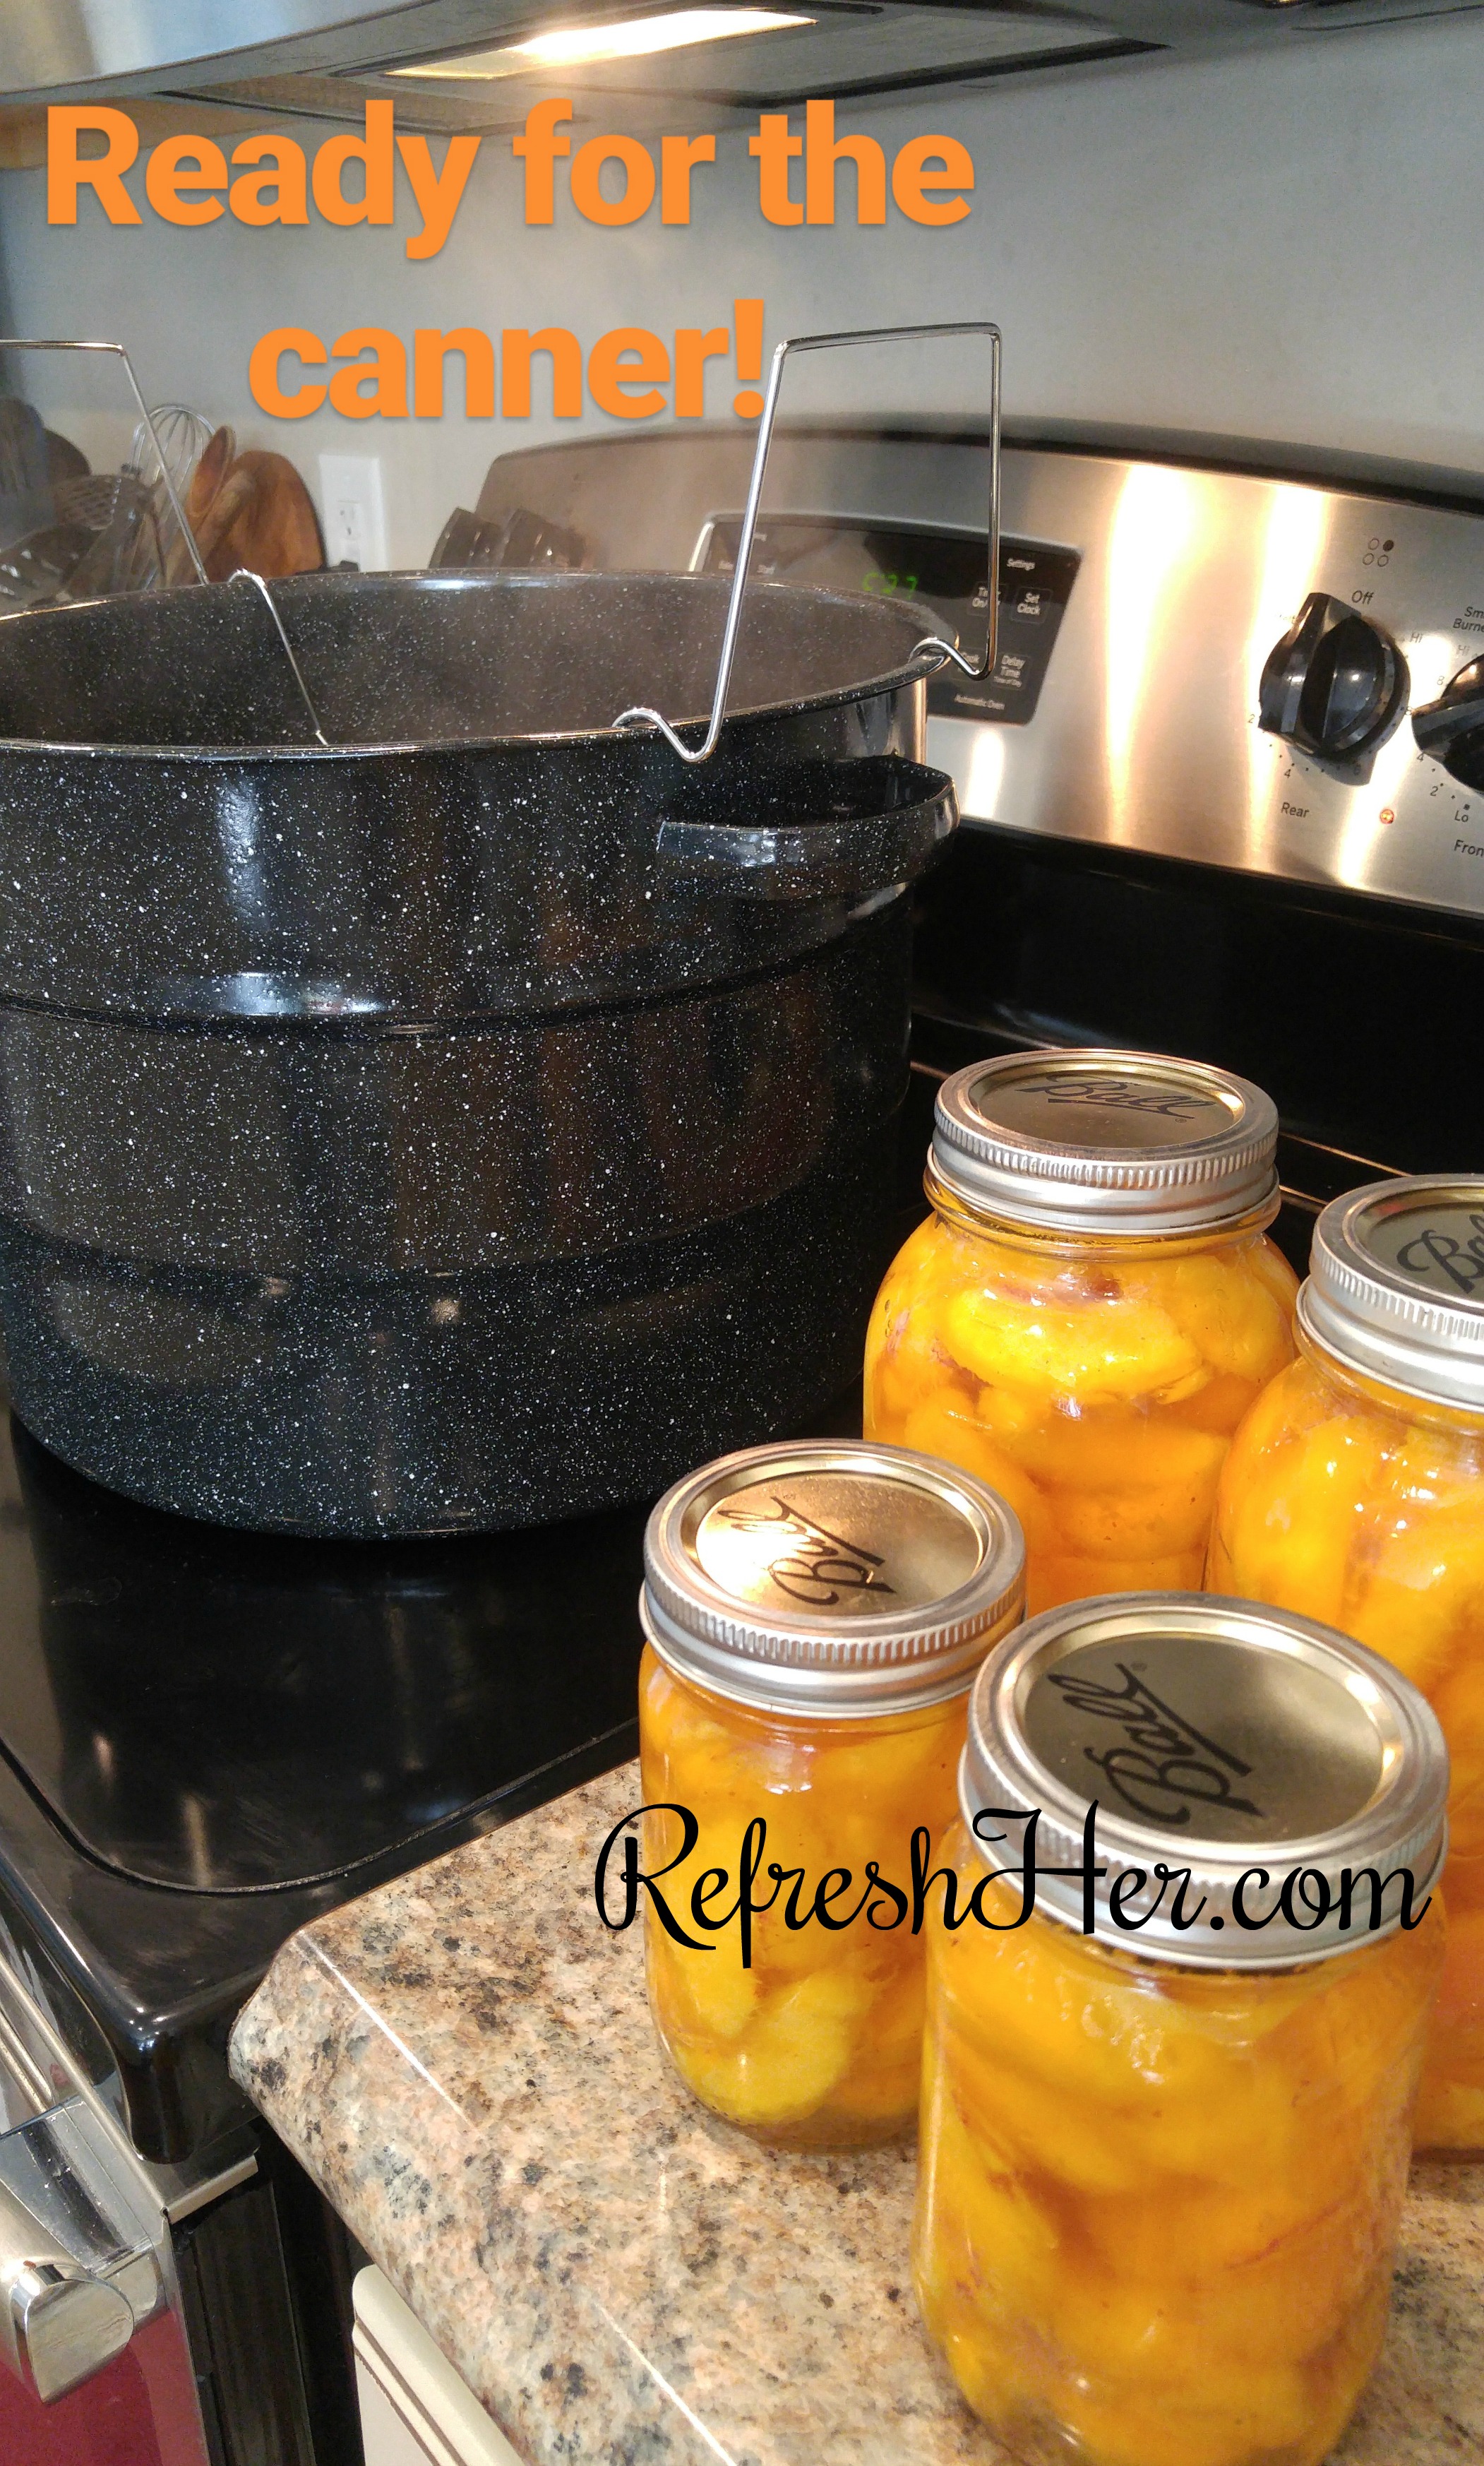
Wipe the rims of the jars with a clean wet cloth and place the lids and rings on. Tighten, but don’t over tighten.
Place jars in the canner.
Make sure you have enough water to cover the jars. Check the chart at the bottom of the page for processing time. Processing times are different based on method used (raw or hot), jar size, and altitude. Cover canner with lid while processing.
Use the jar lifter to remove jars from the canner.
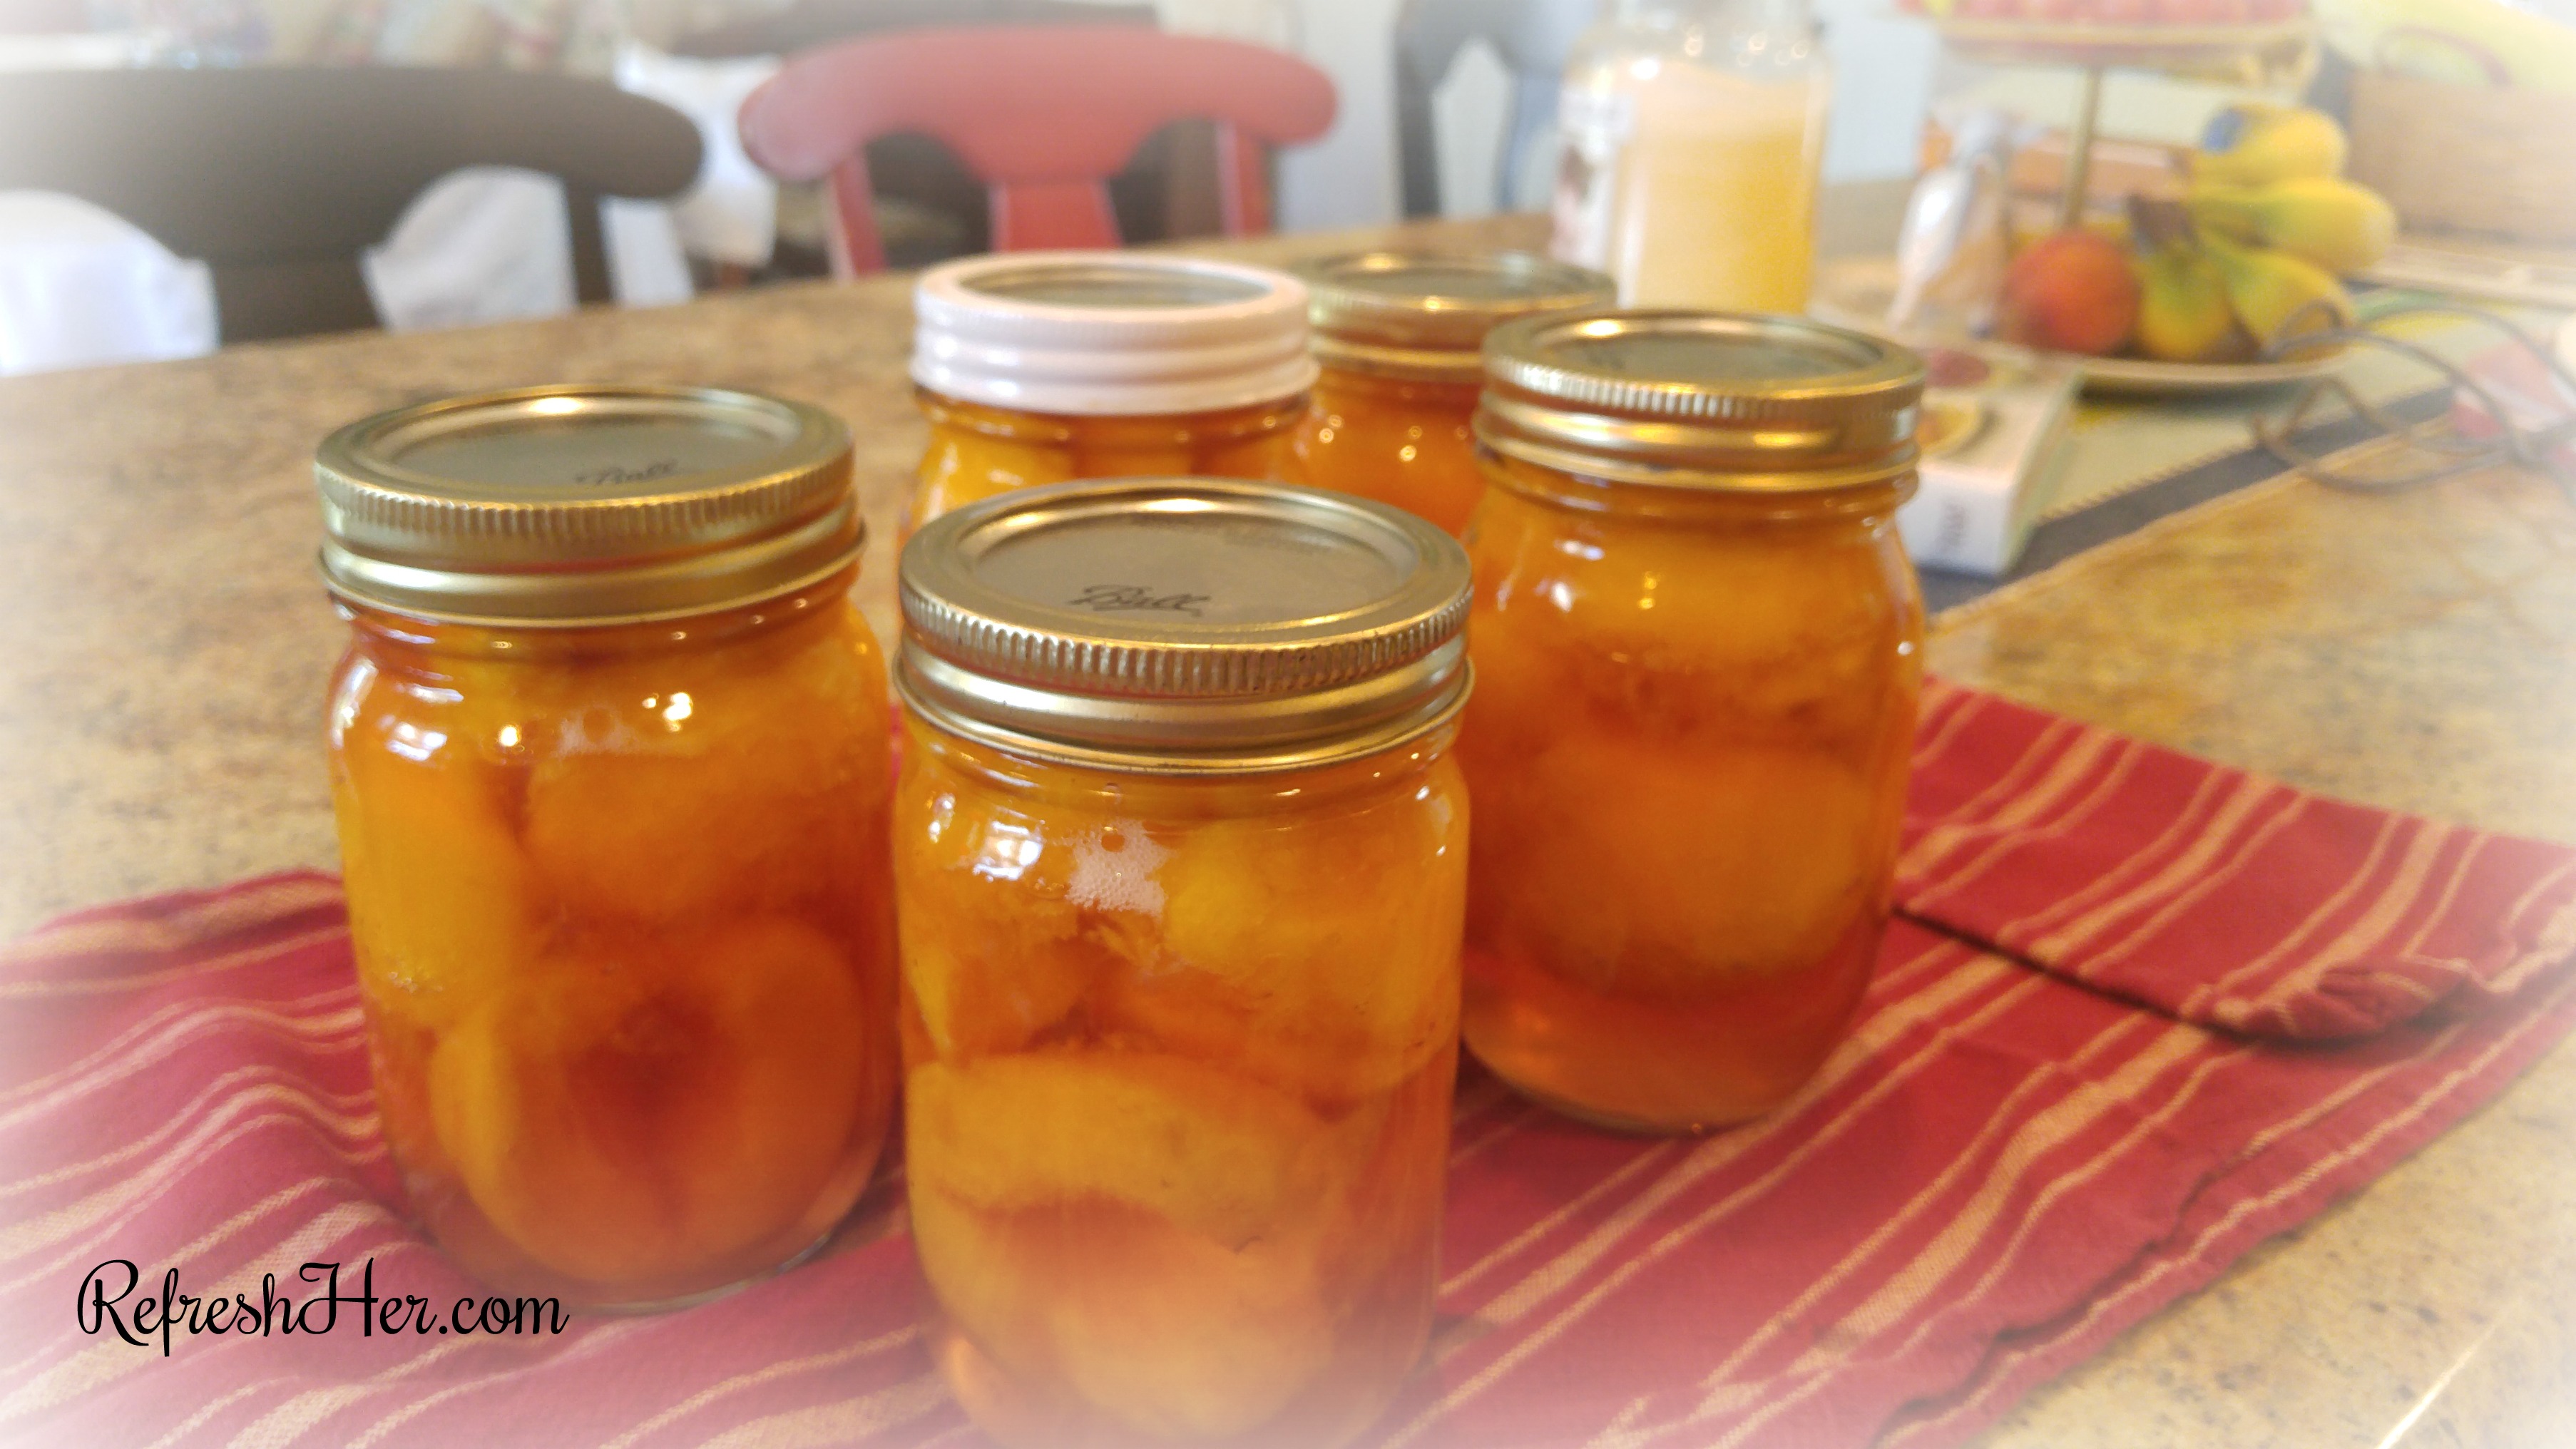
Cool jars completely. You will hear the lids start to “pop” which means they sealed properly. Some will pop while still in the canner. Any jars that have not popped on their own after completely cooled should be refrigerated and used first. Enjoy your peaches!
canning peaches 5

Recommended process
Boiling-water bath
Pints – 30 minutes
Quarts – 35 minutes

We will save these peaches for when fresh peaches are no longer in season.  I stretch them out to last all year long!  What a great treat to eat these in the wintertime!

What’s stopping you from trying your hand at canning?  You could start with just a small amount of fruit and get the understanding of the process before launching into a day-long adventure of canning.  

I’m thinking of trying some salsa next!  I have a good number of tomatoes to use and since we like Mexican food so much, I’m pretty sure salsa would be a hit!  

If you could, what would you like to can for wintertime?

With love from my country kitchen,

Denise Signature 150 px