There’s nothing worse than having a craving for something sweet when you’re wanting to watch your sugar intake or lose a couple of pounds! Am I right? However, I love finding recipes that fit into my WW way of life that allow me the pleasure of something sweet without killing the whole day’s points on one treat!
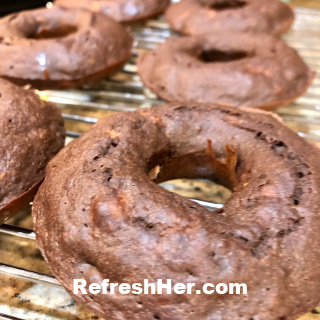
I recently found these Double Choclate Banana donuts on Drizzlemeskinny.com while scouring Pinterest for a baked version of this sweet treat. The addition of the banana gives enough sweetness that they don’t need much sugar. We loved this recipe and found them to be the perfect dessert, or even an addition to breakfast! These aren’t Dunkin Donuts variety, mind you, but they will certainly do just fine when you want to be a little better at watching your calorie intake!
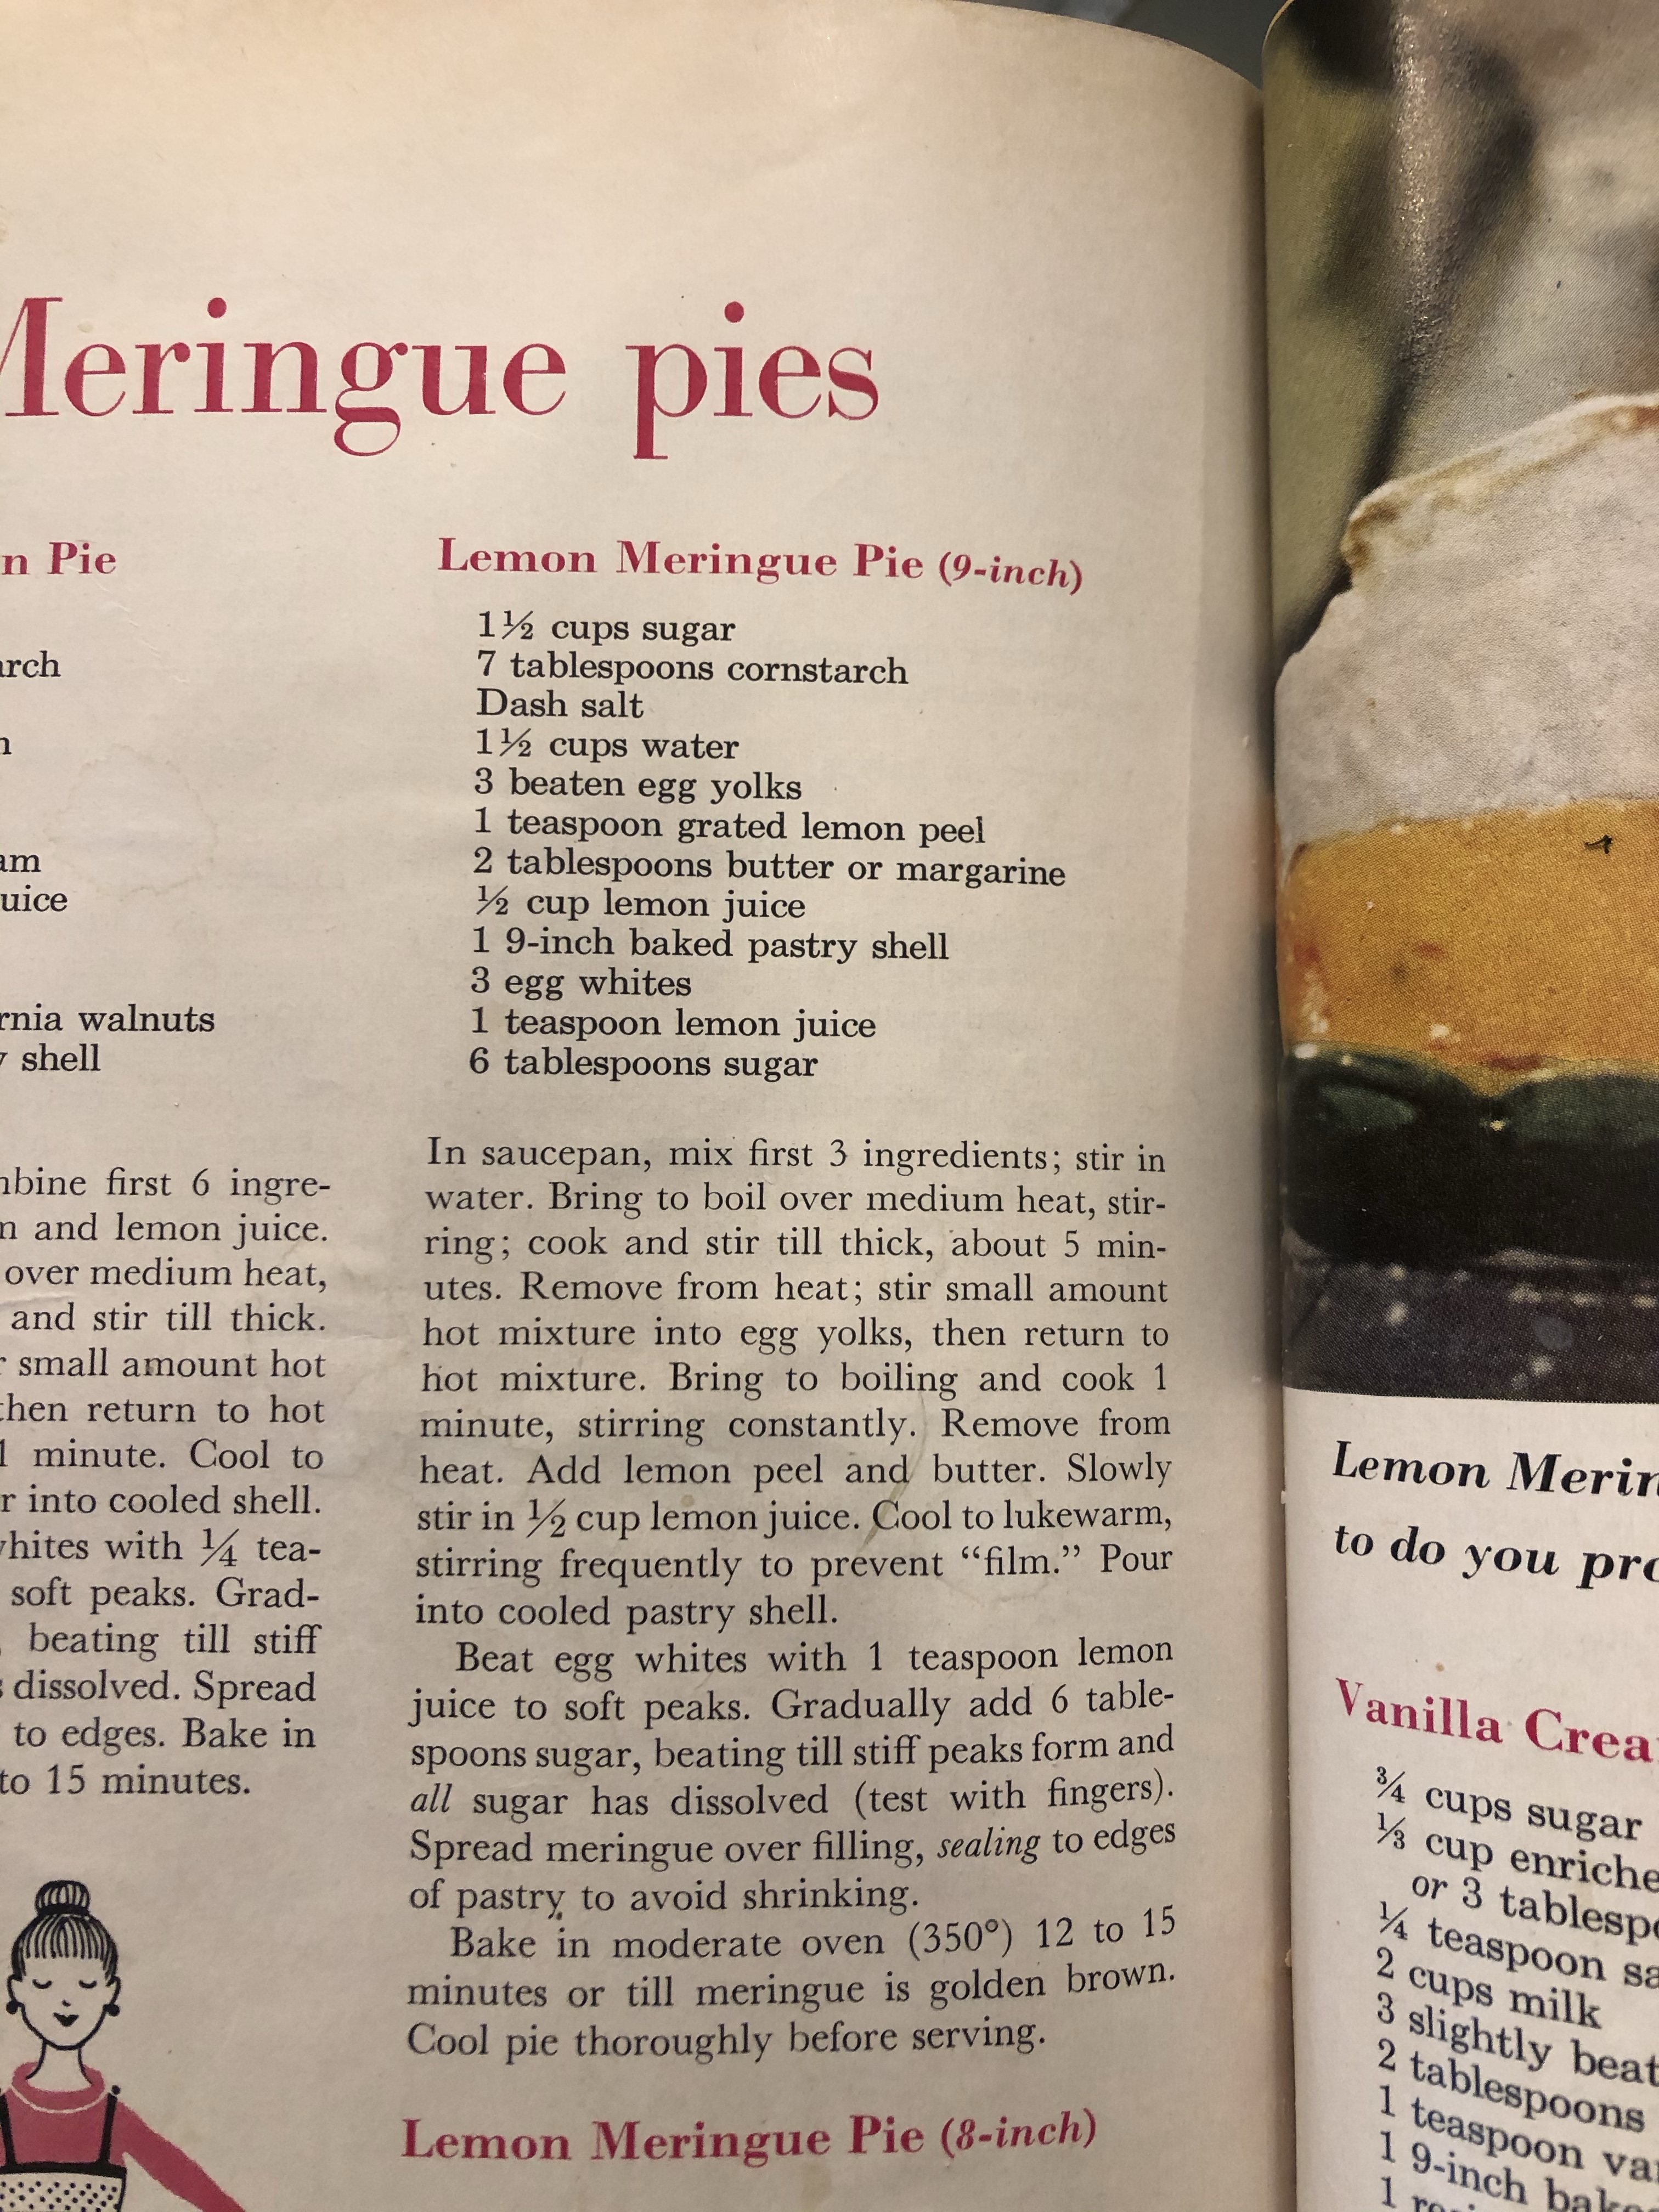
Double Chocolate Banana Donuts
- 1 egg
- 1 Tbl sugar
- 1 medium mashed banana
- 1/4 cup milk – I used 2%
- 1 tsp vanilla
- 1/3 cup flour
- 1/4 cup unsweetened cocoa powder
- 1 tsp baking powder
- 2 1/2 Tbl. dark chocolate chips
INSTRUCTIONS
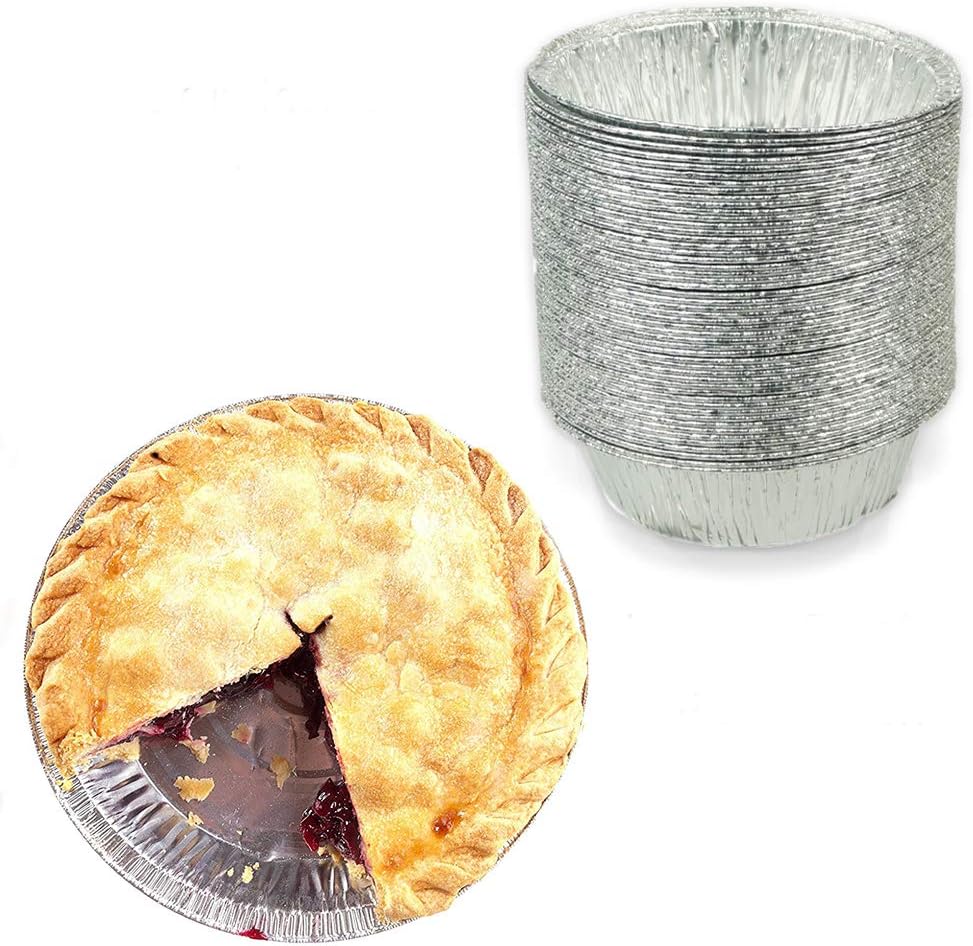
- Preheat oven to 350F and spray a 6 hole donut pan with some cooking spray.
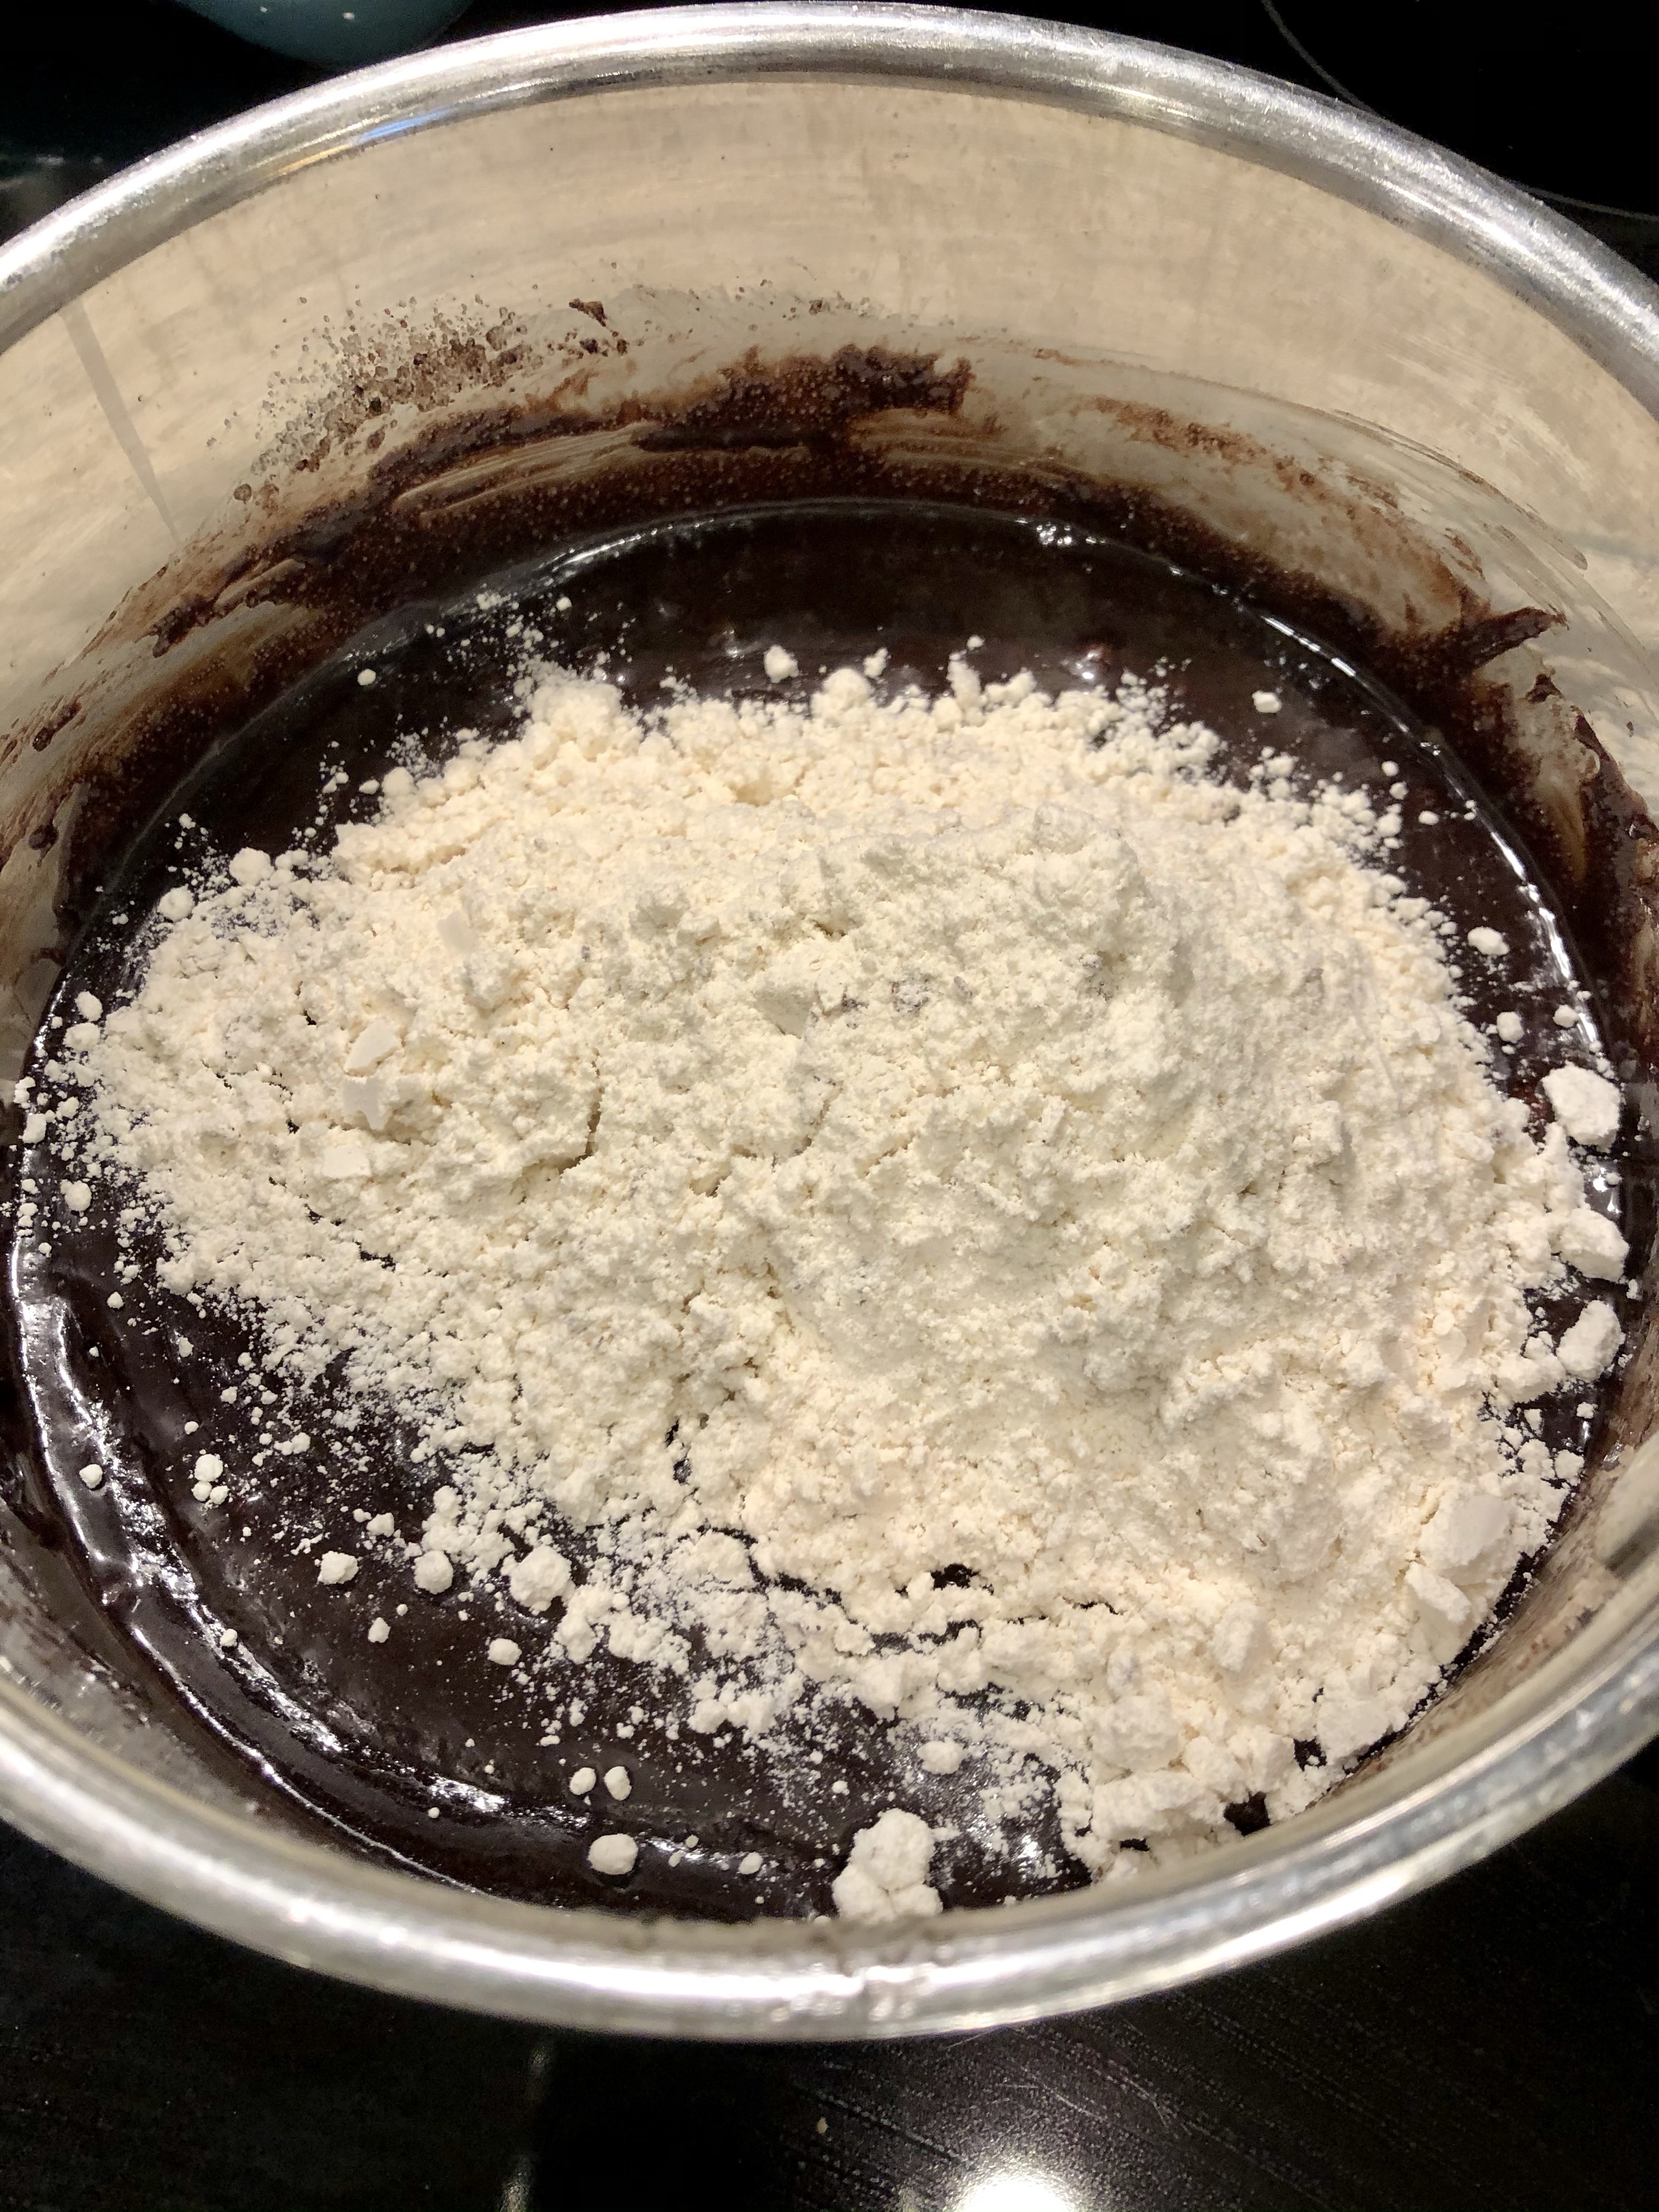
- In a bowl whisk the egg and stir in the sugar, mashed banana, milk and vanilla.
- Stir in flour, baking powder and cocoa powder then fold in chocolate chips.
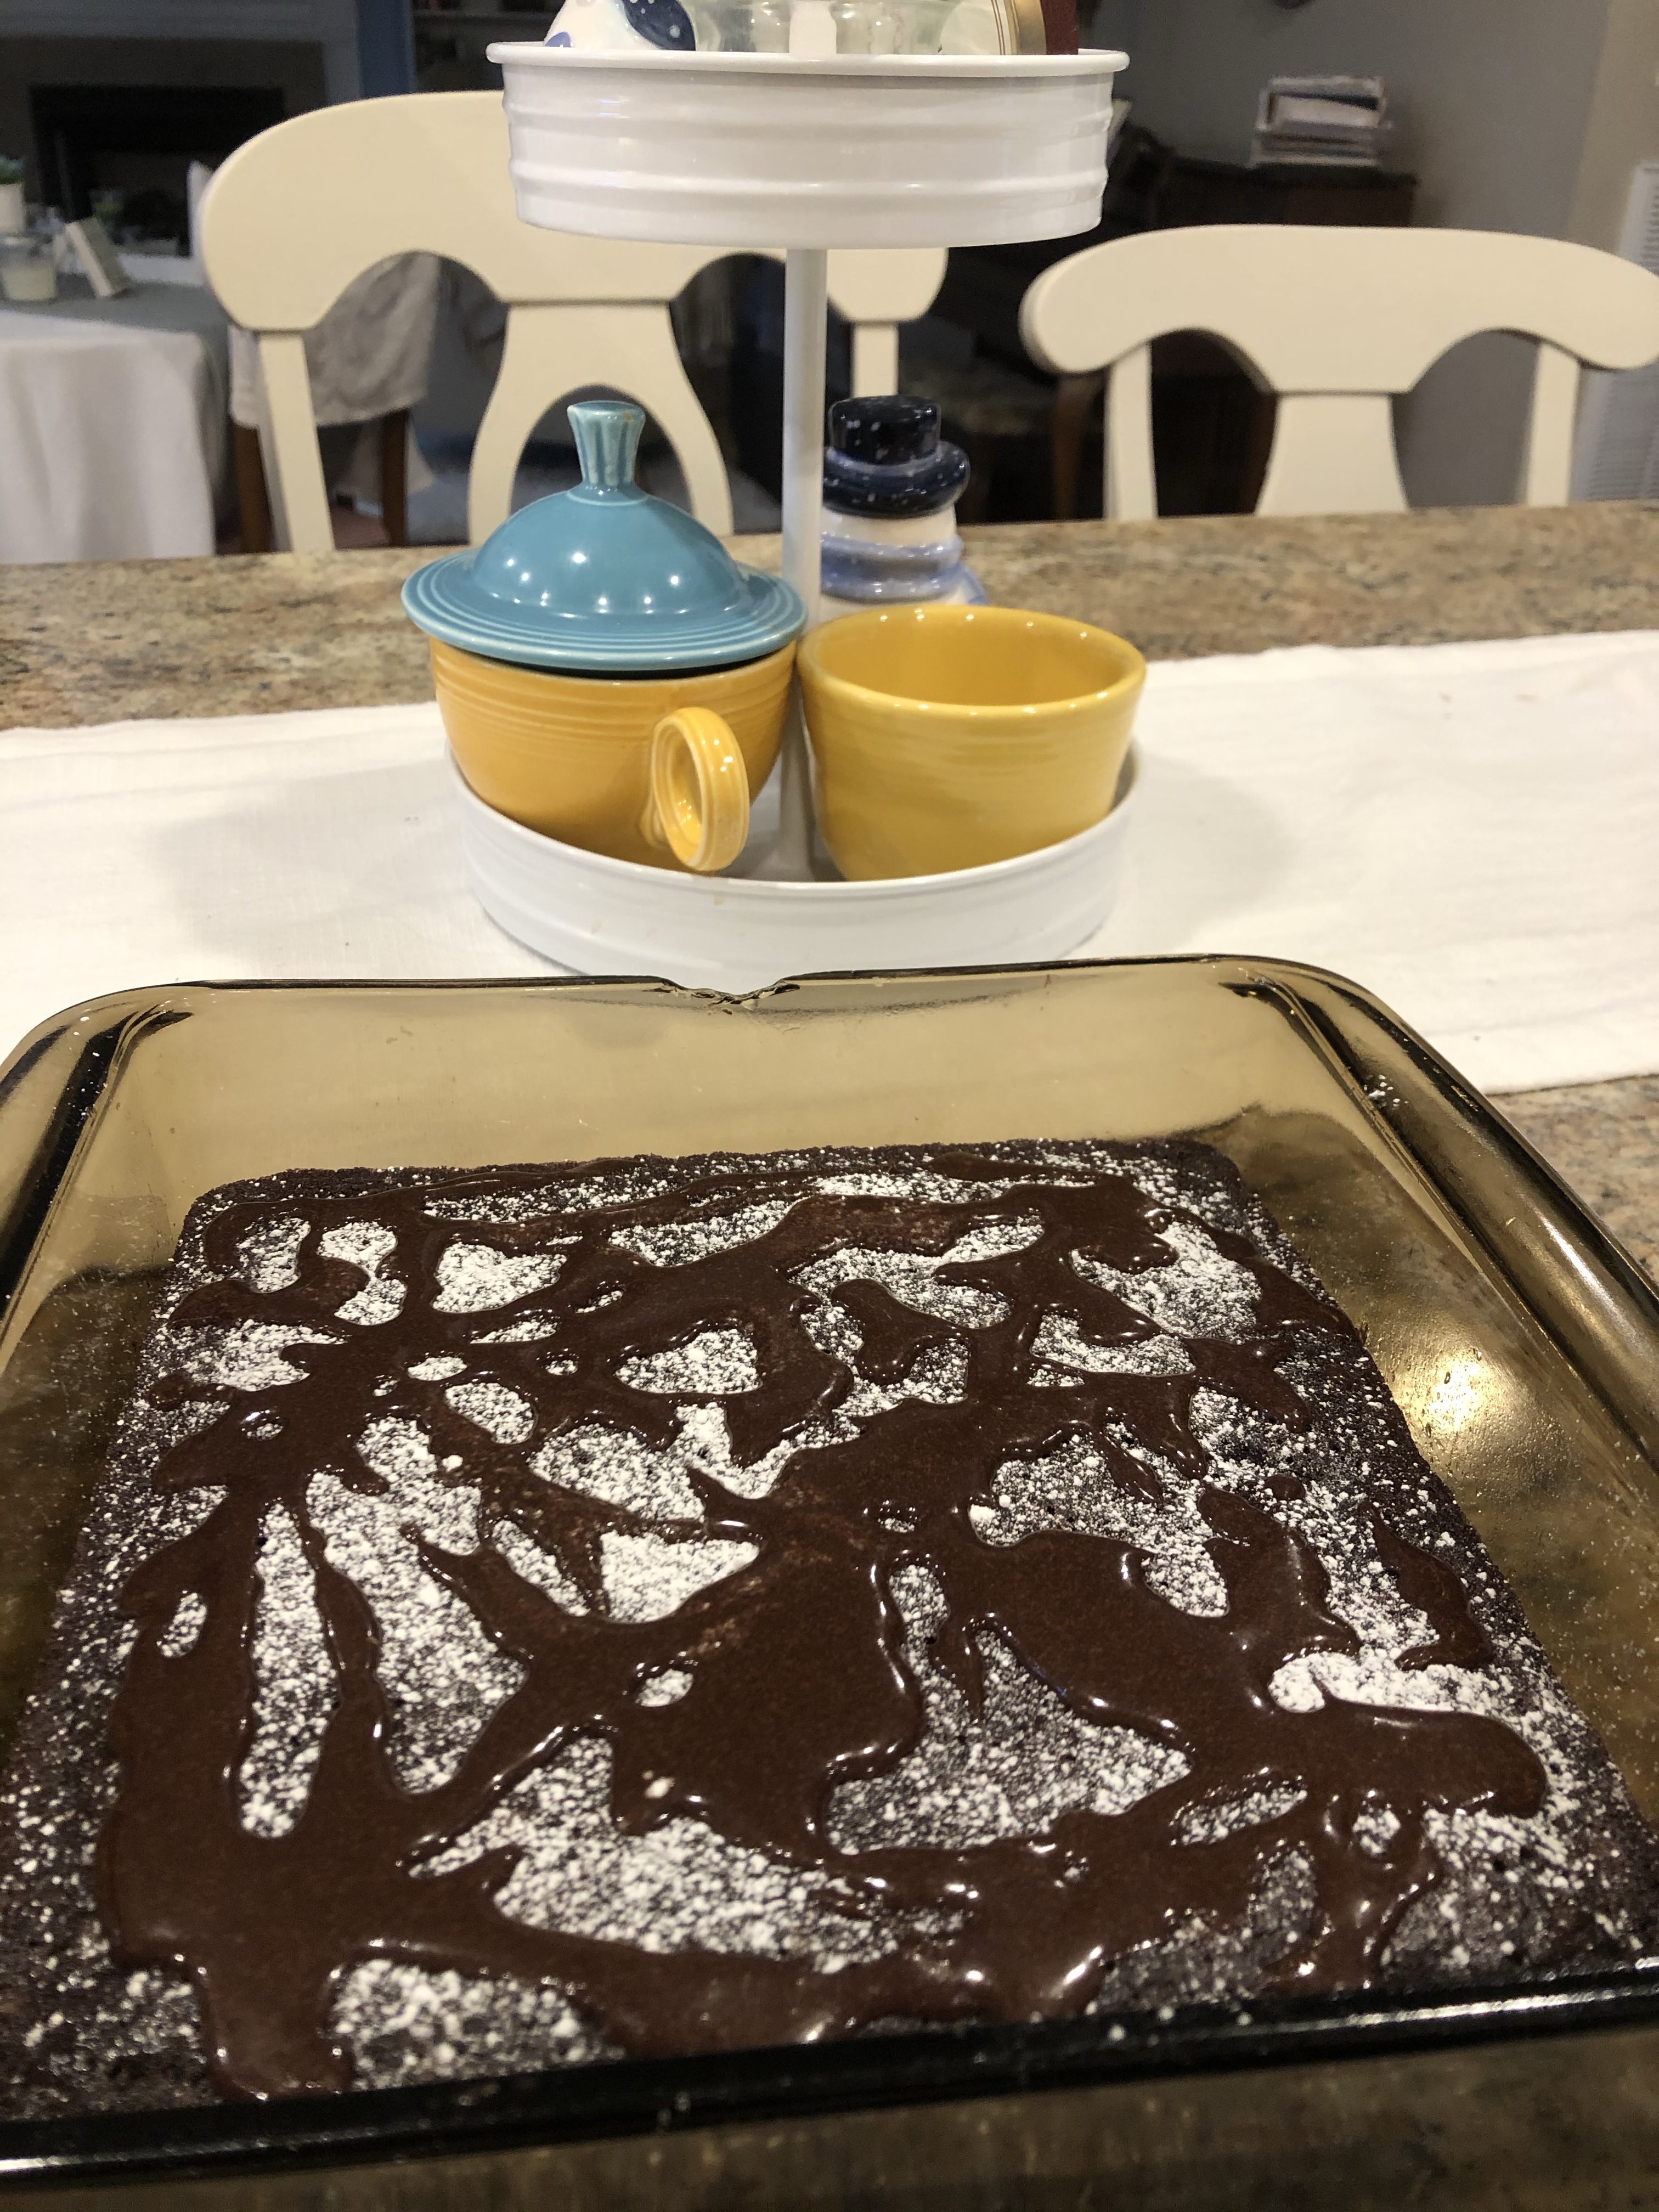
- Divide batter into the donut pan; they should be filled to the top.
- Bake for 16-18 minutes or until baked through, let cool then gently remove from donut pan.
- Store in sealed container, best in the fridge after a day and the donuts will freeze well.

Her website says these are 2 SP for the blue plan and 3 SP for the green plan. Not bad, huh?!!
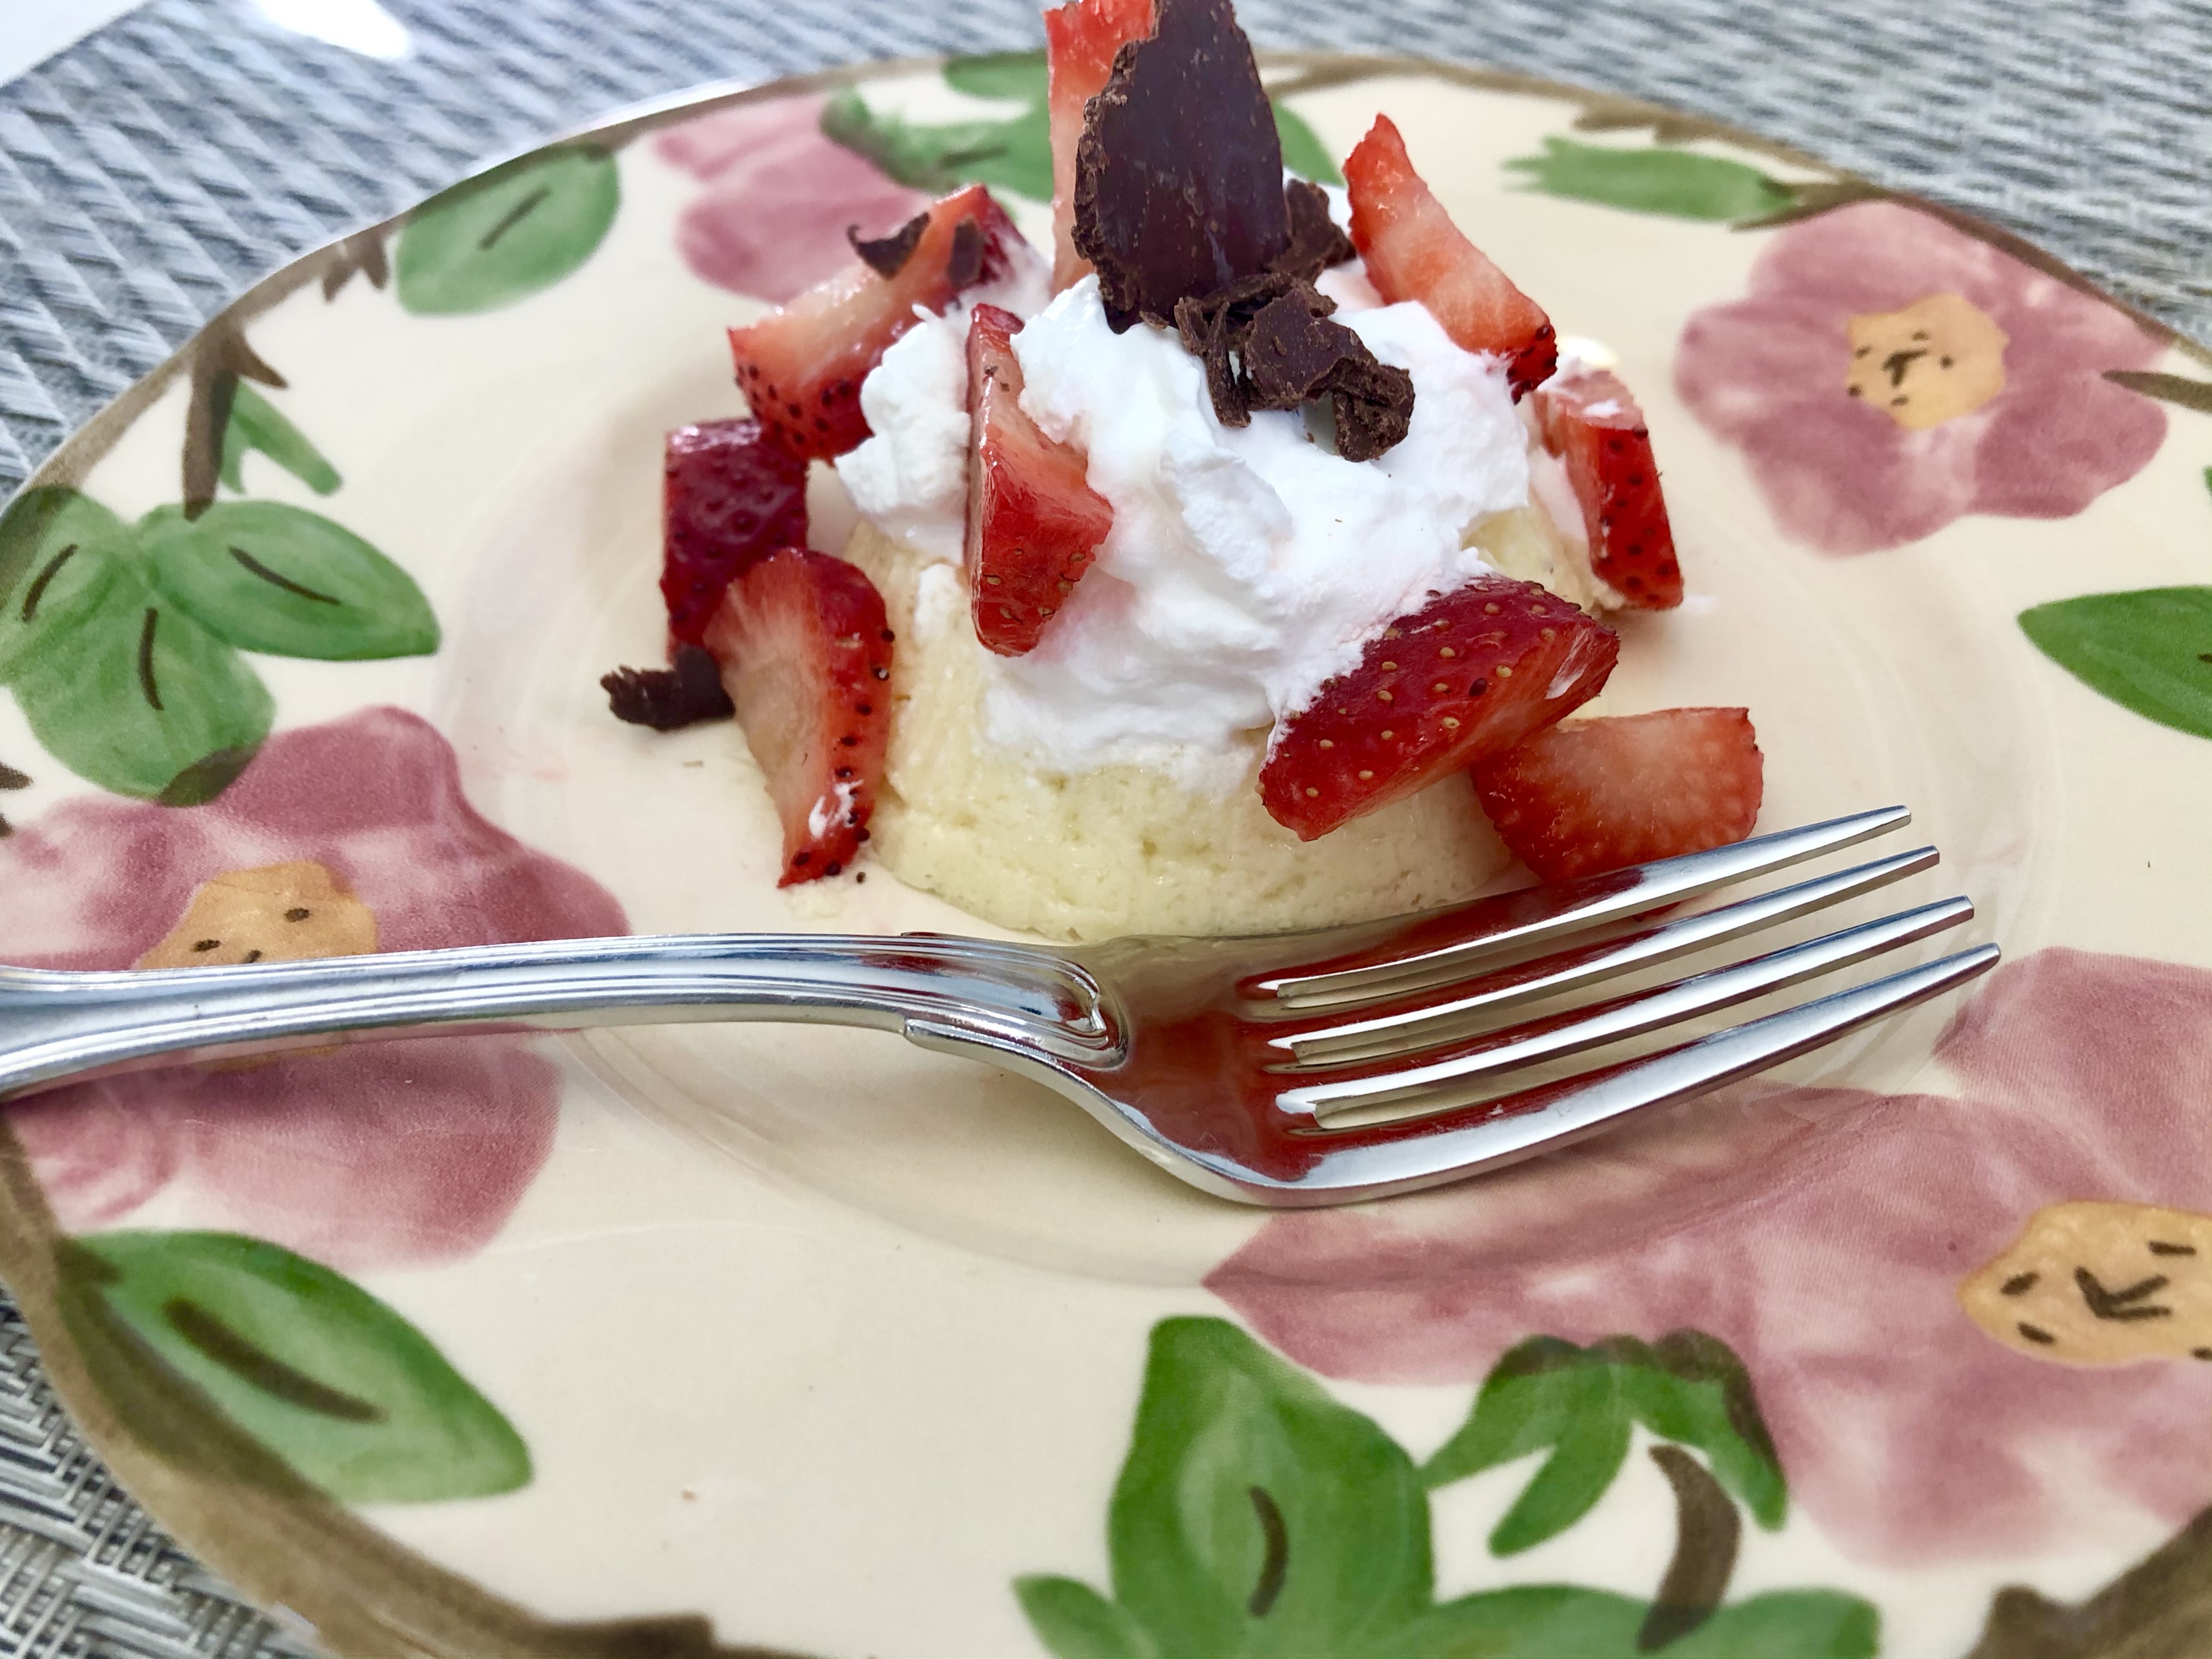
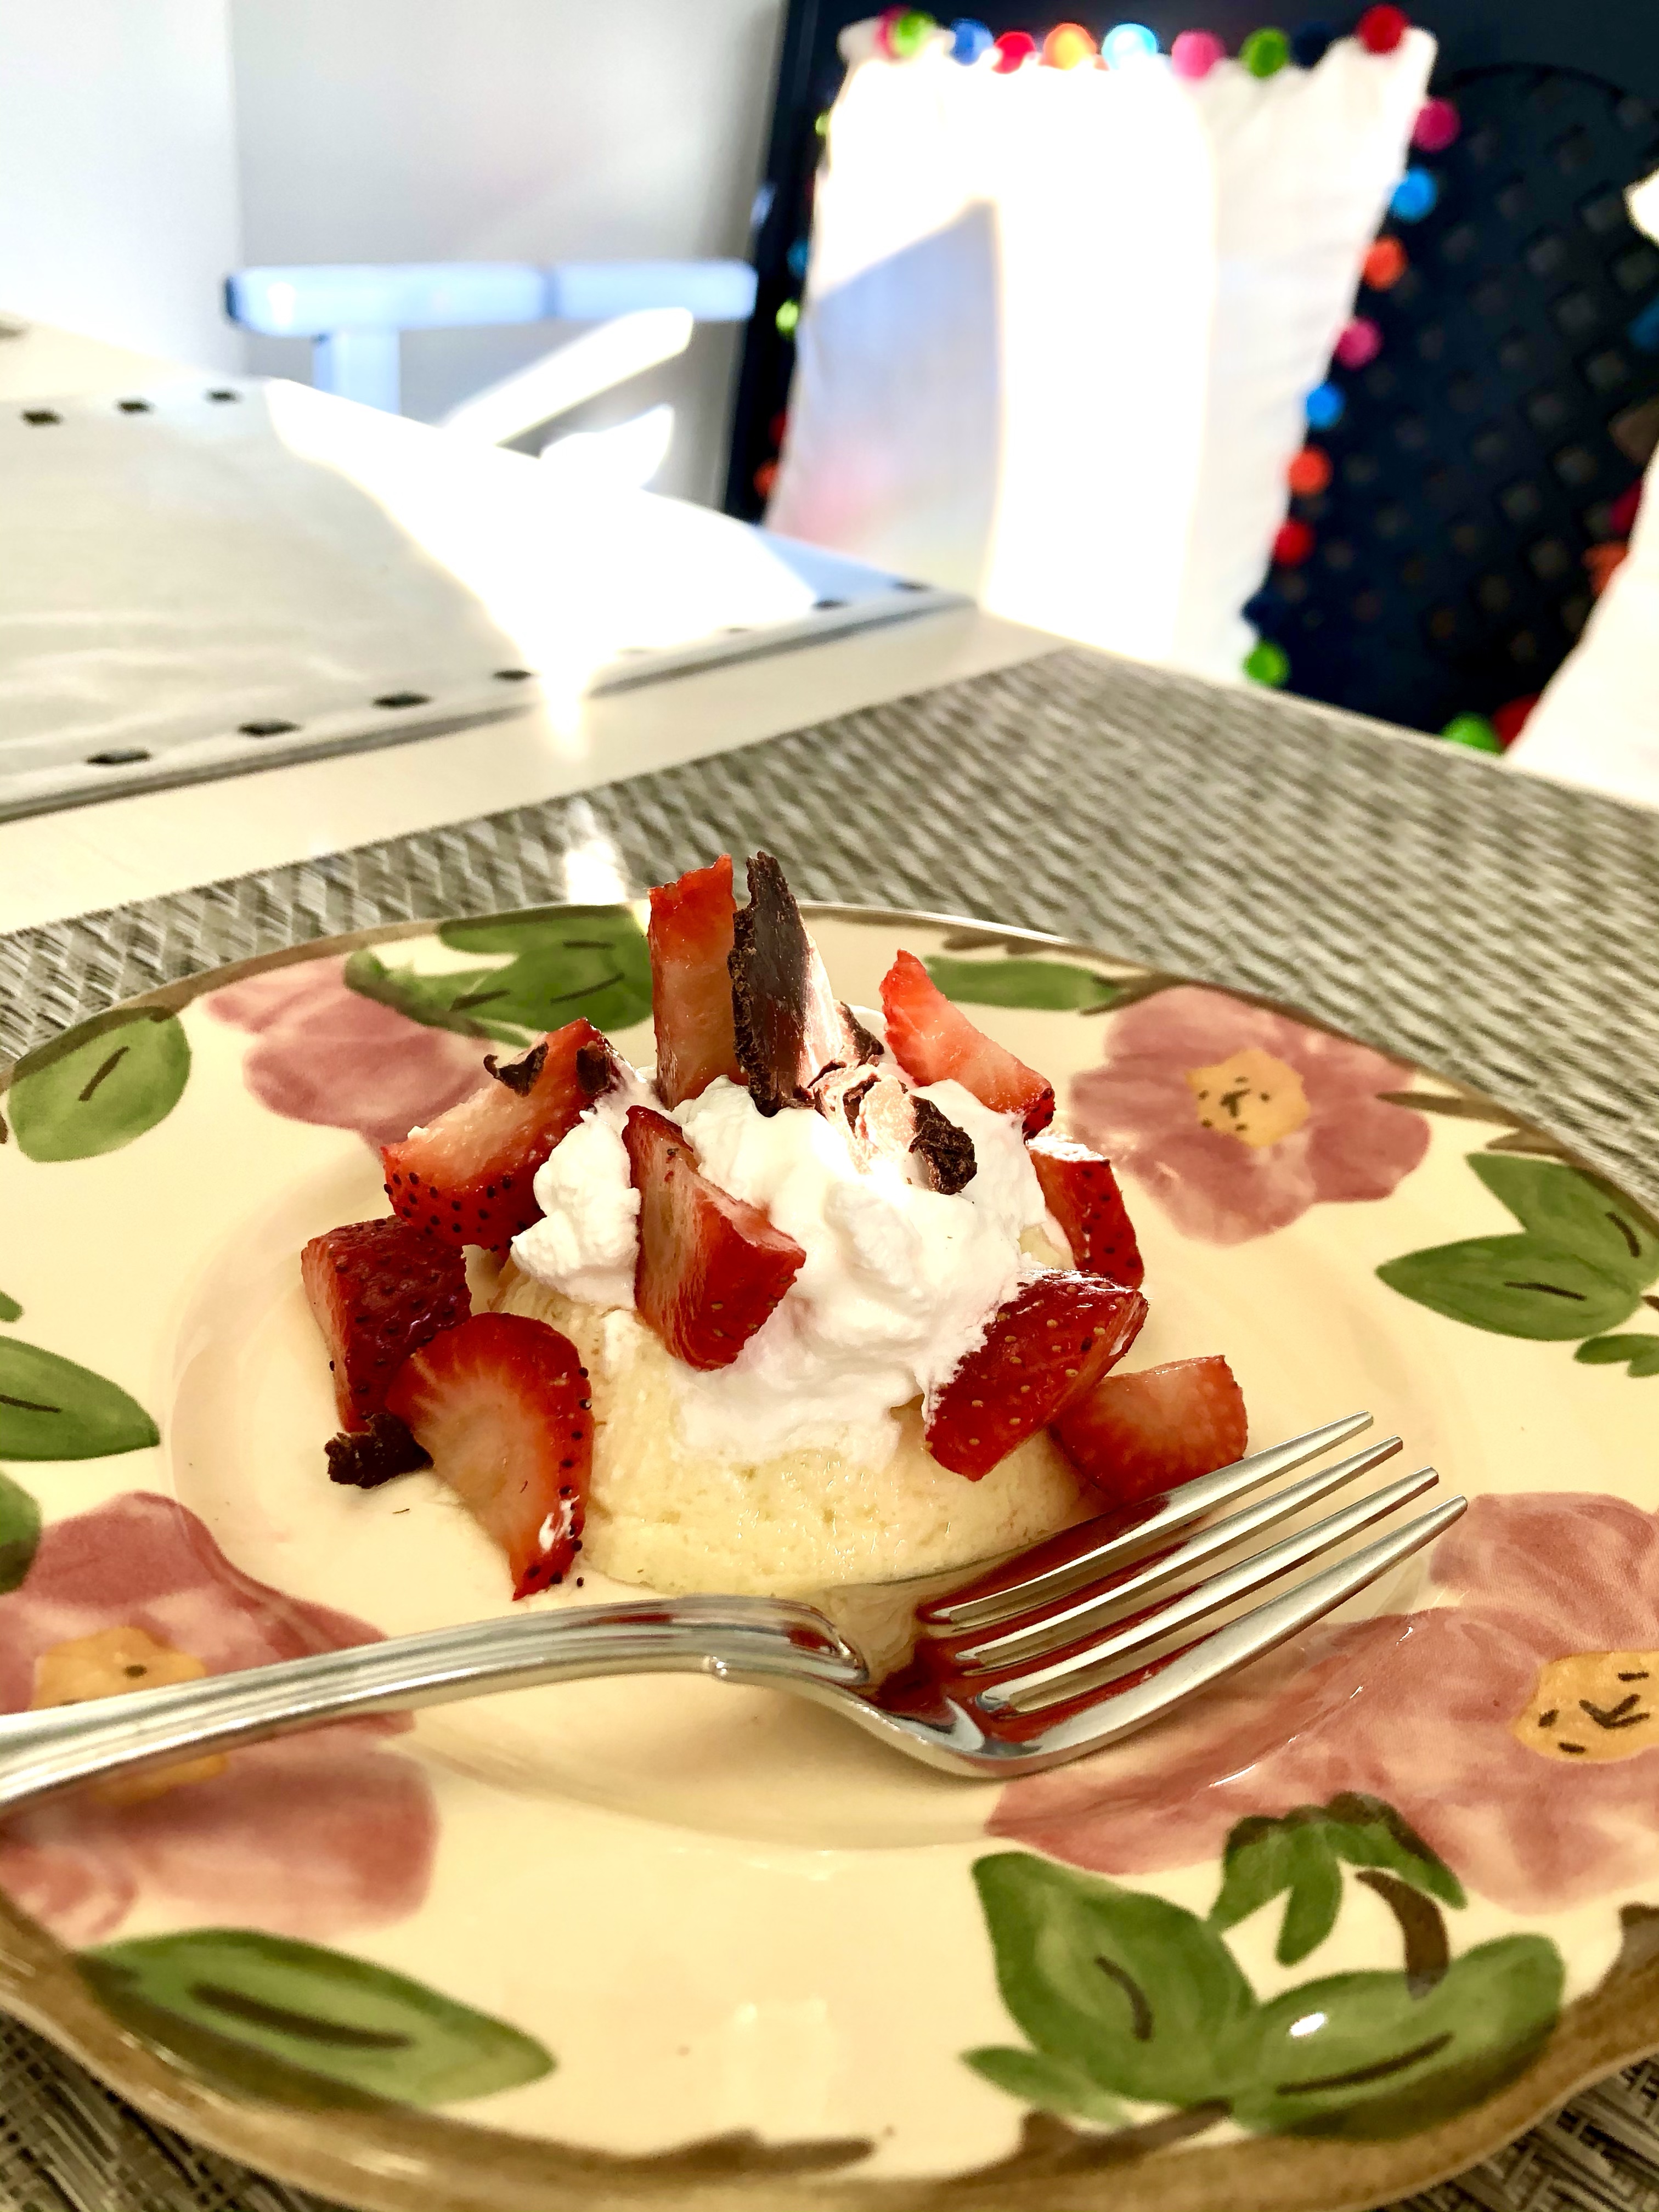
These made for a delicious addition to our anniversary breakfast a couple weeks ago!

I hope you’re hungry for donuts now and will give this easy recipe a try! What do you get hungry for when you’re trying to watch your calories?