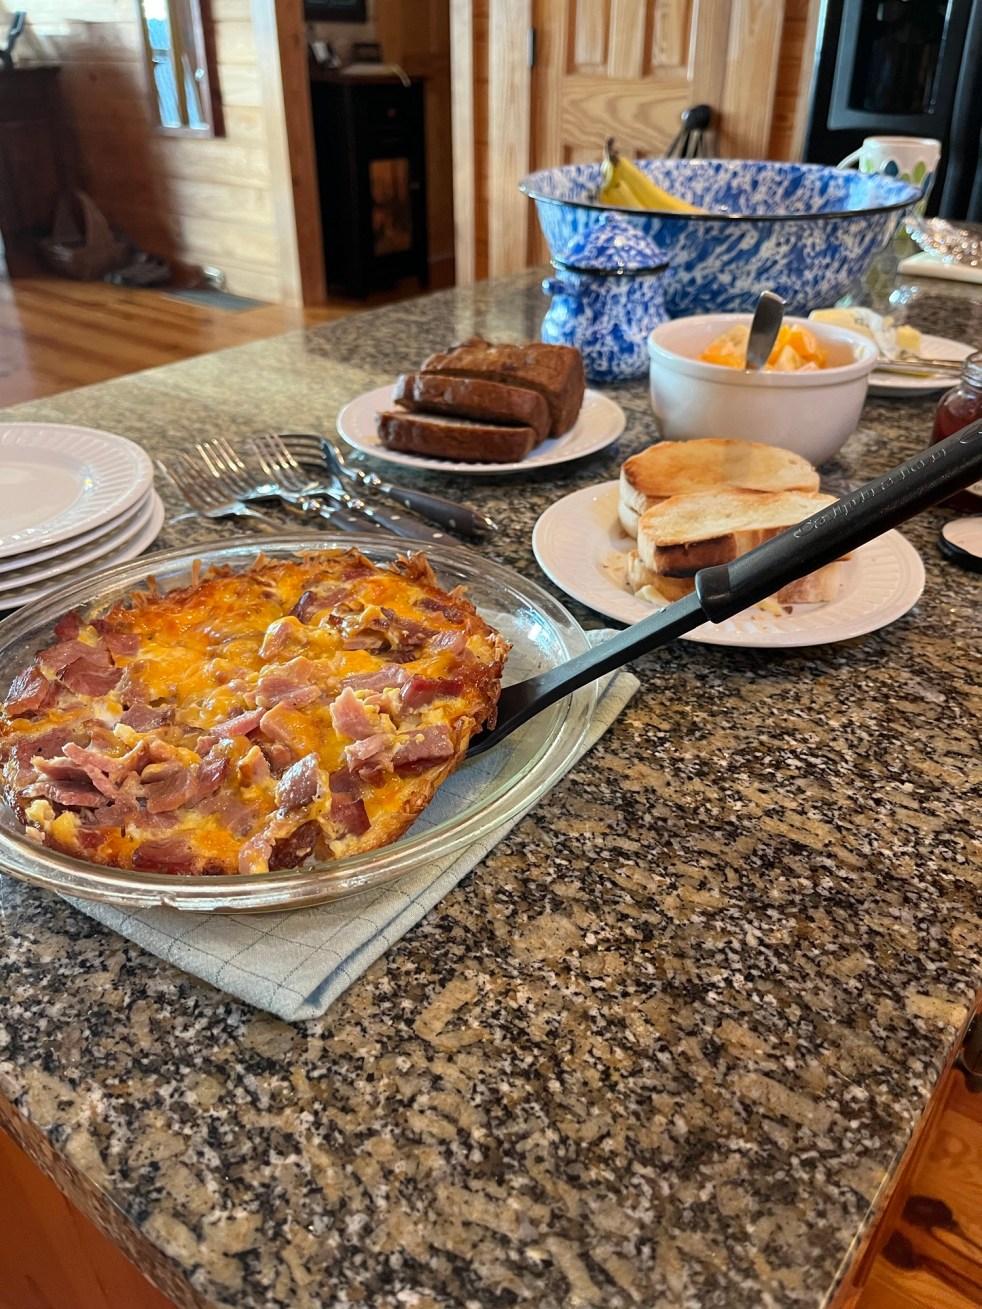
We recently had the blessing of a couple of nights away at a lovely mountain home with dear friends. We each made simple meals for our time there. I made a banana bread to take along. I love Banana Bread because it’s the perfect addition to breakfast and also a fantastic snack!
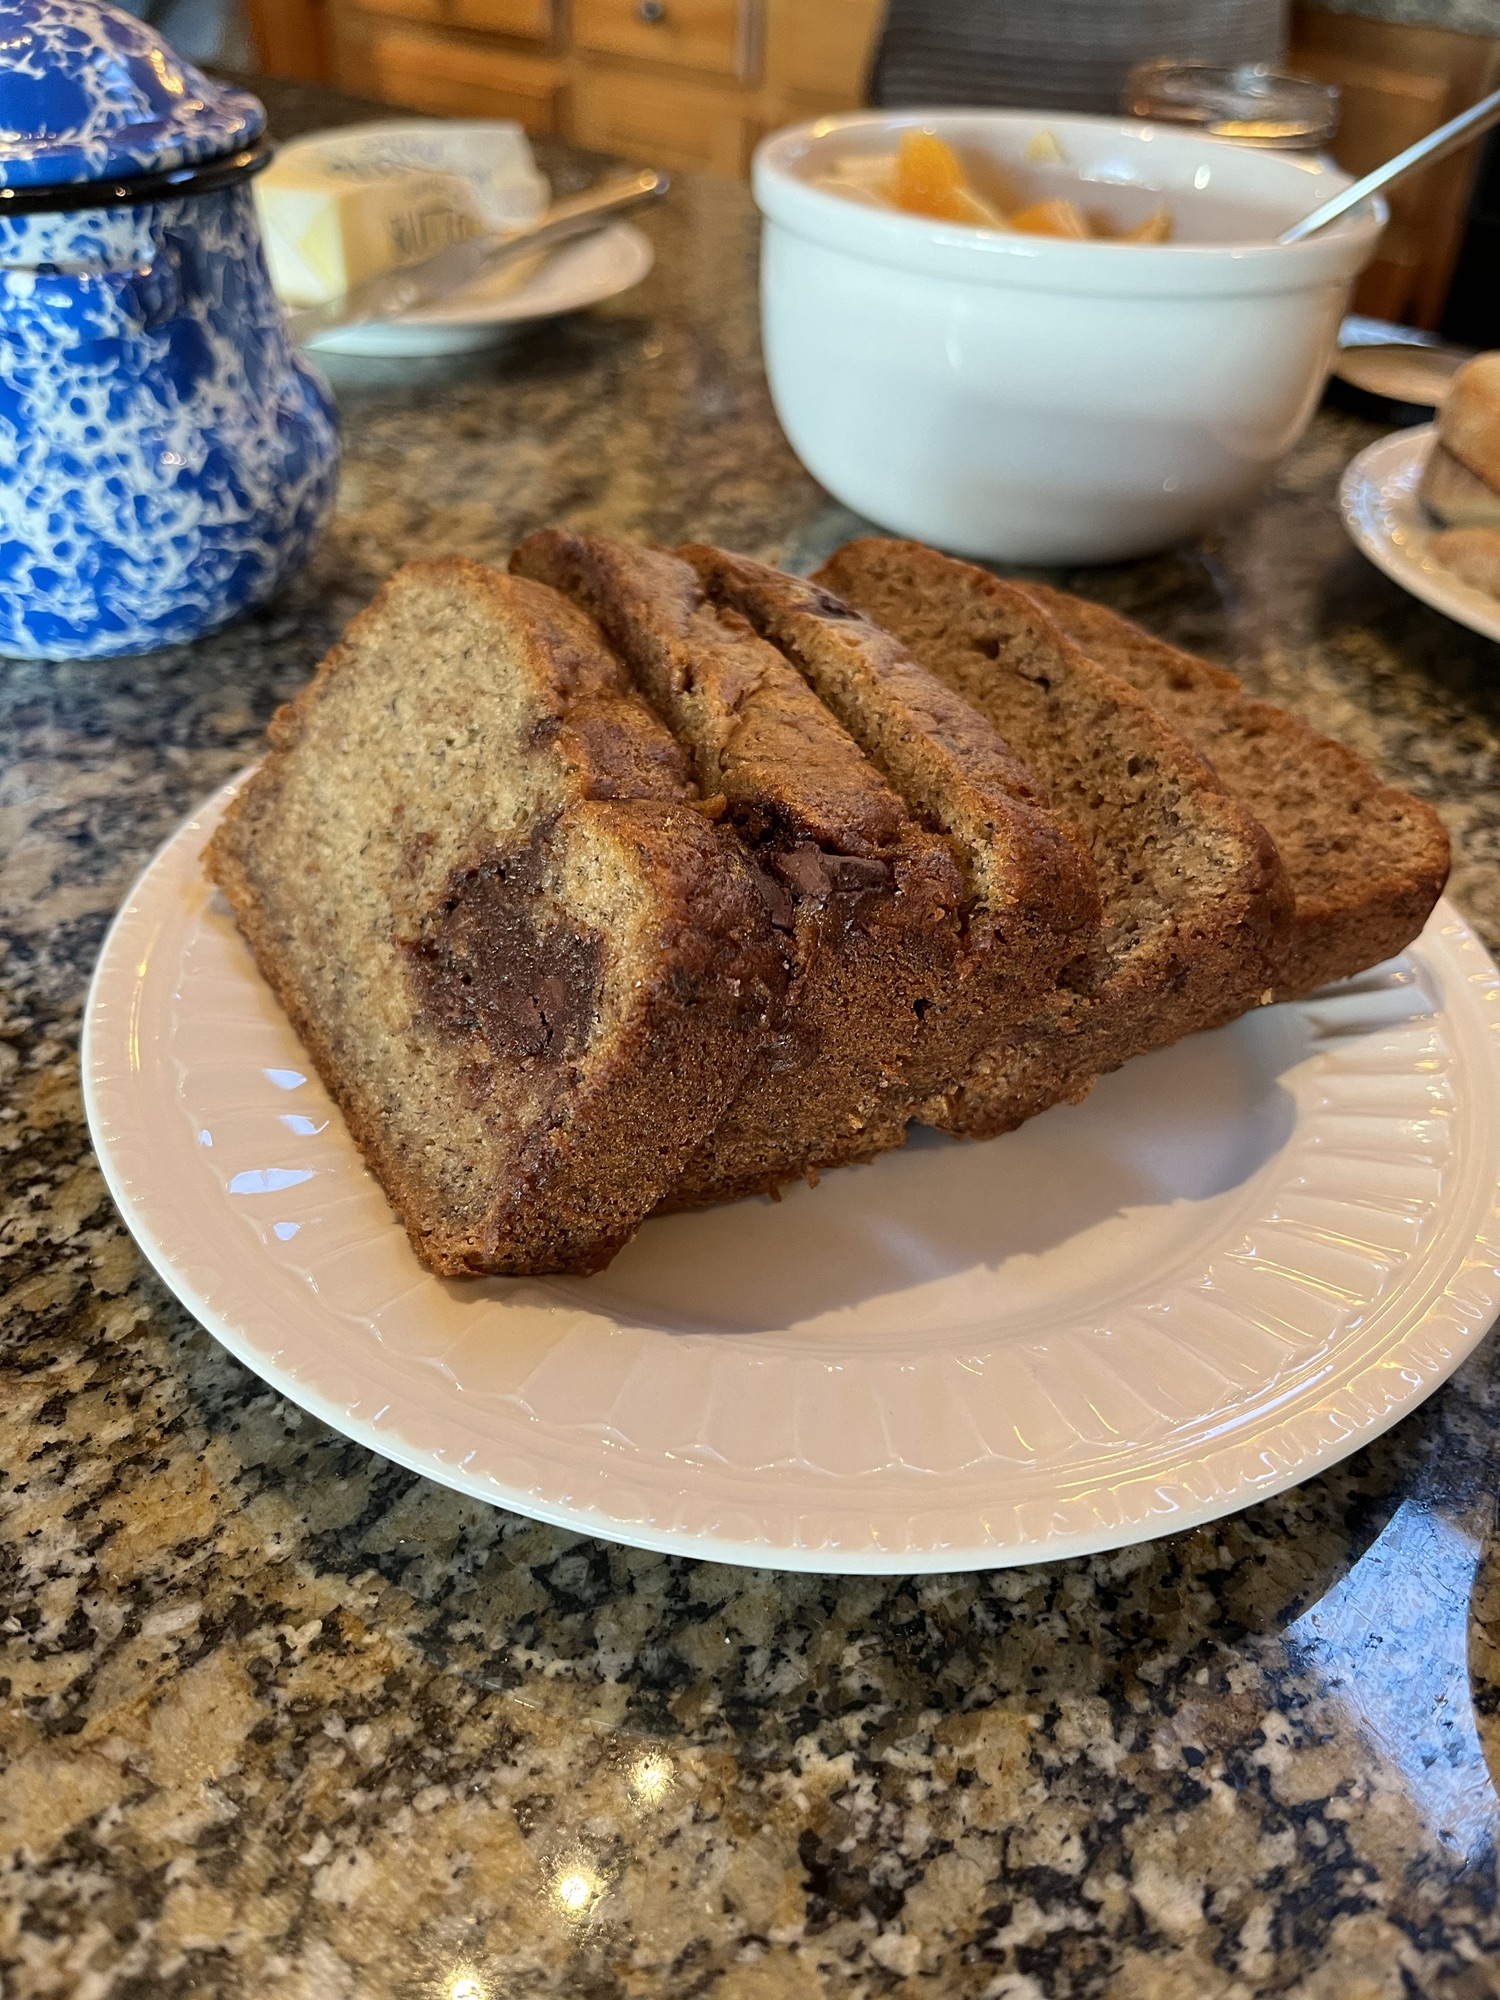
The chocolate firmed up in the batter and didn’t really “swirl,” but all that mattered was the chocolate flavor! It was still delicious!
The new recipe I tried had a little chocolate swirled into it! It is so moist and delicious, yet it’s lower in fat and calories! This is from a Skinny Taste Cookbook that I borrowed on my Libby app. You can even make this in the crock pot, though I opted for the oven method.
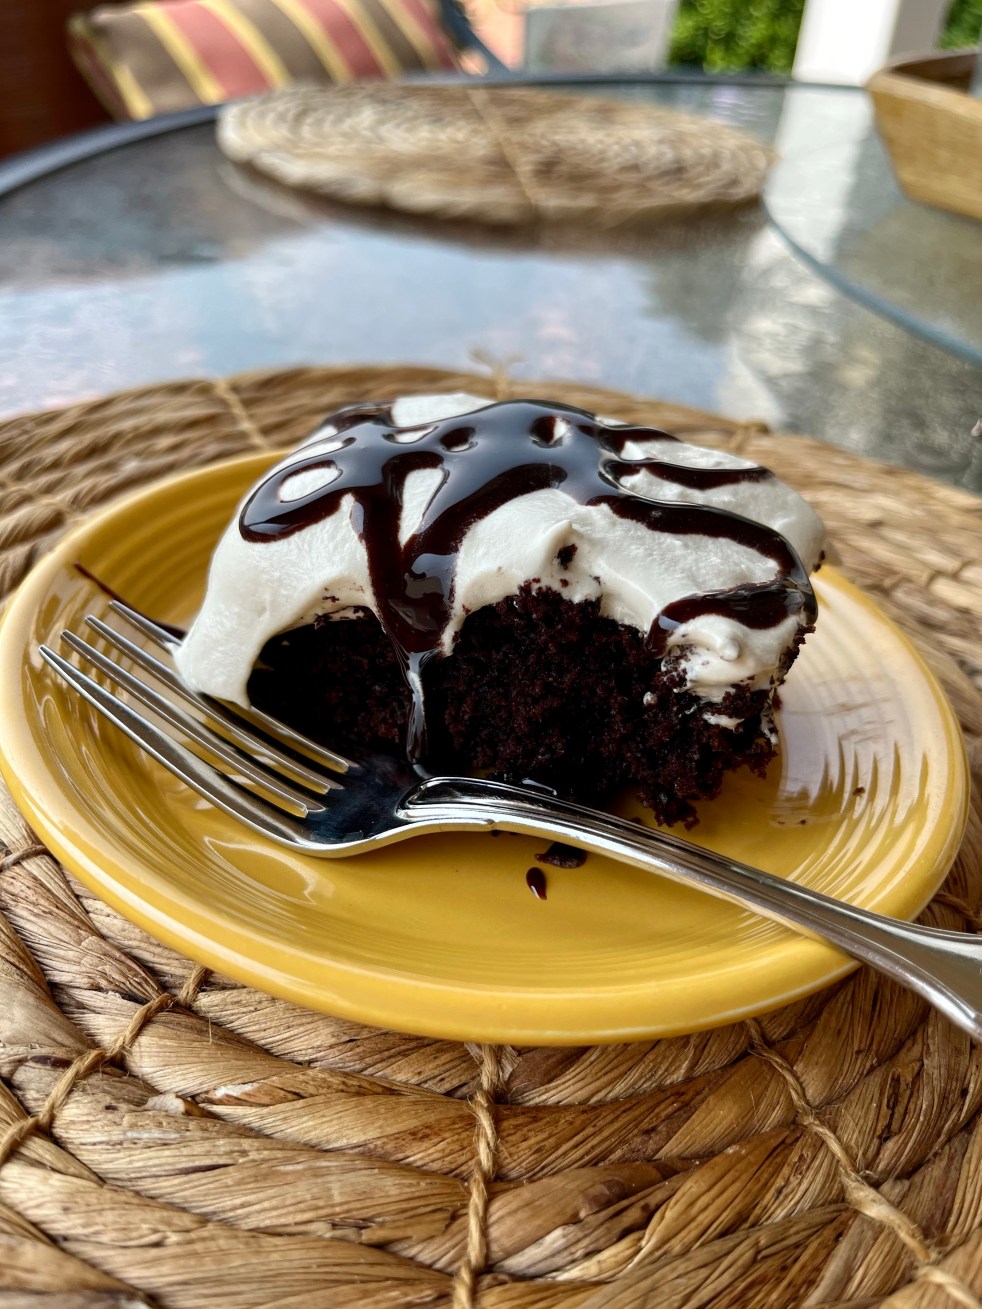
I’m not sure if there’s any better dessert for a meal than a moist chocolate cake! I’m happy to share a recipe with you that is amazing, and also reduced in fat and calories!!
Father’s Day dinner was a collaboration between my daughter Alli and me. She did the main meal and we ate that at her house. She fixed a Roasted chicken done in her air fryer on the slow cook mode. When we got home from church she crisped up the skin in the air fryer and it was so good! She and I both LOVE the crispy skin on roasted chicken! She also fixed a delicious salad and potatoes.
I got to fix dessert and we came to my house to enjoy it…and let the boys play in the pool we had just put up!
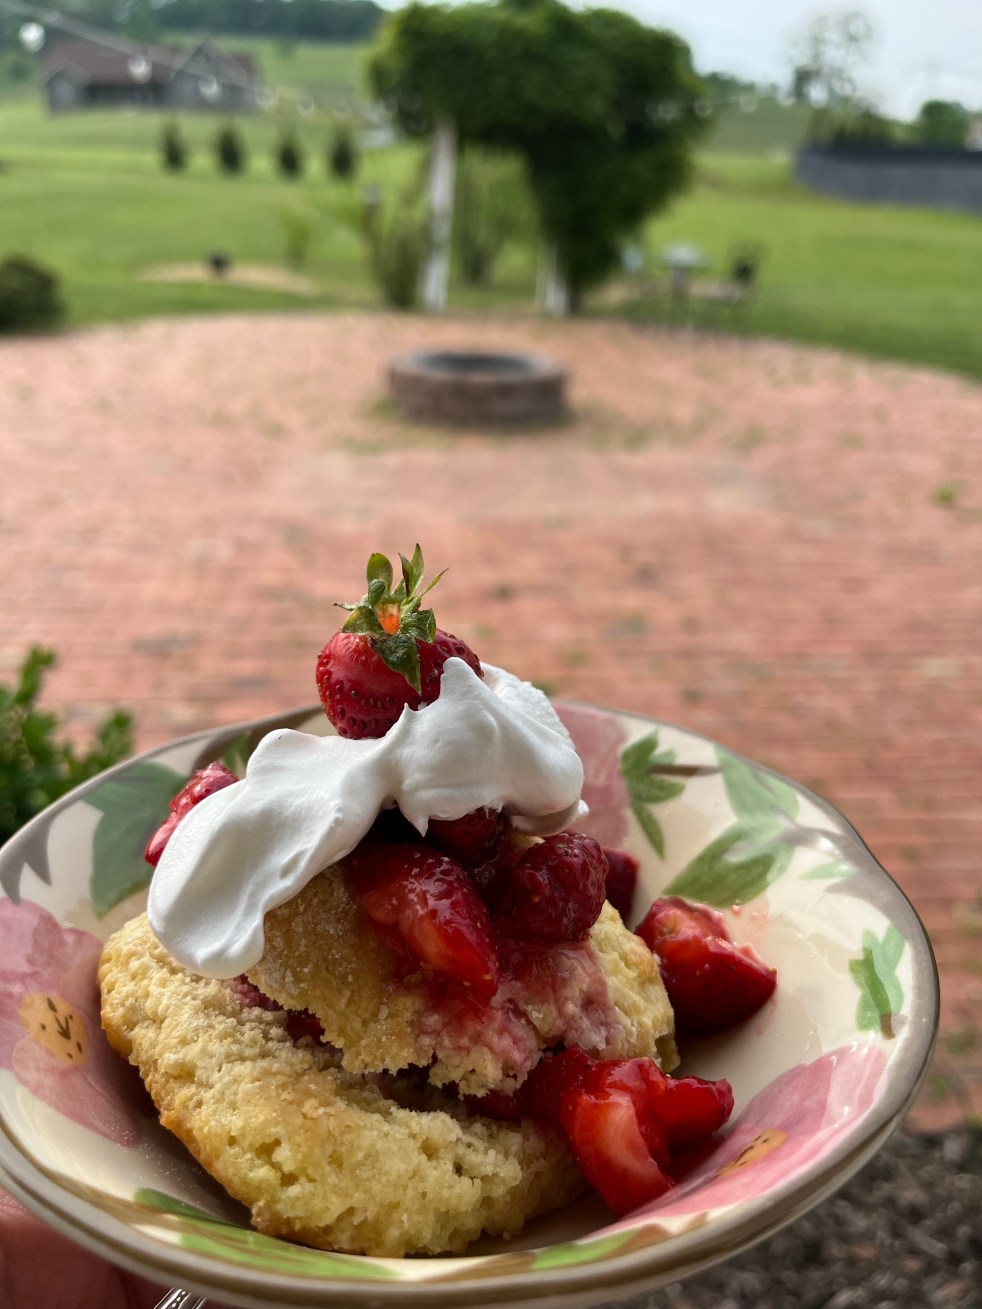
What is your favorite season? Winter? Spring?Summer?, Fall? Or is it Strawberry season?! Strawberries are my favorite fruit! My husband happily sent a text to me last weekend –
“Scott Berries are in and I got two quarts! Happy days are here again!”
I get teased A LOT by my family for always using recipes from Cooking Light, but I say if you can eat delicious food – even dessert – and make it a little healthier, why not?! I enjoy having dessert, but don’t want to overdo it with the fat and sugars!
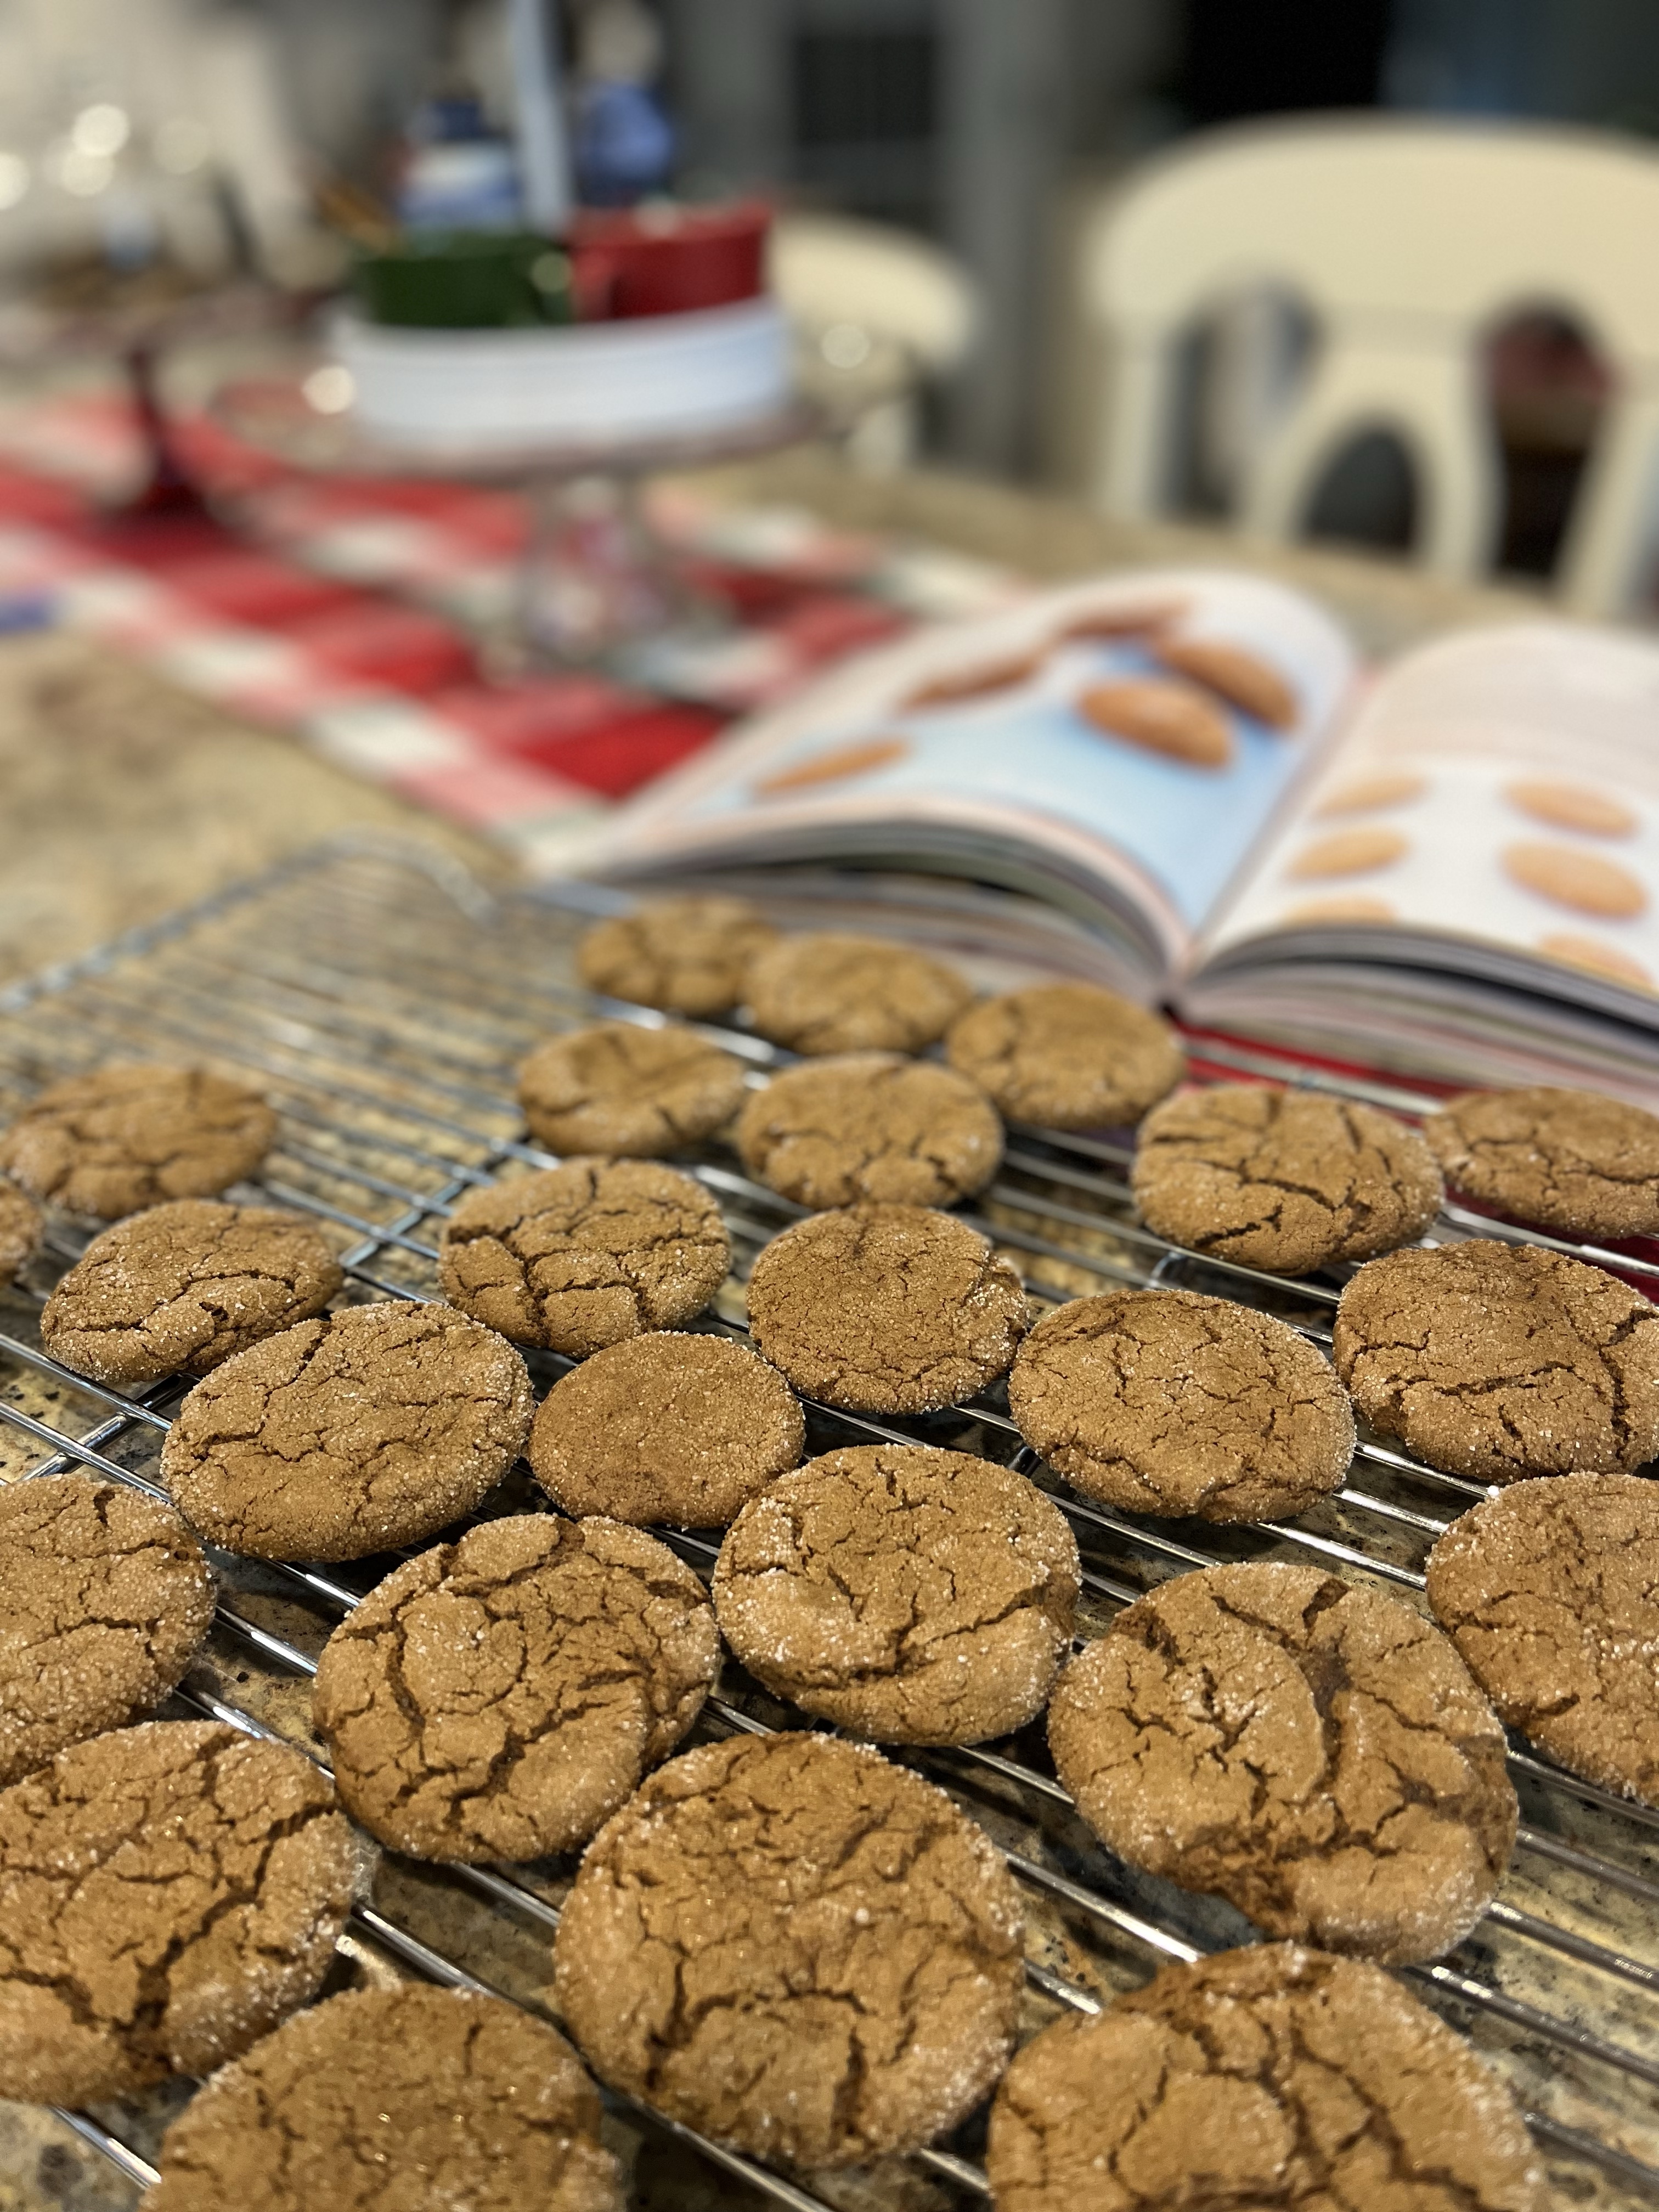
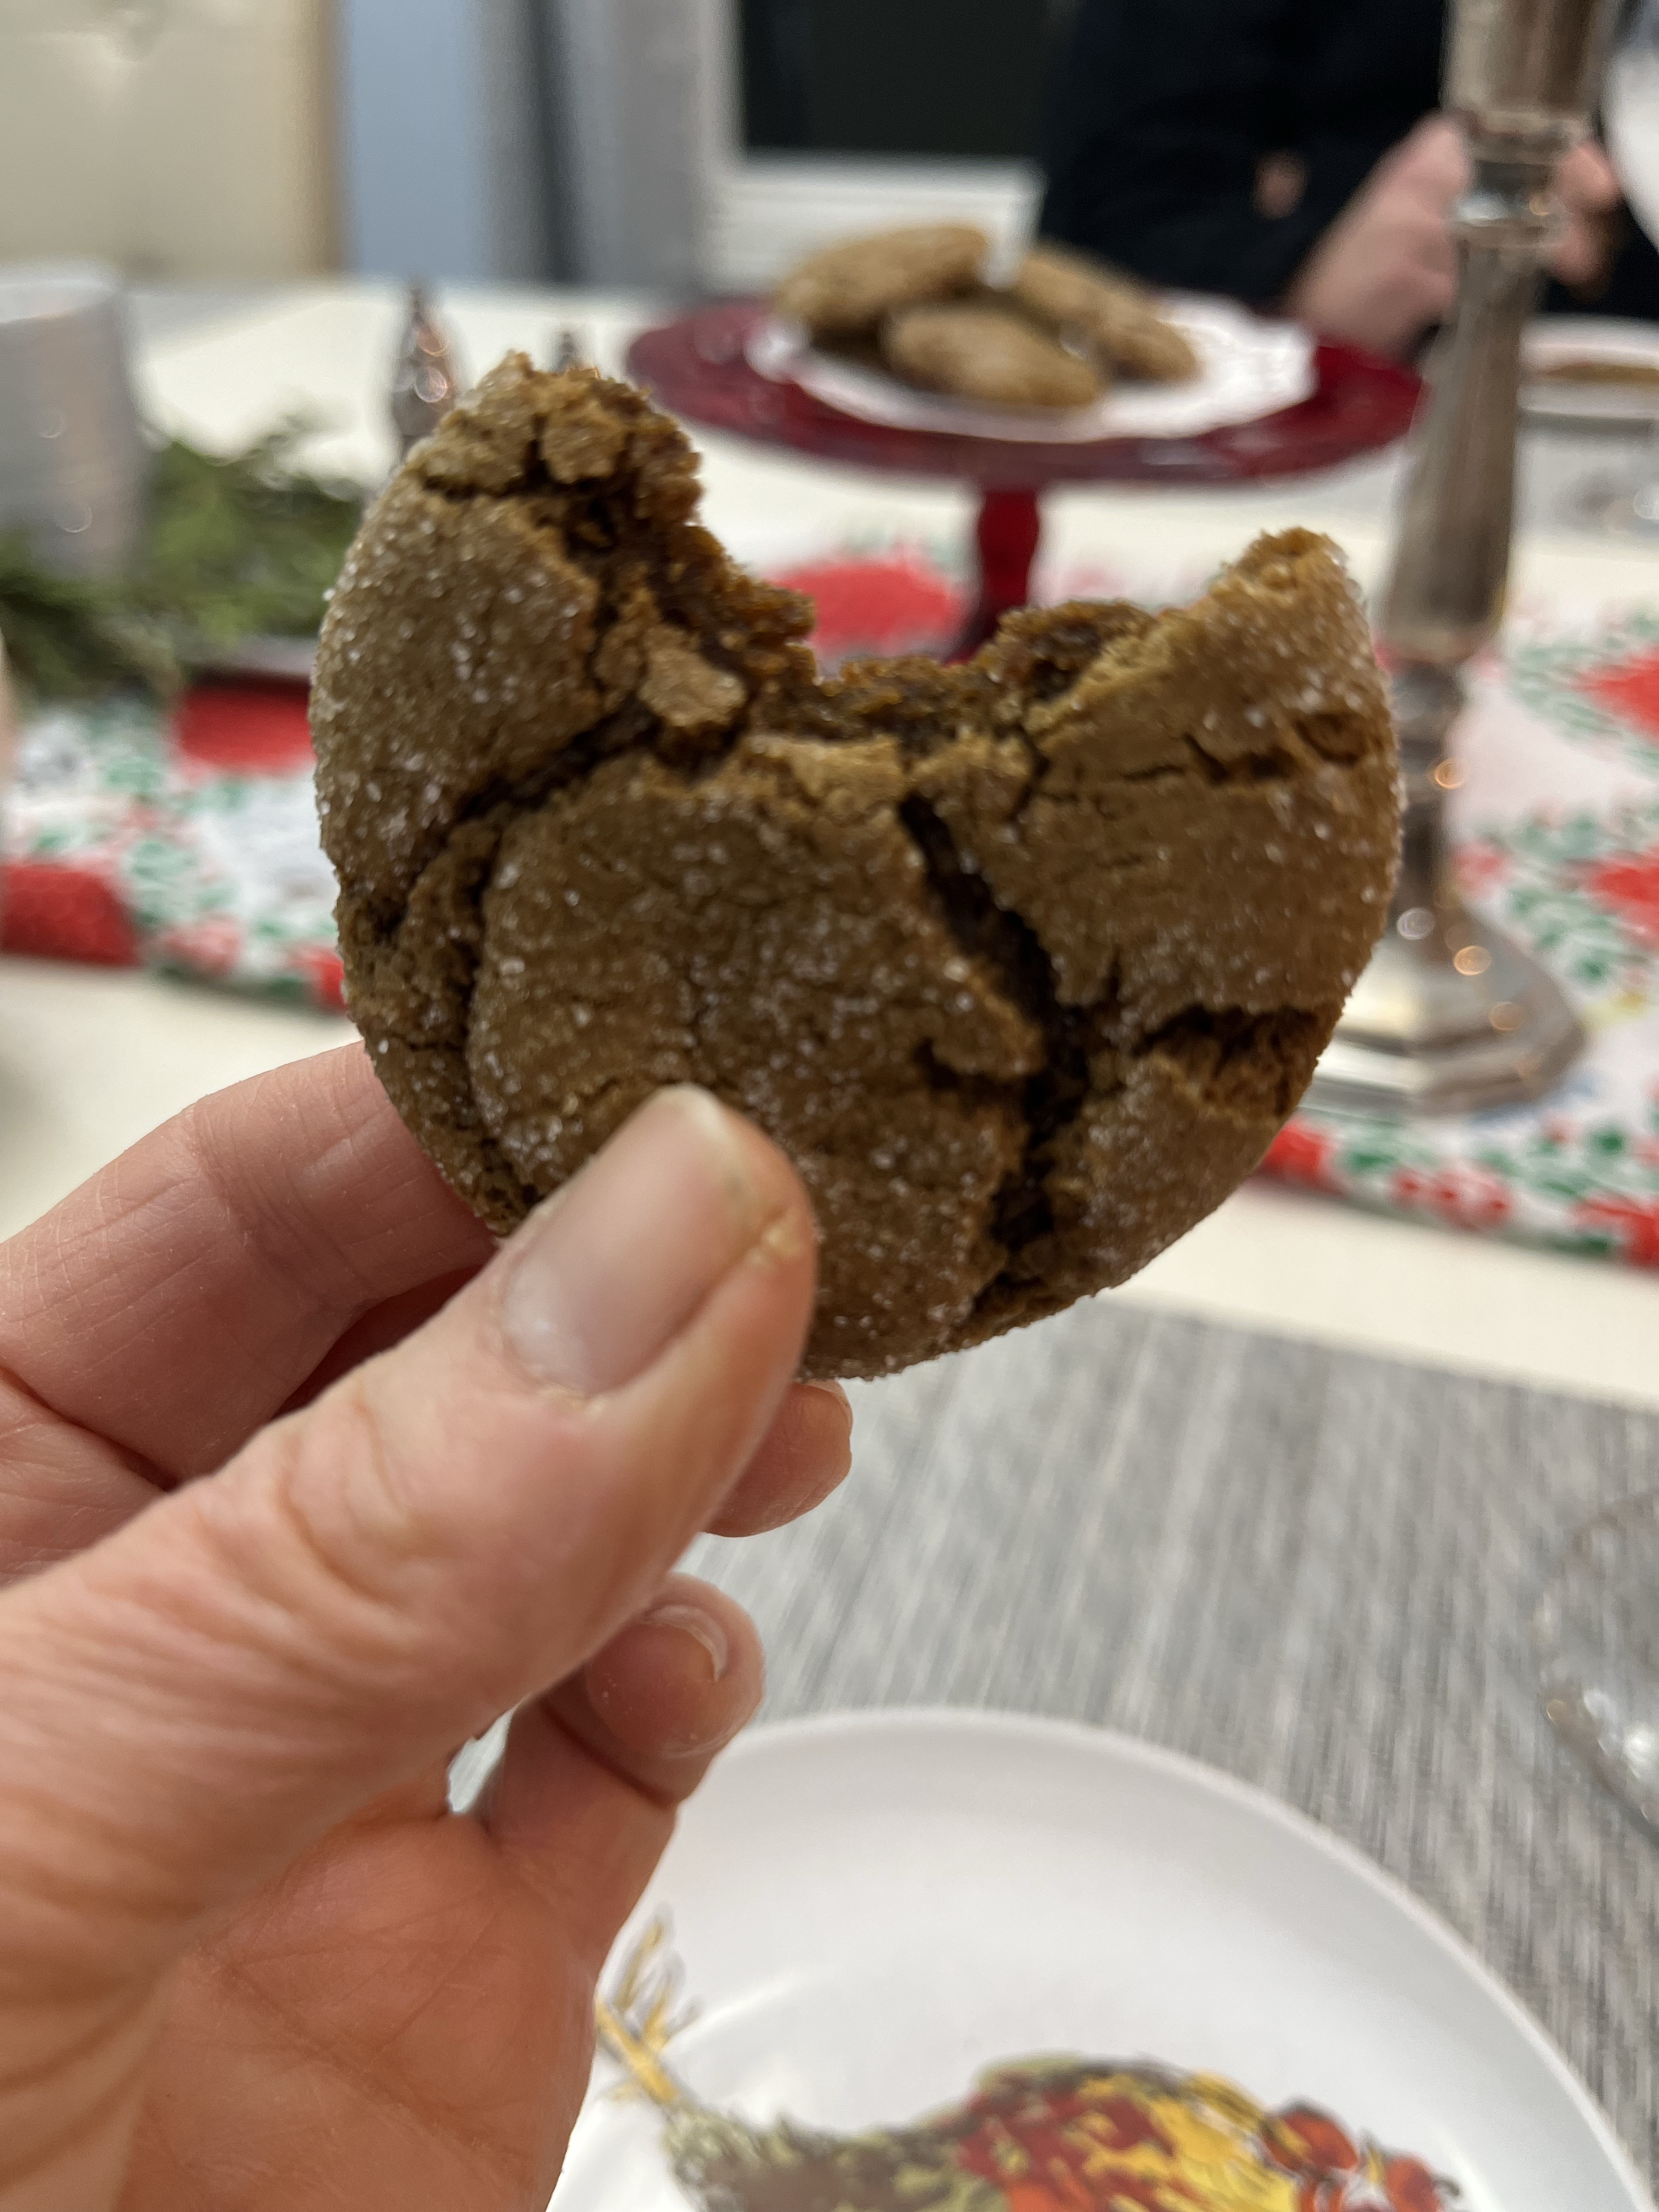
I found a Ginger Cookie recipe recently that tastes every bit as good as my favorite Ginger-Molasses recipe (which is amazing!), but this one is much lighter!! I’m not sure I’ll ever make my old favorite version again! These were so yummy! Crunchy on the outside and soft on the inside, they are the perfect treat! This is one of my husband’s favorite cookie flavors, so I’m glad to have a recipe to make that I can feel a little better about making!
I always under-bake my cookies a little because I like them soft. I probably baked these around 8 minutes. You be the judge, but that’s all the time my oven required.
Ginger Cookies – Cooking Light
6 Tbl. Butter, softened
2/3 Cup plus 3 Tbl. sugar, divided
1/4 cup molasses
1 large egg
2 cups all-purpose flour
2 tsp baking soda
1 tsp ground ginger
1 tsp ground cinnamon
1/2 tsp ground mace (I didn’t have this and it was still great)
Cooking spray
Place butter in a large bowl; beat with a mixer at medium speed until fluffy. Gradually add 2/3 cup sugar, beating at medium speed until light and well blended.
Add molasses and egg; beat well.
Combine flour and the next 4 ingredients (through mace), stirring with a whisk.
Gradually add flour mixture to butter mixture, stirring until well blended
Divide dough in half.
Wrap each portion in plastic wrap, and freeze for 30 minutes.
Preheat oven to 350°.
Shape each portion of dough into 26 (1-inch) balls. Roll balls in remaining 3 tablespoons sugar, and place 2 inches apart on baking sheets coated with cooking spray. Flatten cookies with the bottom of a glass to 1/2-inch thickness.
Bake for 12 minutes or until lightly browned. Remove from pans, and cool completely on wire racks.
If you have a bit of a sweet tooth, but don’t want to kill your diet with dessert, please make these yummy treats! I can’t wait to make up another batch!
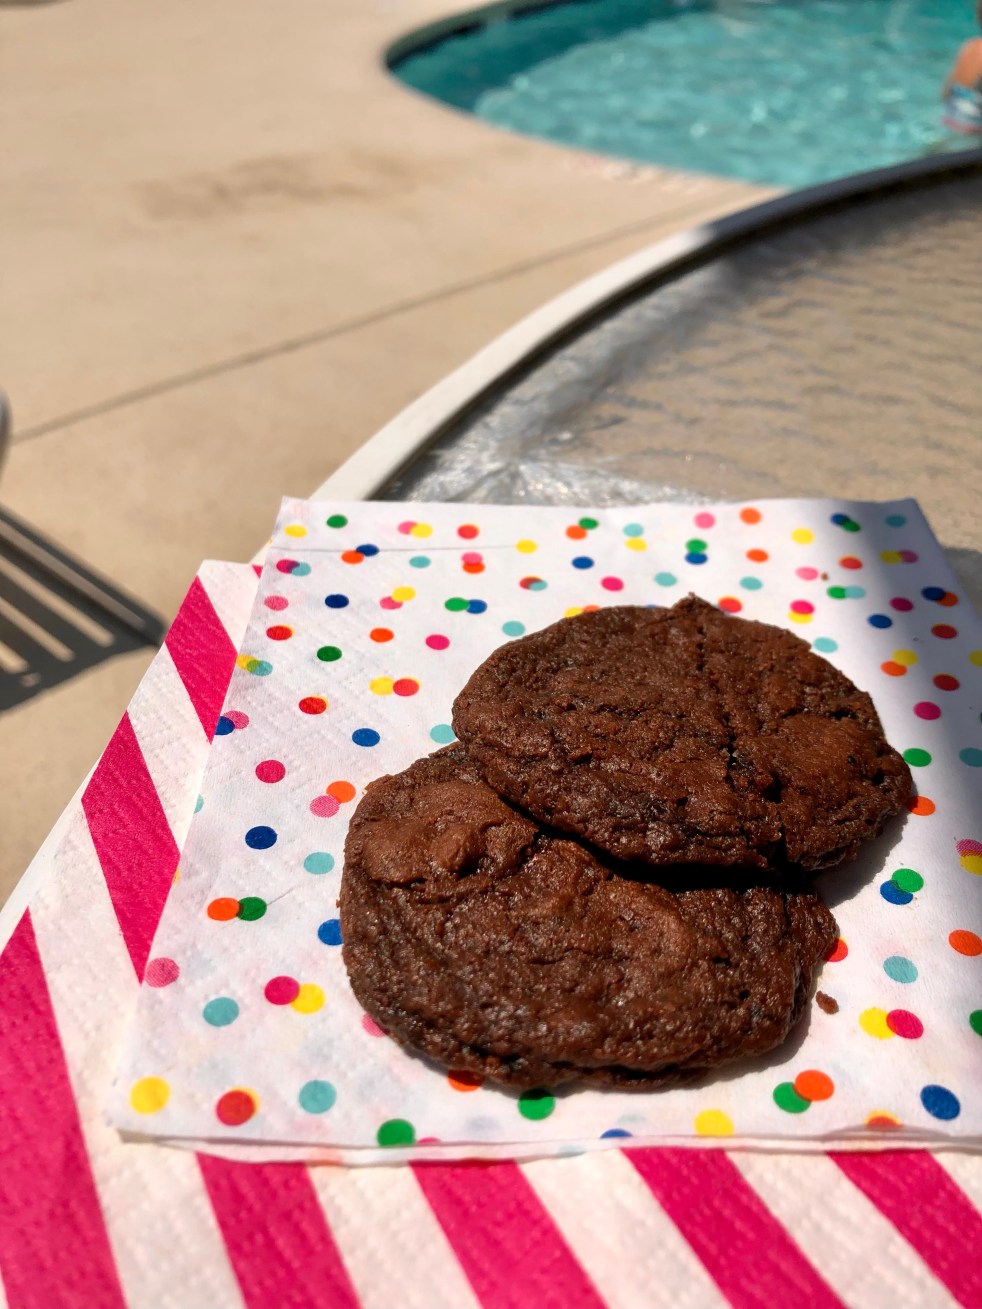
I love it when simple meets delicious! These fudgy cookies can be mixed right in a saucepan and spooned onto the baking sheet. They end up crispy around the edges and soft in the middle.
I made these last weekend for a girl’s trip I went on, and they were the perfect ending to our poolside lunch! They were also the perfect little snack in the middle of the day! If you love chocolate AND a soft cookie, this is your recipe!
Cocoa Fudge Cookies
Ingredients
1 cup all-purpose flour
¼ teaspoon baking soda
⅛ teaspoon salt
5 tablespoons butter
7 tablespoons unsweetened cocoa
⅔ cup granulated sugar
⅓ cup packed brown sugar
⅓ cup plain low-fat yogurt
1 teaspoon vanilla extract
Cooking spray
Directions
Step 1 Preheat oven to 350°.
Step 2 Lightly spoon flour into a dry measuring cup; level with a knife. Combine flour, soda, and salt; set aside. Melt butter in a large saucepan over medium heat. Remove from heat; stir in cocoa powder and sugars (mixture will resemble coarse sand). Add yogurt and vanilla, stirring to combine. Add flour mixture, stirring until moist. Drop by level tablespoons 2 inches apart onto baking sheets coated with cooking spray.
Step 3 Bake at 350° for 8 to 10 minutes or until almost set. Cool on pans 2 to 3 minutes or until firm. Remove cookies from pans; cool on wire racks.
I failed to mention that these are only 78 calories! Cooking LIght does a great job at providing low cal treats! These Raspberry Strippers are another favorite cookie recipe I found on their site.
Are you a crispy cookie lover or do you prefer a soft cookie?