baking · dessert · entertaining · Make-Ahead

(L)Oven Monday – Cutie Pies!

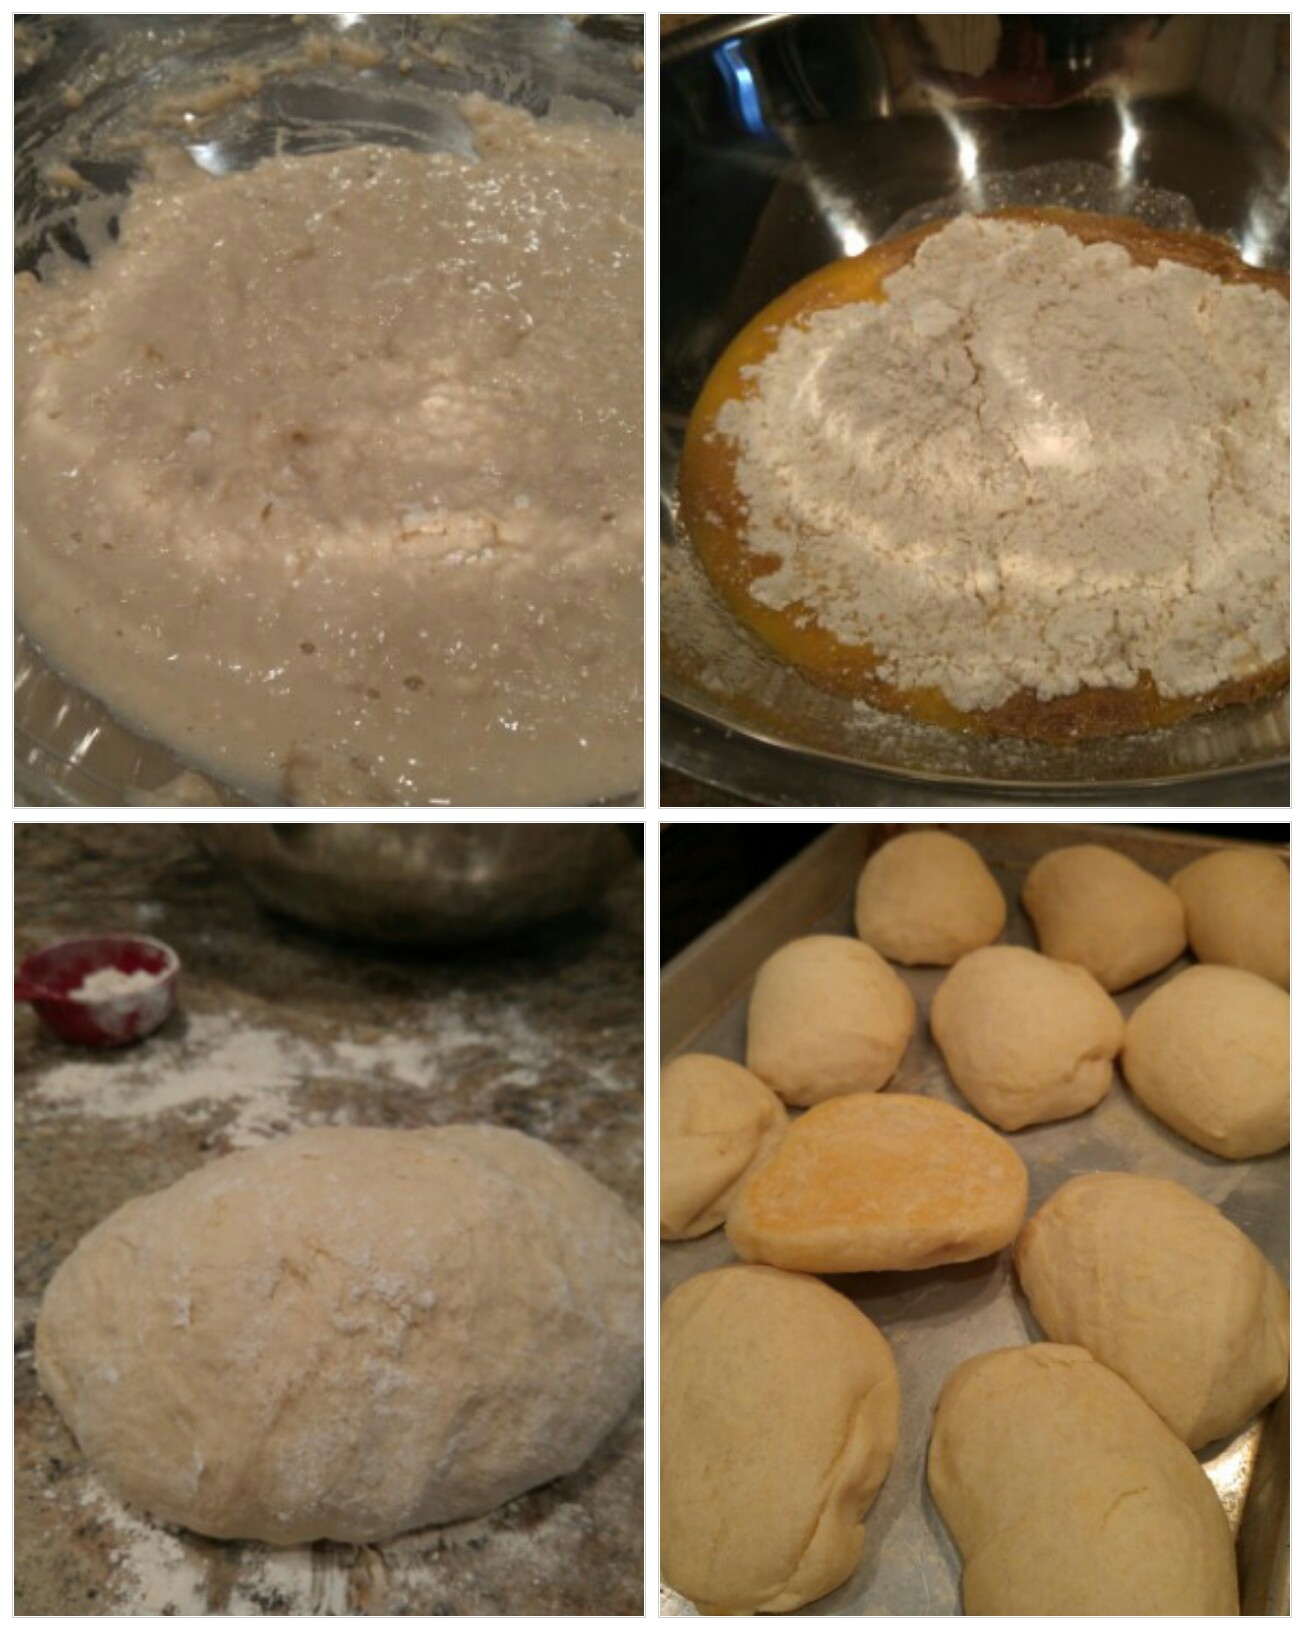
Okay, so the title for these recipe Monday’s came into my head last week when I was writing my  husband a note about his breakfast being in the (L)oven! You do get it, right, or is it just my crazy mind?  I love to bake and cook, so I thought an appropriate title would be “(L)Oven Monday”  =)  My mind works words over like that.  You can vote yes or no at the end of this post!

Anyway, while I was in the kitchen last week getting ready for my Apples of Gold ladies to come, I came across the adorable idea of baking pies in Mason Jar lids. How genius is that?

mason jar pie.jpg

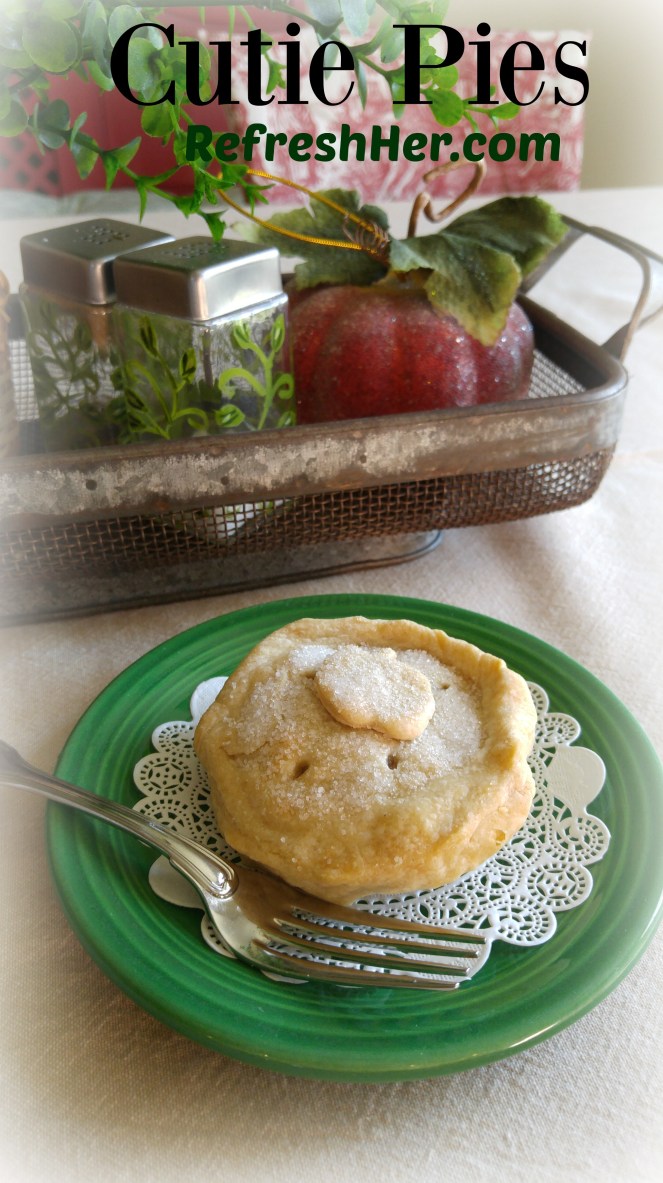
They make individual pies that are so stinking cute!  It’s the perfect size and they are so easy to put together.  It’s much less intimidating to  make a three-inch crust than an eight or ten inch one!  You could make any number of fillings, of course.  I made apple and Kentucky Derby pies with mine.

Here’s the Derby pie getting ready for the oven.  How good does this look…

mason-pies

Here’s the baked pie…

pie-bite

The Mason jar lids make a little spring form pan!  After they’re baked, you simply push up on the bottom of the lid and they pop right out.  Like I said – GENIUS!

Here’s a picture tutorial on how I made them:

My Pampered Chef Crimper is a little larger than the lid, which is what you want.  Find a bowl or glass that’s about a half inch bigger than the lids and cut circles in your crust.  I made mine, but you could also purchase dough.

pie-collage

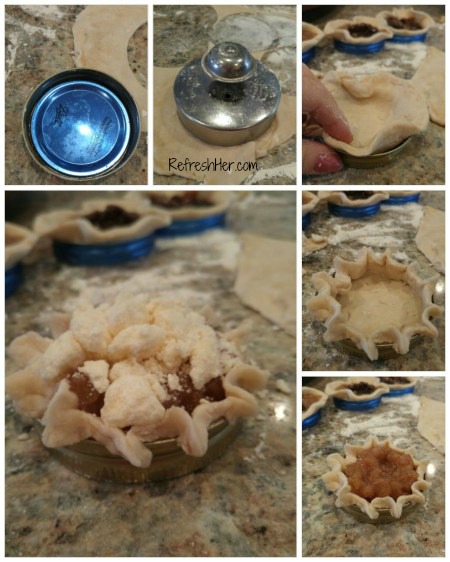
I sprayed the lids with cooking spray to ensure they’d pop out easily.  Don’t over-fill the pie – two or three tablespoons of filling will do, especially if you top it with crumb topping or dough.  I also sprinkle sugar over the crust to make it pretty and delicious!

These would be great for Thanksgiving!  No need to slice pie!  Everyone can help themselves to their own individual pie.  Pumpkin, apple, peach – whatever kind you want – just portion the filling into the crusts.

I made up extras and put them in the freezer.  All I have to do is take it out and bake it when I need a dessert.  I also freeze my large pie crusts in Ziploc bags.

mason-pies-1

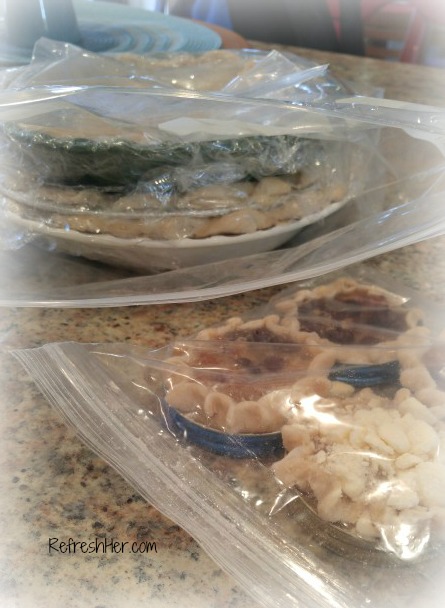
I cover the crust with Syran wrap, then put it into the freezer bags.

I hope you’ll make up a whole bunch of these Cutie Pies for your Thanksgiving dinner.  I think everyone will be talking about them and copying your idea!!!  Bake up a cute little treat from your (L)oven!

What do you think…do you like”(L)Oven Monday” for these Monday posts?  Or is it like, Huh???????????????????????

With love from my country kitchen,

Denise Signature 150 px

Bread · Make-Ahead

Make-Ahead Parkerhouse Rolls

rolls

For years I have made these Make-Ahead Butterhorns, and I still love them.  They’re super delicious and you do most of the work ahead of time.  You just have to let them rise for about five hours when they’re in their frozen state.  They are perfect for when I can plan ahead, but at other times when I need a bread for dinner on a moment’s notice, they are so convenient.  

At Thanksgiving I tried Ree Drummonds Parkerhouse Rolls.  These are also make-ahead rolls, but they are completely ready to pop into the oven for a quick ten – twelve minute browning and they’re ready for the table! They’re like the old Brown and Serve kind of rolls, only ten times tastier!  They are so delicious, and the fact that they require no major time when you need them make them a great staple to keep in the freezer!

Here’s the recipe from Food Network: This recipe yields 72 rolls.  I halved the recipe, but if you need rolls for a huge crowd, make the whole batch!

Parkerhouse Rolls

Stage 1: Combine the milk, sugar and 2 sticks butter in a large pot. Bring to a simmer and when the mixture is hot (but not boiling), turn off the heat and allow to cool to warmer than lukewarm, 30 to 45 minutes.

Stage 2: Sprinkle in the yeast and add 8 cups of flour. Stir to combine, then cover and allow to rise for 1 hour.

Stage 3: After 1 hour, add the salt, baking powder, baking soda and remaining 1 cup flour and stir to combine. Turn out onto a floured surface and knead the dough for 8 to 10 minutes, then form into a ball, cover with a towel and allow to rise in a warm place for 30 to 45 minutes.

Stage 4: Melt 2 sticks butter in a saucepan.

Roll out the dough to 1/2 inch thick. Cut circles with a 2 1/2-inch cutter. Dunk each circle in the melted butter, then immediately fold in half and place on a baking sheet. Press lightly to encourage sealing. Cover with a towel and allow the rolls to rise 30 to 45 minutes.

Preheat the oven to 400 degrees F.

Stage 5: To par bake the rolls before freezing, bake until the rolls are risen and set but not brown, 7 to 8 minutes. Transfer to a wire rack to cool. Freeze the rolls separately, then store them in batches in freezer bags. (If you’re not freezing the rolls and want to serve them right away, bake at 400 degrees F until risen, set and golden brown, about 15 minutes total.)

When ready to cook and serve the frozen rolls, preheat the oven to 350 degrees F. Melt the remaining stick of butter in a saucepan.

Place the frozen rolls on baking sheets and brush them with the melted butter. Bake until golden brown, 14 to 16 minutes. Brush them with additional melted butter if you like and let them sit for 1 minute. Serve while still warm.

Pictured below are the four “stages.”  It may seem like a lot of work, but it’s mostly just letting the dough rest or rise.  These are easy and worth the effort!

151219_124656_collage-1.jpg

Just bake them the first time until they’re lightly browned, as pictured.

I have these rolls ready in my freezer for Christmas dinner at my parent’s house.  All the work is done – the easy part is all that’s left!  Last Monday’s recipe was also a make-ahead one – can you tell I like to be ahead of the game when I cook?!  

What do you do to work ahead in meal prep?

With love from my country kitchen,

8E63C63AC0BC189BF1C68B03C74DBB5F