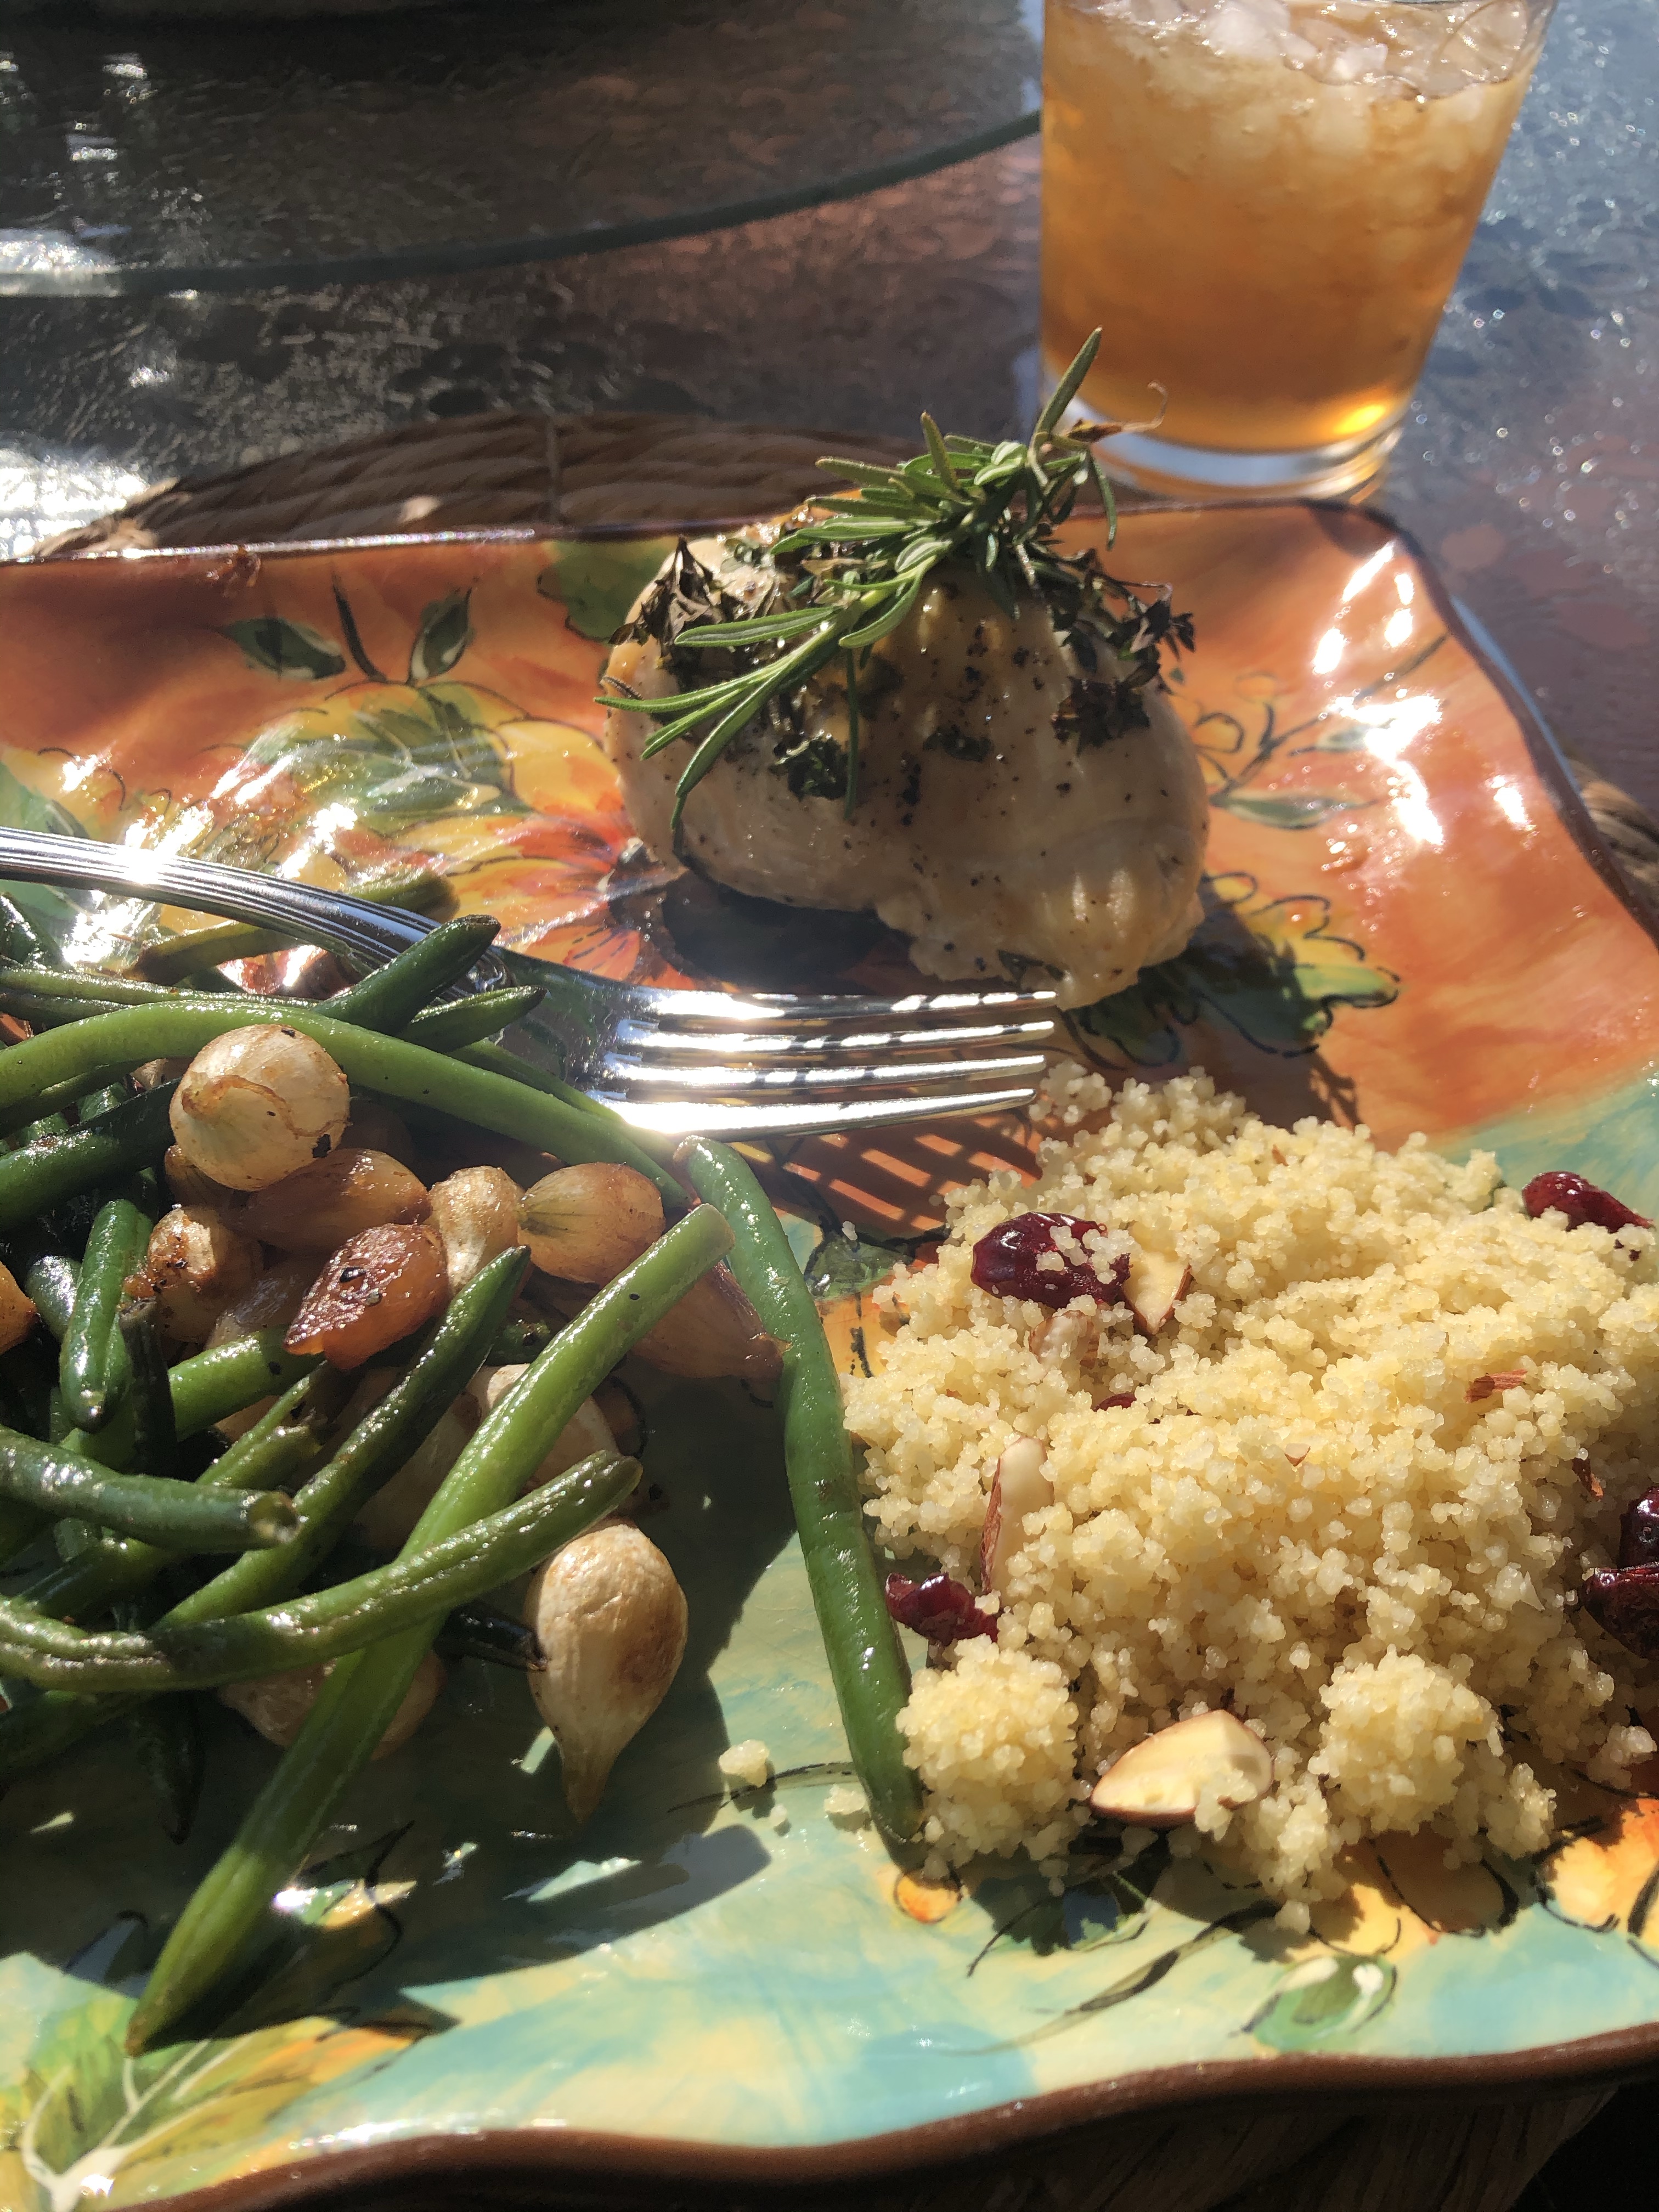
Our family loves to celebrate, and that is usually interpreted into the meal planning. If it’s someone who is being celebrated, they rightfully get to help select their favorites.”What should we have for dinner for Father’s Day?” was an important question I asked my husband last week. He landed on some old favorites, then I chose one new recipe, and one I hadn’t made in a while. The result was a sumptuous fare that celebrated him and the gift he is to our family.
We missed our son-in-law who had to be out of town for Father’s Day!
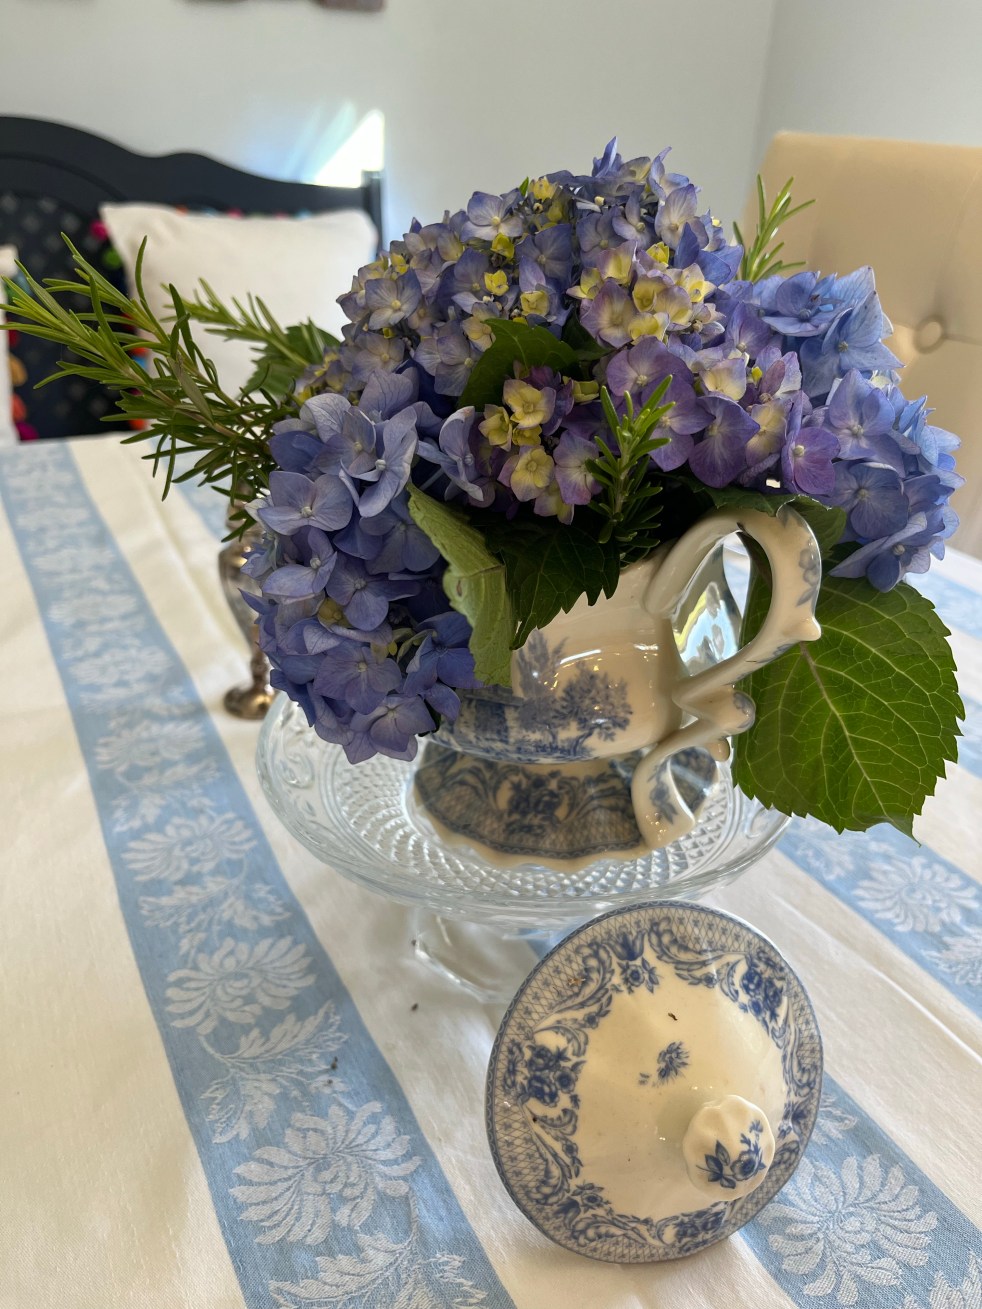
Wow! What a special Easter week this was! Good Friday’s service was such a blessing as we were reminded of Christ’s sacrifice on the cross in our place. Then Sunday we rejoiced and worshiped and sang and had sweet fellowship with our church family as well as our physical family.
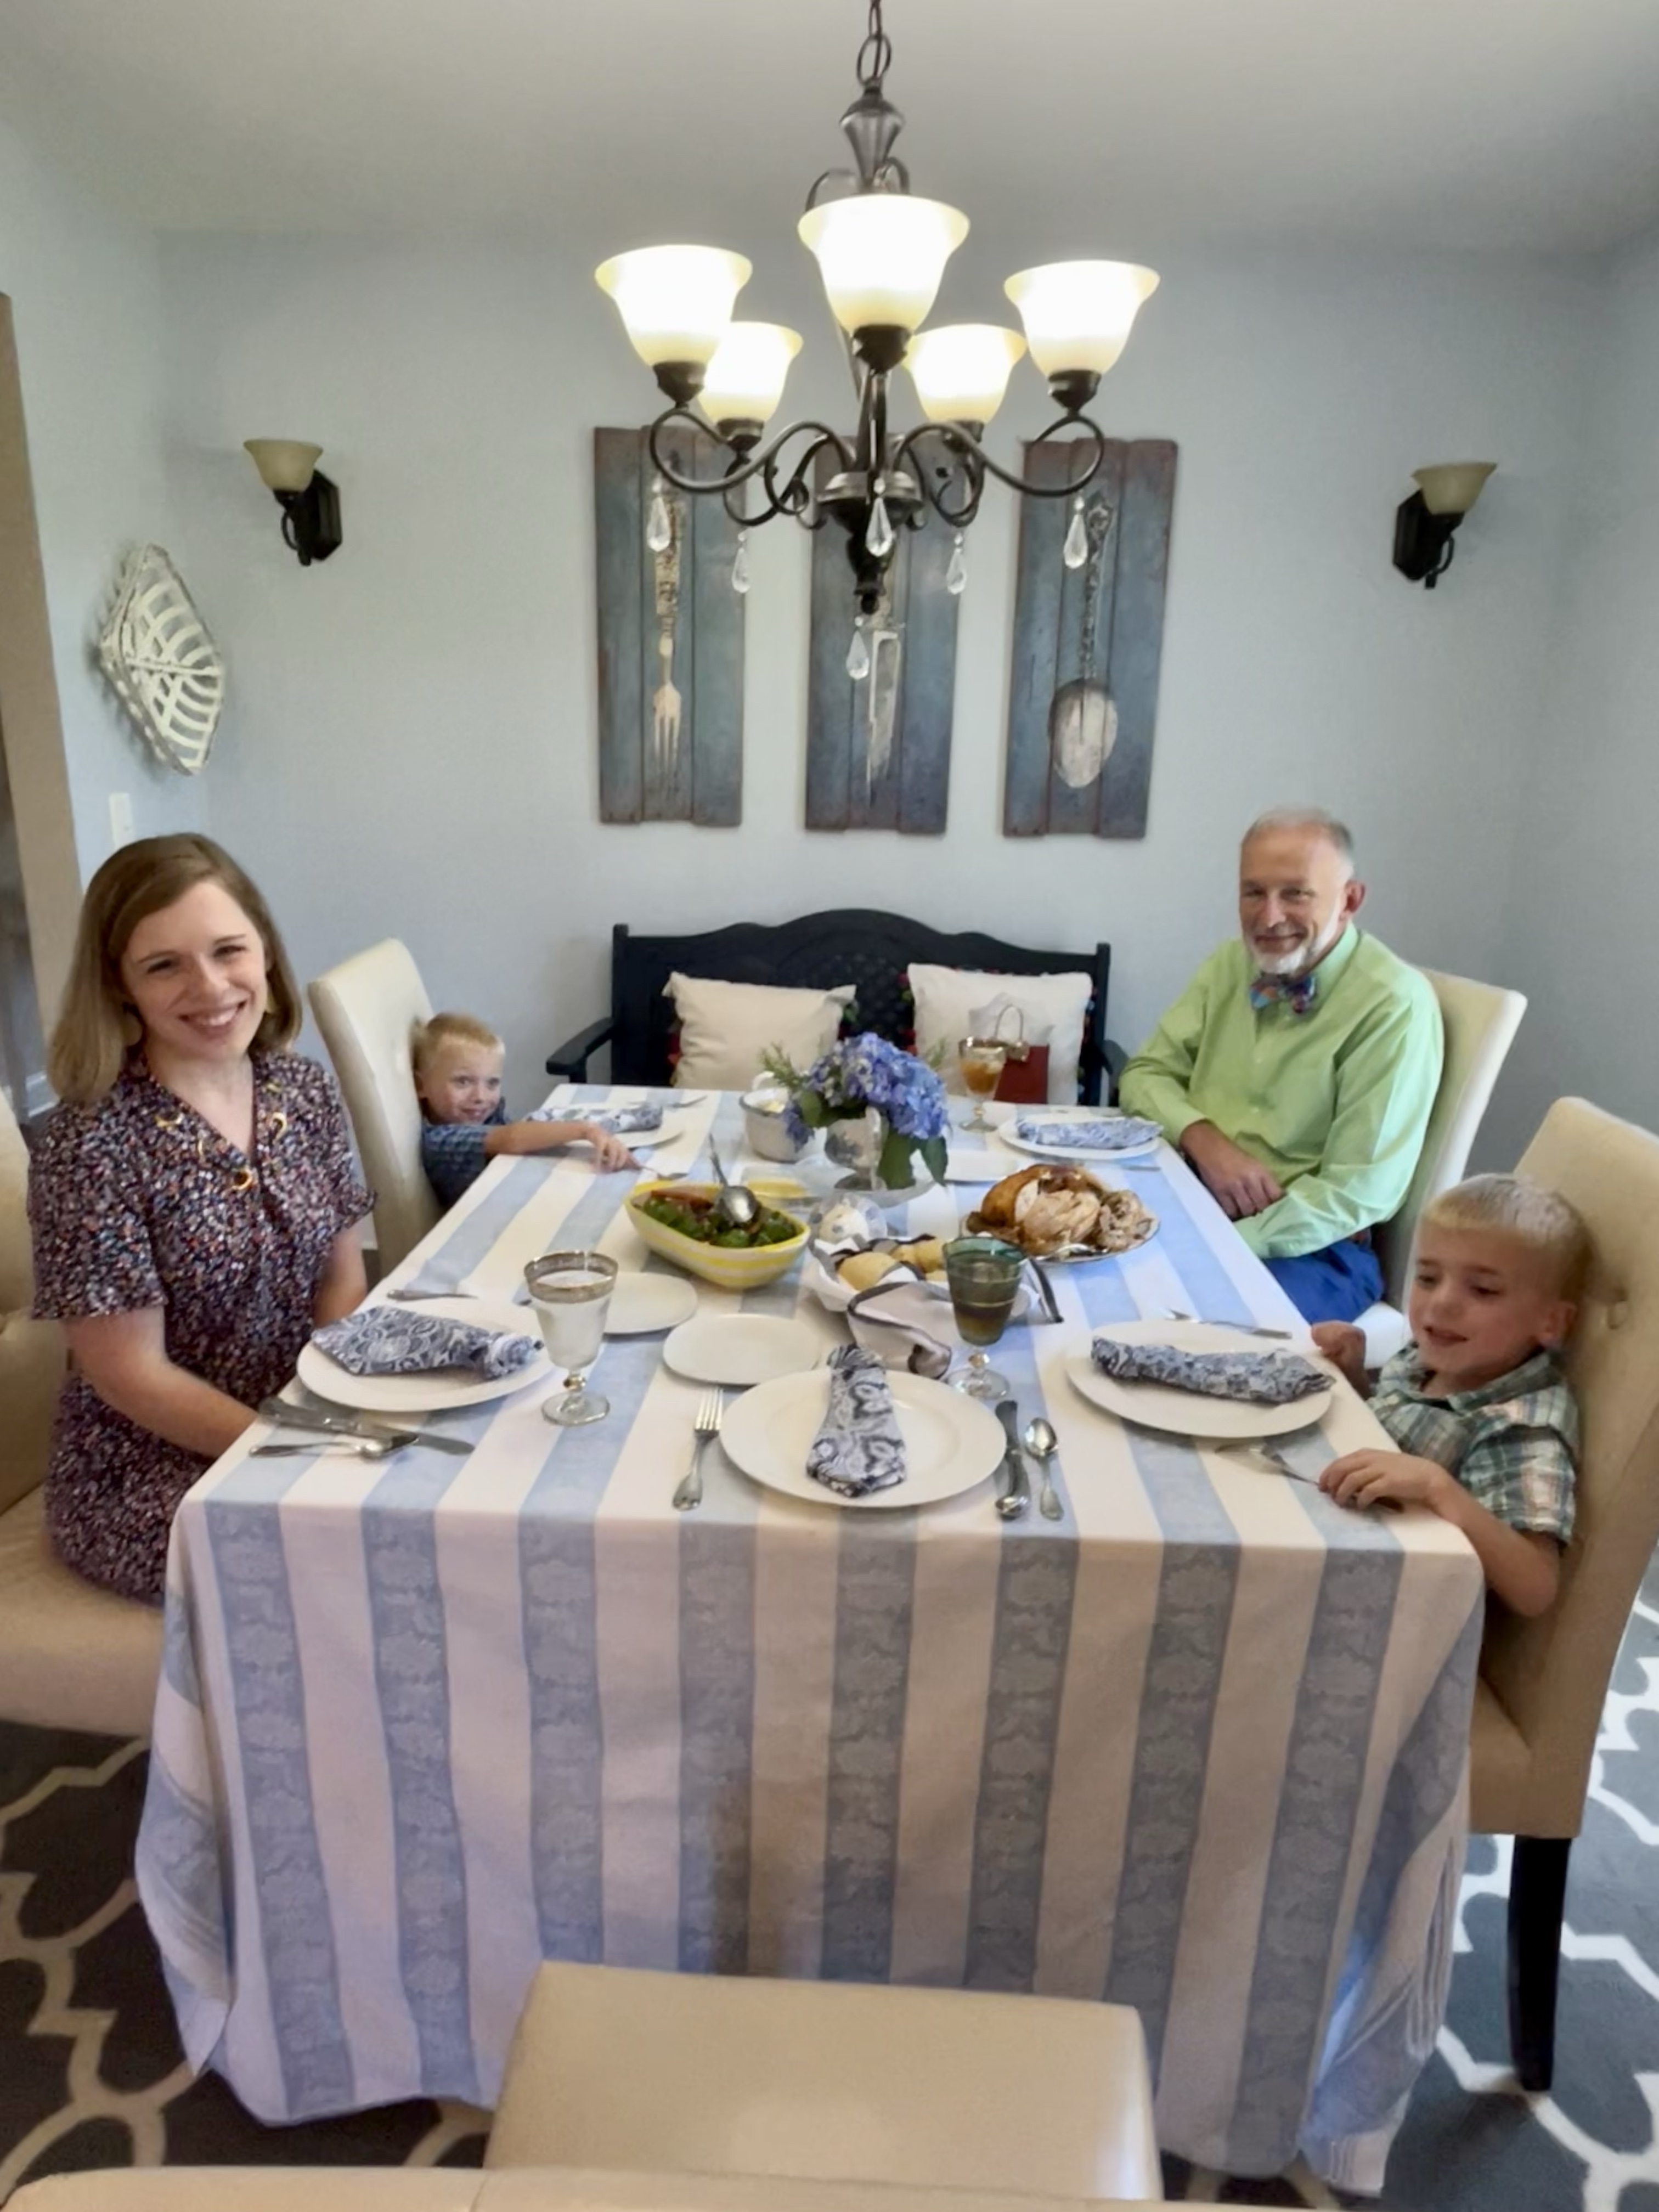
After our morning service we gathered in our home with our girls and their families, and also some dear friends. My daughters and I collaborated on the meal, and it was so much fun to work together and put out a spread we all enjoyed. Here’s the menu:
Glazed Ham Gourmet Potatoes Corn Saute’ Green Salad with peaches and Craisins Deviled Eggs Cheddar Biscuits Coconut Cake ~ Chocolate Fudge Pie
My contribution was the cake, ham and potatoes. These Gourmet potatoes have a long history in our family. They are perfect for a busy meal because they are all made up ahead of time and then just slid into the oven to bake for 30 minutes.
Gourmet Potatoes 6 medium potatoes 2 C shredded cheddar cheese 1/4 C butter 1 1/2 C sour cream (I used light) 1/3 C chopped onion 1 t. salt paprika
Peel the potatoes. Leave them whole. Cook in boiling water ’til tender. Cool. Shred potatoes coarsely. In medium-sized saucepan, melt butter and cheese. Stir ’til melted. Remove from heat; blend in sour cream, onions and salt. Fold in potatoes and pour into a 2 qt. casserole dish. Sprinkle with paprika on top. Refrigerate overnight. Bake @ 350 degrees for 30 minutes.
The meal was all so good, and it was such a blessing having help with the meal. What fun it was to work together in the kitchen with my girls.
Teach your daughters to cook! It is so rewarding! Do you enjoy having help while you’re cooking? Have you taught your daughters to cook, too? I’d love ot hear!
My pictures on my site here are still an issue, so please go to my Instagram ~ Refreshherblog and you’ll find pictures of our Easter dinner and celebration. If you’re not following me on Instagram, what are you waiting for? It’s where I post most often! You can click to Instagram by scrolling all the way down to the bottom of the page if you are reading on your phone. Look for the camera icon for Instagram.
We are traditionalists on most holidays. The same foods are usually served each year on Christmas Eve and Christmas Day. But you know what? Sometimes it’s really fun to break out of that “mold” and do something completely different! That’s what happened this year.
My daughter hosted us for Christmas Eve and Christmas Day and she and her sister did all the food. Not only did I not contribute to the meal, I wasn’t allowed to lift a finger. That was a gift in itself. They are the sweetest.
Here are the meals they planned and prepared.
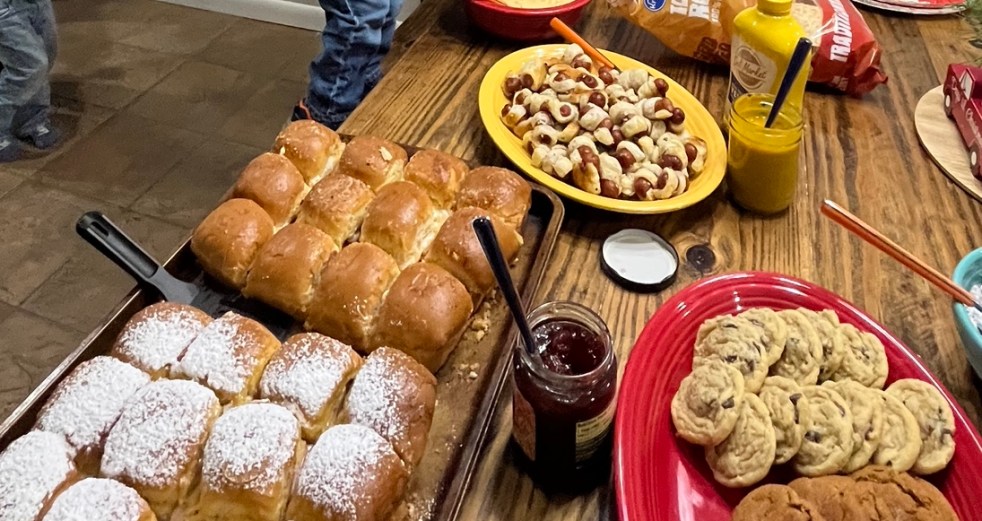
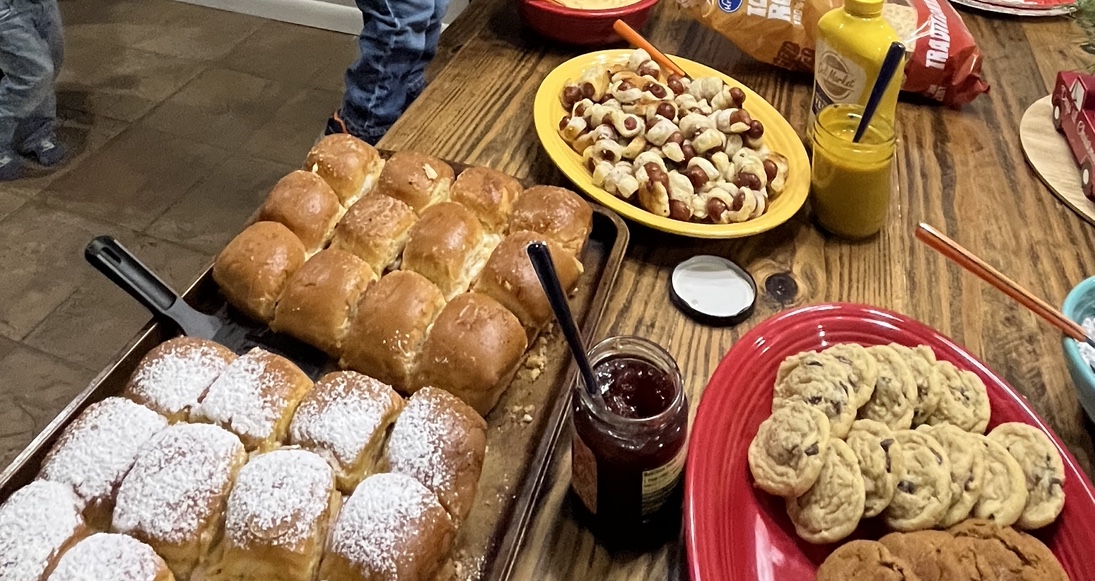
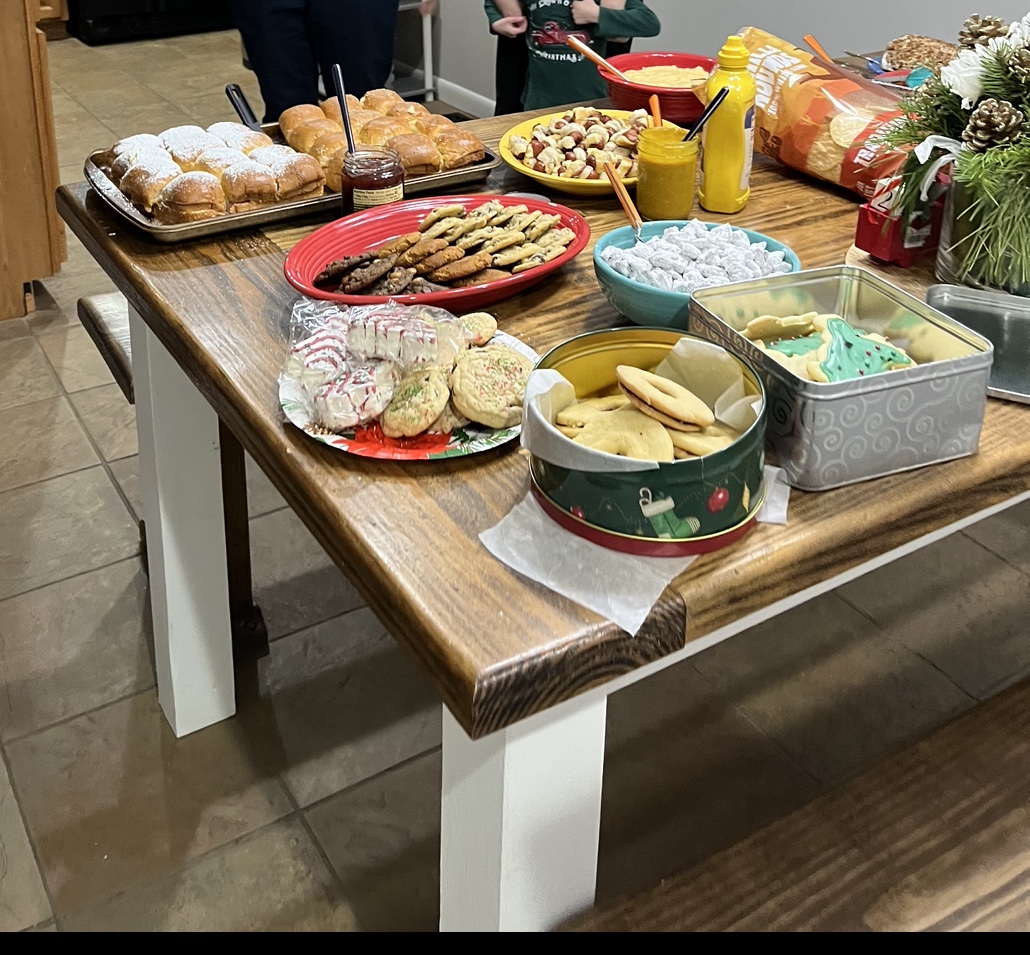
Christmas Eve night, they had all appetizers. (BTW, This would make a great menu for New Year’s Eve, too!)
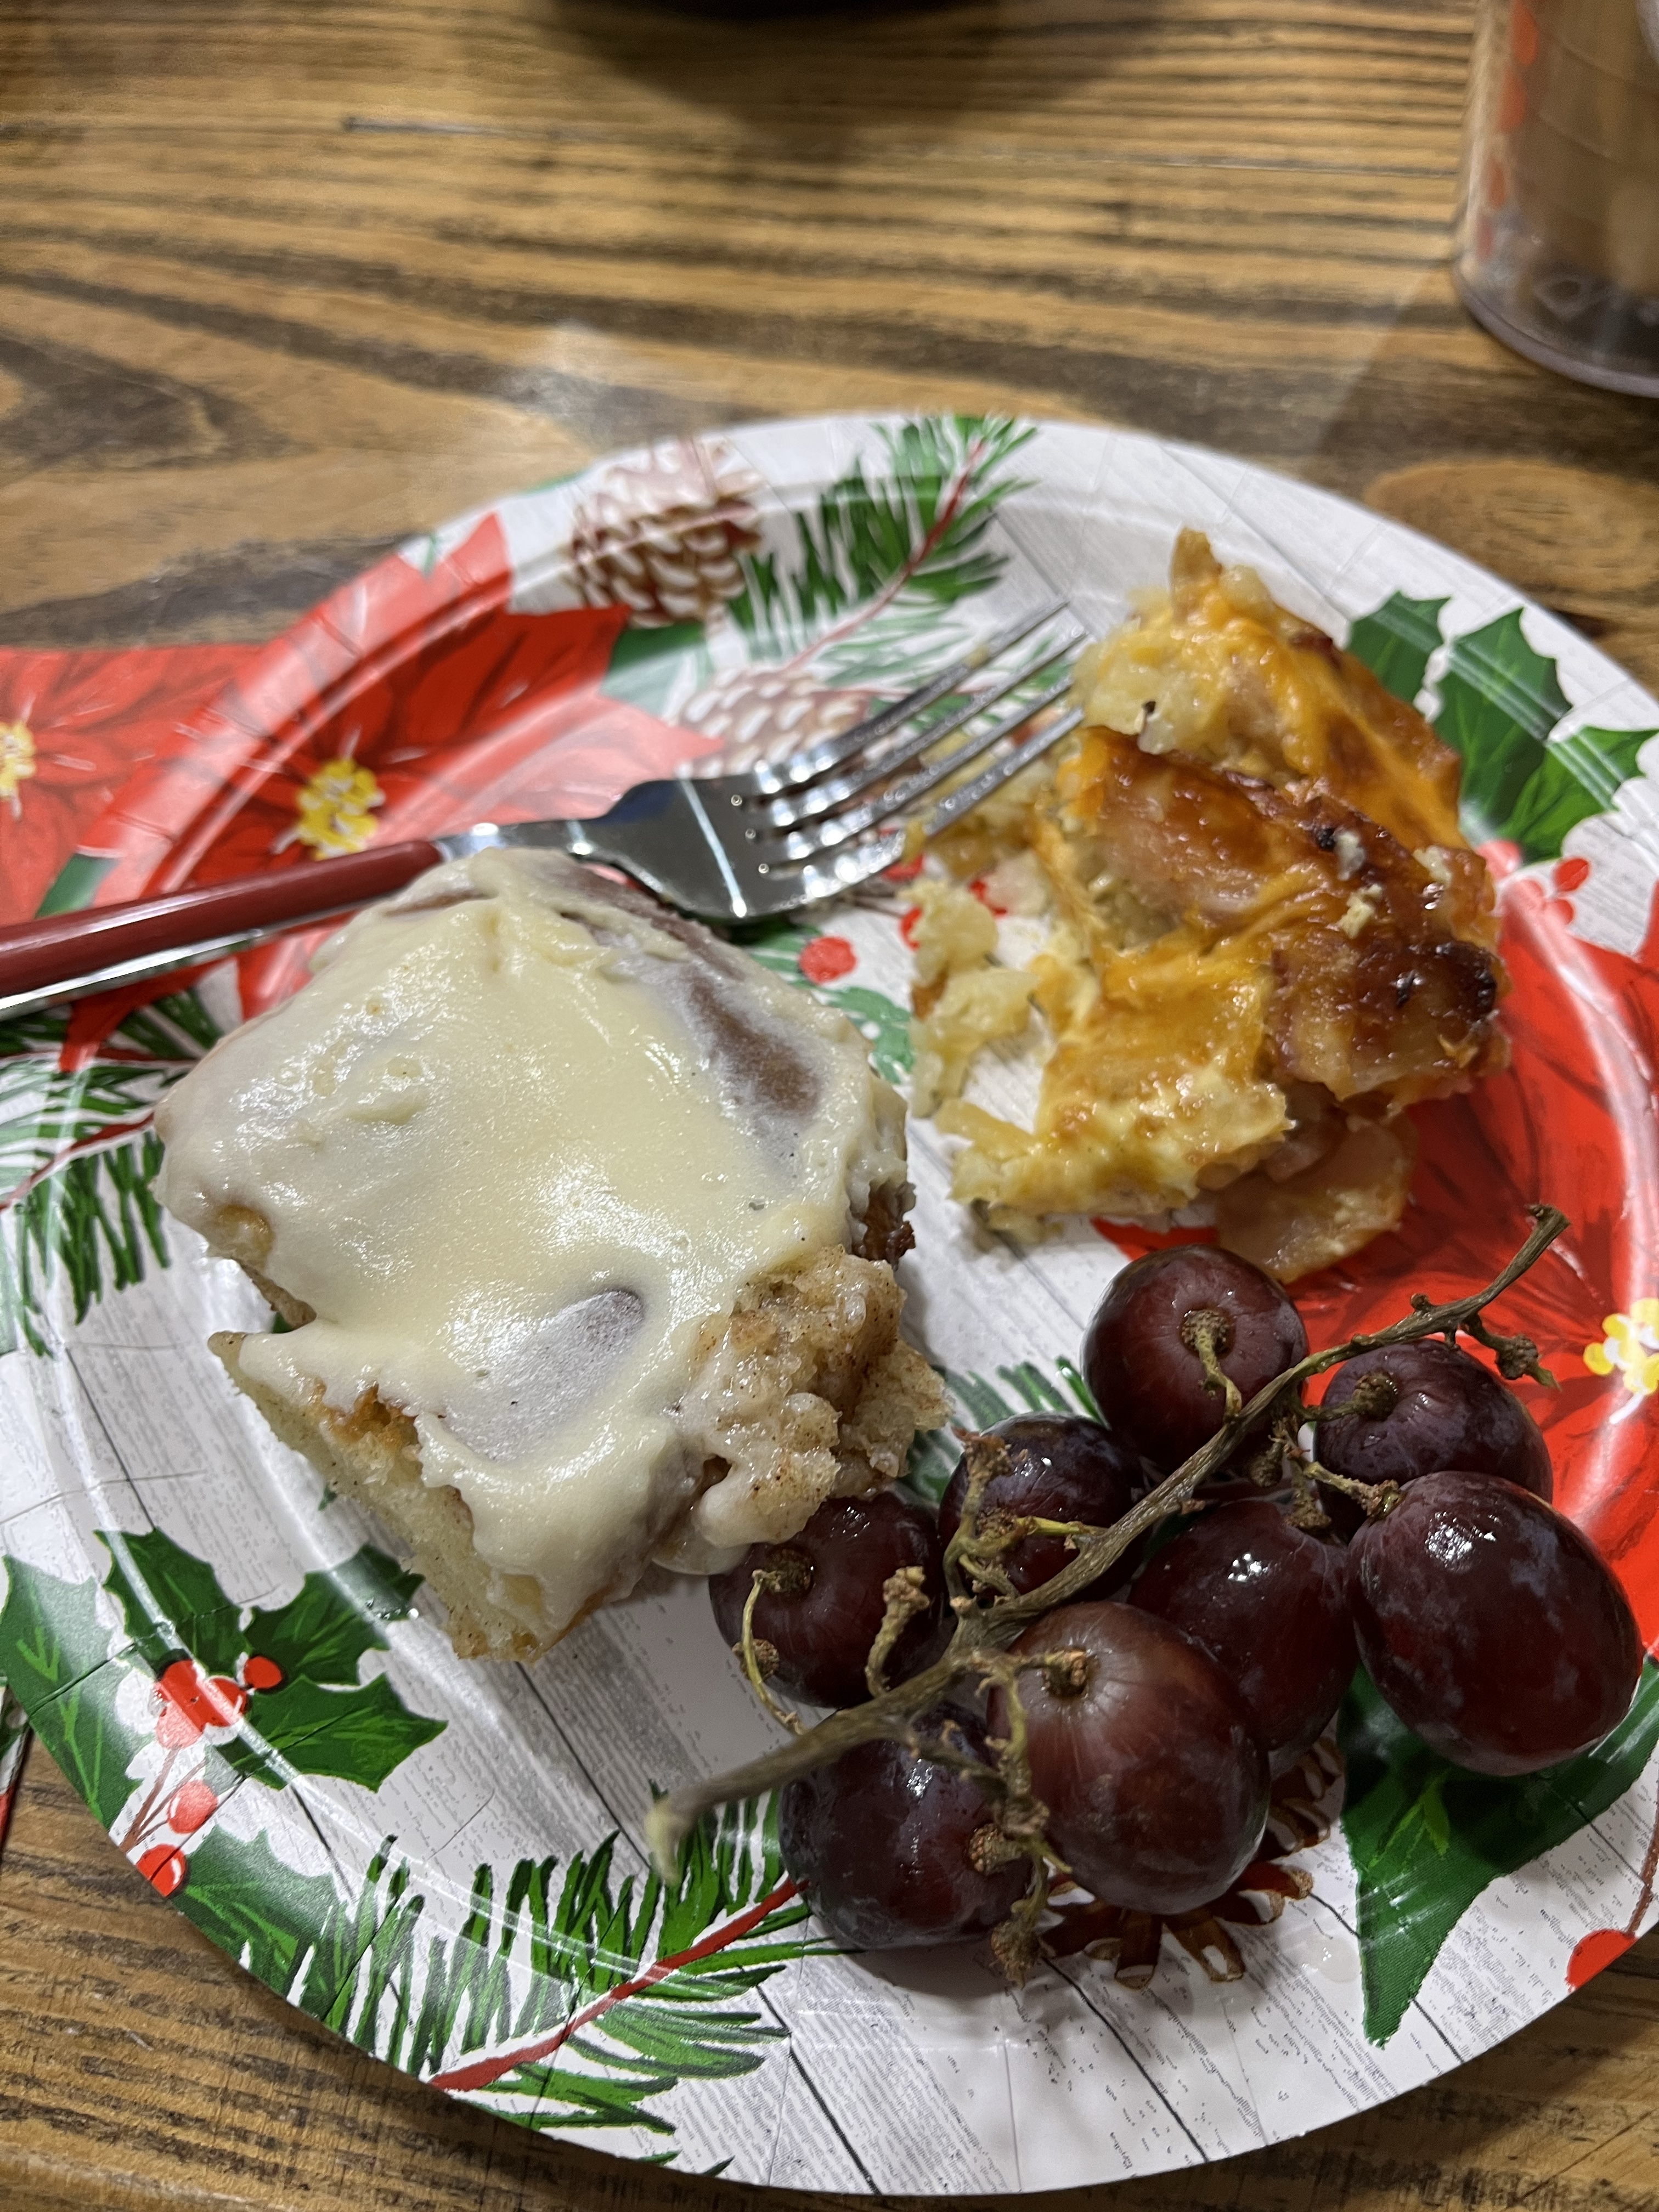
We had a mid-morning brunch on Christmas morning. The egg casserole Whitney made was a.maz.ing! It had all the brunchy feels to it and balanced out the sweetness of the Pioneer Woman Cinnamon Rolls that Alli and her husband made! What a way to start the day!
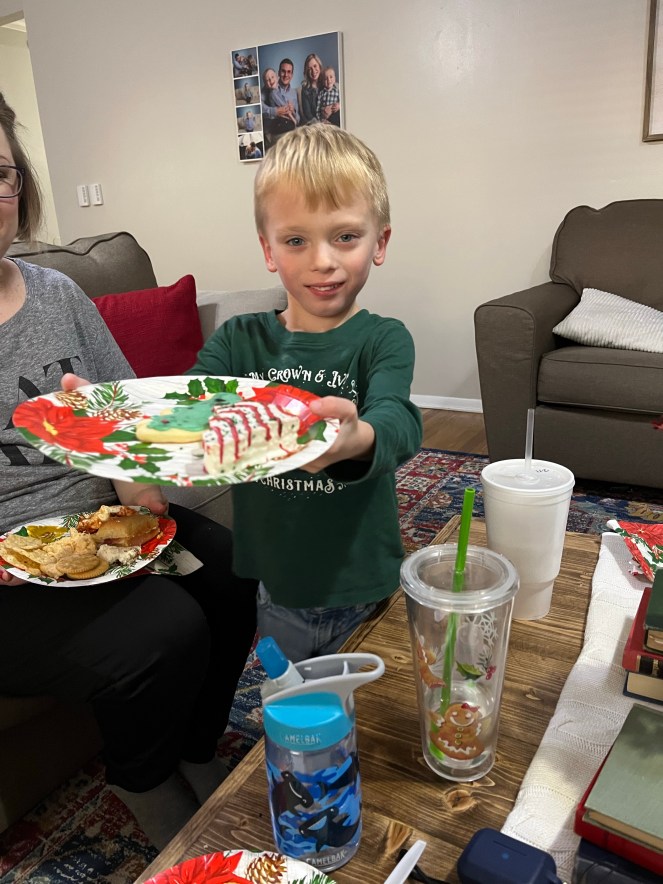
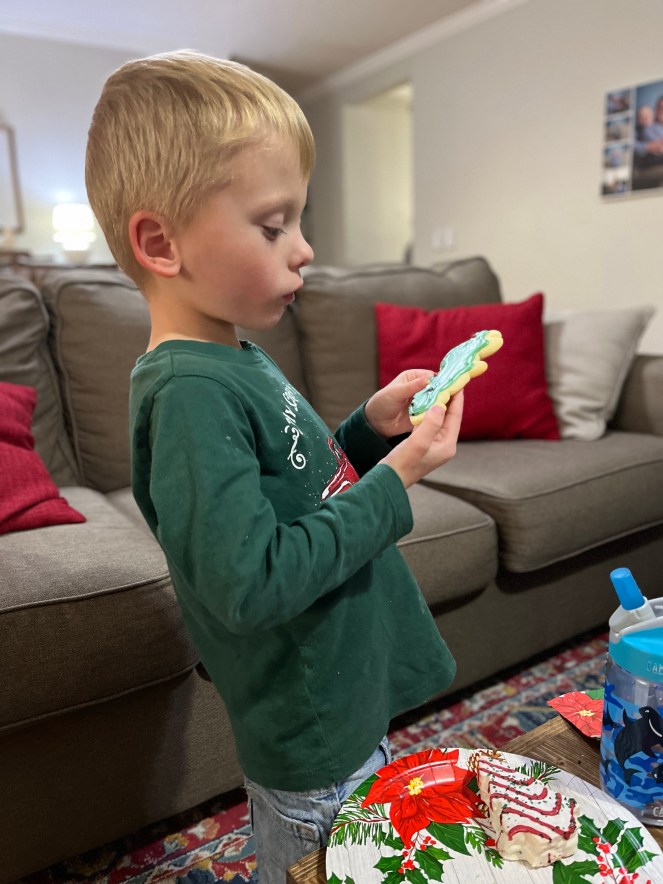
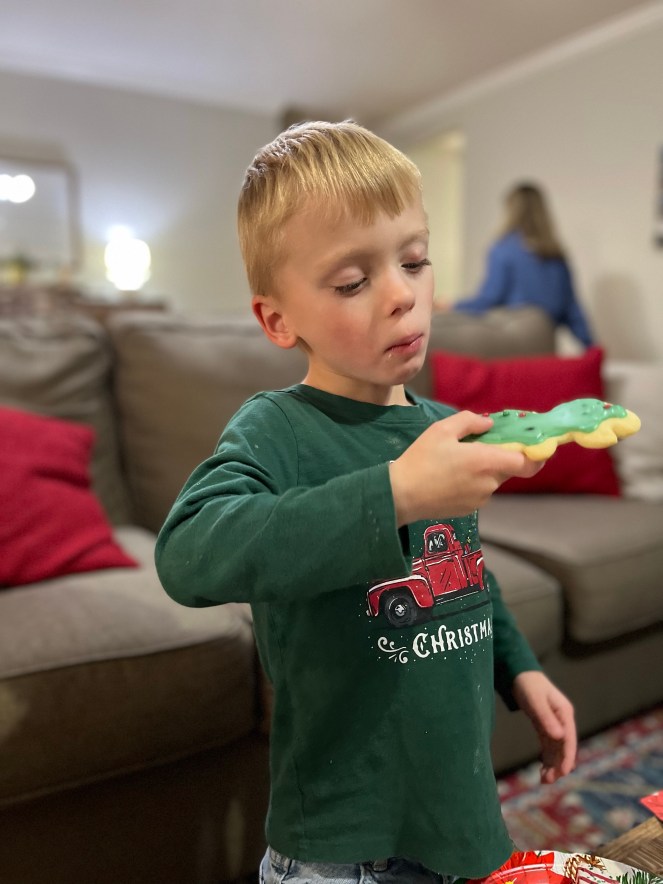
Learn from a 5-year old how to eat a cookie. Fill your plate with your favorites. Look carefully at the cookie to decide which corner to attack first. Then go in and nibble away until completely devoured!
After church yesterday we were blessed to host everyone for Sunday dinner. It was very impromptu, but I made a simple meal everyone loves – Soup beans and cornbread. I used the simple recipe I’ve shared here. This is such a great meal for ease and for comfort. I served it with roasted potatoes, cornbread, and cooked apples. Even our little guys love this meal.
All these meals were great, yes, but the best part was sitting around the table as a family, thanking the Lord, chatting, laughing, listening, watching, loving, caring and serving. That’s what mealtime is all about.
Plan something simple this week and invite others to join around your table. Eat slowly. Make conversation. Serve them. Love them. There’s nothing that tastes any better!
What kind of foods did your family share over Chrismtas?
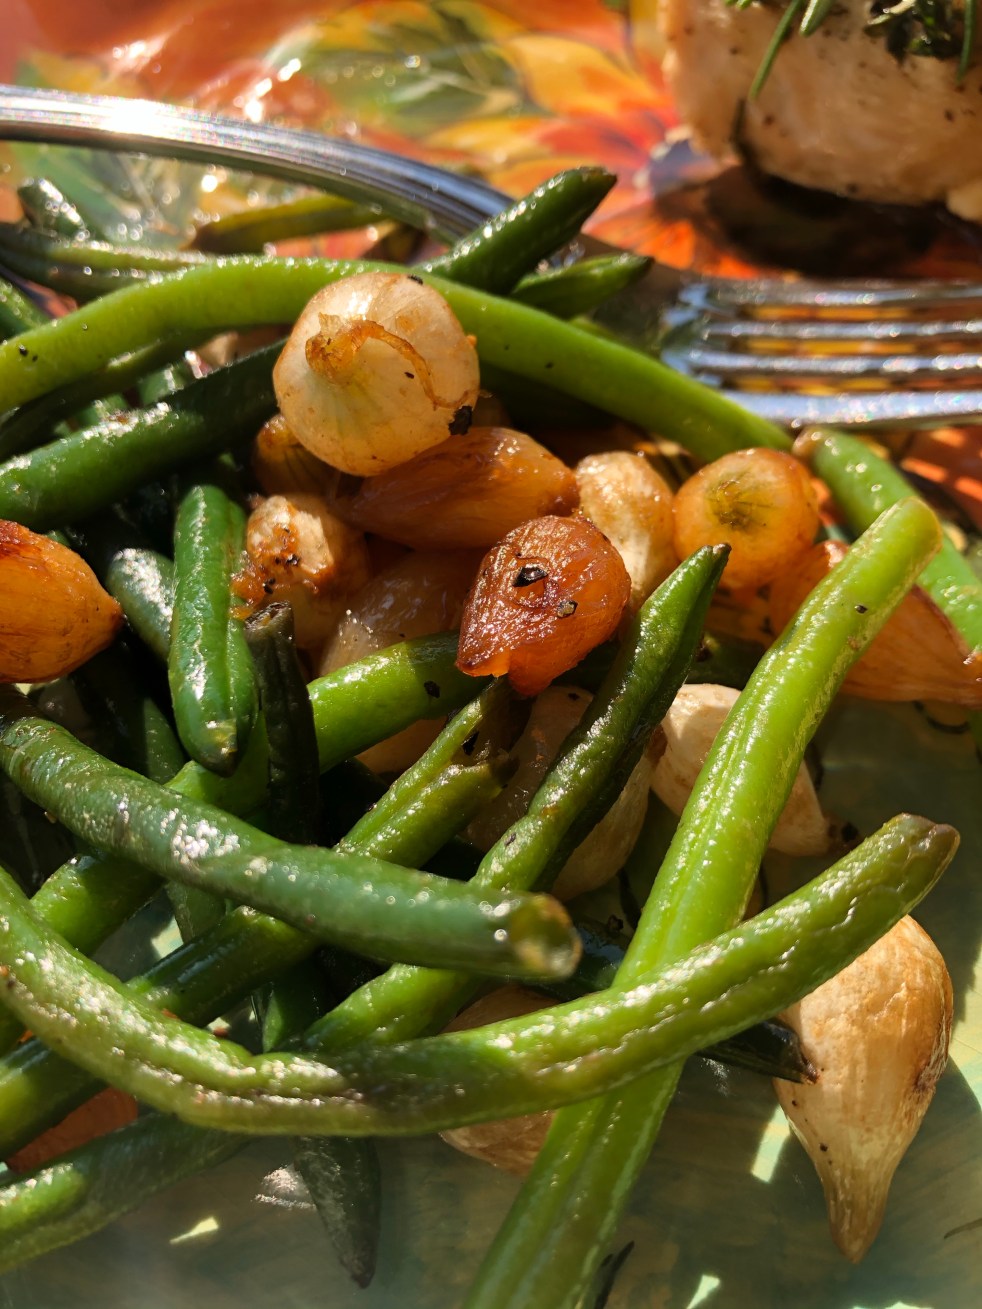
I am a Southern green bean girl! That means I like my green beans cooked through so they’re soft with a little of the fat hugging each bean, meaning there’s great flavor with each bite!
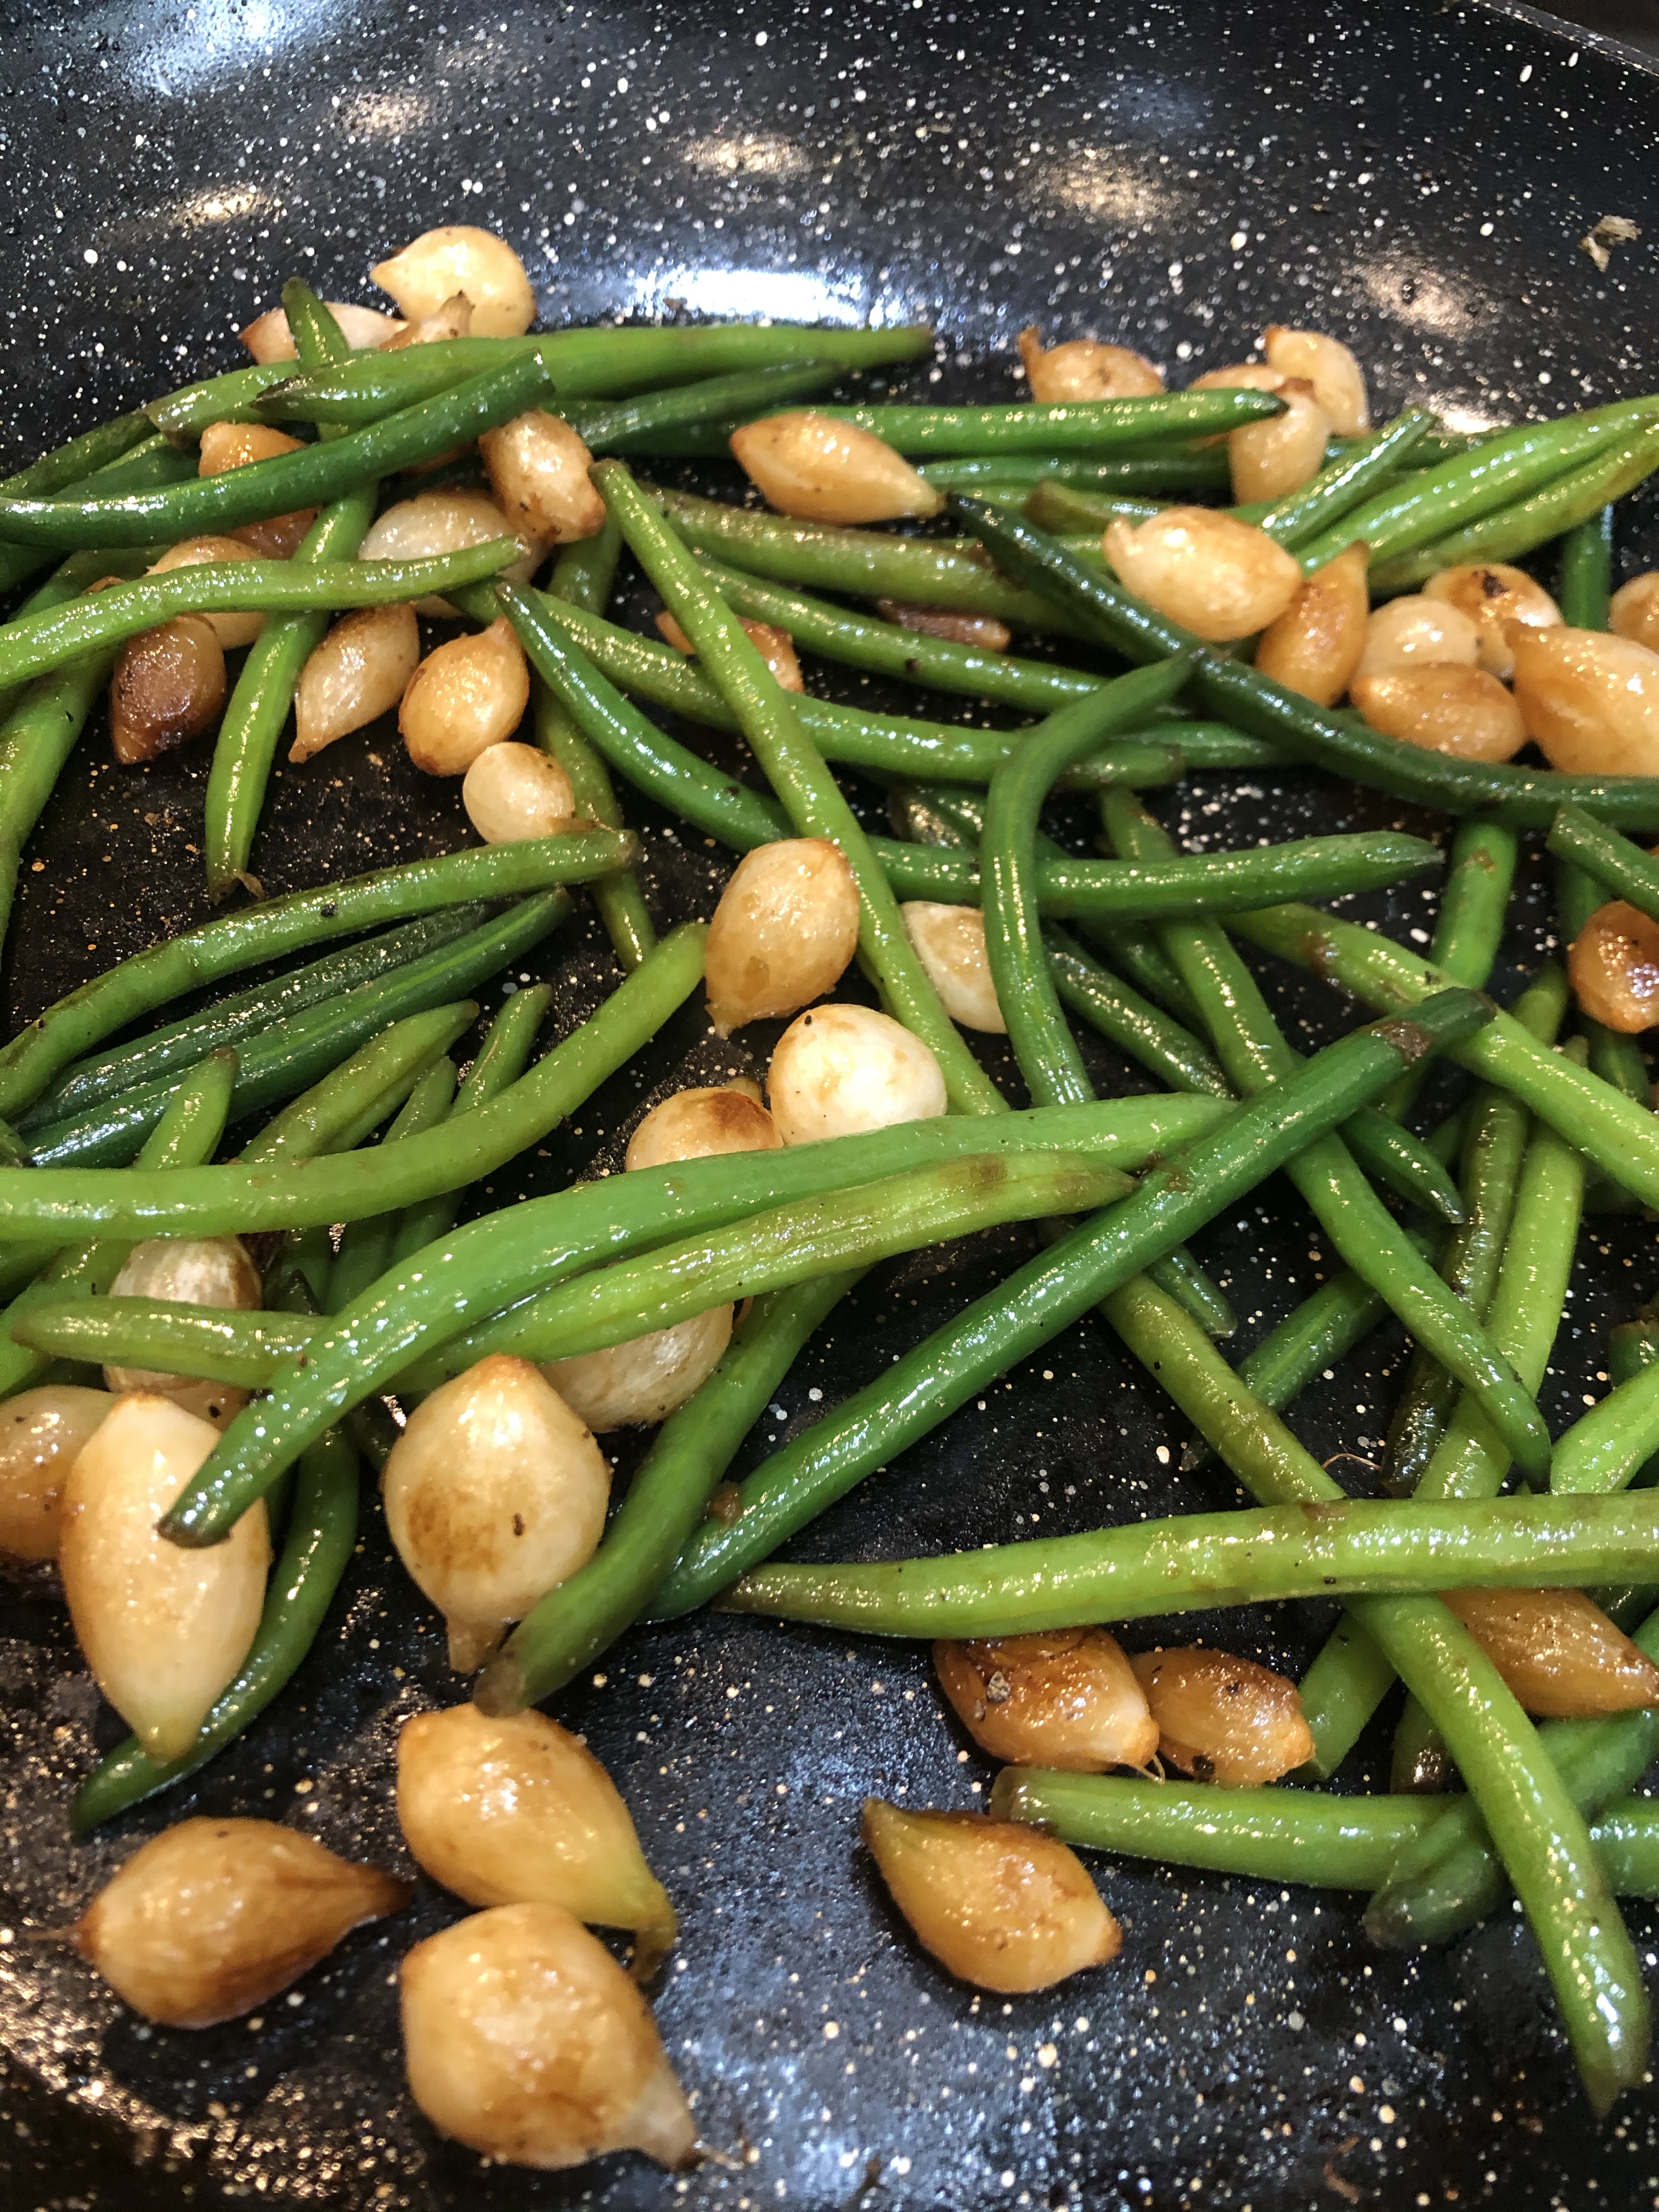
When I saw a recipe on Weight Watchers for green beans, I was a little skeptical, but thought it was worth a try. The result? A.Maz.Ing side dish!! The caramelized onions give this dish tremendous flavor! I did cook my green beans a little longer than the recipe says, because I didn’t want them to be crispy-tender – I wanted them cooked through. You can choose your cooking time to suit your liking, of course!
But whatever you do, you need to give these a try! You’ll feel like you pulled out one of your “special event” recipes! We’ve had them several times since I discovered them, and I truly think I could eat them every week and not mind it all!
Green Beans with Caramelized Onions
1 tsp Olive oil
1 Tbl. Sugar
16 oz. Frozen pearl onion(s)
16 oz, or whole green beans Frozen cut green beans
2 Tbsp, fresh, chopped Dill
1/2 tsp able salt
1/4 tsp Black pepper
Instructions
Heat oil and sugar together in a large skillet over medium-high heat. Add onions and sauté until tender and golden brown, stirring frequently, about 10 minutes.
Add green beans and cook until crisp-tender, stirring frequently, about 3 minutes.
Remove from heat and stir in dill, salt and pepper. Yields about 1/2 cup per serving.
These are only 1 point on all WW plans! By the way, I’d encourage you, if you’re seeking to lose some weight, check Weight Watchers out! They offer free starts all the time. It’s such a great plan to follow because it’s a change of eating that becomes a habit and way of life. You eat normal foods and can eat all the good things! It’s been one year now since my husband and I started the plan and we have maintained our weight, even with some indulgences for special celebrations! I get no kick-back – I just want to help you! You can join for as little as just under $4 a month!
I’m curious – are you a Southern green bean girl, too? Or do you like the beans just warmed up a little?
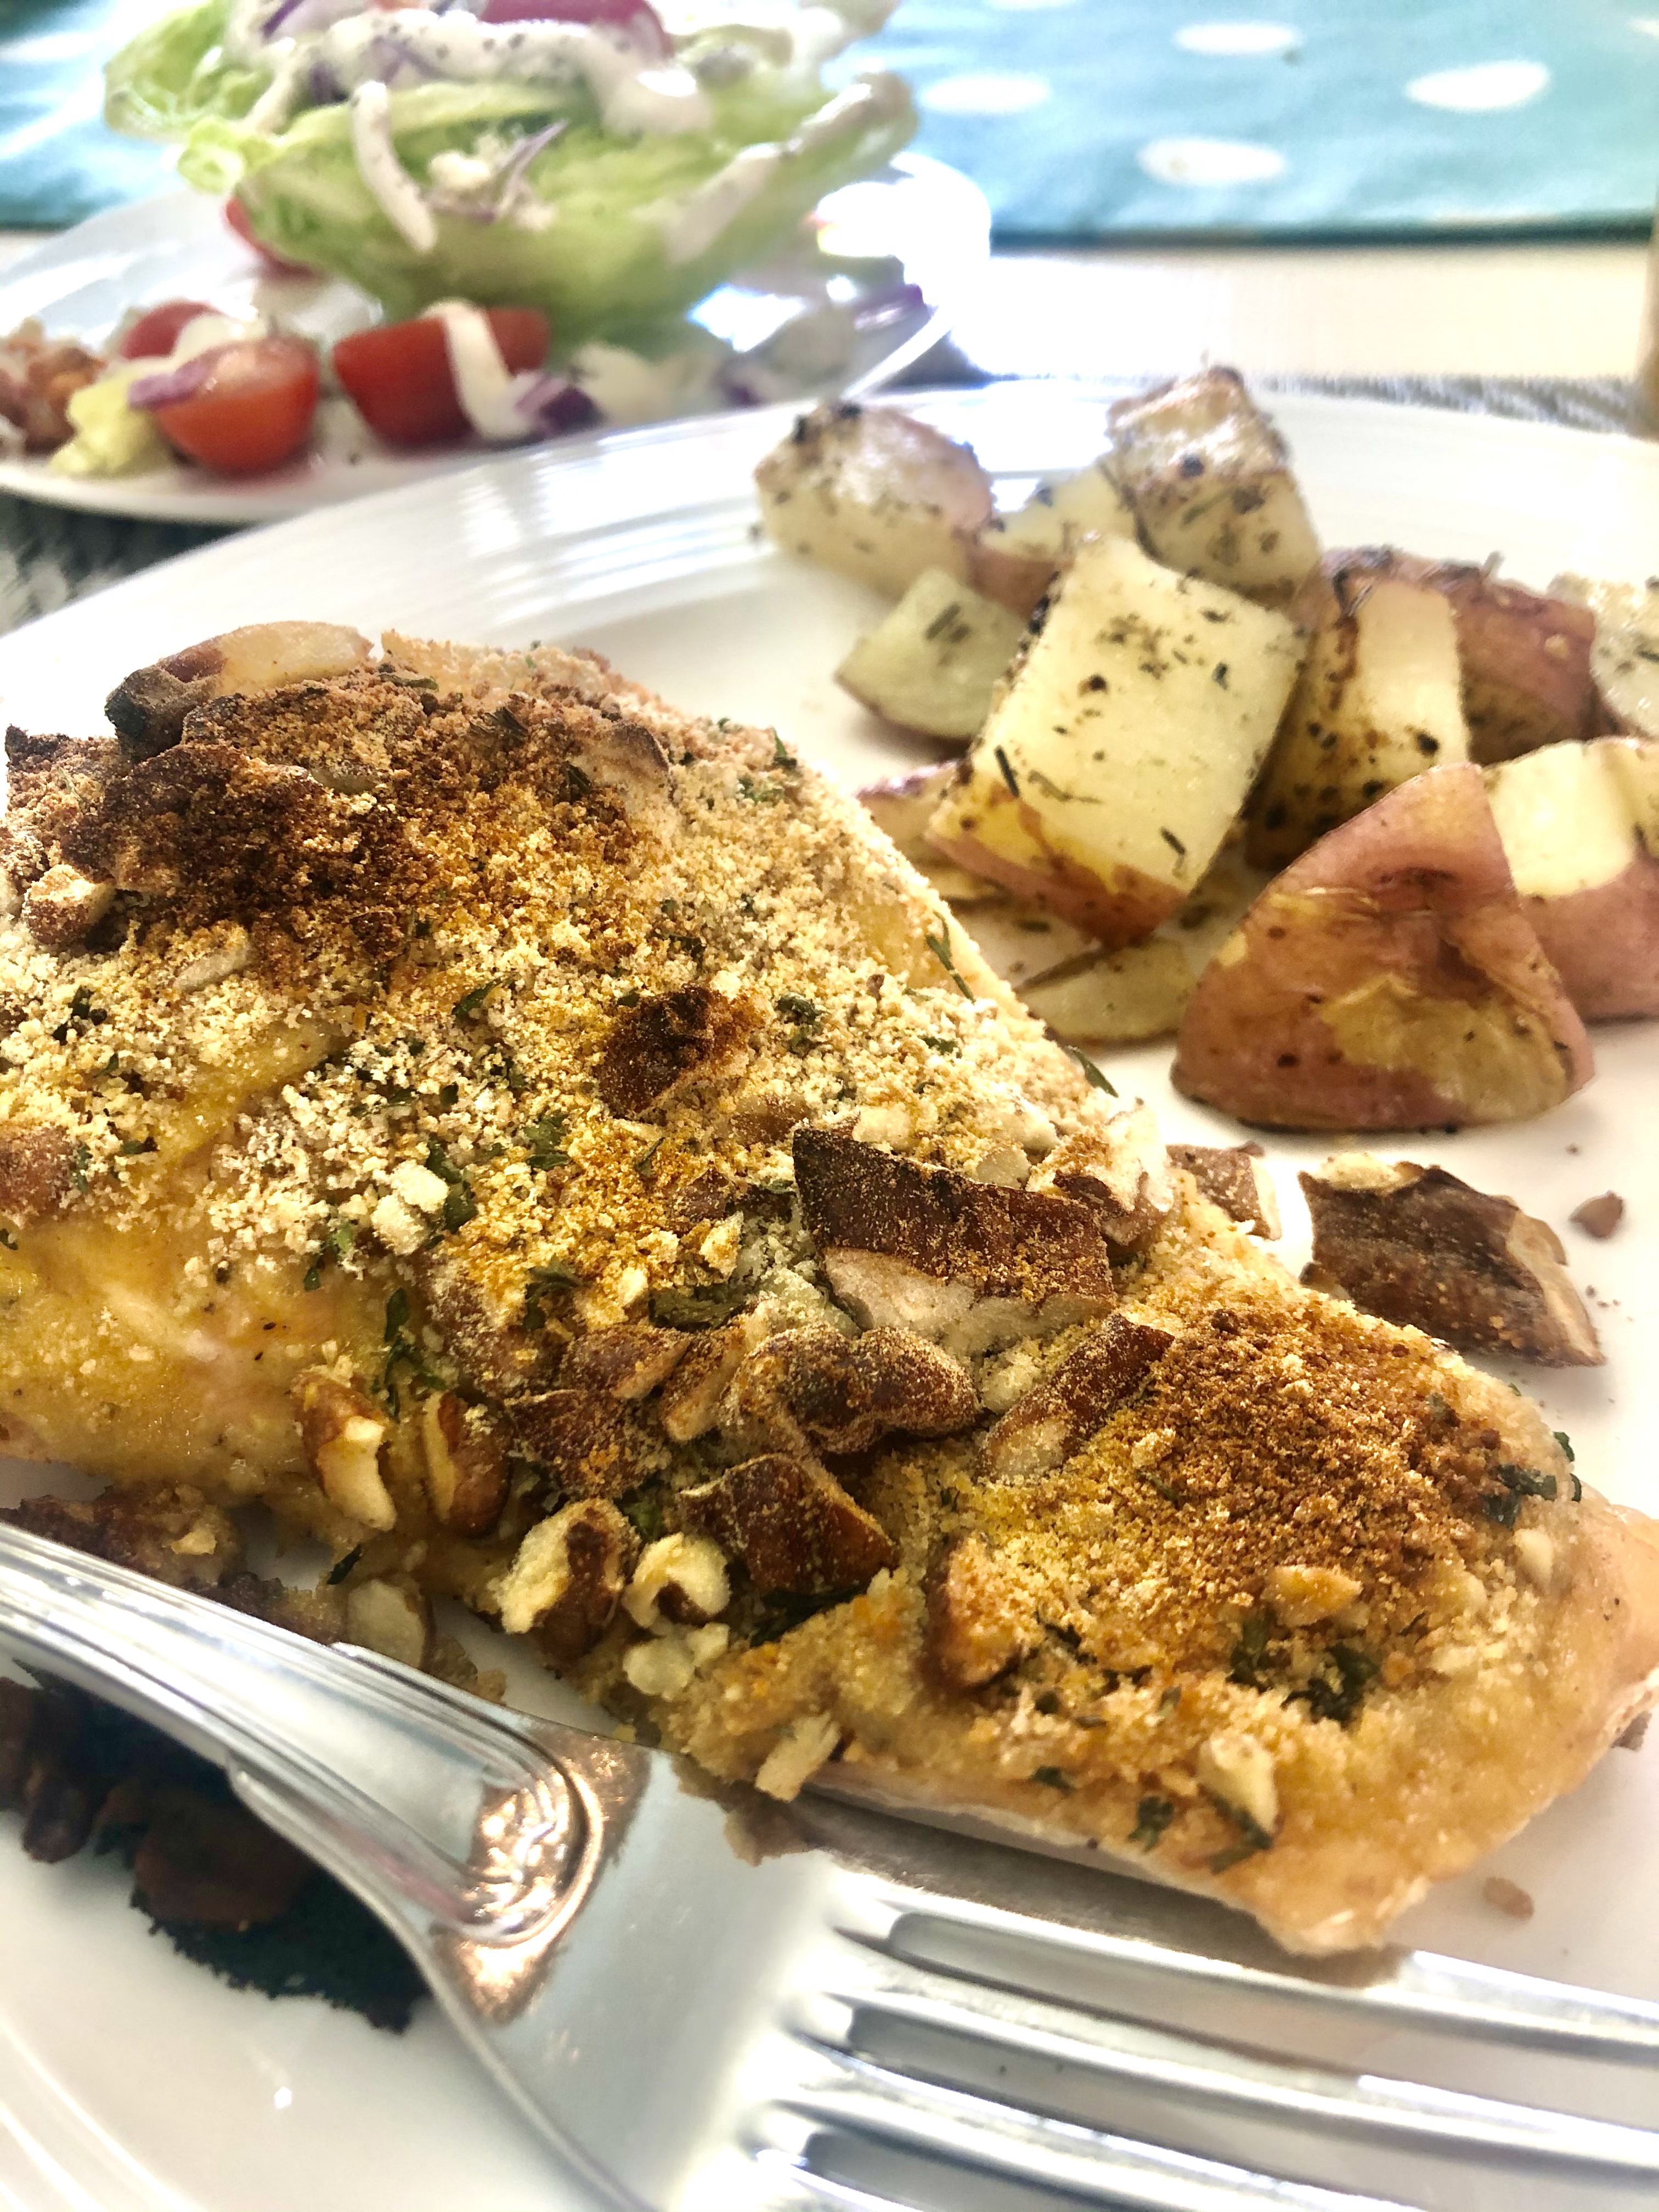
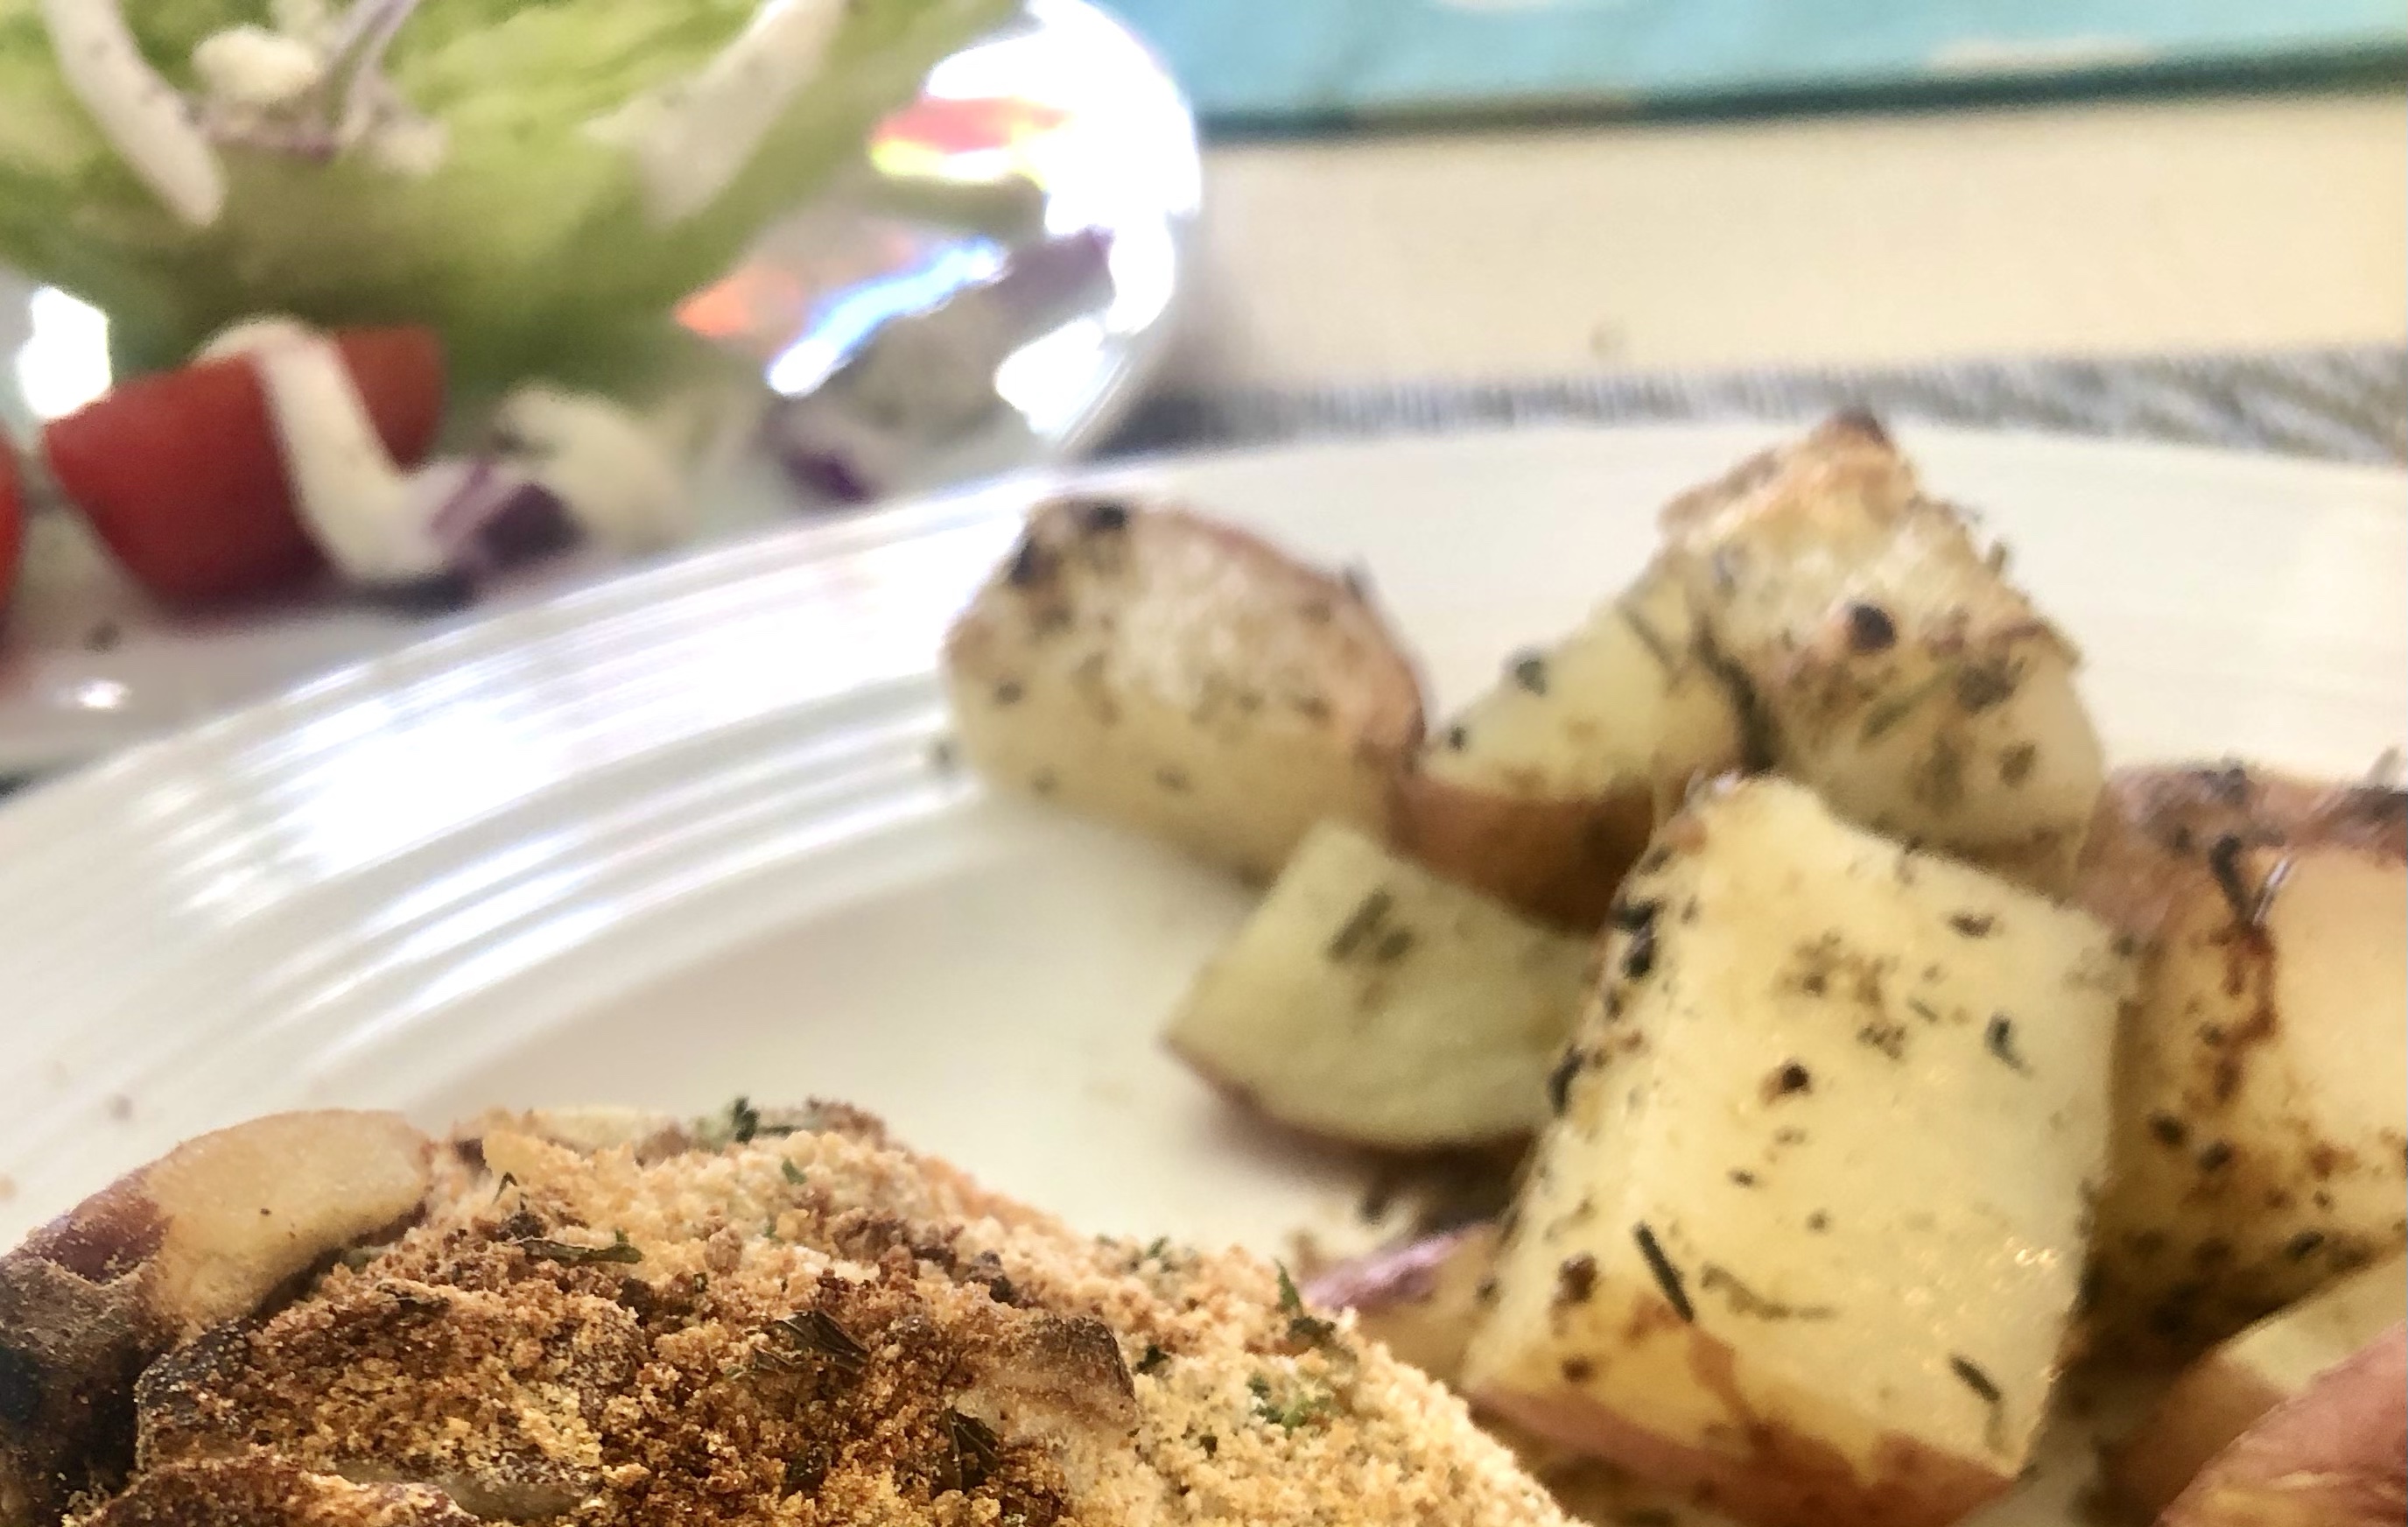
See those crispy brown potatoes at the top of the picture? Read on!
I love discovering helpful tricks in the kitchen. I don’t mean like putting a rubber band around the spray nozzle and soaking the next user, I mean tricks that help me get a delicious homemade meal on the table in record time! When potatoes are on the supper menu, it can be tricky to get them cooked if you are pressed for time.
My husband and I love oven-roasted potatoes, but they can take 25-30 minutes to get done. I recently discovered a super-fast way to make them. We all know the microwave cooks things faster, but I don’t always love the texture of foods cooked that way. The technique I’m going to share starts off with the microwave, but ends in the oven.
Here’s how to make these crispy, golden potatoes in record time ~
Preheat the oven to 425 degrees. Prep a baking sheet with cooking spray.
Cut your potatoes to whatever shape you’re wanting – diced, wedges or into fries.
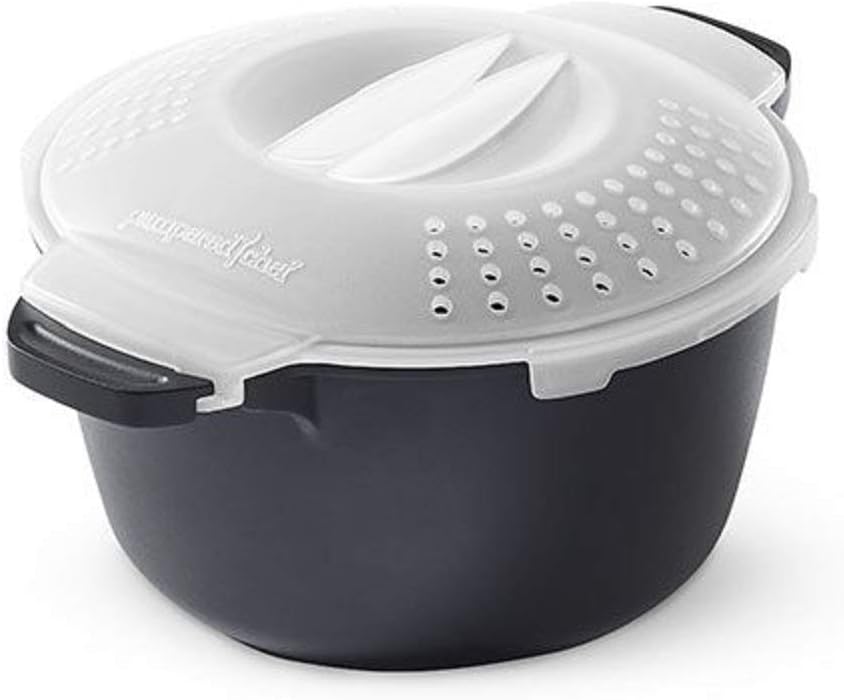
Place the potatoes into a dish that allows you to steam. I have a pot from Pampered Chef that works perfectly. Don’t over-crowd the potatoes. Using a dish big enough to let them cook. The more potatoes, obviously the longer they’ll take to cook.
I don’t add any liquid at all!
I place my 1 quart size container in the microwave and cook on high for 5 minutes. Potatoes should be soft, but not mushy.
Put potatoes on the baking sheet, Season potatoes as desired. Place in oven and roast for about 10 minutes, or until golden and tender. Or you can cook them on the stovetop in a skillet coated with cooking spray and/or a little olive oil.
This is the updated version of the pot I have and love.
Crispy, delicious potatoes can be on the table much faster with this 2-step method of microwaving and browning. I hope this trick is as helpful to you as it has been for me!
If you need mashed potatoes done easily here’s my best tip for those!