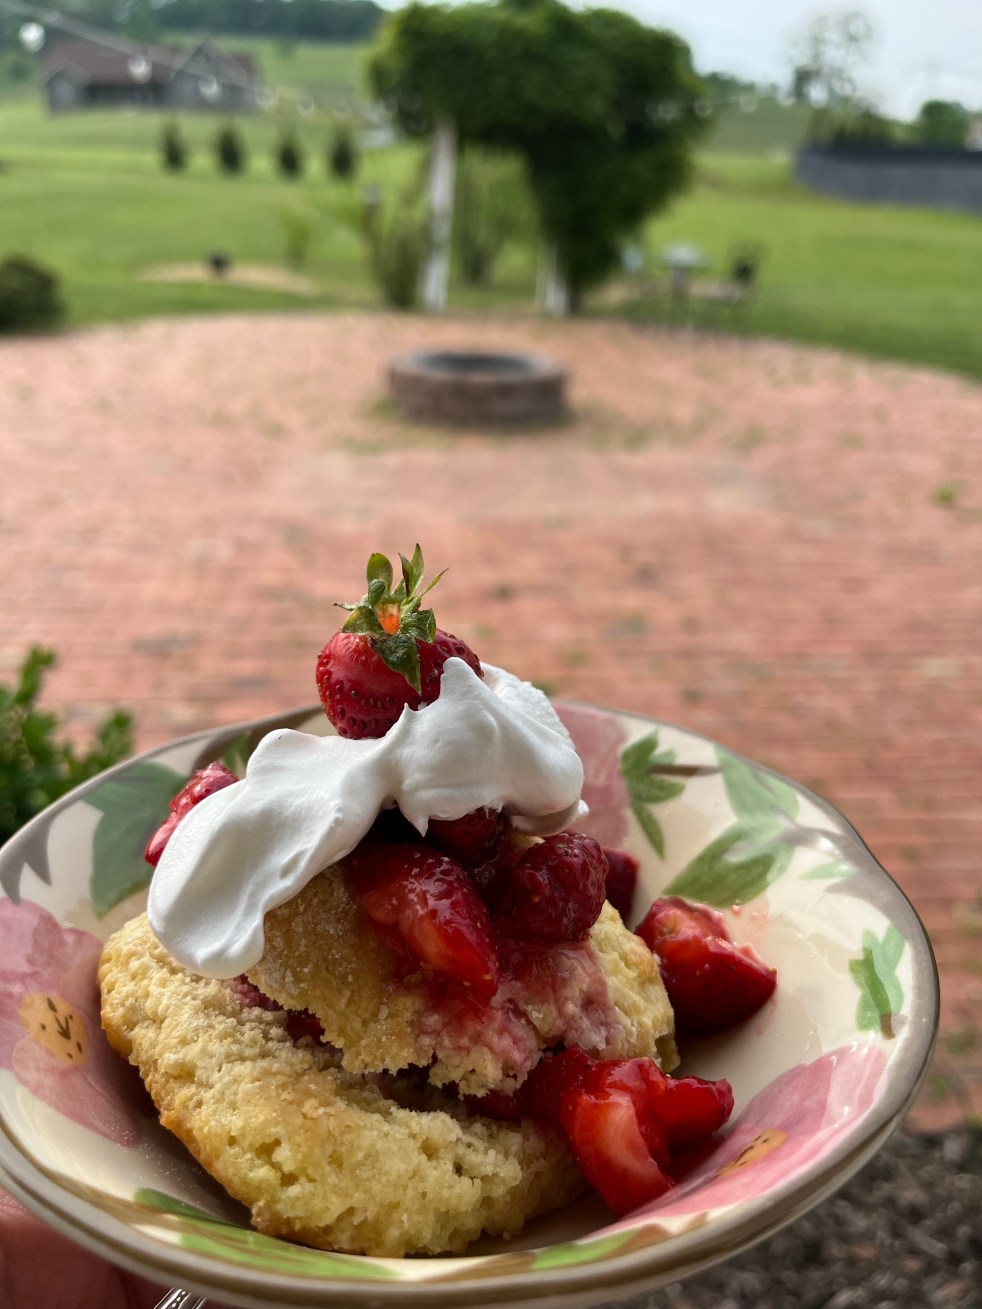
What is your favorite season? Winter? Spring?Summer?, Fall? Or is it Strawberry season?! Strawberries are my favorite fruit! My husband happily sent a text to me last weekend –
“Scott Berries are in and I got two quarts! Happy days are here again!”
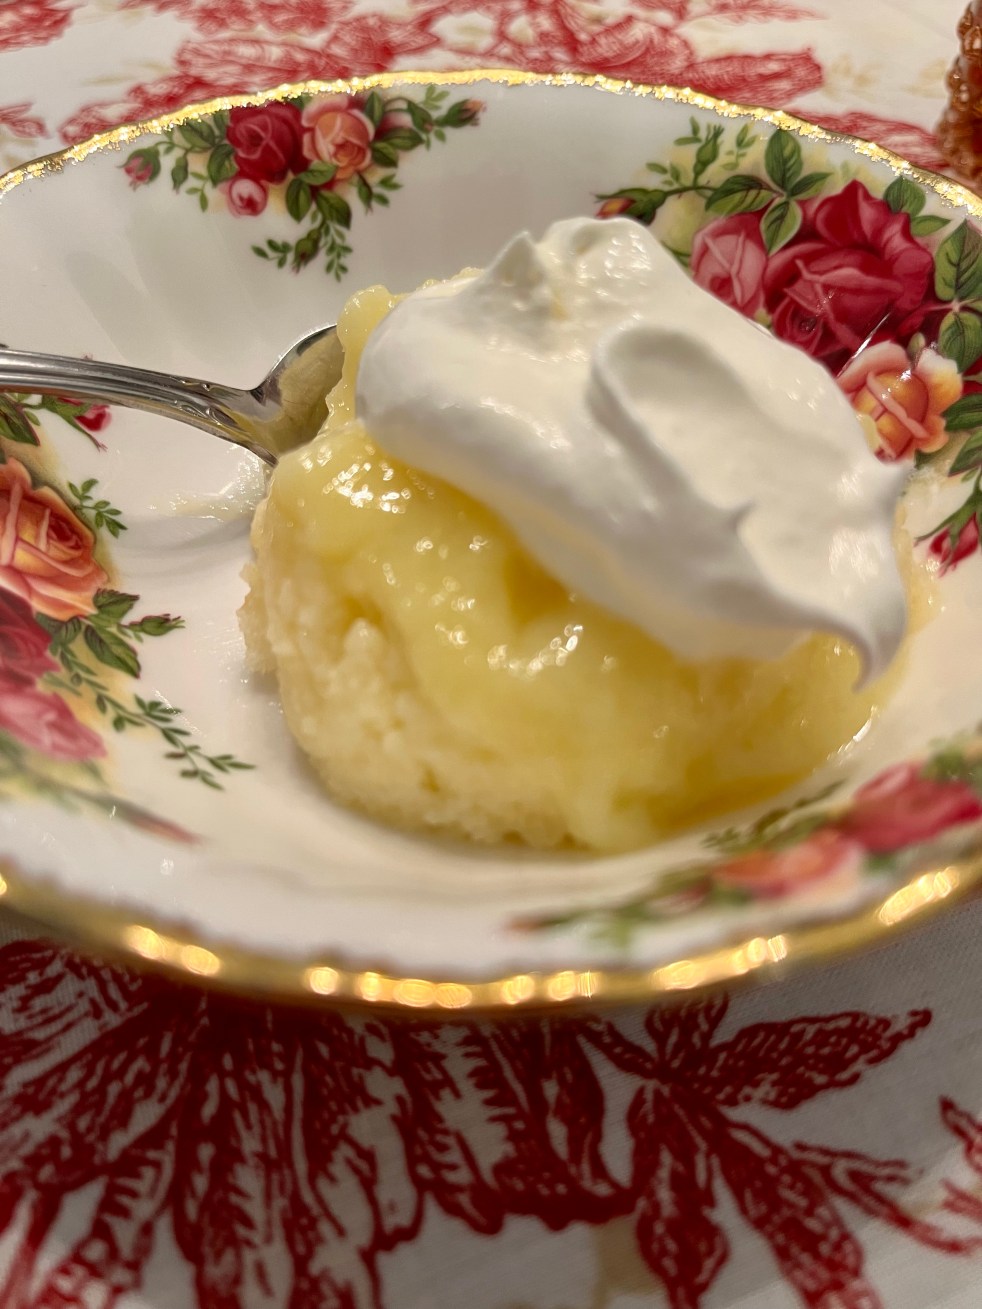
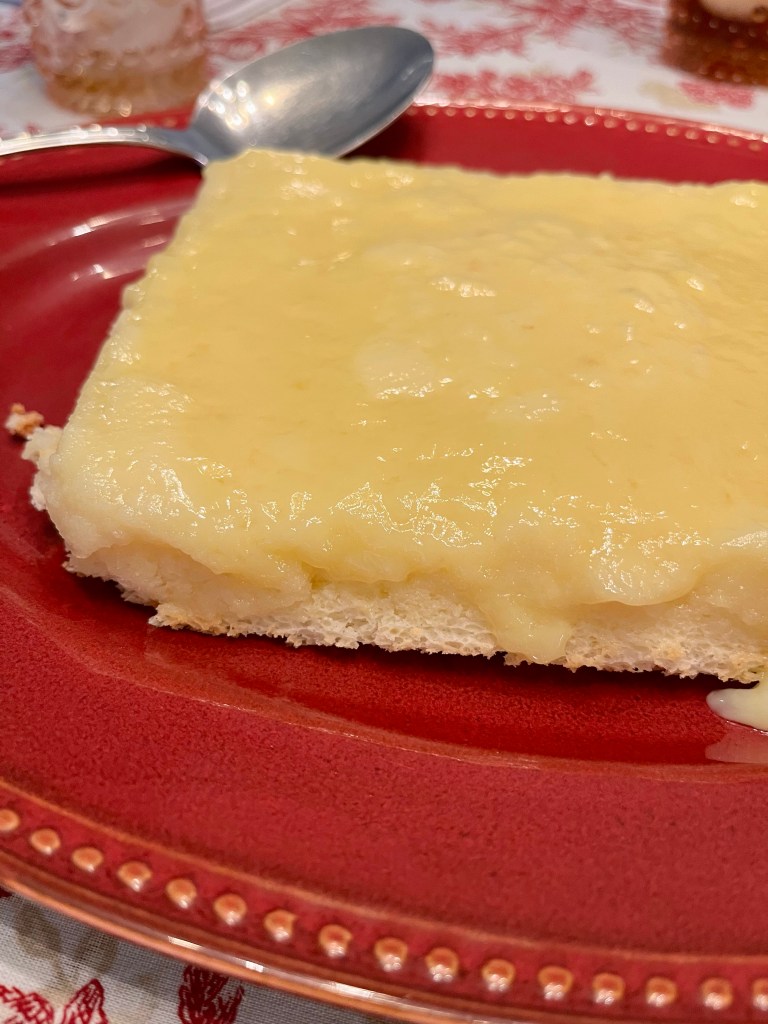
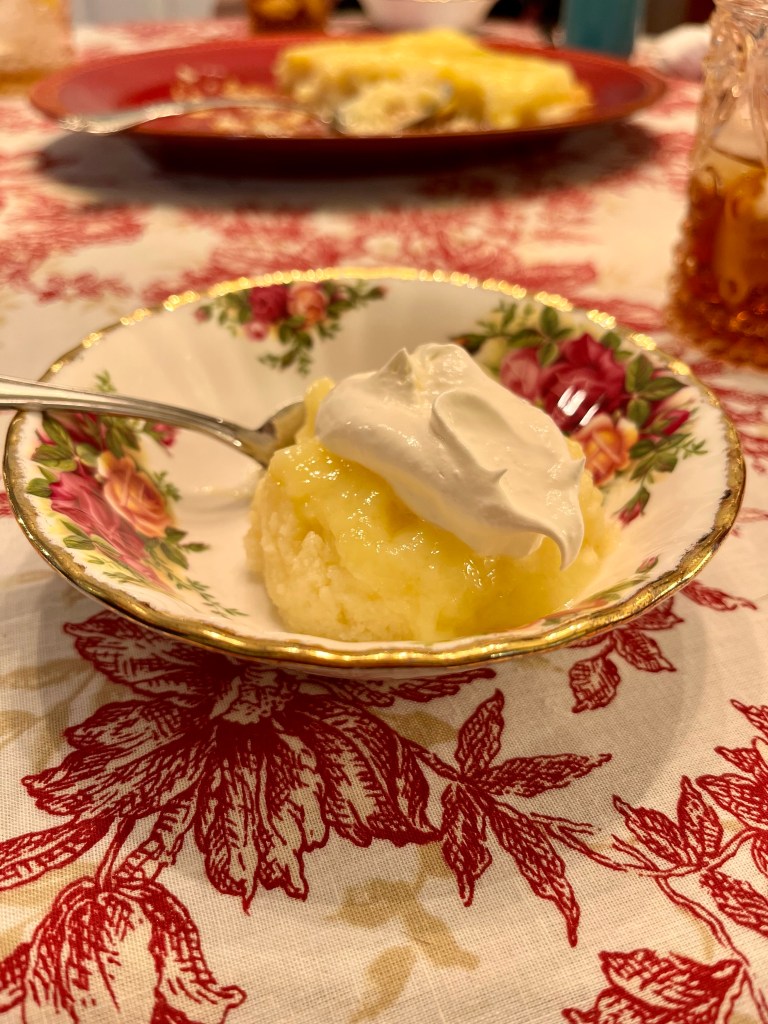
It was then that I remembered this fantastic Lemon Pudding Cake! This is baked in a water bath and it allows a soft sponge cake to go to the bottom and a luscious pudding layer to go to the top, creating a heavenly dessert!
My favorite way to make this is in small ramekins., but you can bake it in one large dish. After it cools 10 minutes, you invert it onto a platter or dessert plate. I like it served warm, but you could do it ahead and serve it refrigerated.
Lemon Pudding Cake
1/3 Cup Butter, softened 1 cup sugar, divided 2 eggs, separated 2 Tbs. lemon juice 1 Tbs. grated lemon rind 1/3 cup flour 1 cup milk Cream butter and 3/4 cup sugar until light and fluffy. Blend in egg yolks, lemon juice and rind. Add flour; mix well. Stir in milk. Beat egg whites until soft peaks form. Gradually add remaining sugar, beating until stiff peaks form. Fold into batter; pour into 8 6 oz. custard cups. Set custard cups in baking pan; pour in boiling water to 1/2-inch depth. Bake at 350 degrees, 35-40 minutes. Remove from water; cool 10 minutes. Invert on dessert dishes. Makes 8 servings. To make in a 1-quart casserole dish – Prepare recipe as directed. Pour batter into dish. Place into a pan larger than your dish and pour 1/2 inch boiling water into large pan. Bake 40-45 minutes. Cool 20 minutes. Invert onto serving plate.
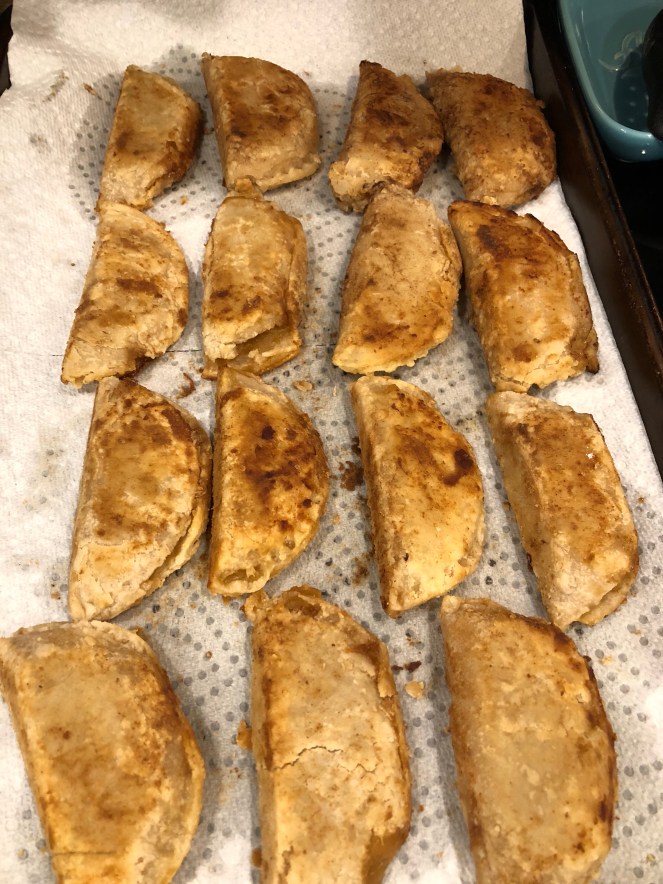
When I was growing up, summer picnics almost always included a special dessert made by my mom – Fried pies. She usually made Peach Pies, but another flavor we all loved were the Apple variety. They are made with dried fruit that has been cooked and sweetened. The dried fruit keeps the filling from being too runny and seeping out. The pies are fried in butter just until they’re browned nicely on all sides. They’re not especially pretty, but man oh man, are they good!
If you’re having a picnic for July 4th, maybe you could start the Fried Pie Tradition for your family!
Here’s how they’re made –
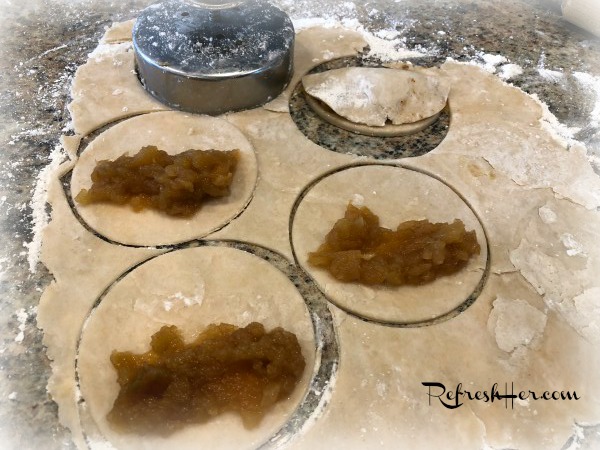
Buy one bag of dried fruit -peaches or apples. (One bag makes A LOT of pies! You’ll usually find these where the raisins are in the grocery store. Place the fruit in a medium-sized pan and add water and cook over low heat until the fruit plumps up. Add sugar to sweeten to your liking. Cook until fruit is soft. This takes a while. Cook them slowly. Set aside.
Either make your own pie dough, or you can use store-bought. Roll dough out and cut out circles, about 4 inches in diameter. Place about 2 tablespoons (no more) on half of the circle. Fold dough over.
Crimp edges with a fork.
Melt half of a stick of butter in a skillet and melt over medium low heat. Add pies and cook in batches,turning to brown all sides.
Place on a paper towel-lined baking sheet to absorb extra butter.
These are super good warm, but they’re also delicious at room temperature!
Note: You may need to add butter as they are frying. In between batches, I wipe the pan out with a paper towel so the butter doesn’t turn too dark and color the pies before they start to cook.
These are so great for picnics because all you need is a napkin. It’s a hand-held pie; perfect for on the go!
Wouldn’t this make a great addition to your Fourth of July picnic?!
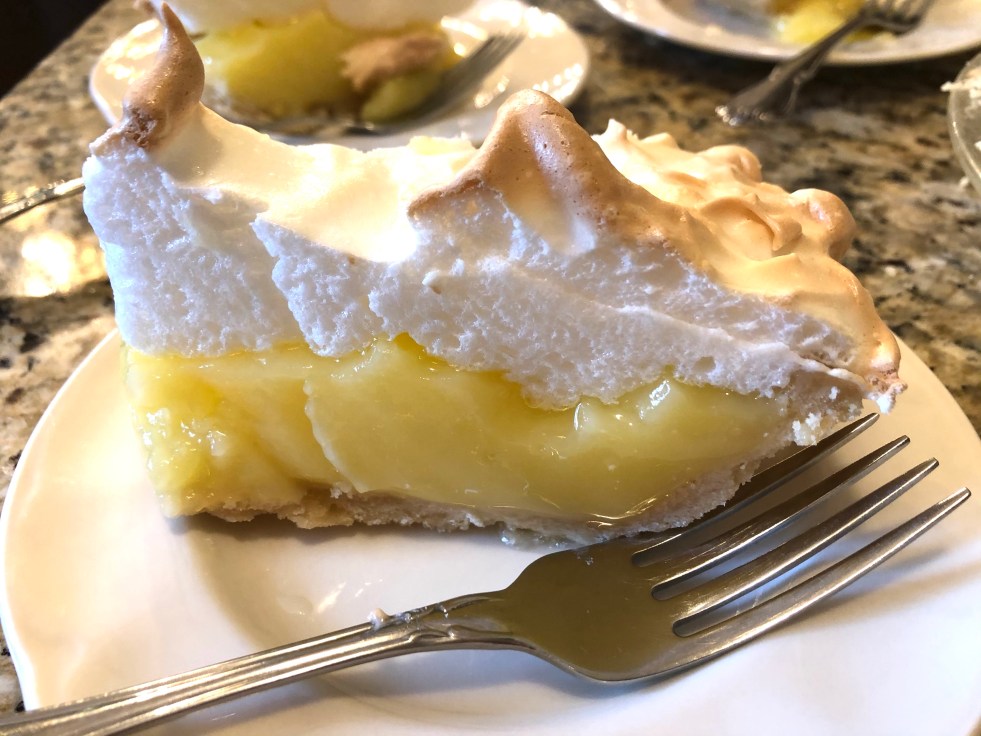
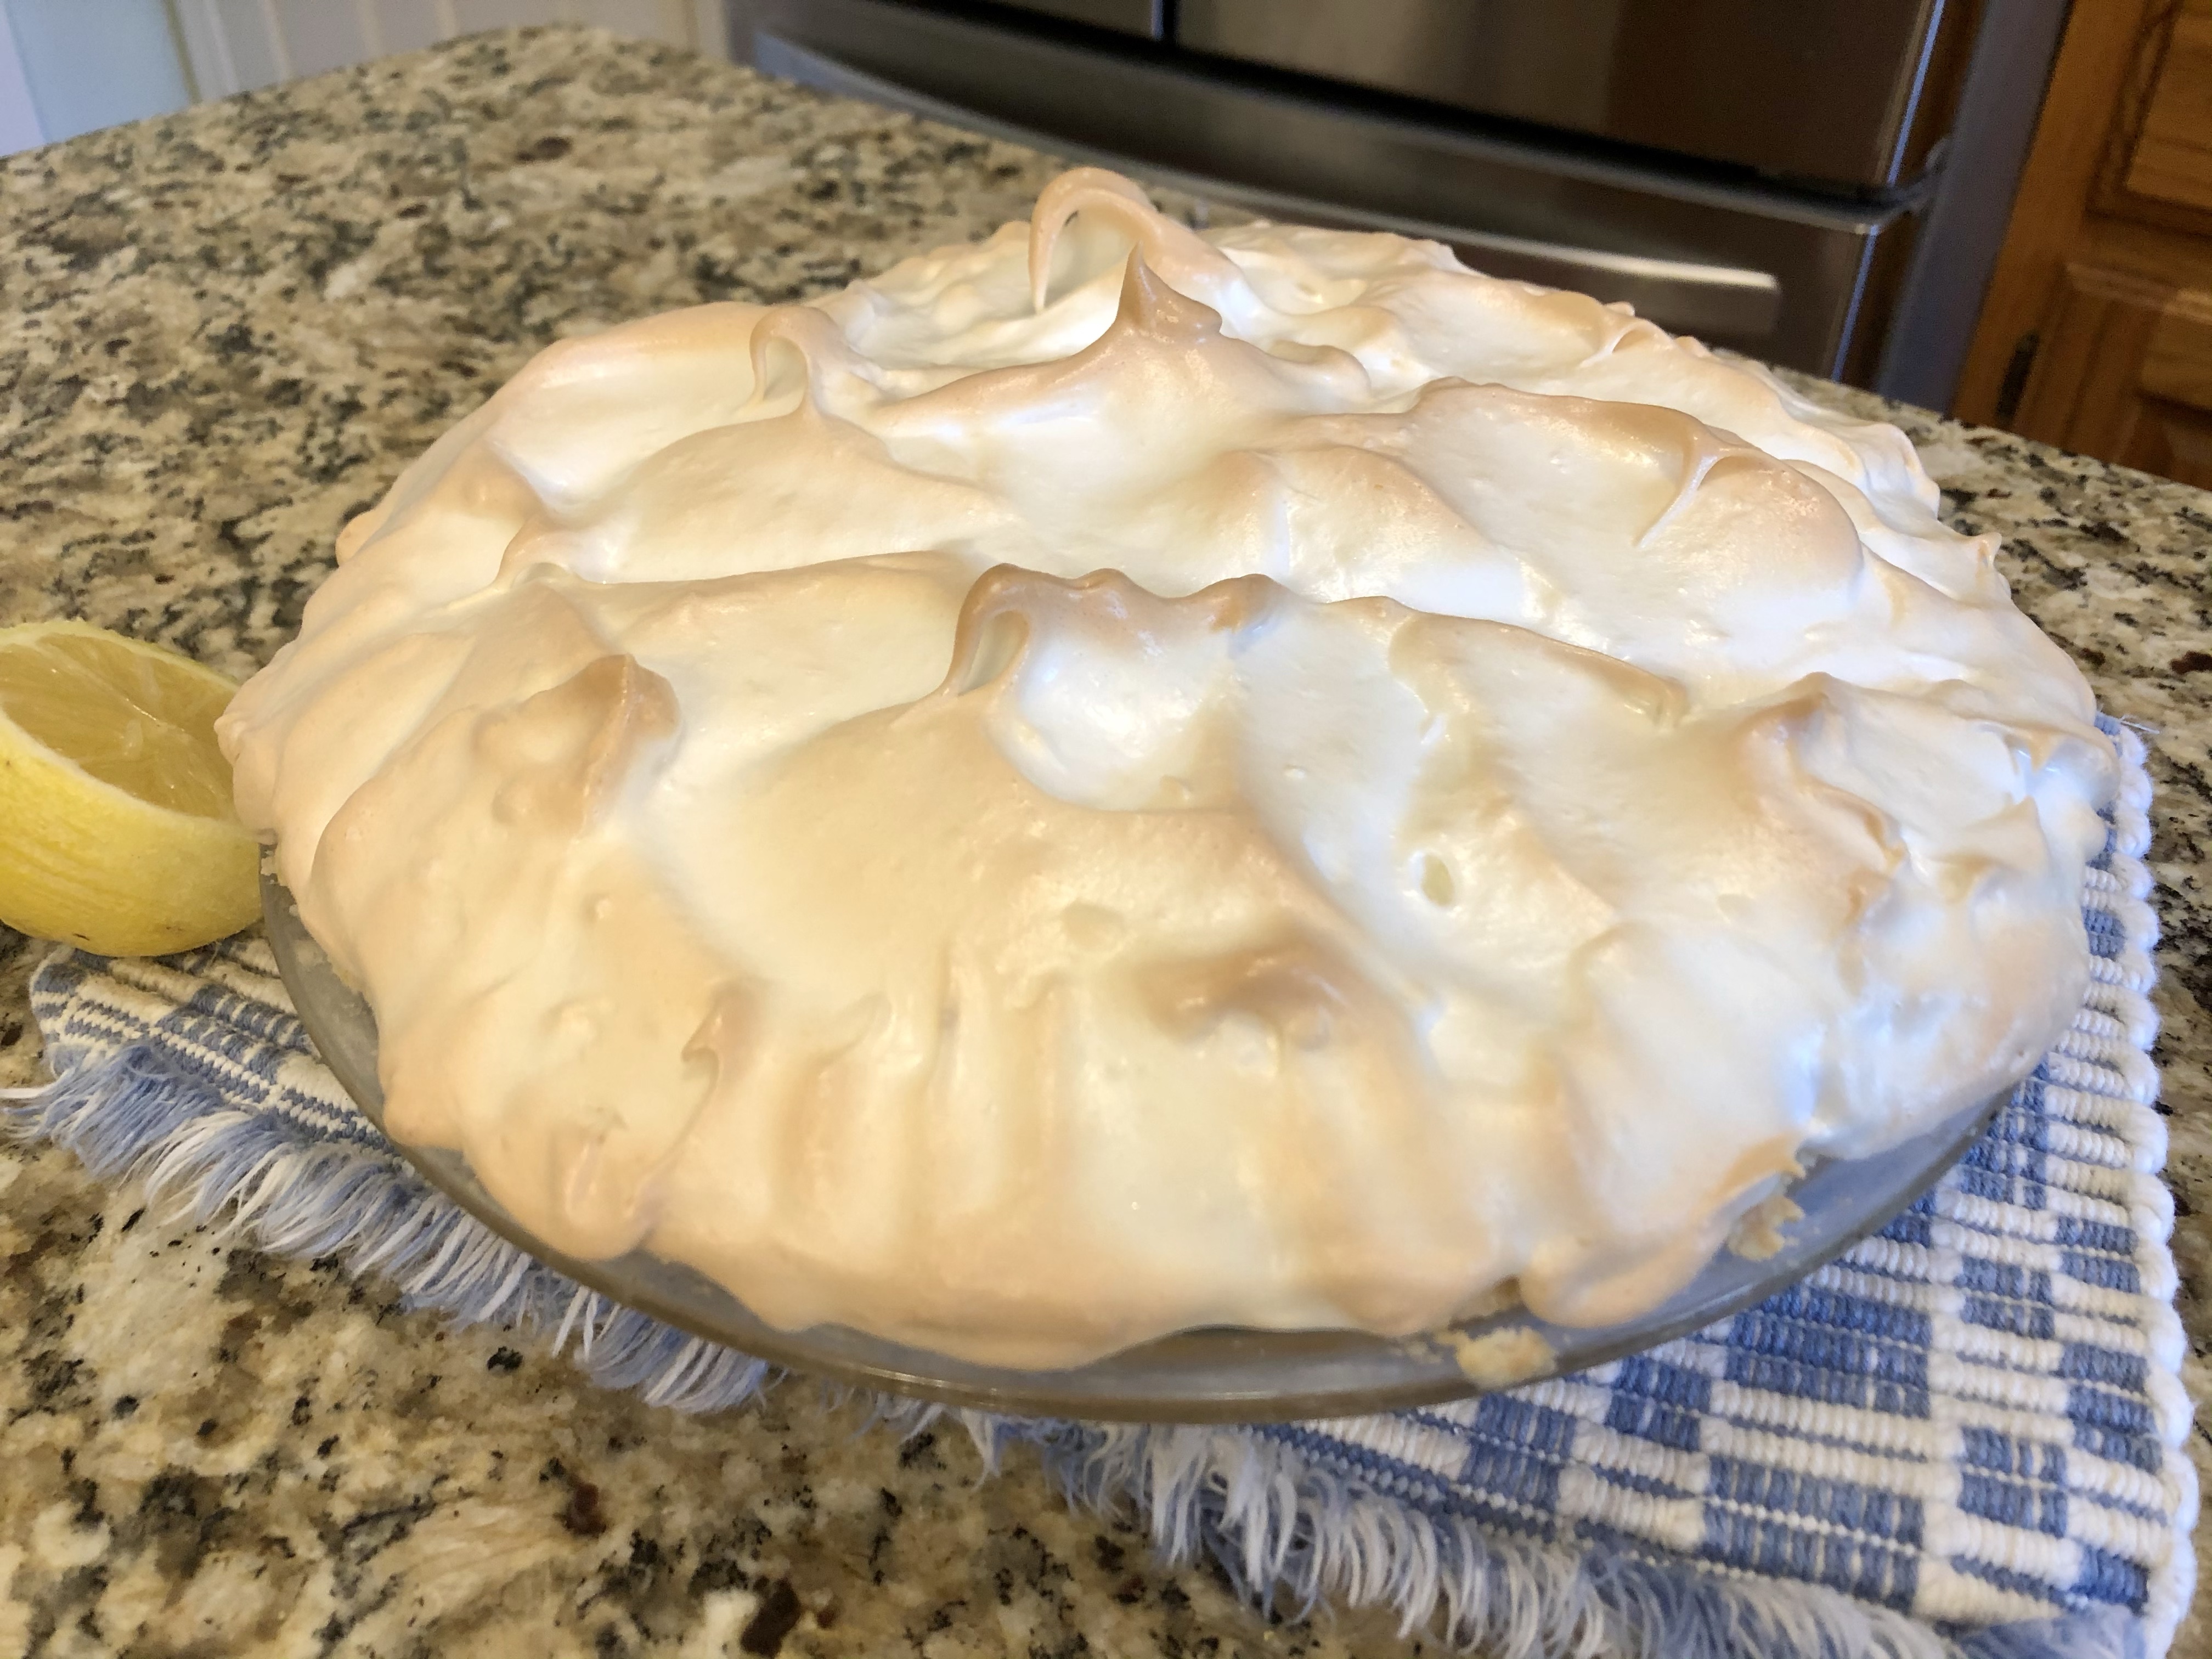
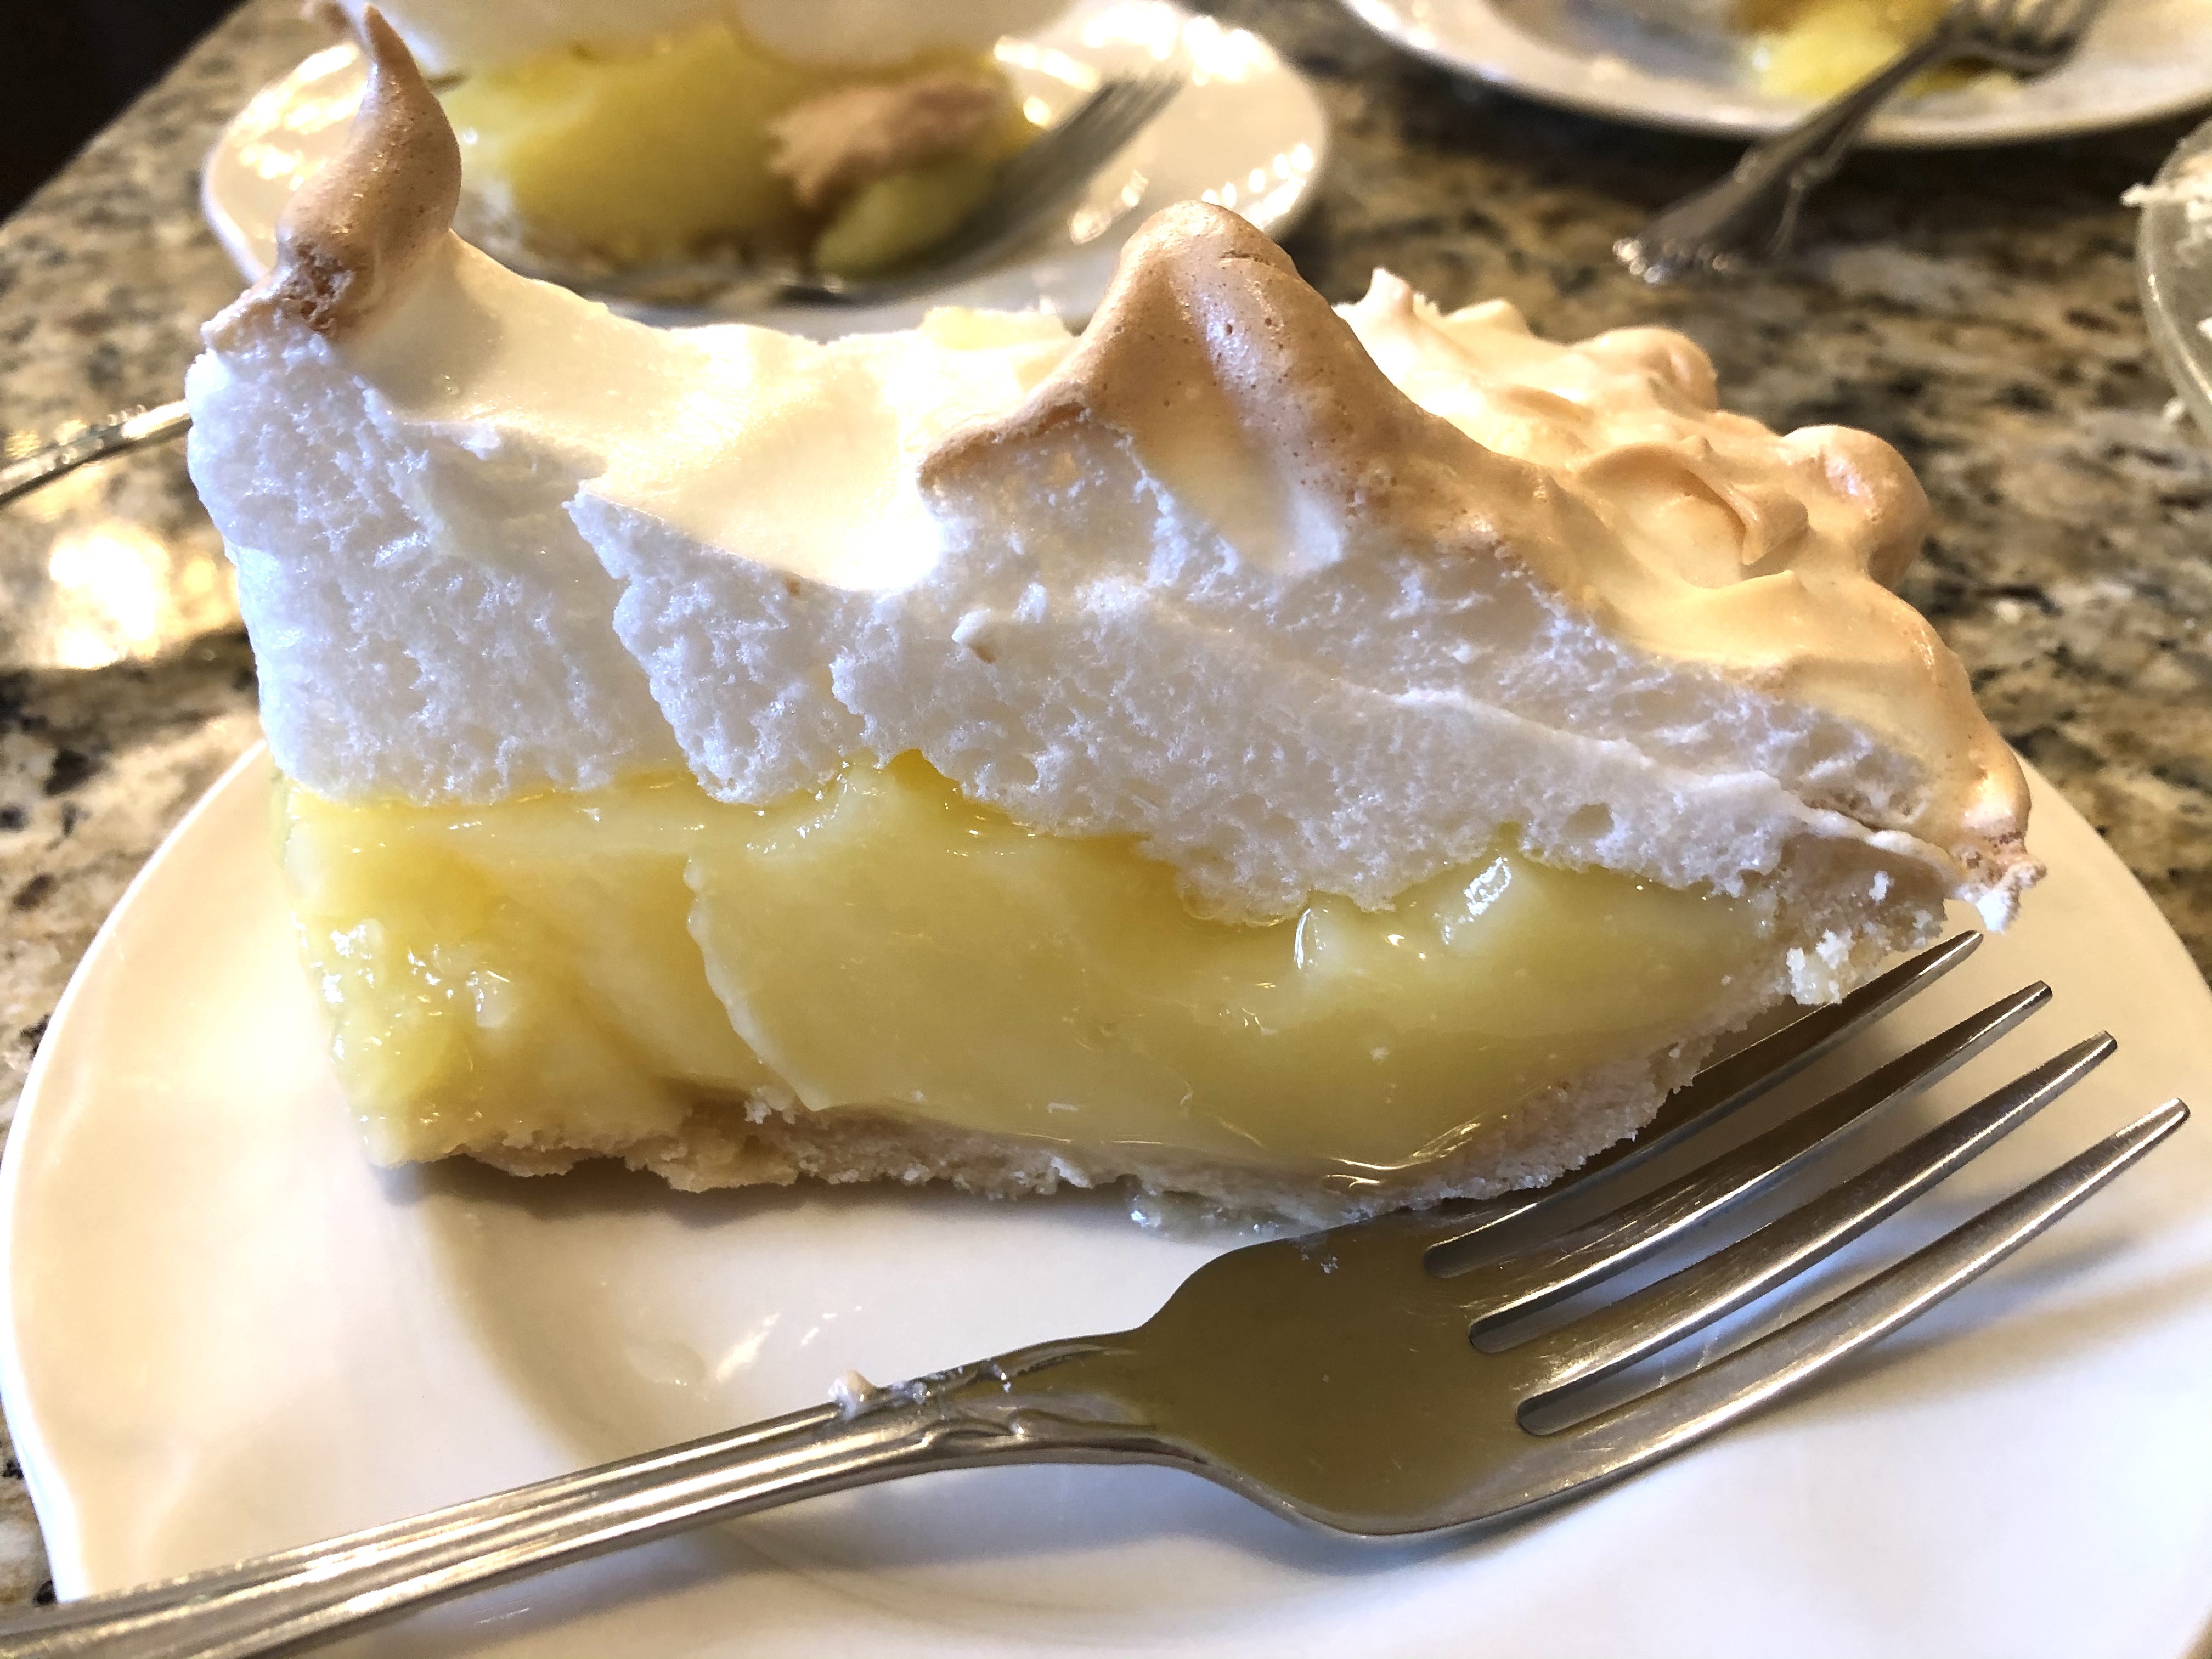
Last weekend I got to spend Mother’s Day in Kentucky with my mom. I made her Mother’s Day meal, and when planning the menu, I knew immediately what dessert would be – her favorite – Lemon-y. Tart. Mouth watering. Creamy. Fluffy. Sweet.What is it? Lemon Meringue Pie!
I hadn’t made one in a couple of years, so I was a little nervous about how it would turn out. I have had times that the meringue flopped or crept away from the crust, or wept, leaving little dewy droplets all over, so I could only hope and pray all would go well.
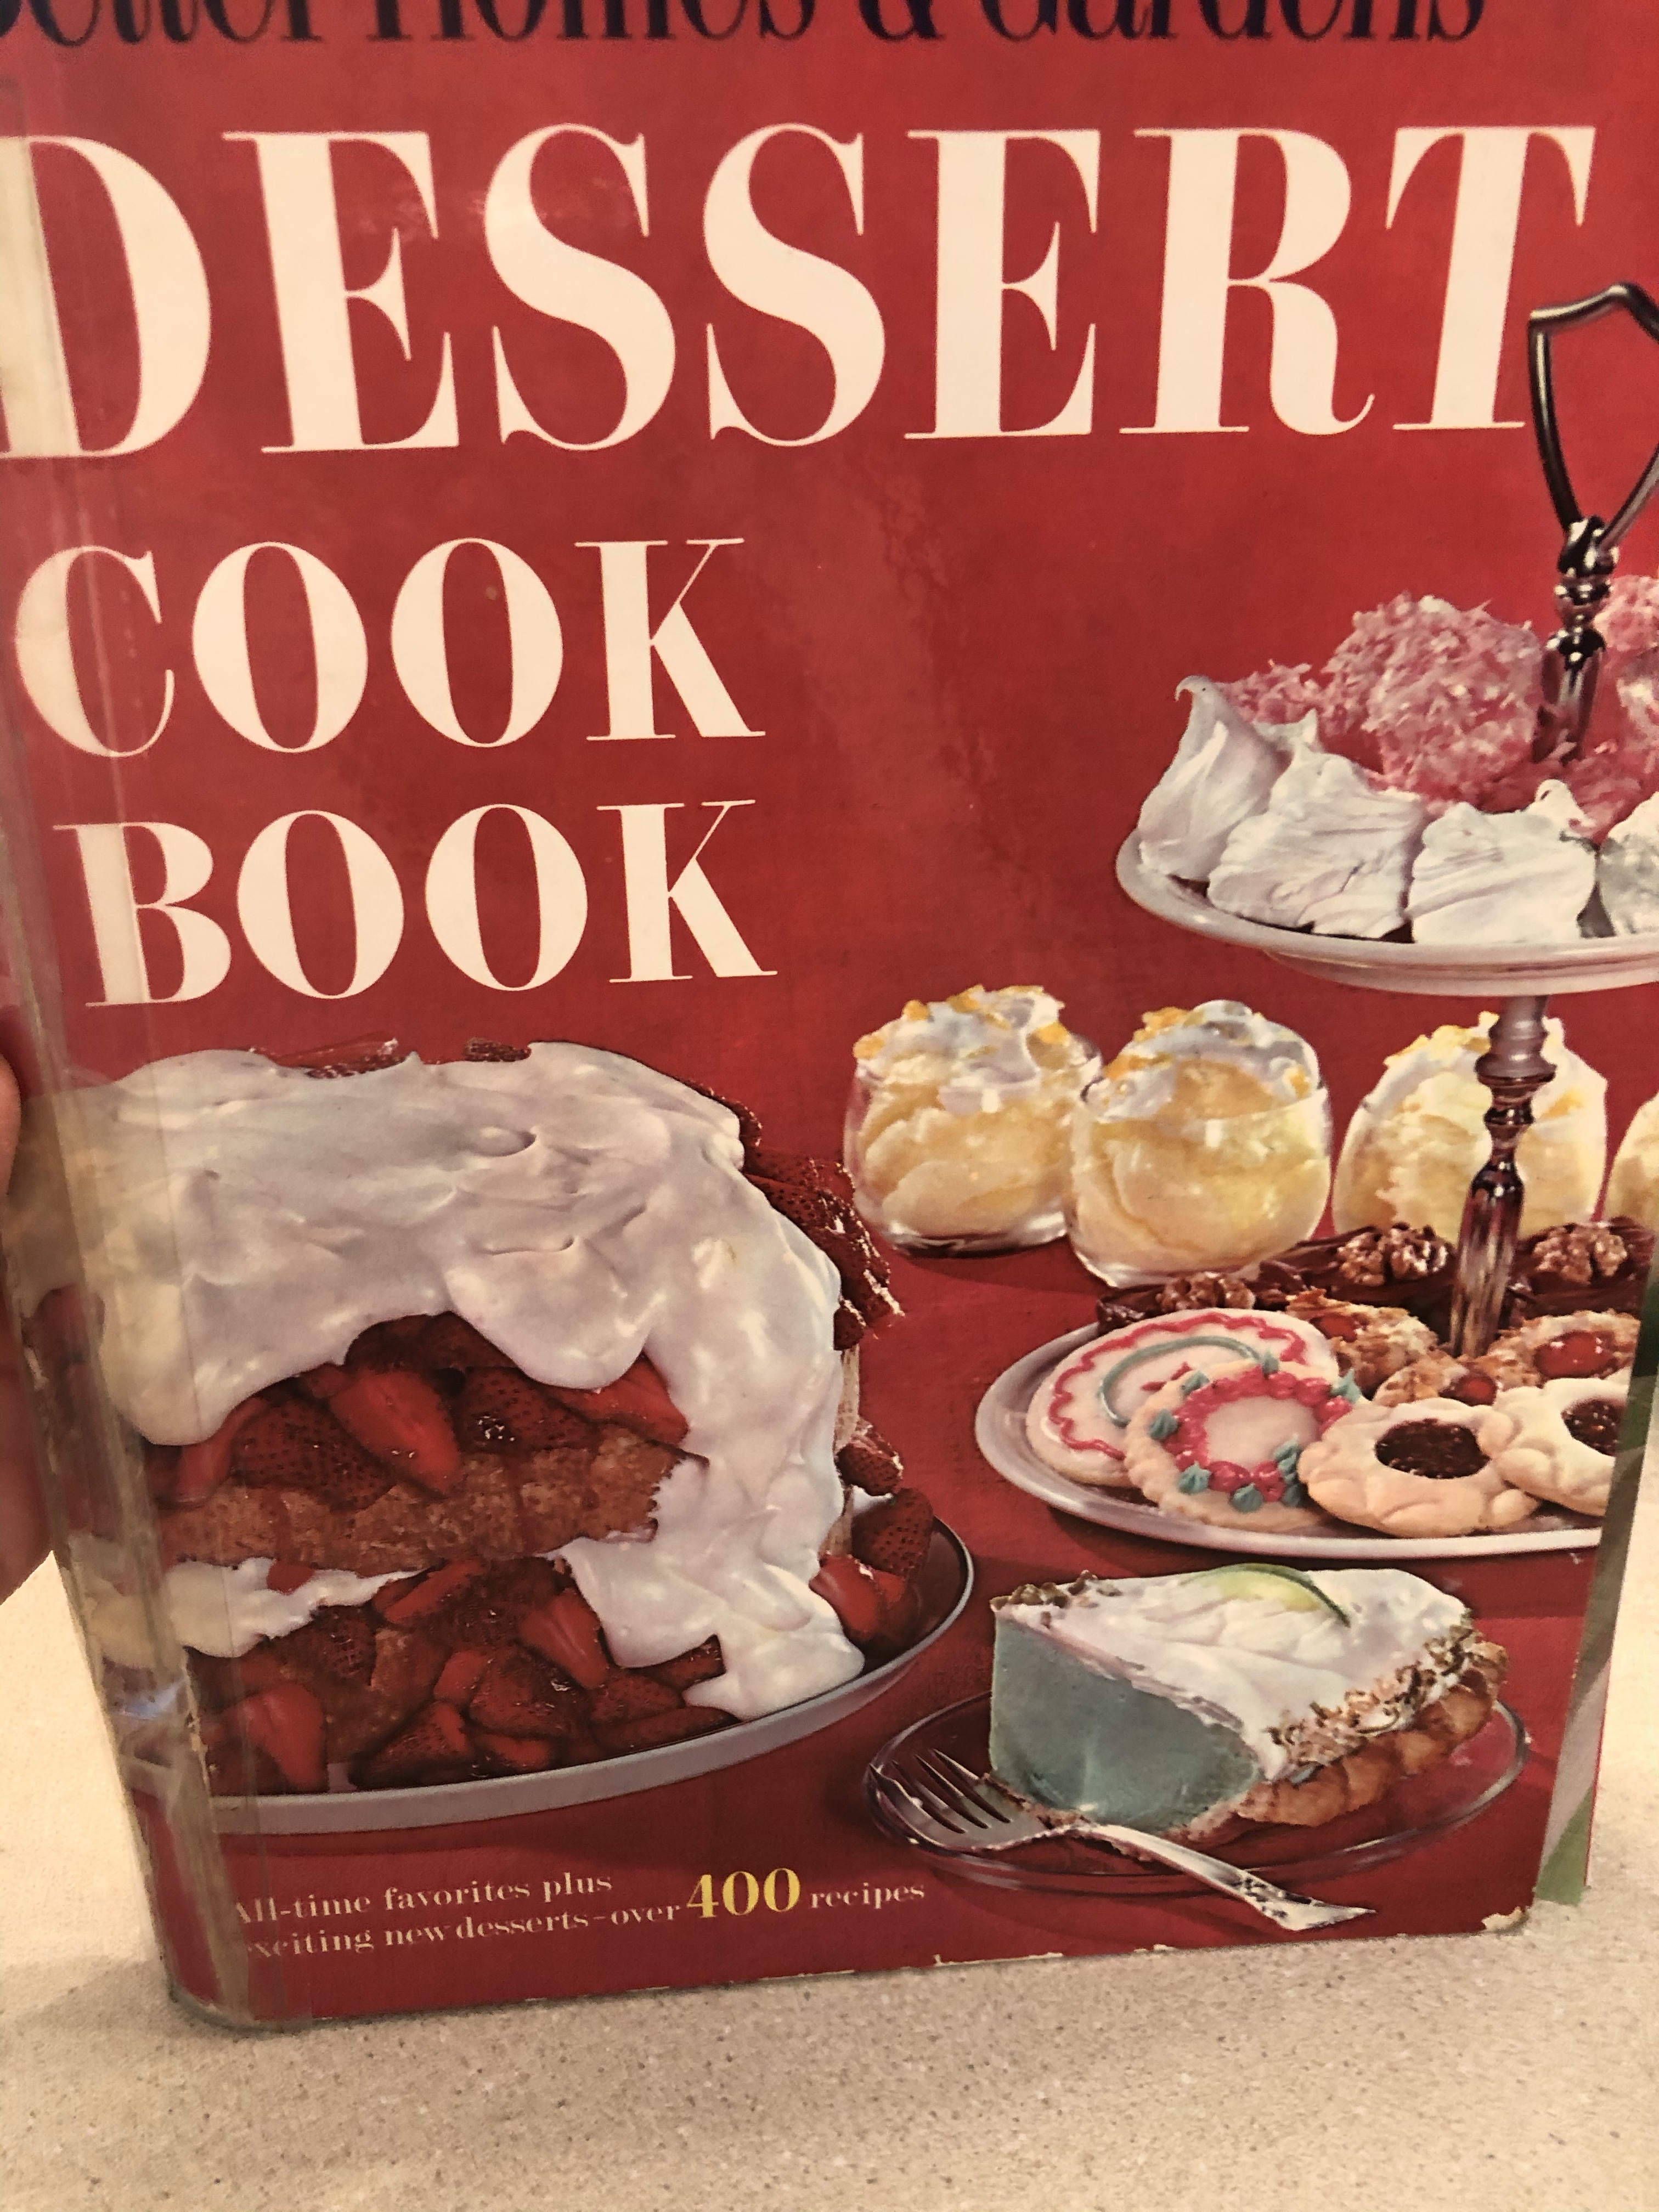
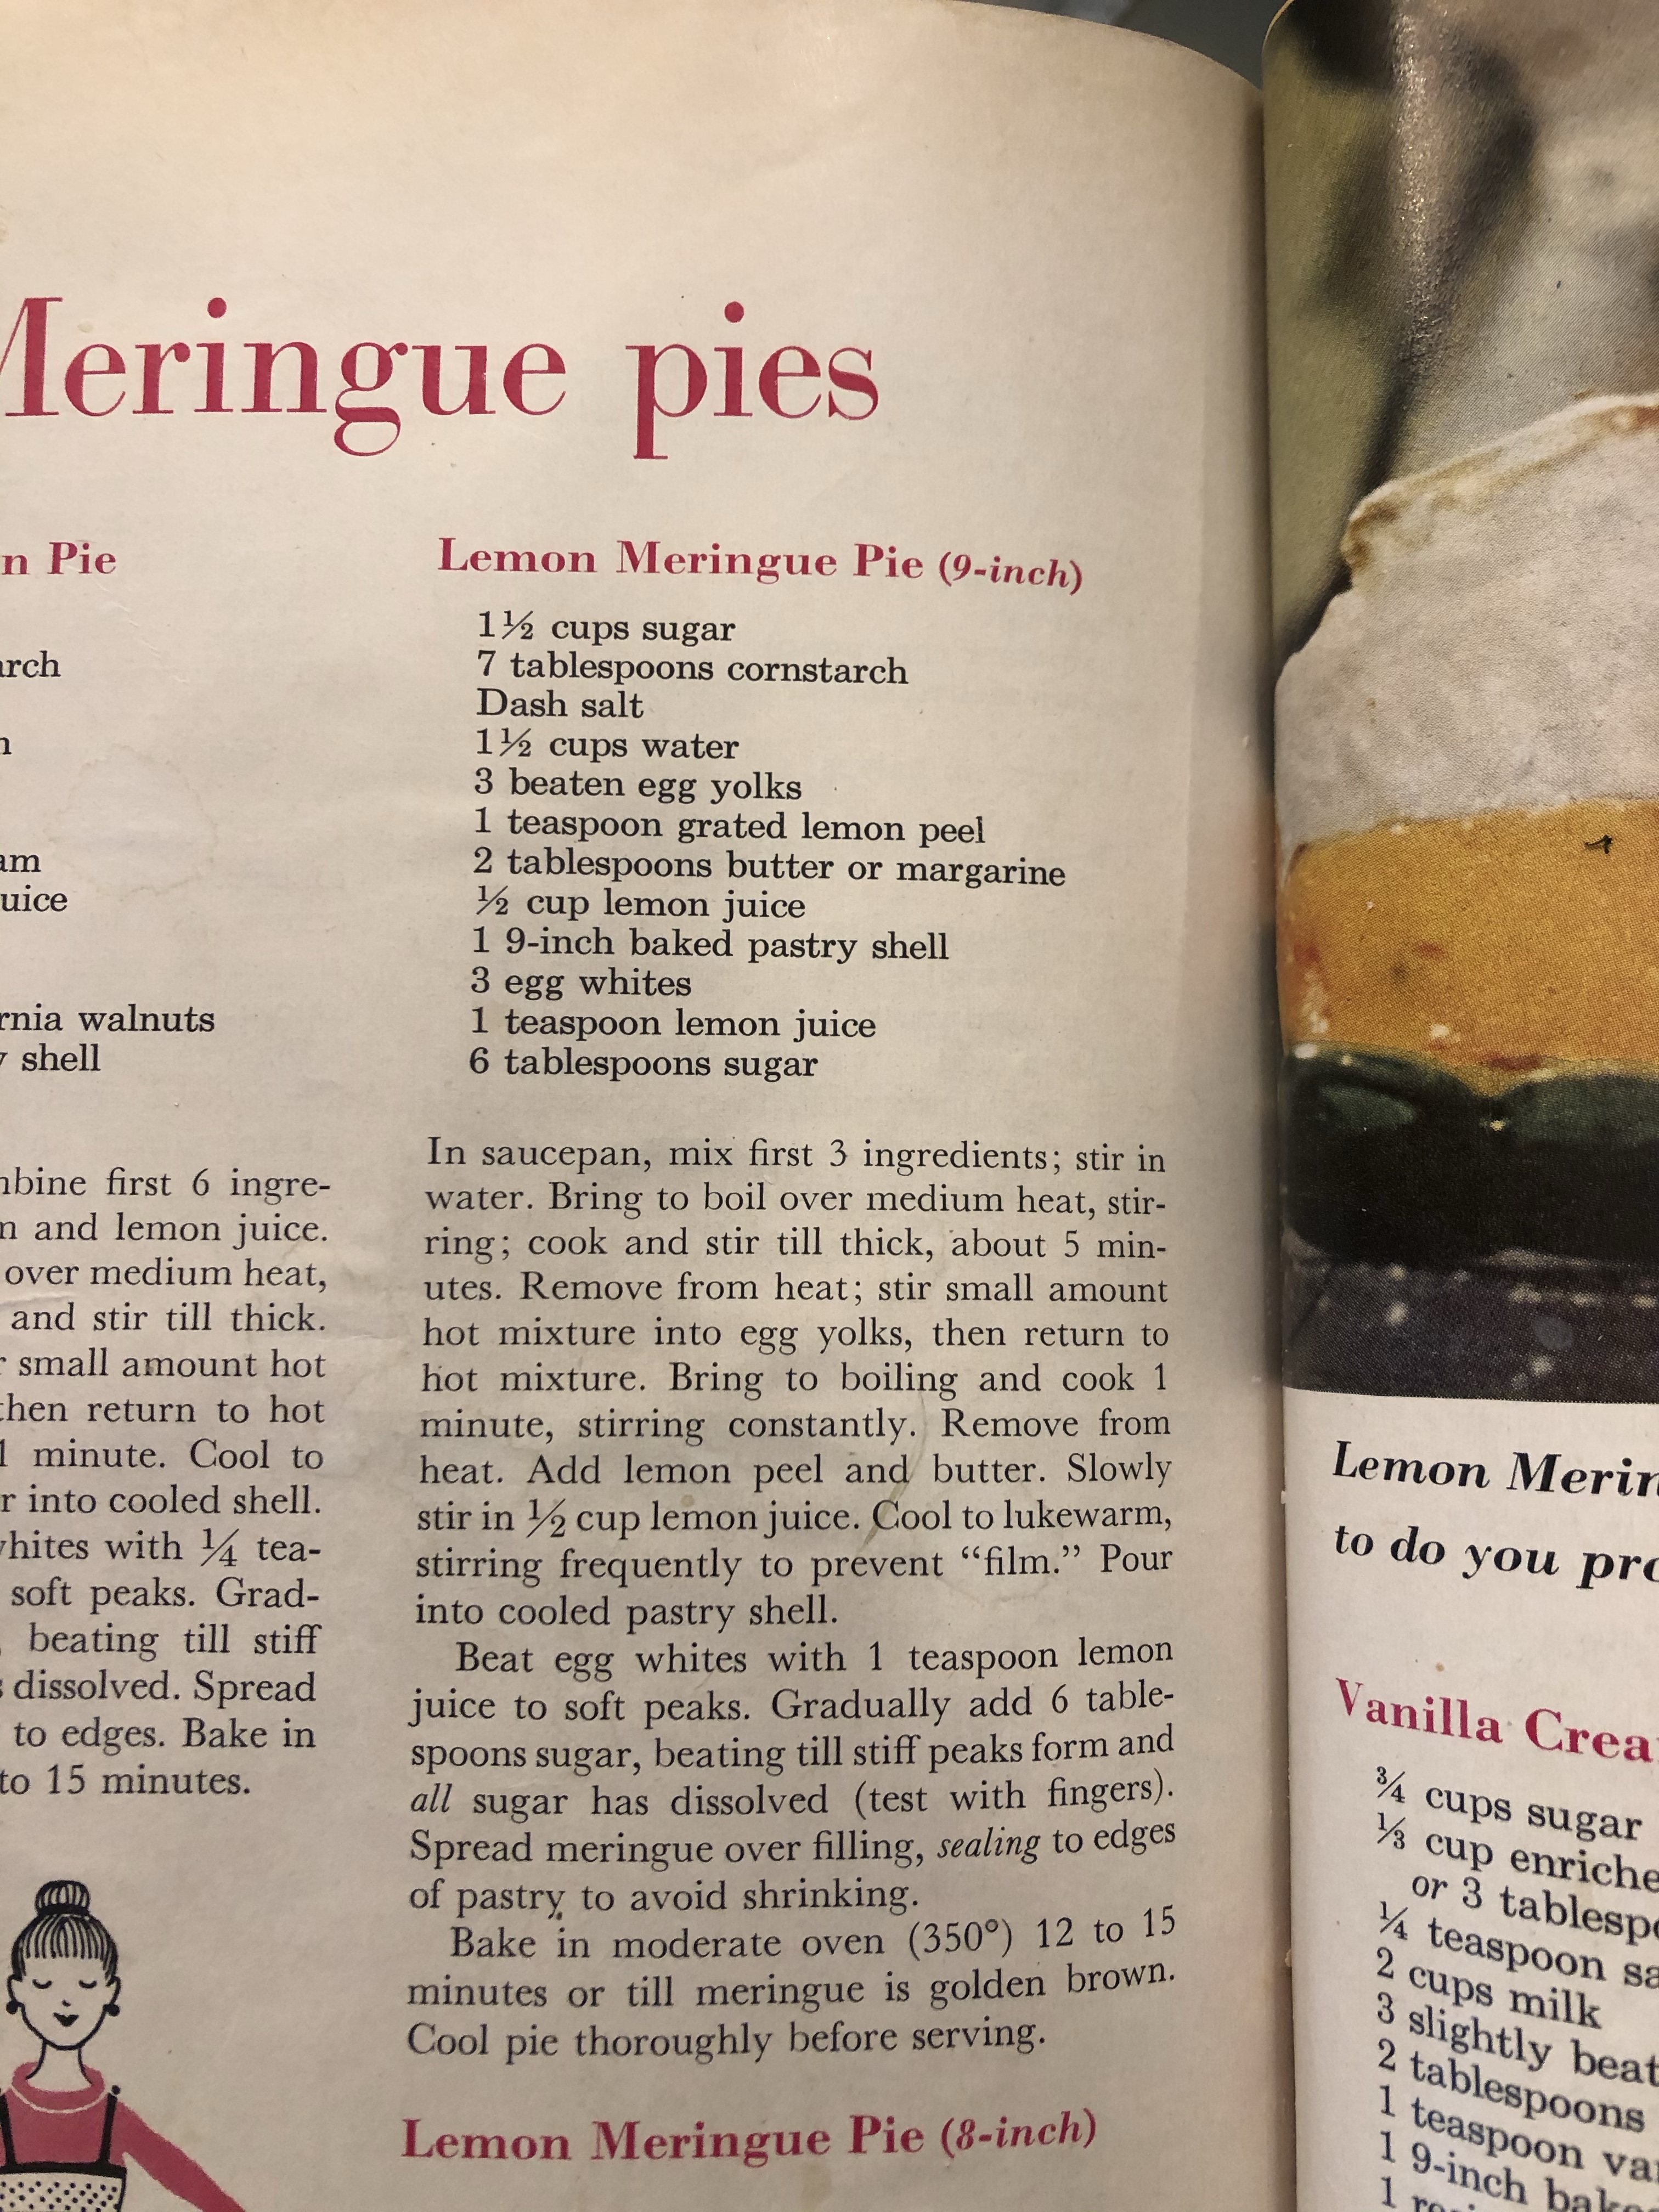
The recipe is from this very old cookbook of my mom’s, printed in the 60’s. I grew up flipping through the pages of this cookbook, ooo-ing and ahhh-ing over the tempting desserts pictured on its pages, this pie being one of them. Now it was time to see if I could make it happen!
Cream pies like this just take patience.
Make the crust
Bake the crust
Make the filling
Let it cool
Make the meringue
Top the pie with the meringue
Bake the meringue until lightly browned
It’s worth every bit of effort to make this delicious pie at home! Just find a day that isn’t rainy and humid, or you might have trouble with the meringue. You’ll be so glad you took the time and effort to make this from scratch. It simply can’t be beat! The meringue in this recipe has a little twist! See if you can catch it.
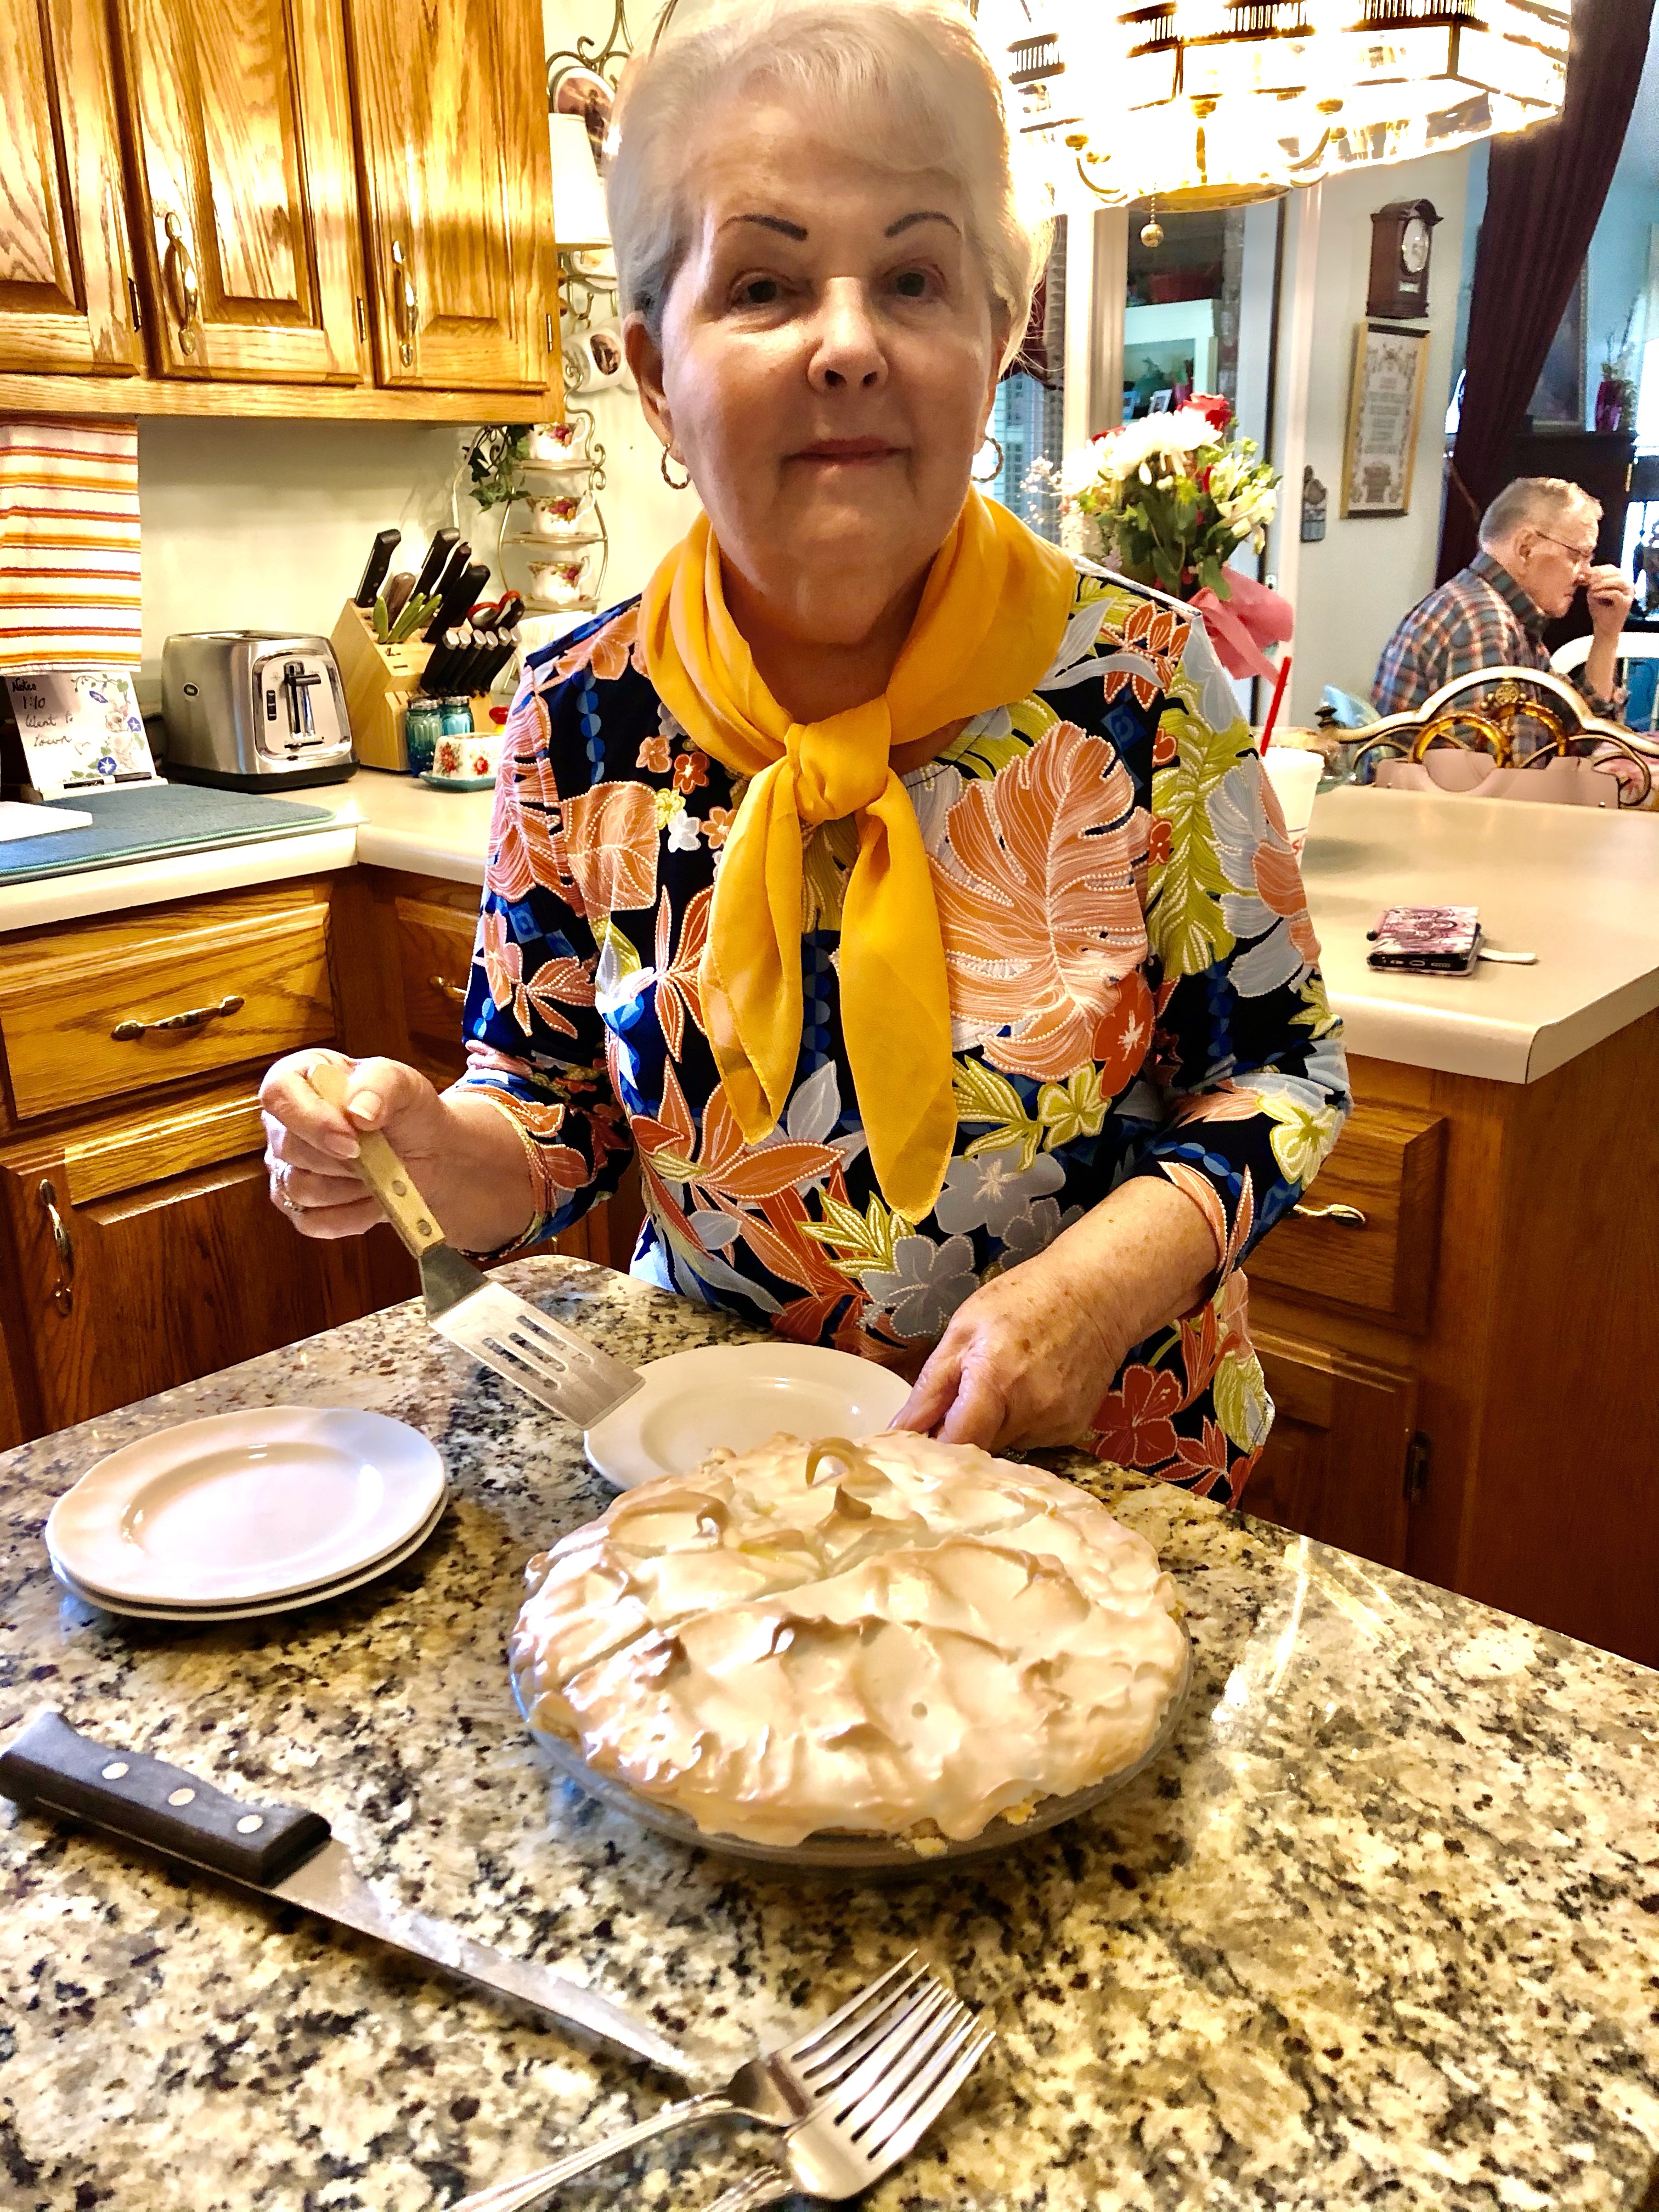
How about a slice?
My sweet mom slicing up her Mother’s day pie.
A few tips:
My homemade crust is made from – 2 C flour, 1 tsp salt, 3/4 C Crisco, ice water. Combine the flour and salt. Using a pastry blender, cut Crisco into flour. Add ice water a little at a time until it holds together without crumbling or being too wet. Makes 2 crusts.
Use freshly squeezed lemon juice, if possible. It makes it extra fresh and tart.
Be sure to cool the pie to room temperature, then refrigerate it a few hours before you attempt to cut it. The filling needs that time to set up.
Did you catch the twist in the recipe for the meringue?
I hope you’ll make someone’s day (and your own!) and bake a lemon pie!
I grew up in a home where most evenings we had dessert at the end of the meal. It wasn’t something huge like a triple-layered cake, but just a little something sweet. I still enjoy ending the meal with a taste of something sweet.
Small, individual desserts are perfect for a “just enough” serving size! Weight Watchers has a cheesecake recipe that I’ve tweaked a little to come up with a dessert we love!
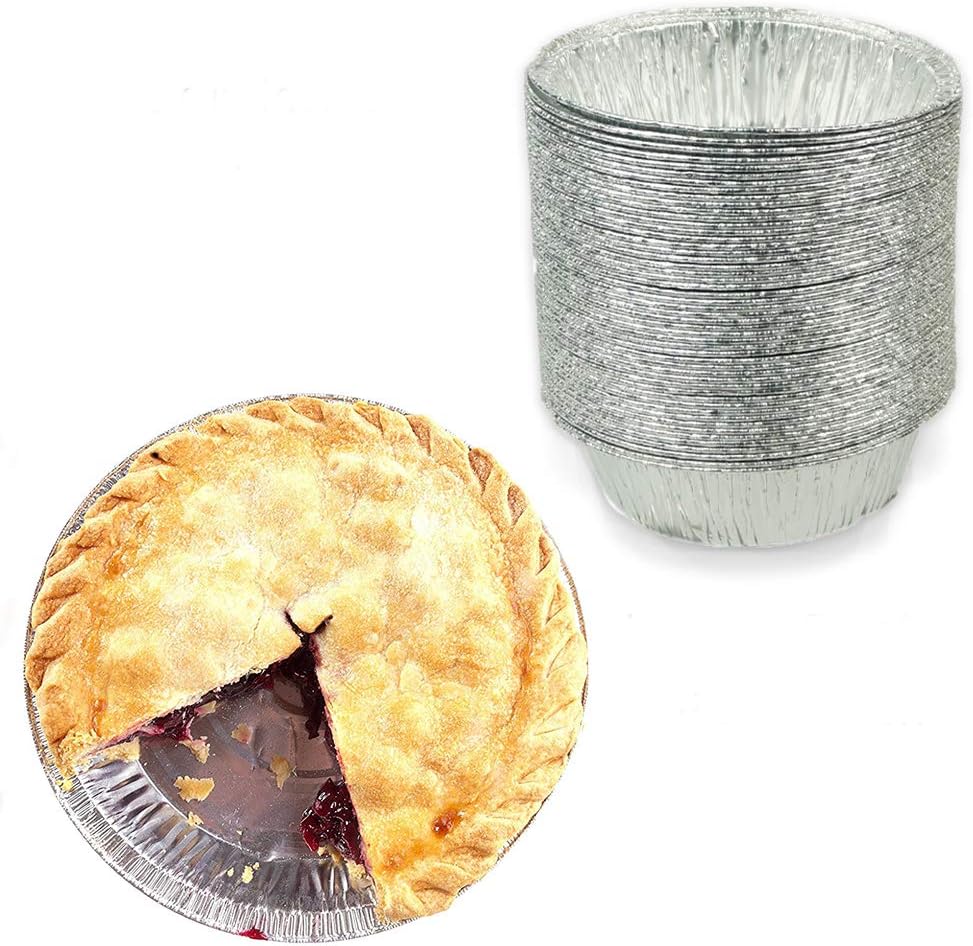
I bake these individual cheesecakes in small tins I purchased on Amazon. They look like these…
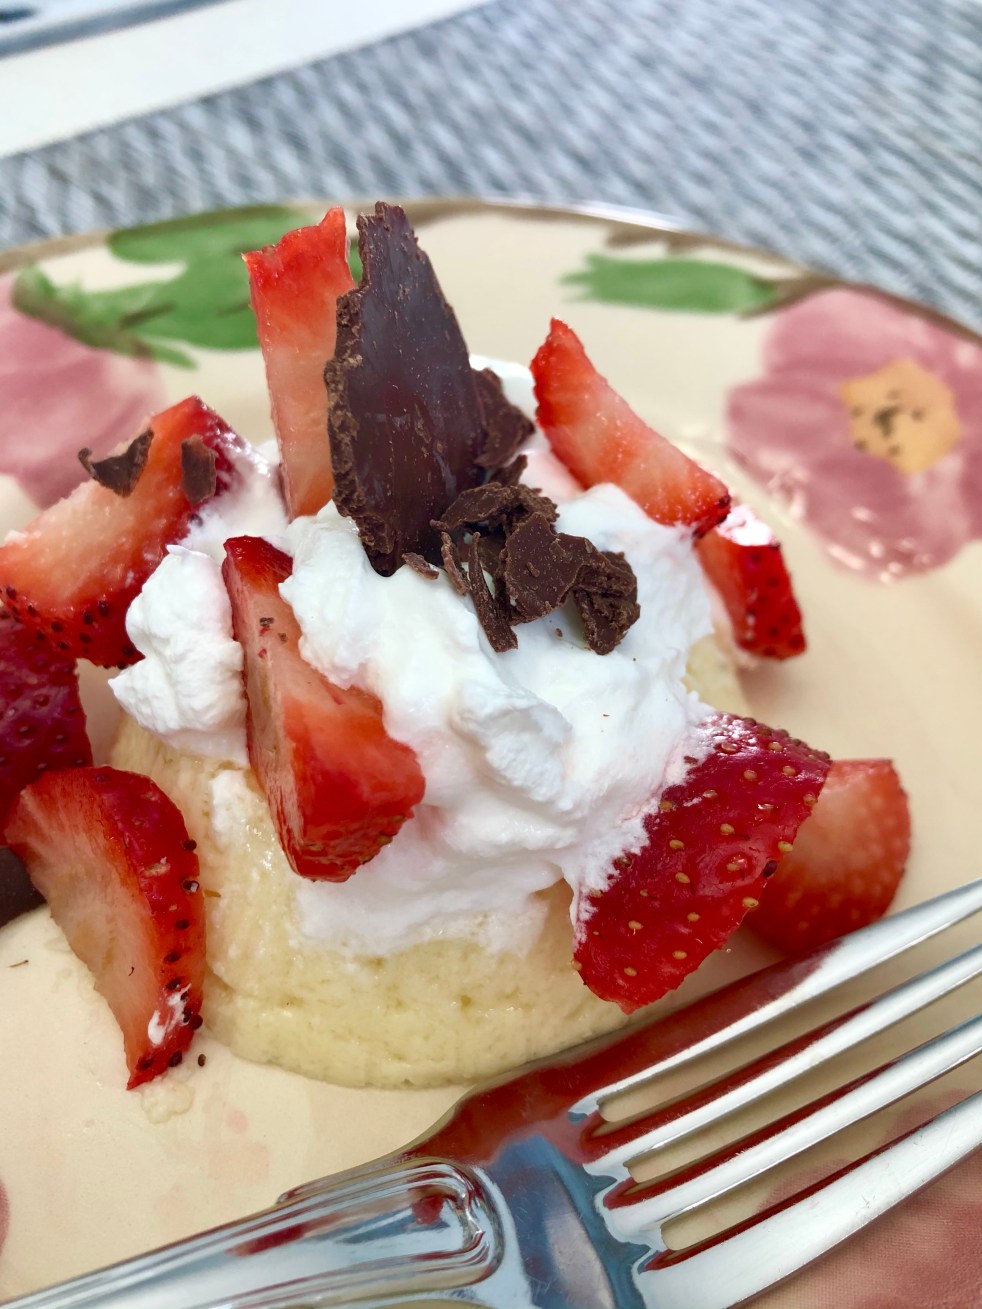
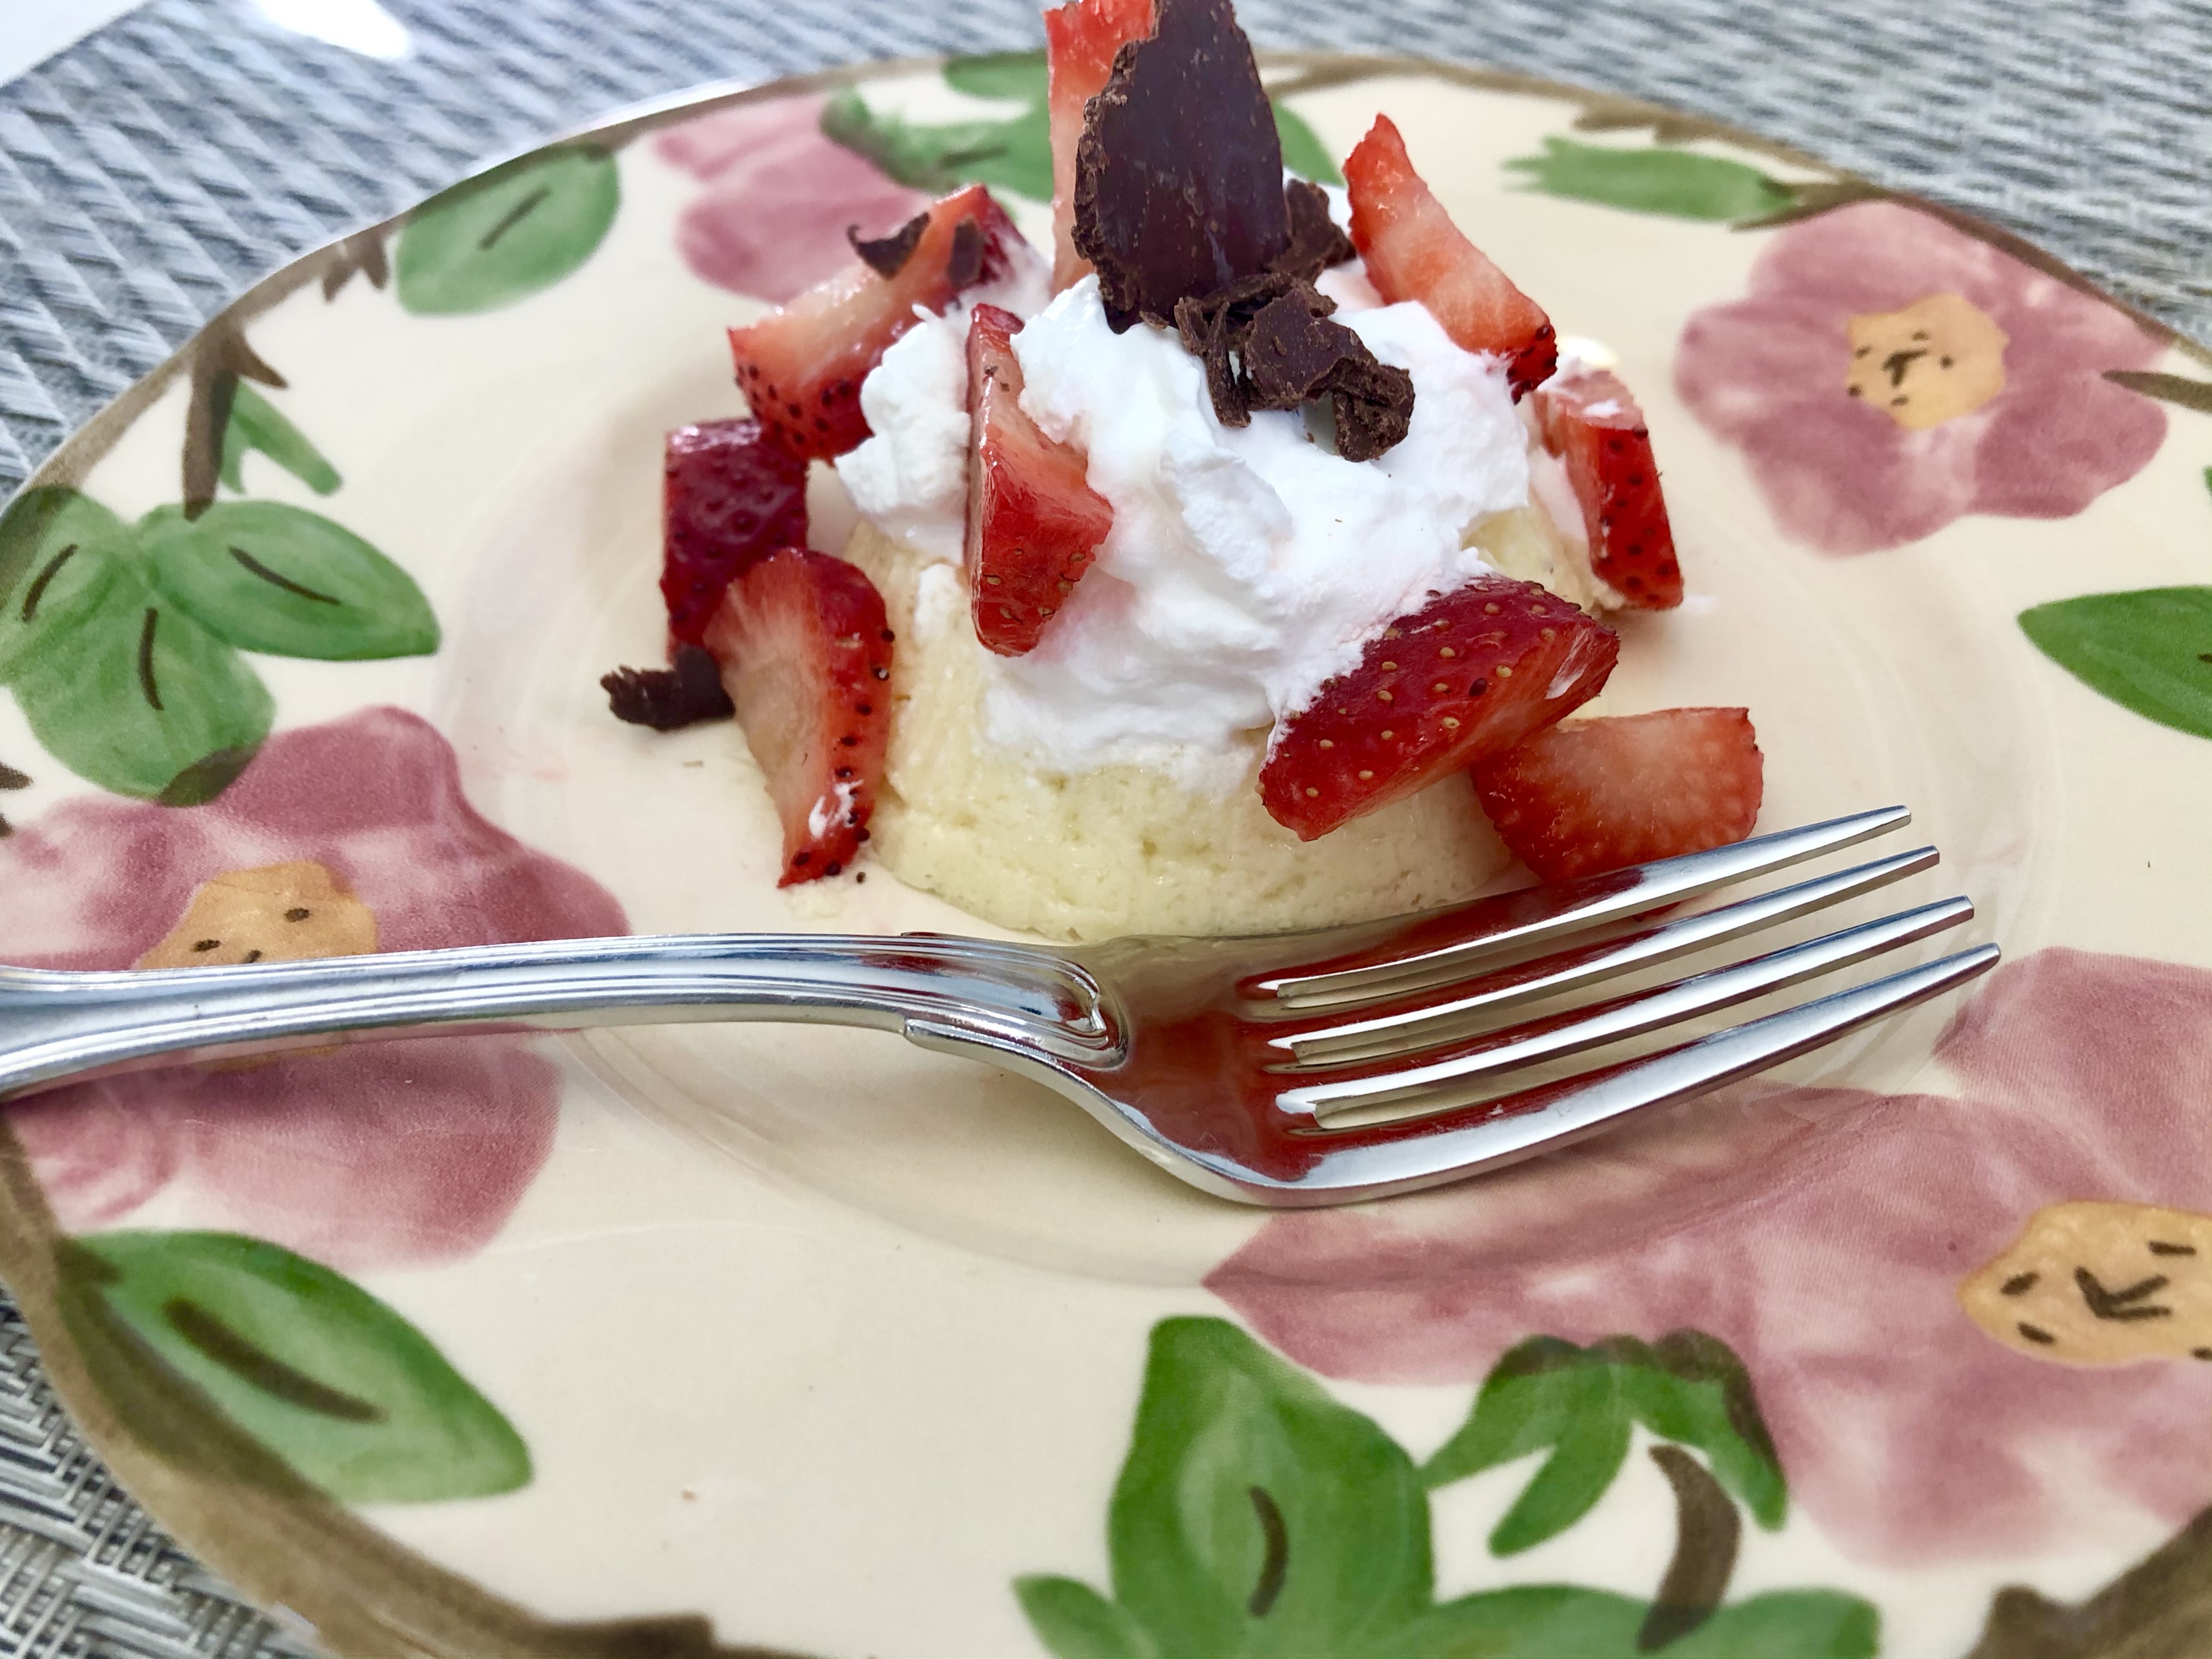
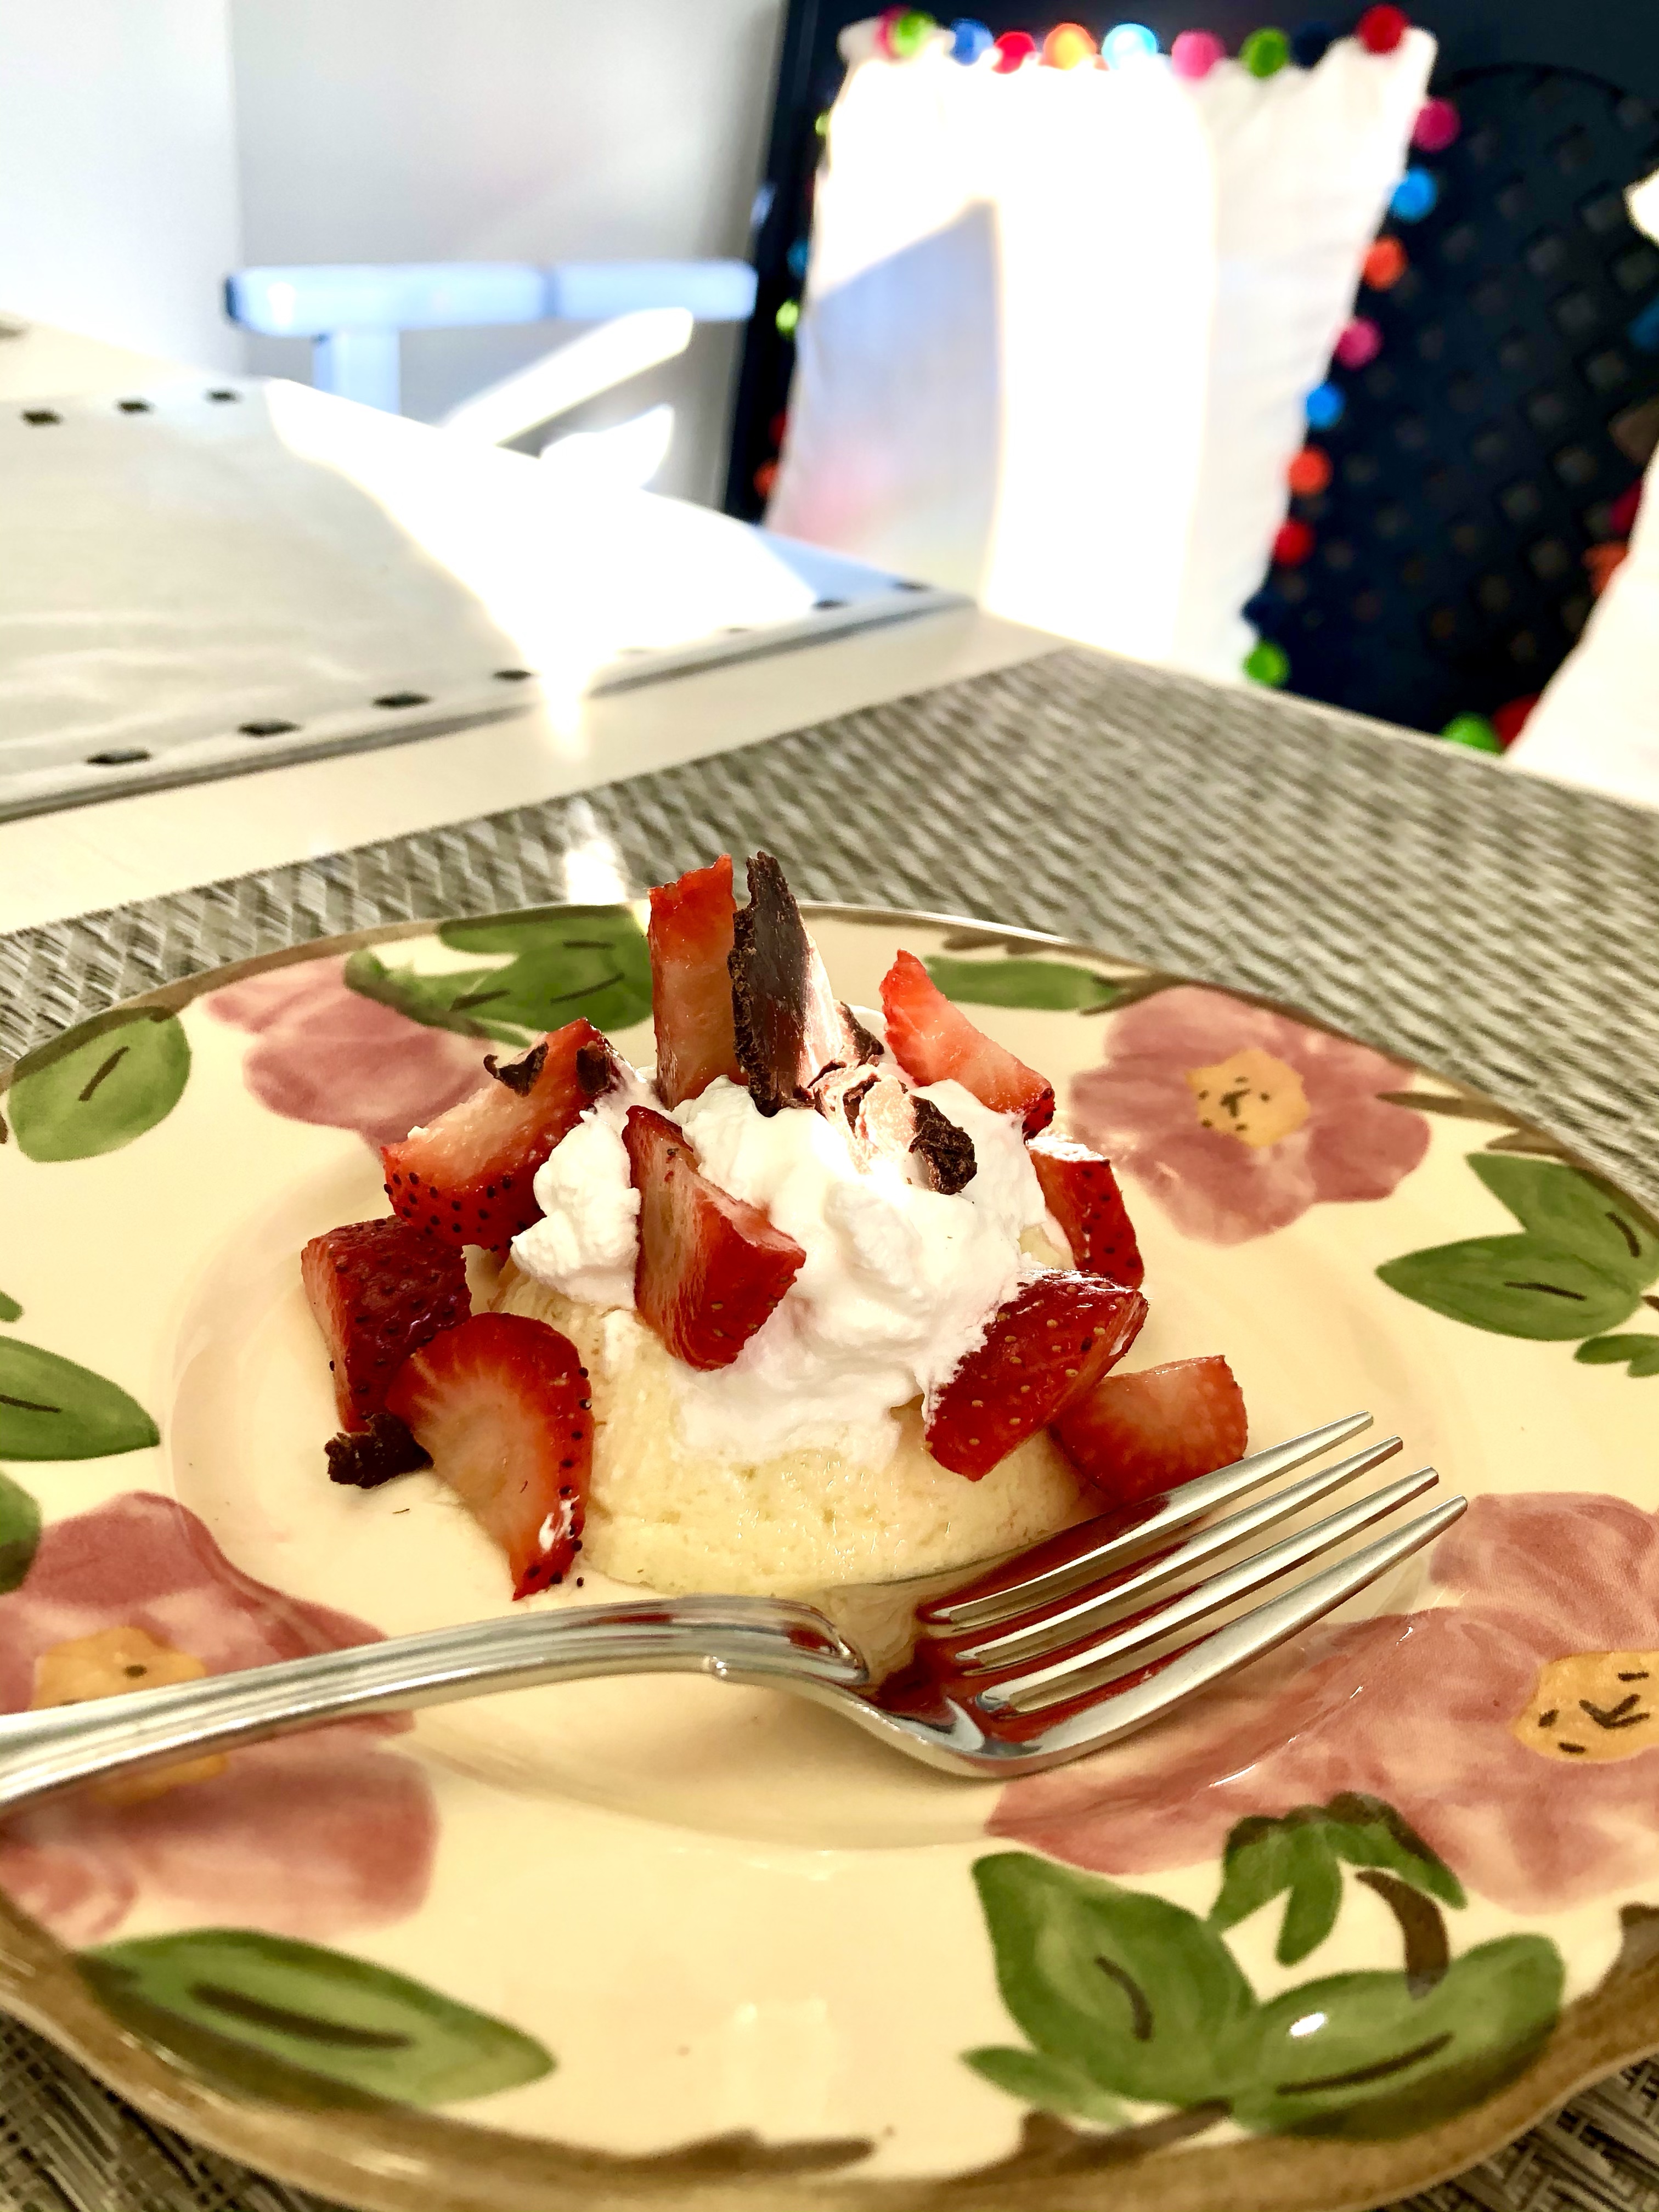
They’re truly the perfect size if you’re wanting to watch your calories, but still enjoy something sweet. I bake them without any crust, then give my guests the option of sprinkling chocolate covered graham crackers on the top. It serves as an inverted crust! Then I top them with fruit, light Cool Whip and chocolate shavings. Wow. They are so good! Here’s the recipe:
Crustless Cheesecakes 3/4 Cup Plain low-fat yogurt 8 oz. Low-fat Cream Cheese 2 Eggs 2/3 Cup sugar 1 tsp Vanilla Light Cool Whip Fresh berries Chocolate shavings Chocolate Graham Crackers, crumbled
1. Preheat oven to 325 degrees. Place small baking tins on a baking sheet. Spray lightly with cooking spray. You could also use a cupcake tin if you don’t have the tins. If you use the tin, line them with cupcake liners.
2. Using an electric mixer, beat together yogurt, cream cheese, eggs, sugar and vanilla. Spoon evenly into baking tins. Bake until top is set, 15-20 minutes; let cool and then chill in refrigerator 2 hours (can make up to 2 days ahead).
3. To serve, slide a knife around the edge of the cheesecake and invert onto a serving plate. Serve with fresh berries, Cool whip and chocolate shavings on top. You can also add the chocolate covered graham crackers on top, if desired.
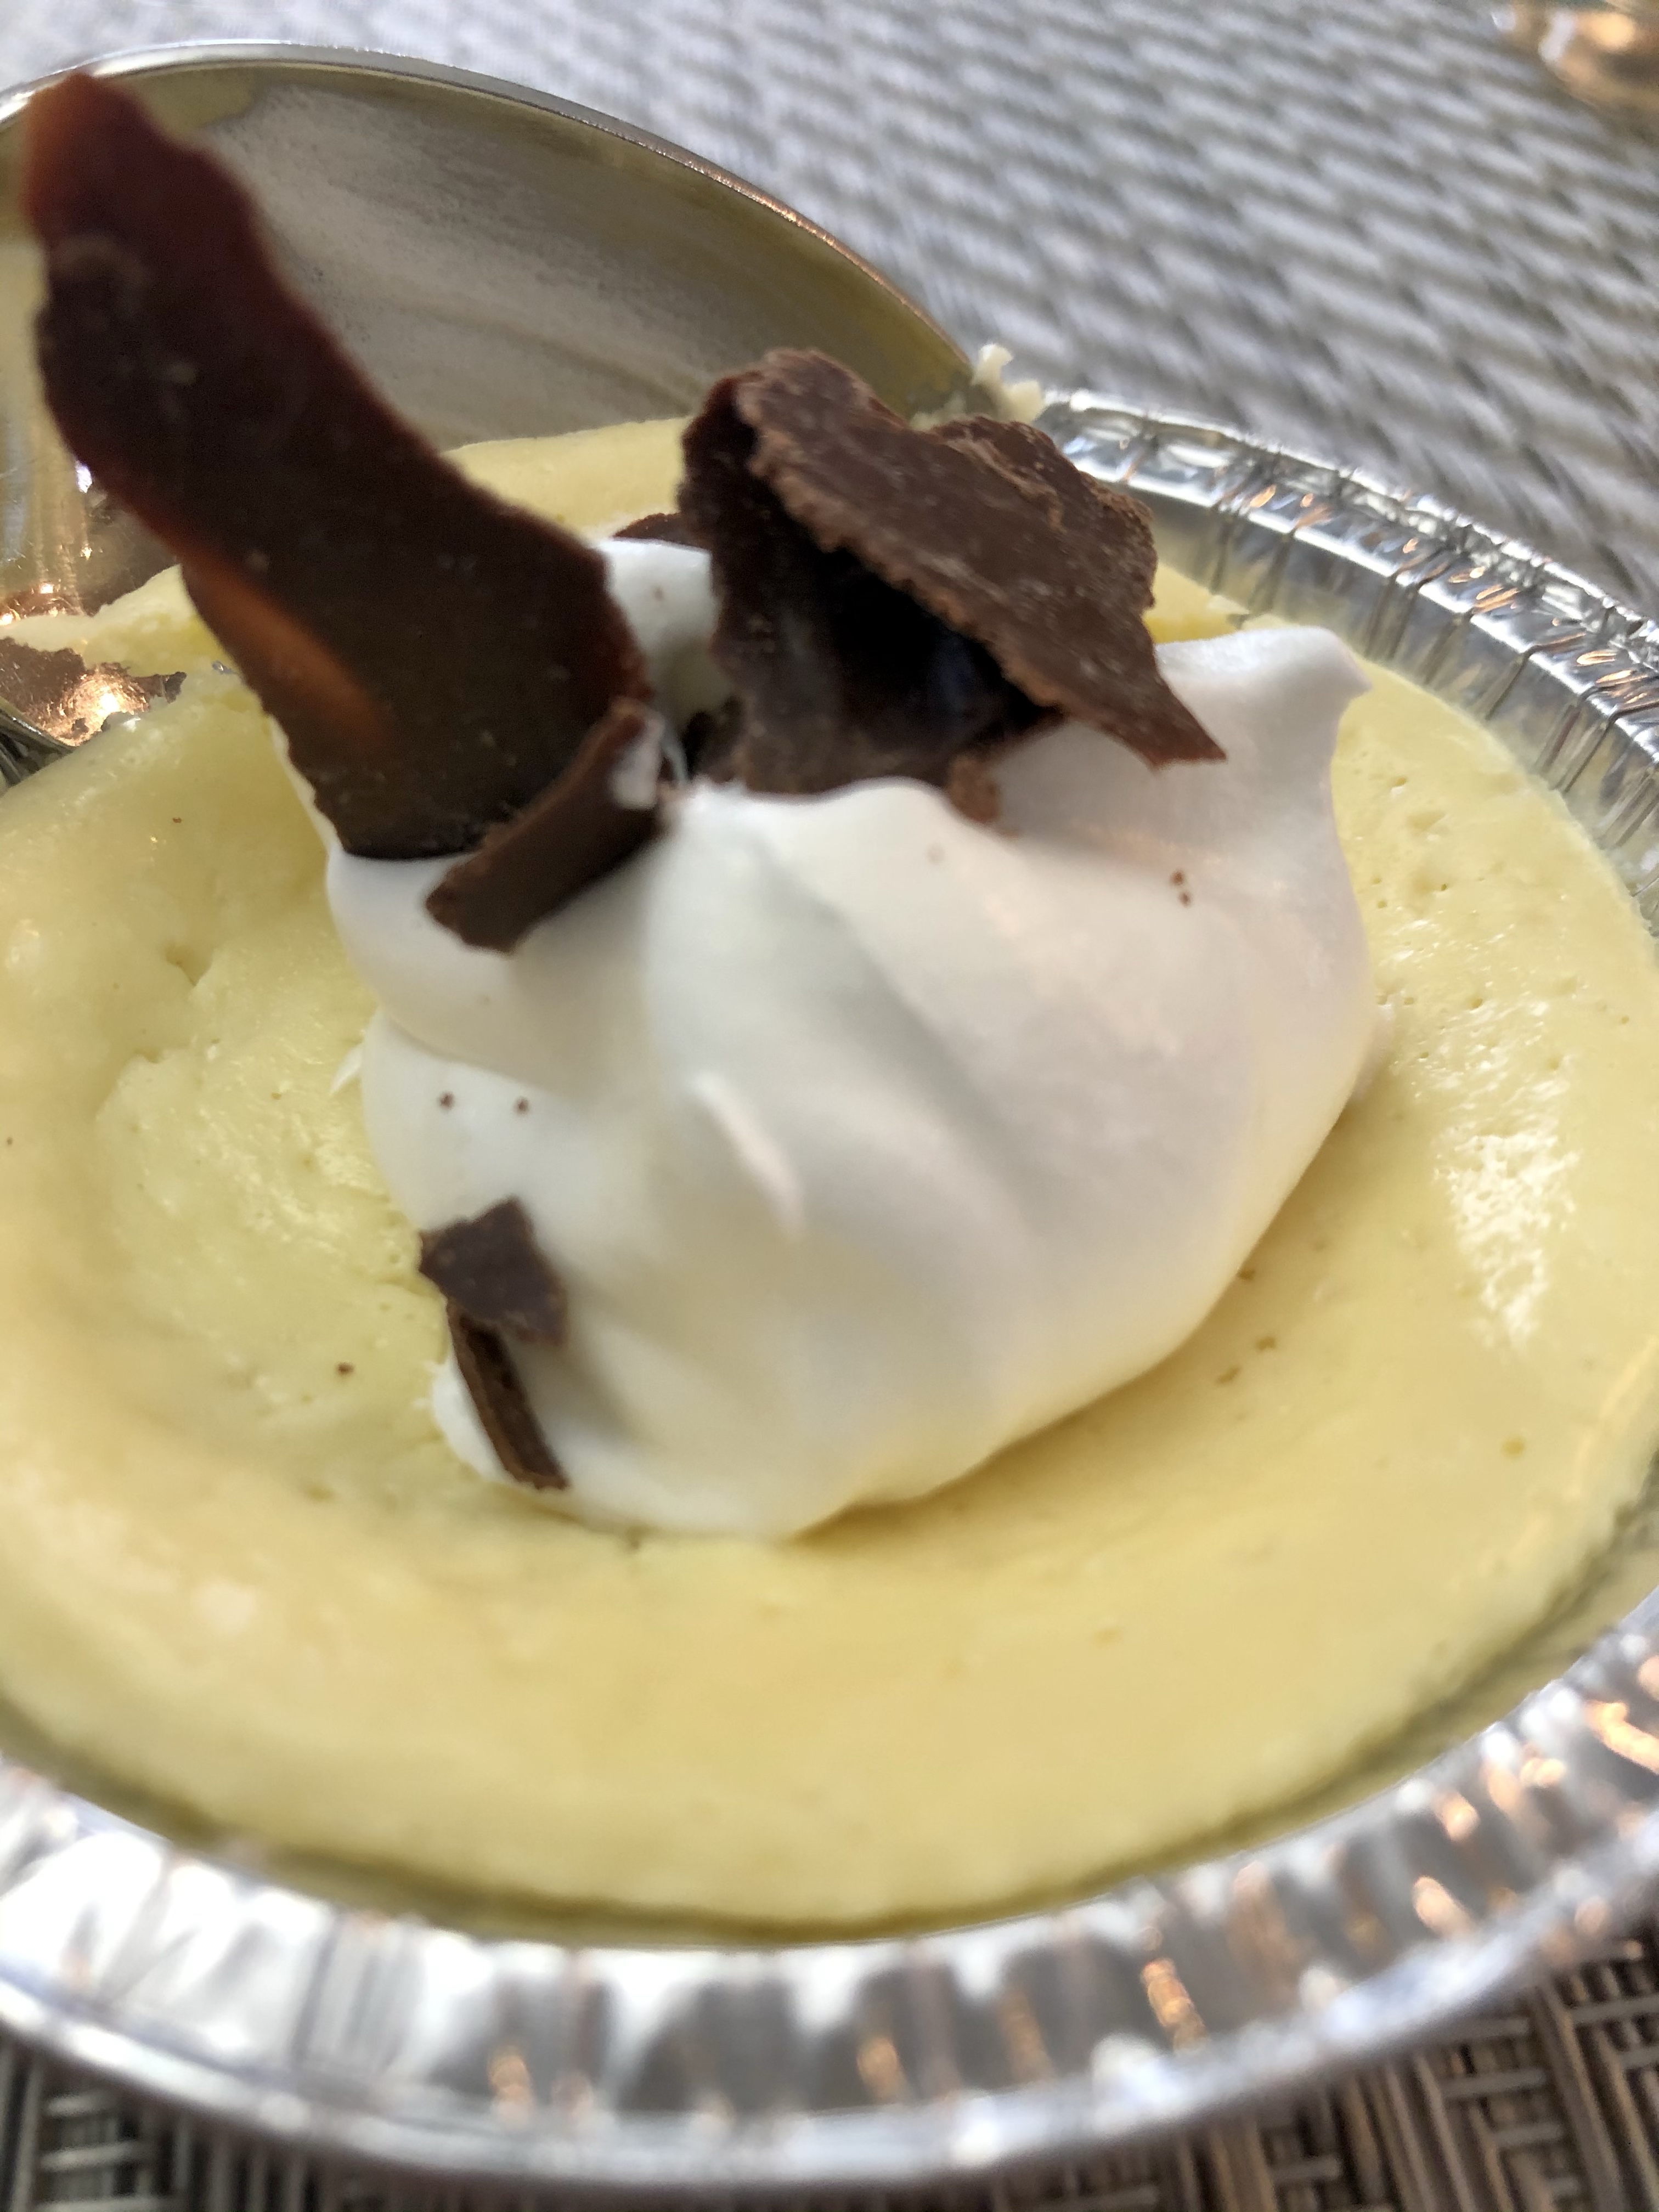
You could also serve these in their little tins for an easy “pick up and go” dessert. Here’s one just with Cool Whip and chocolate. Not a bad combo!
I’m not sure about the WW points on these, but the version with a crust are 7 points, so if you don’t add the crackers, I’d think it would be one or two points lower! I’ve eaten these in moderation with good success (no weight gain).
These make a great dessert for guests. They aren’t strange in any way with artificial sweeteners – they’re just lighter due to no crust and lightened cream cheese. These would be perfect for Easter, perhaps serving them with fresh blueberries and a little lemon zest on top! Give them a try and tell me if you loved them as much as we did!