Last weekend our sweet daughters planned the most lovely early 40th anniversary celebration for my husband and me! Their gift to us was a family photo session with some great photographers from our area.
Plan A was to go to a park in our area, but the day turned out very wet. Enter Plan B! We used our newly decorated family room’s lovely blue wall as our backdrop! It ended up being really great (God’s interruptions always are!). I’ll share just a few of my favorite photos from the day.
Our twin grandsons were so cooperative and full of smiles!
I couldn’t ask for sweeter daughters. They are so dear to me.
This next photo is from our wedding day, June 20, 1981!
Forty years ago! And now…
Current!
Lots of things have changed, but Dale’s fun-loving spirit is not one of them!
After the family poses were all taken, the photographers invited each couple to come outside and stand in the rain under their giant umbrella for some really great rainy day shots! I love this one of Paul and Whitney!
And Alli and Andrew…
Look at the rain droplets!
Here are the “Oldie-weds!”
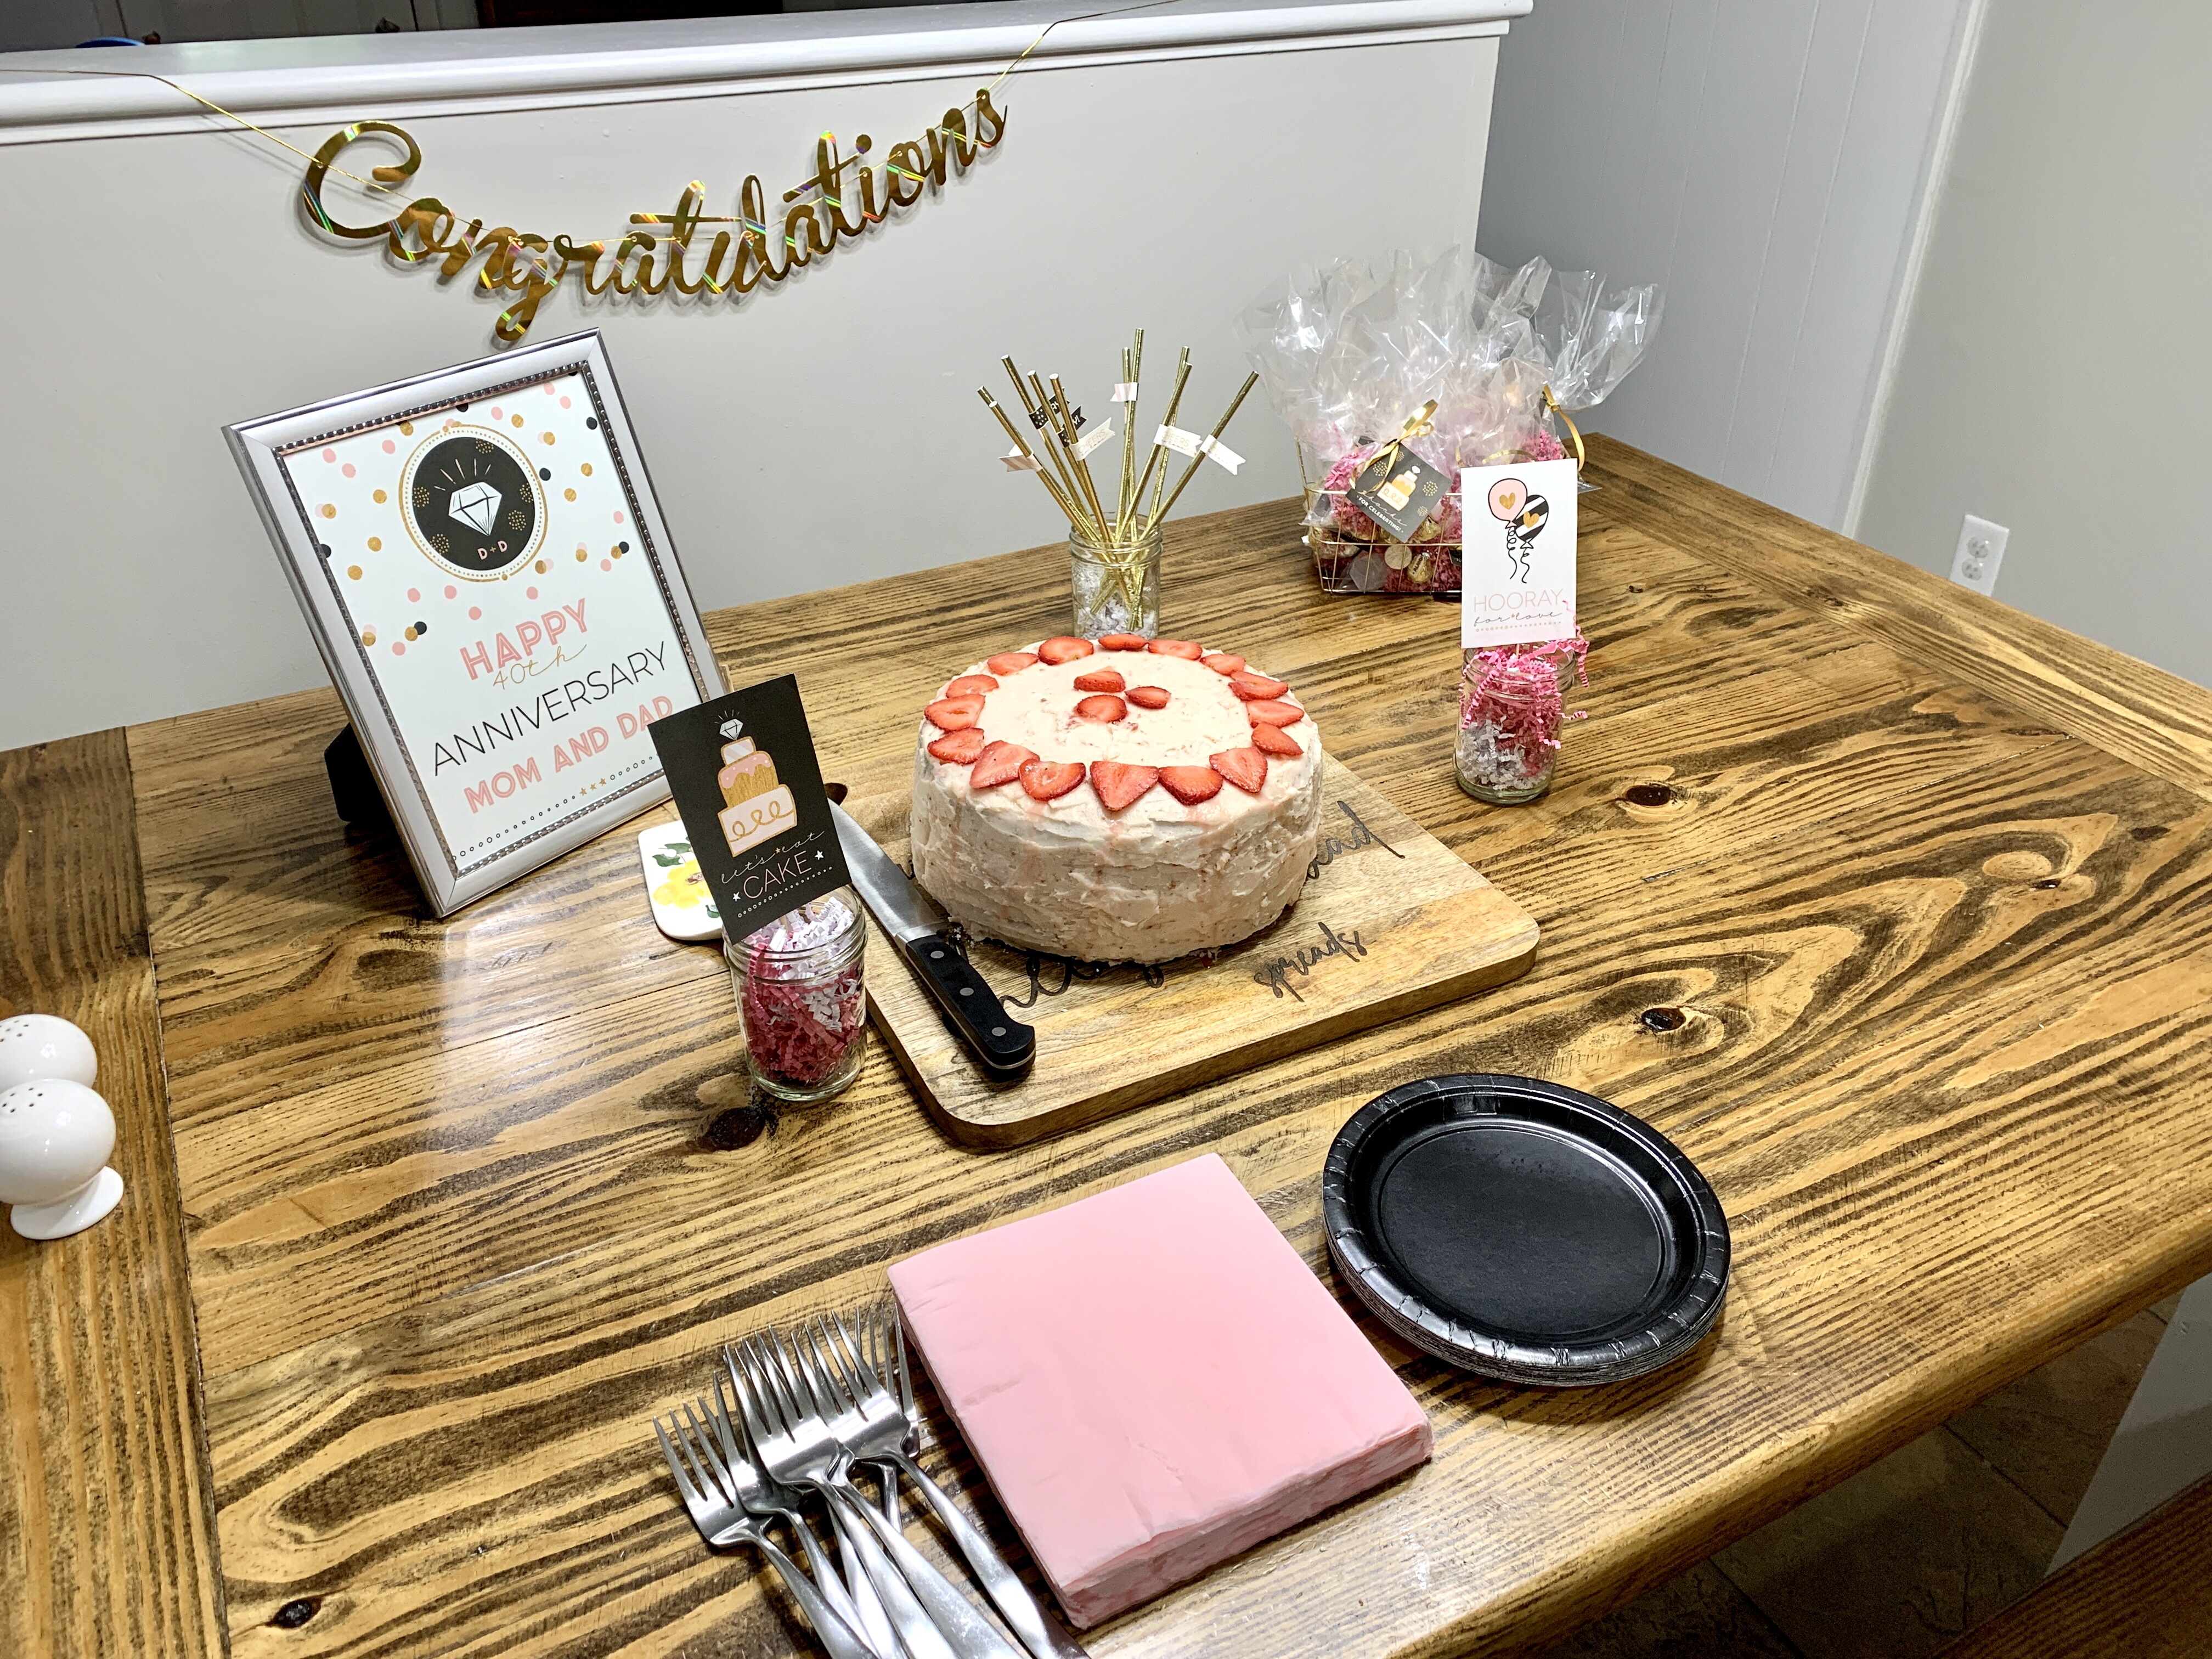
After a delicious lunch at Carrabba’s, we went to Alli and Andrew’s for dessert, consisting of a scrumptious Strawberry Cake. Whitney decorated for the party in her typical flare. It was so much fun and so pretty!
We can hardly believe we are staring 40 years in the face, but we are so thankful. God has been faithful, spite our old sin natures and imperfect love, He has guided us, provided for us and grown us. We pray that the years we have remaining will find us pointing others to the glorious Gospel where Jesus demonstrated the perfect sacrificial love, forgiveness, mercy, kindness, grace, and submission.
My pantry is an essential part of my kitchen. Kind of like my own little “store,” it’s where all of the staples are safely tucked away. I’m in that closet space many times every single day!
We’ve lived in our current home for 7.5 years and this is my first time to have a decent size pantry. I was afraid I wouldn’t be able to maintain it and keep it in order, so in an effort to organize it, I got baskets, bins and jars and got things in shape four years ago. I thought I’d do a little check-in today to give you a report on how it’s going.
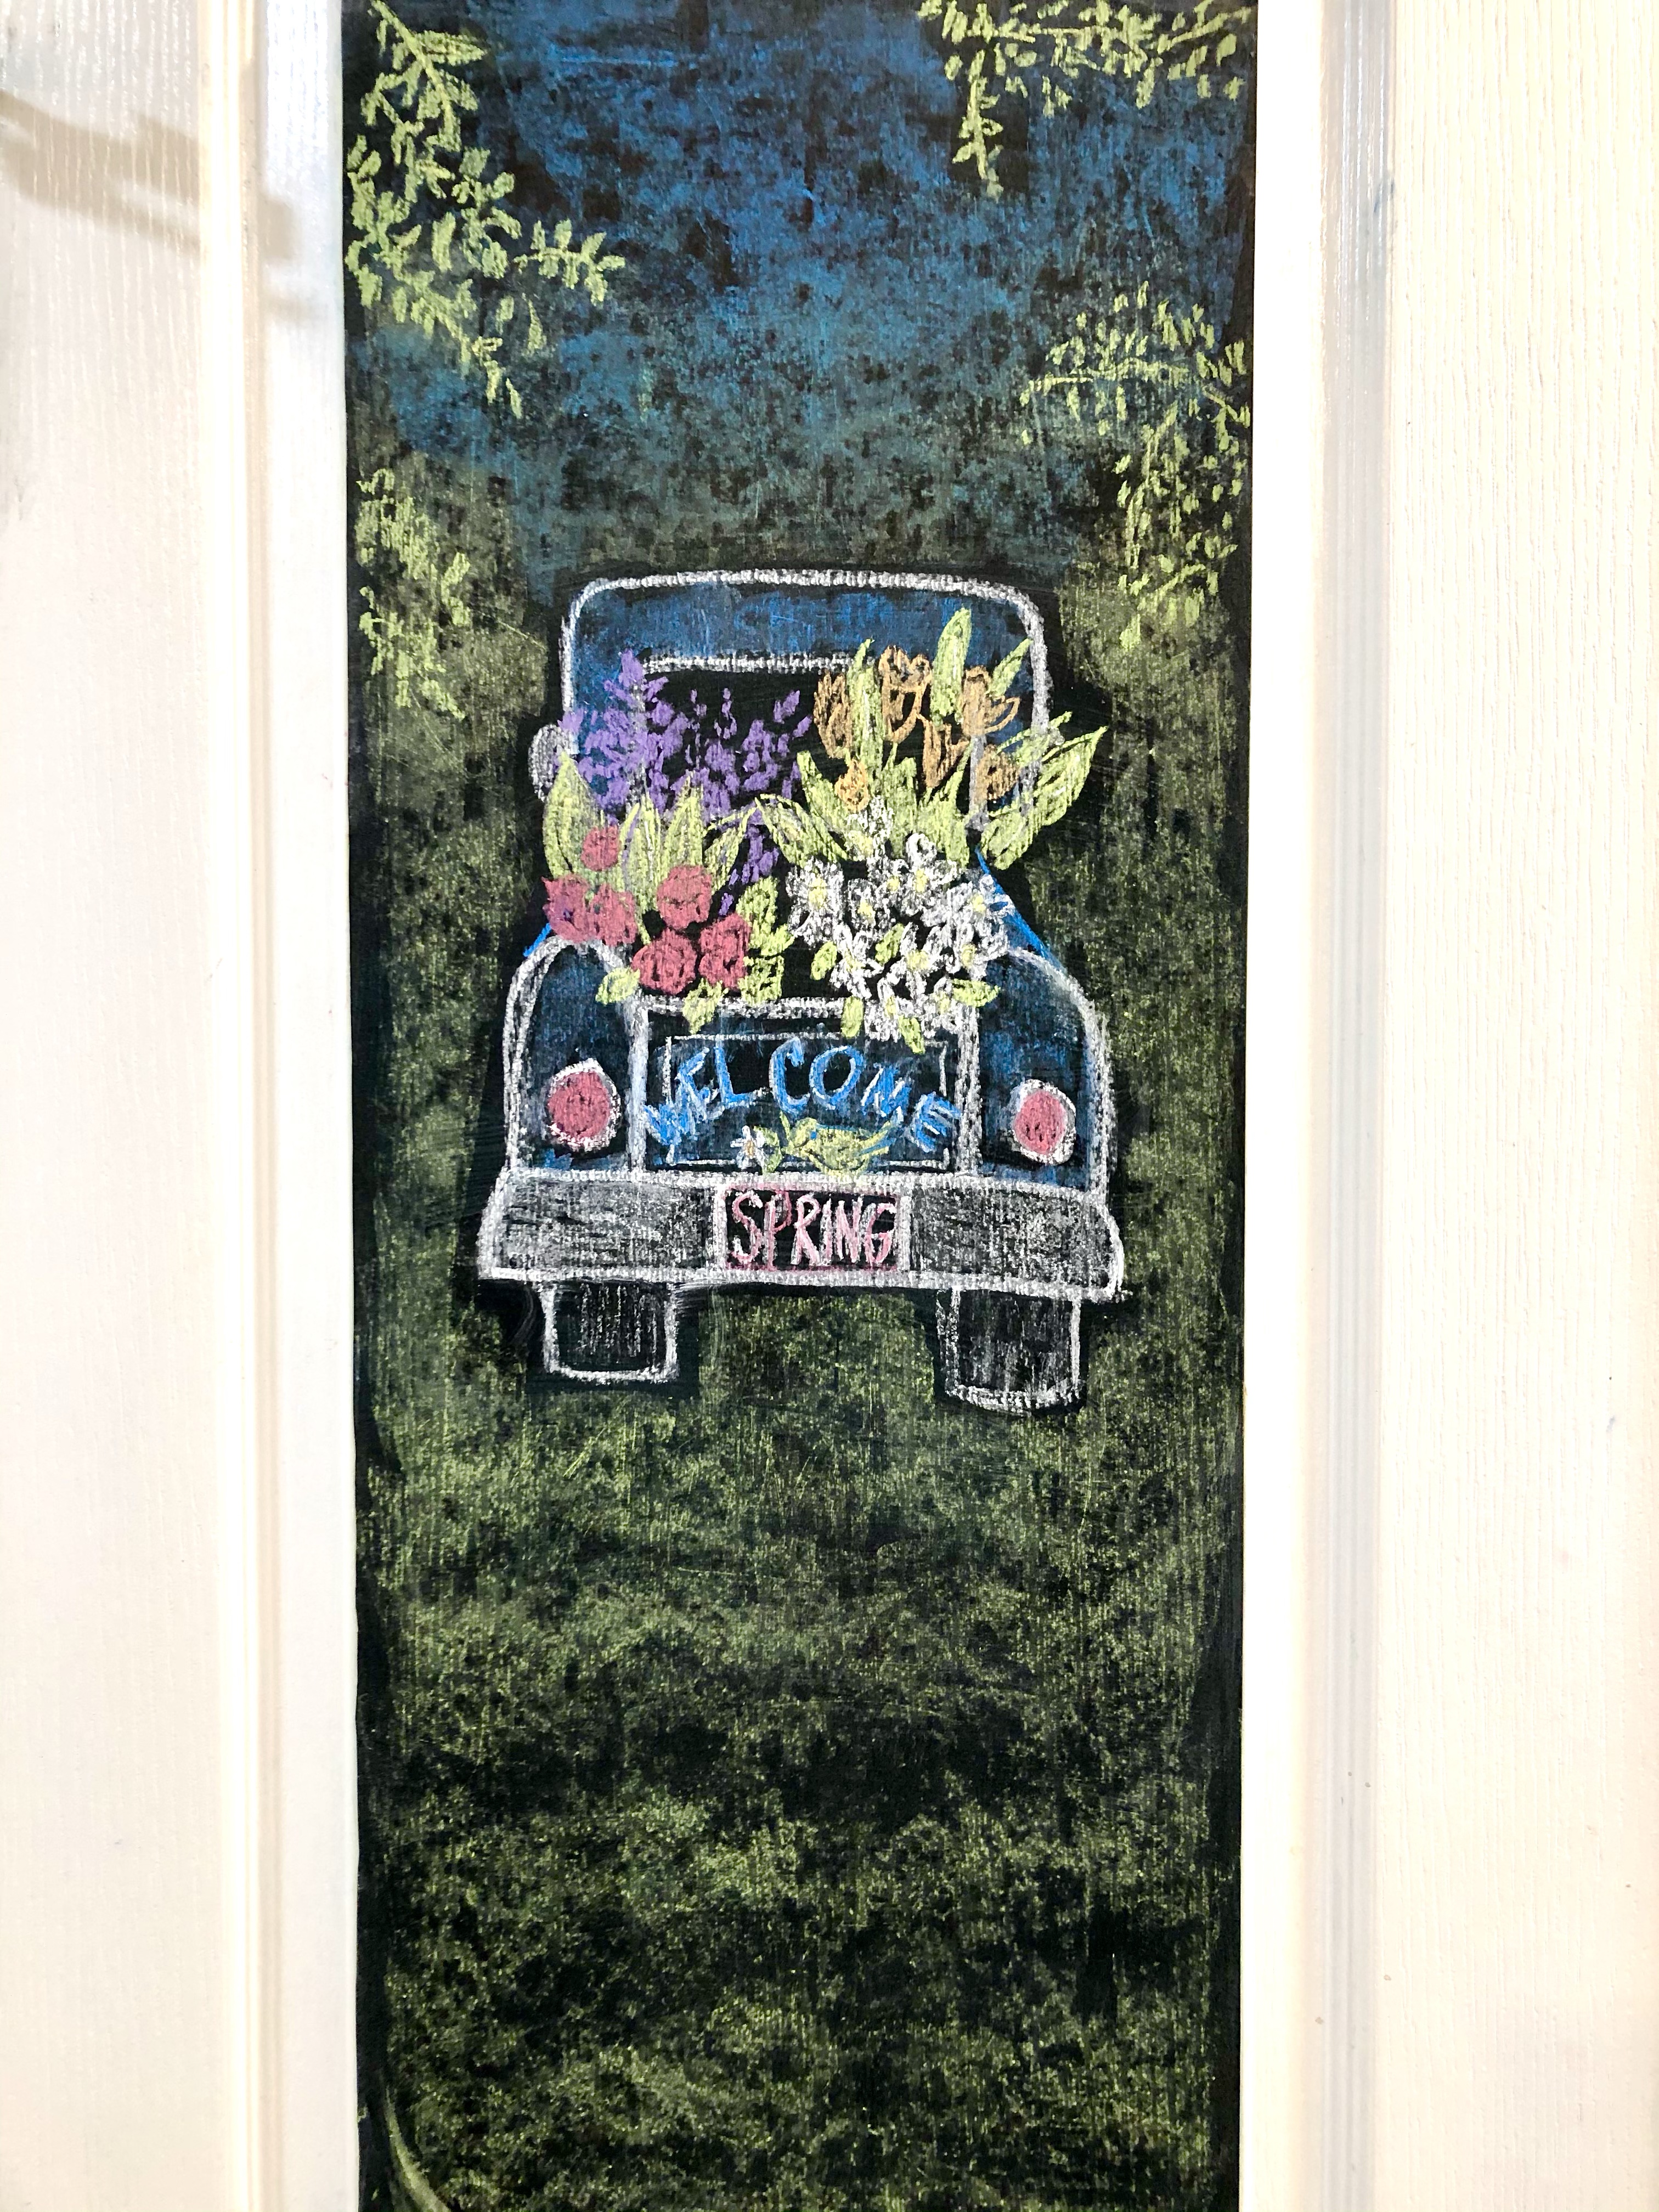
First off, I still LOVE my chalkboard vinyl that I got at Hobby Lobby. It allows my kitchen reflect the season. I did the spring pick-up truck last week when I added the spring vignettes to my downstairs. If you have a white closet pantry door, you should try adding this vinyl chalkboard. You could use it for an ongoing menu board, shopping list or for drawing or writing things like Bible verses, sayings or quotes!
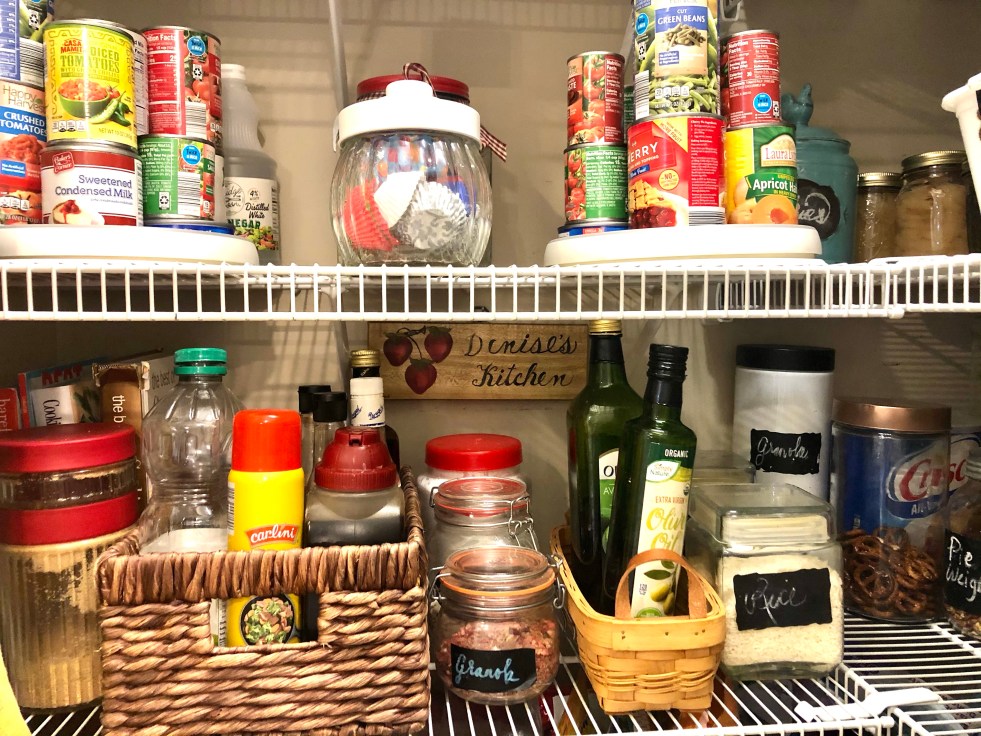
This side of my pantry gets used a lot! From the Olive oil, cooking spray, and canned goods, it holds the things I use the most. I love that my oils and vanilla are in baskets that slide out. It makes it super easy to pull it out and grab what I need. I have a couple of my favorite cookbooks behind the brown sugar cannister on the left side and my aprons are on hooks to the far left. That works great!
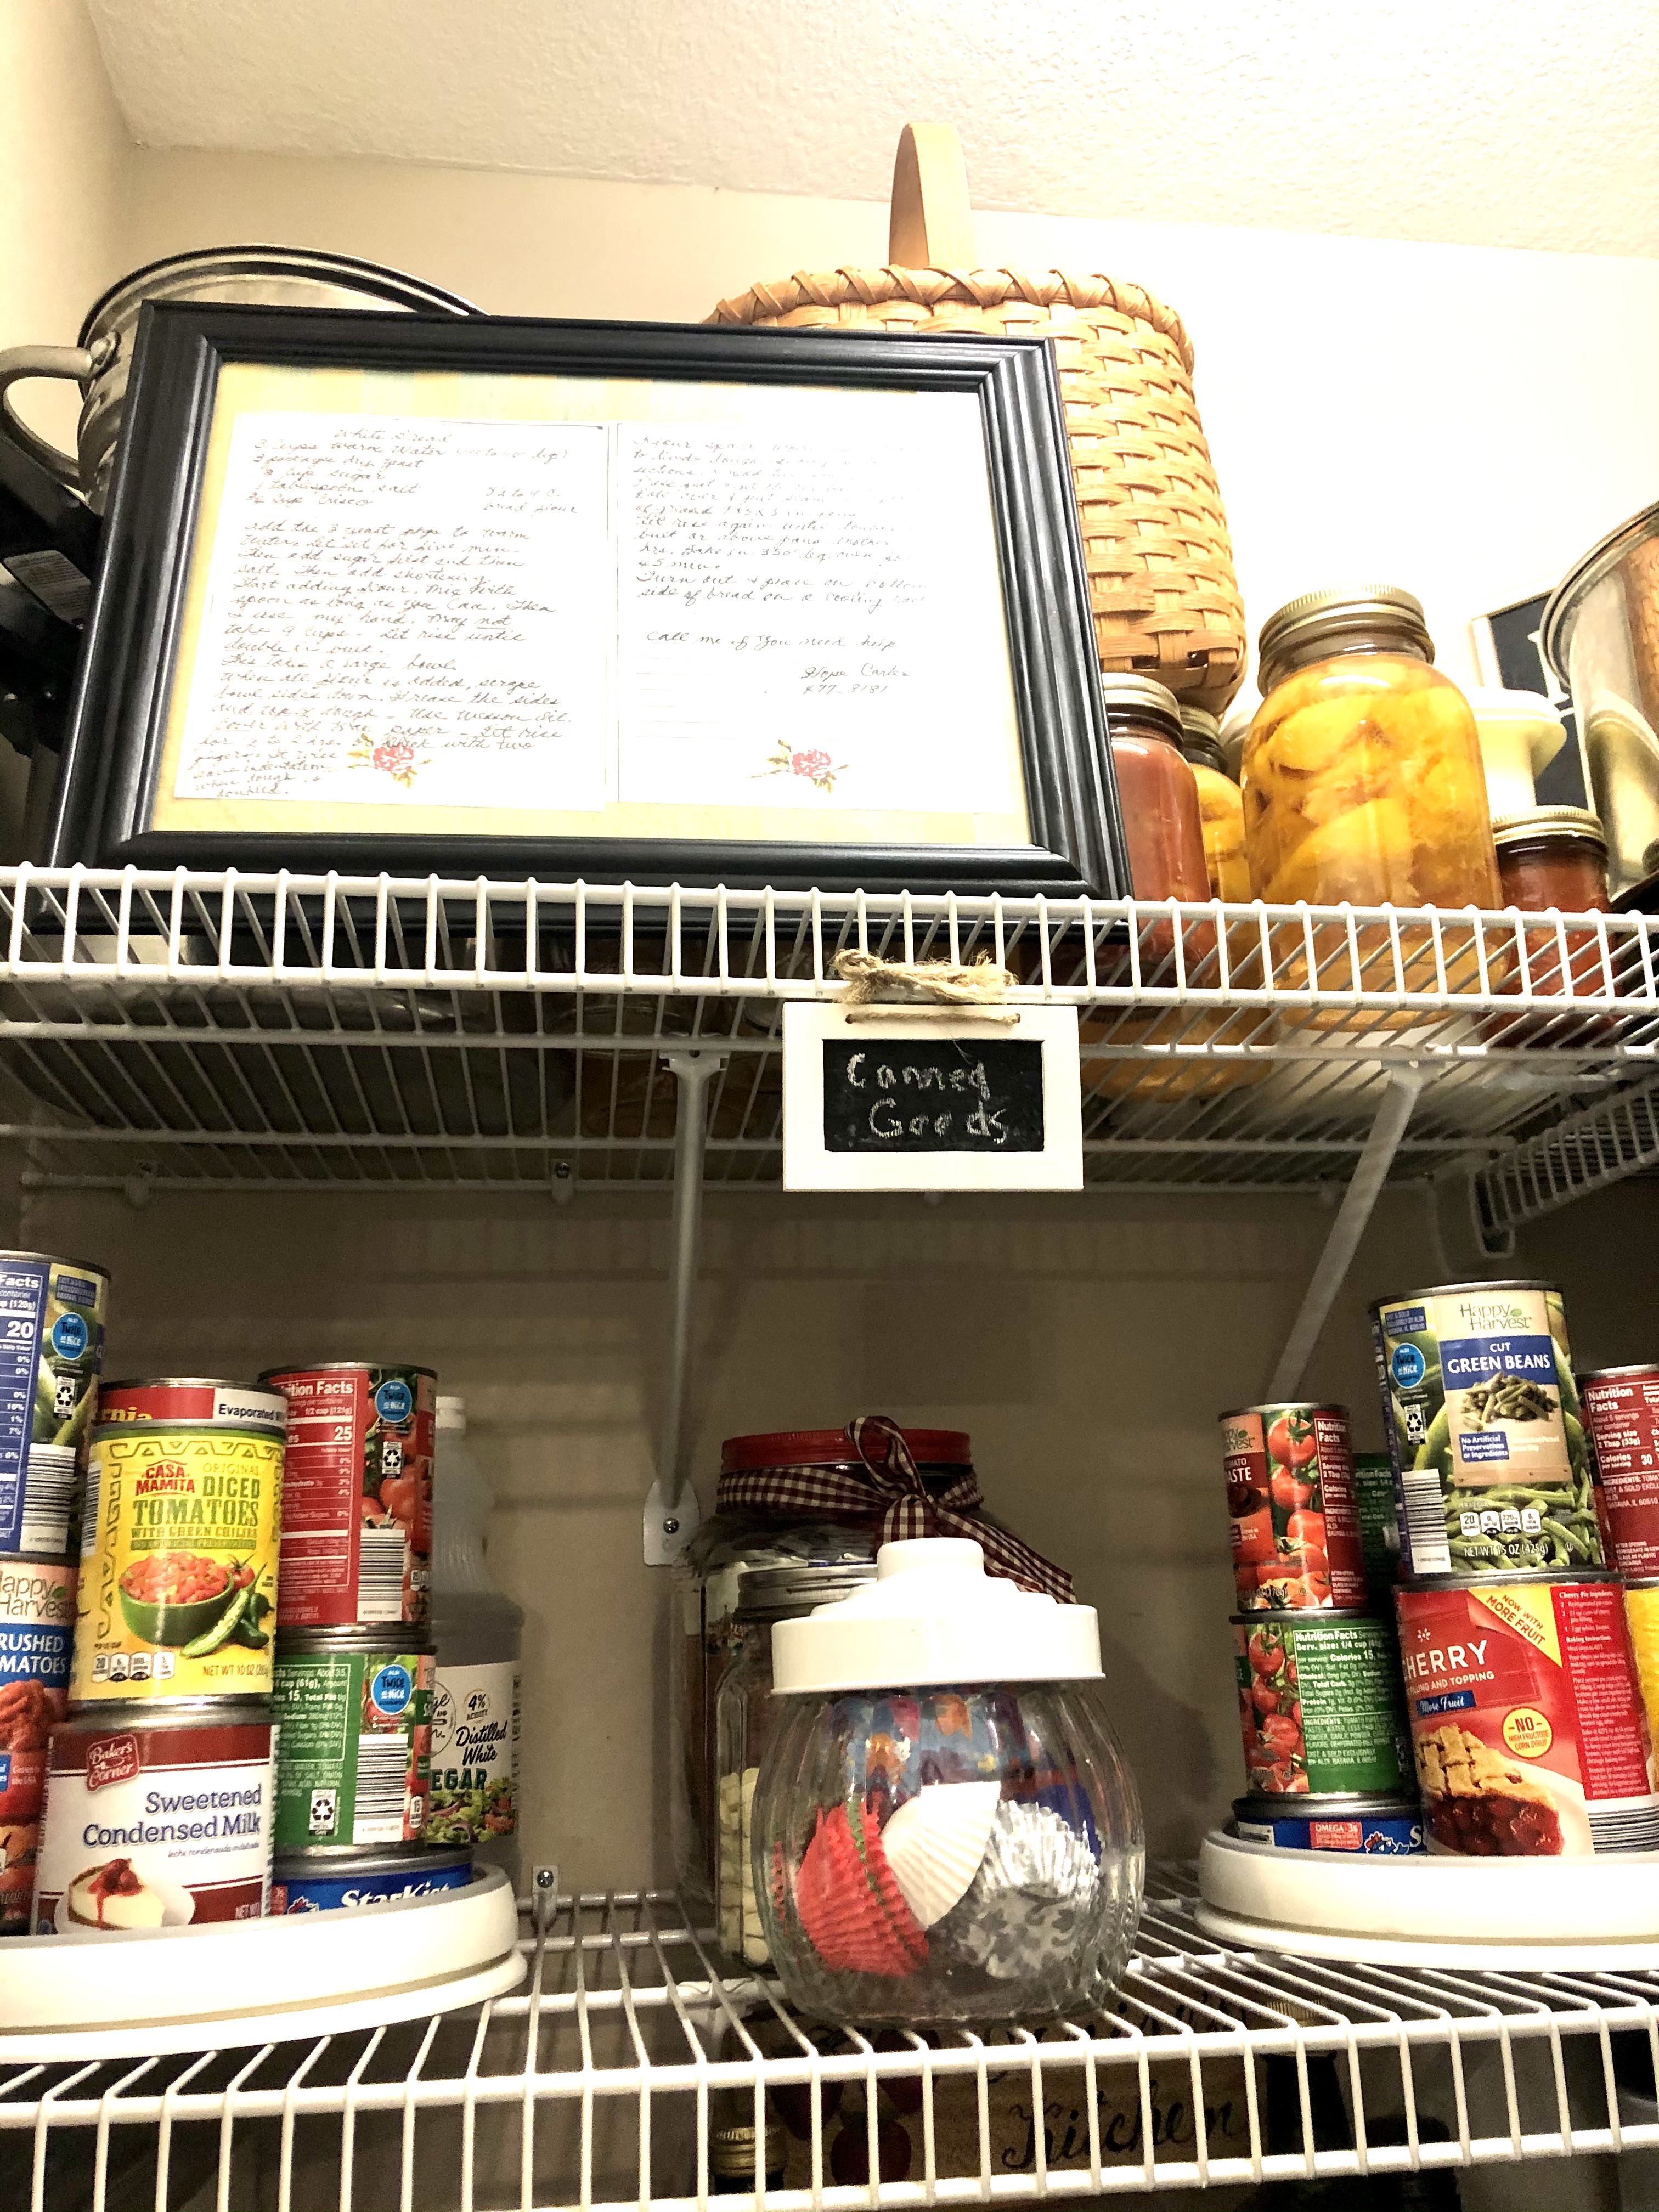
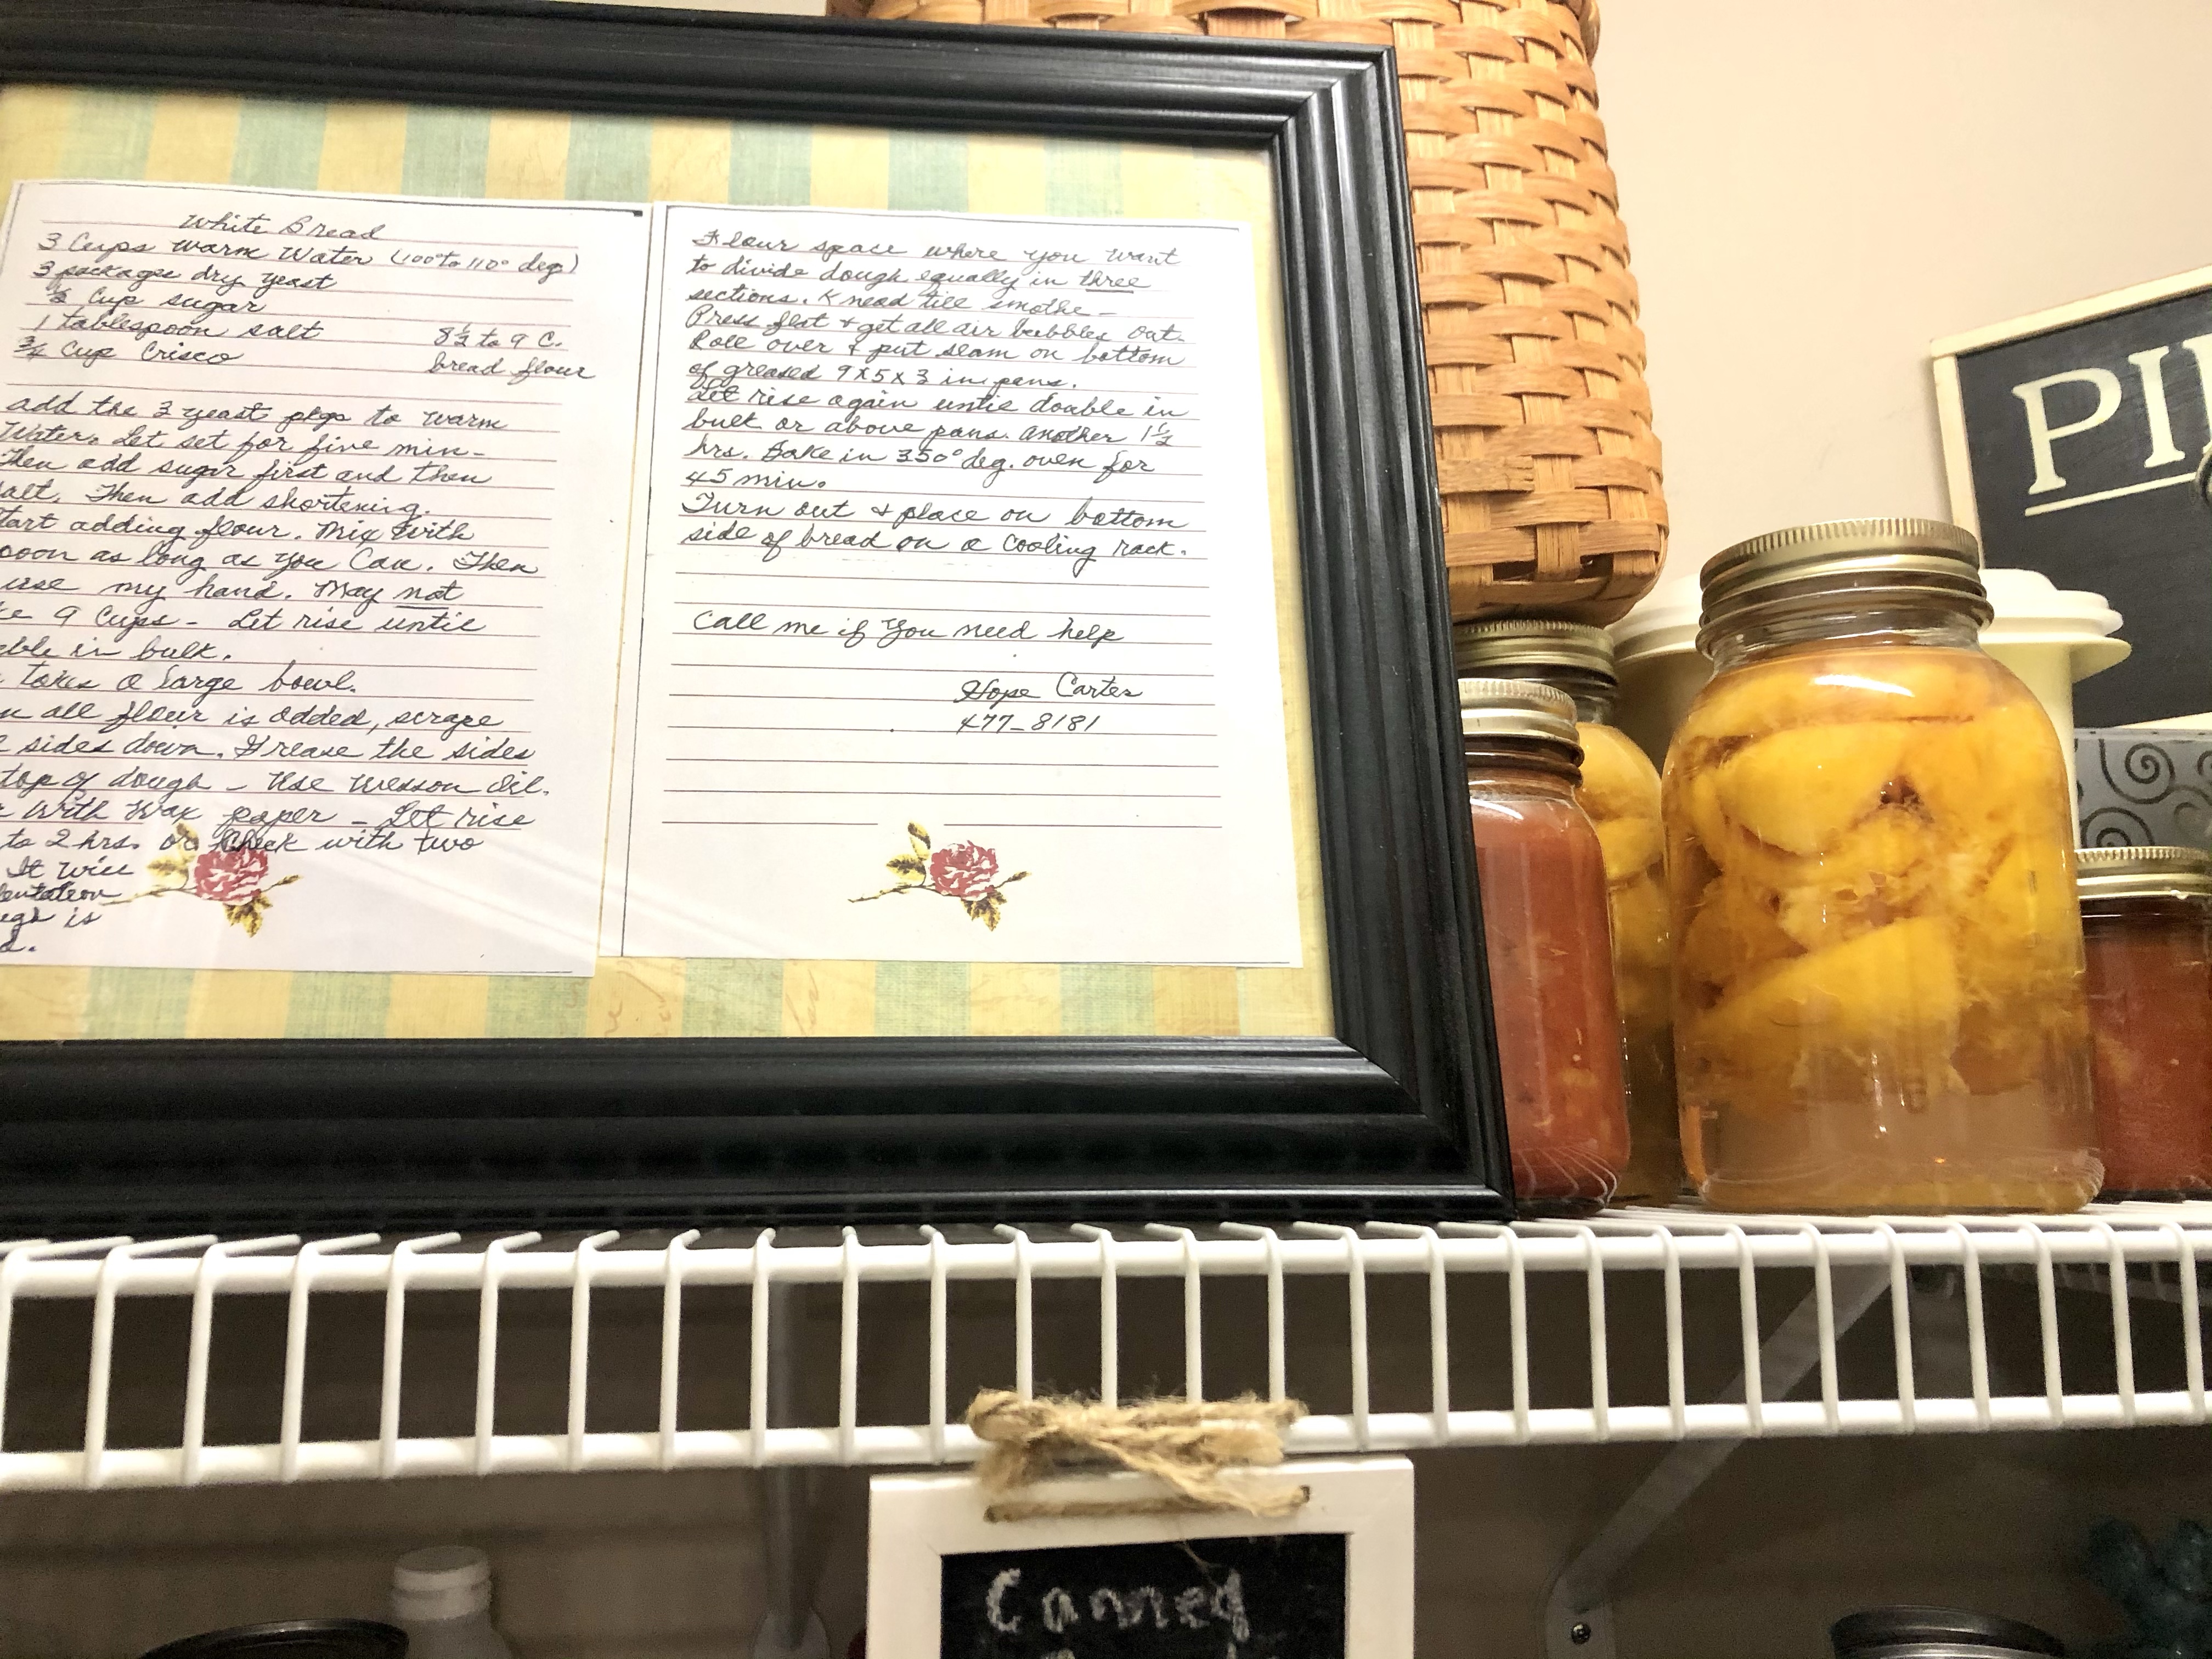
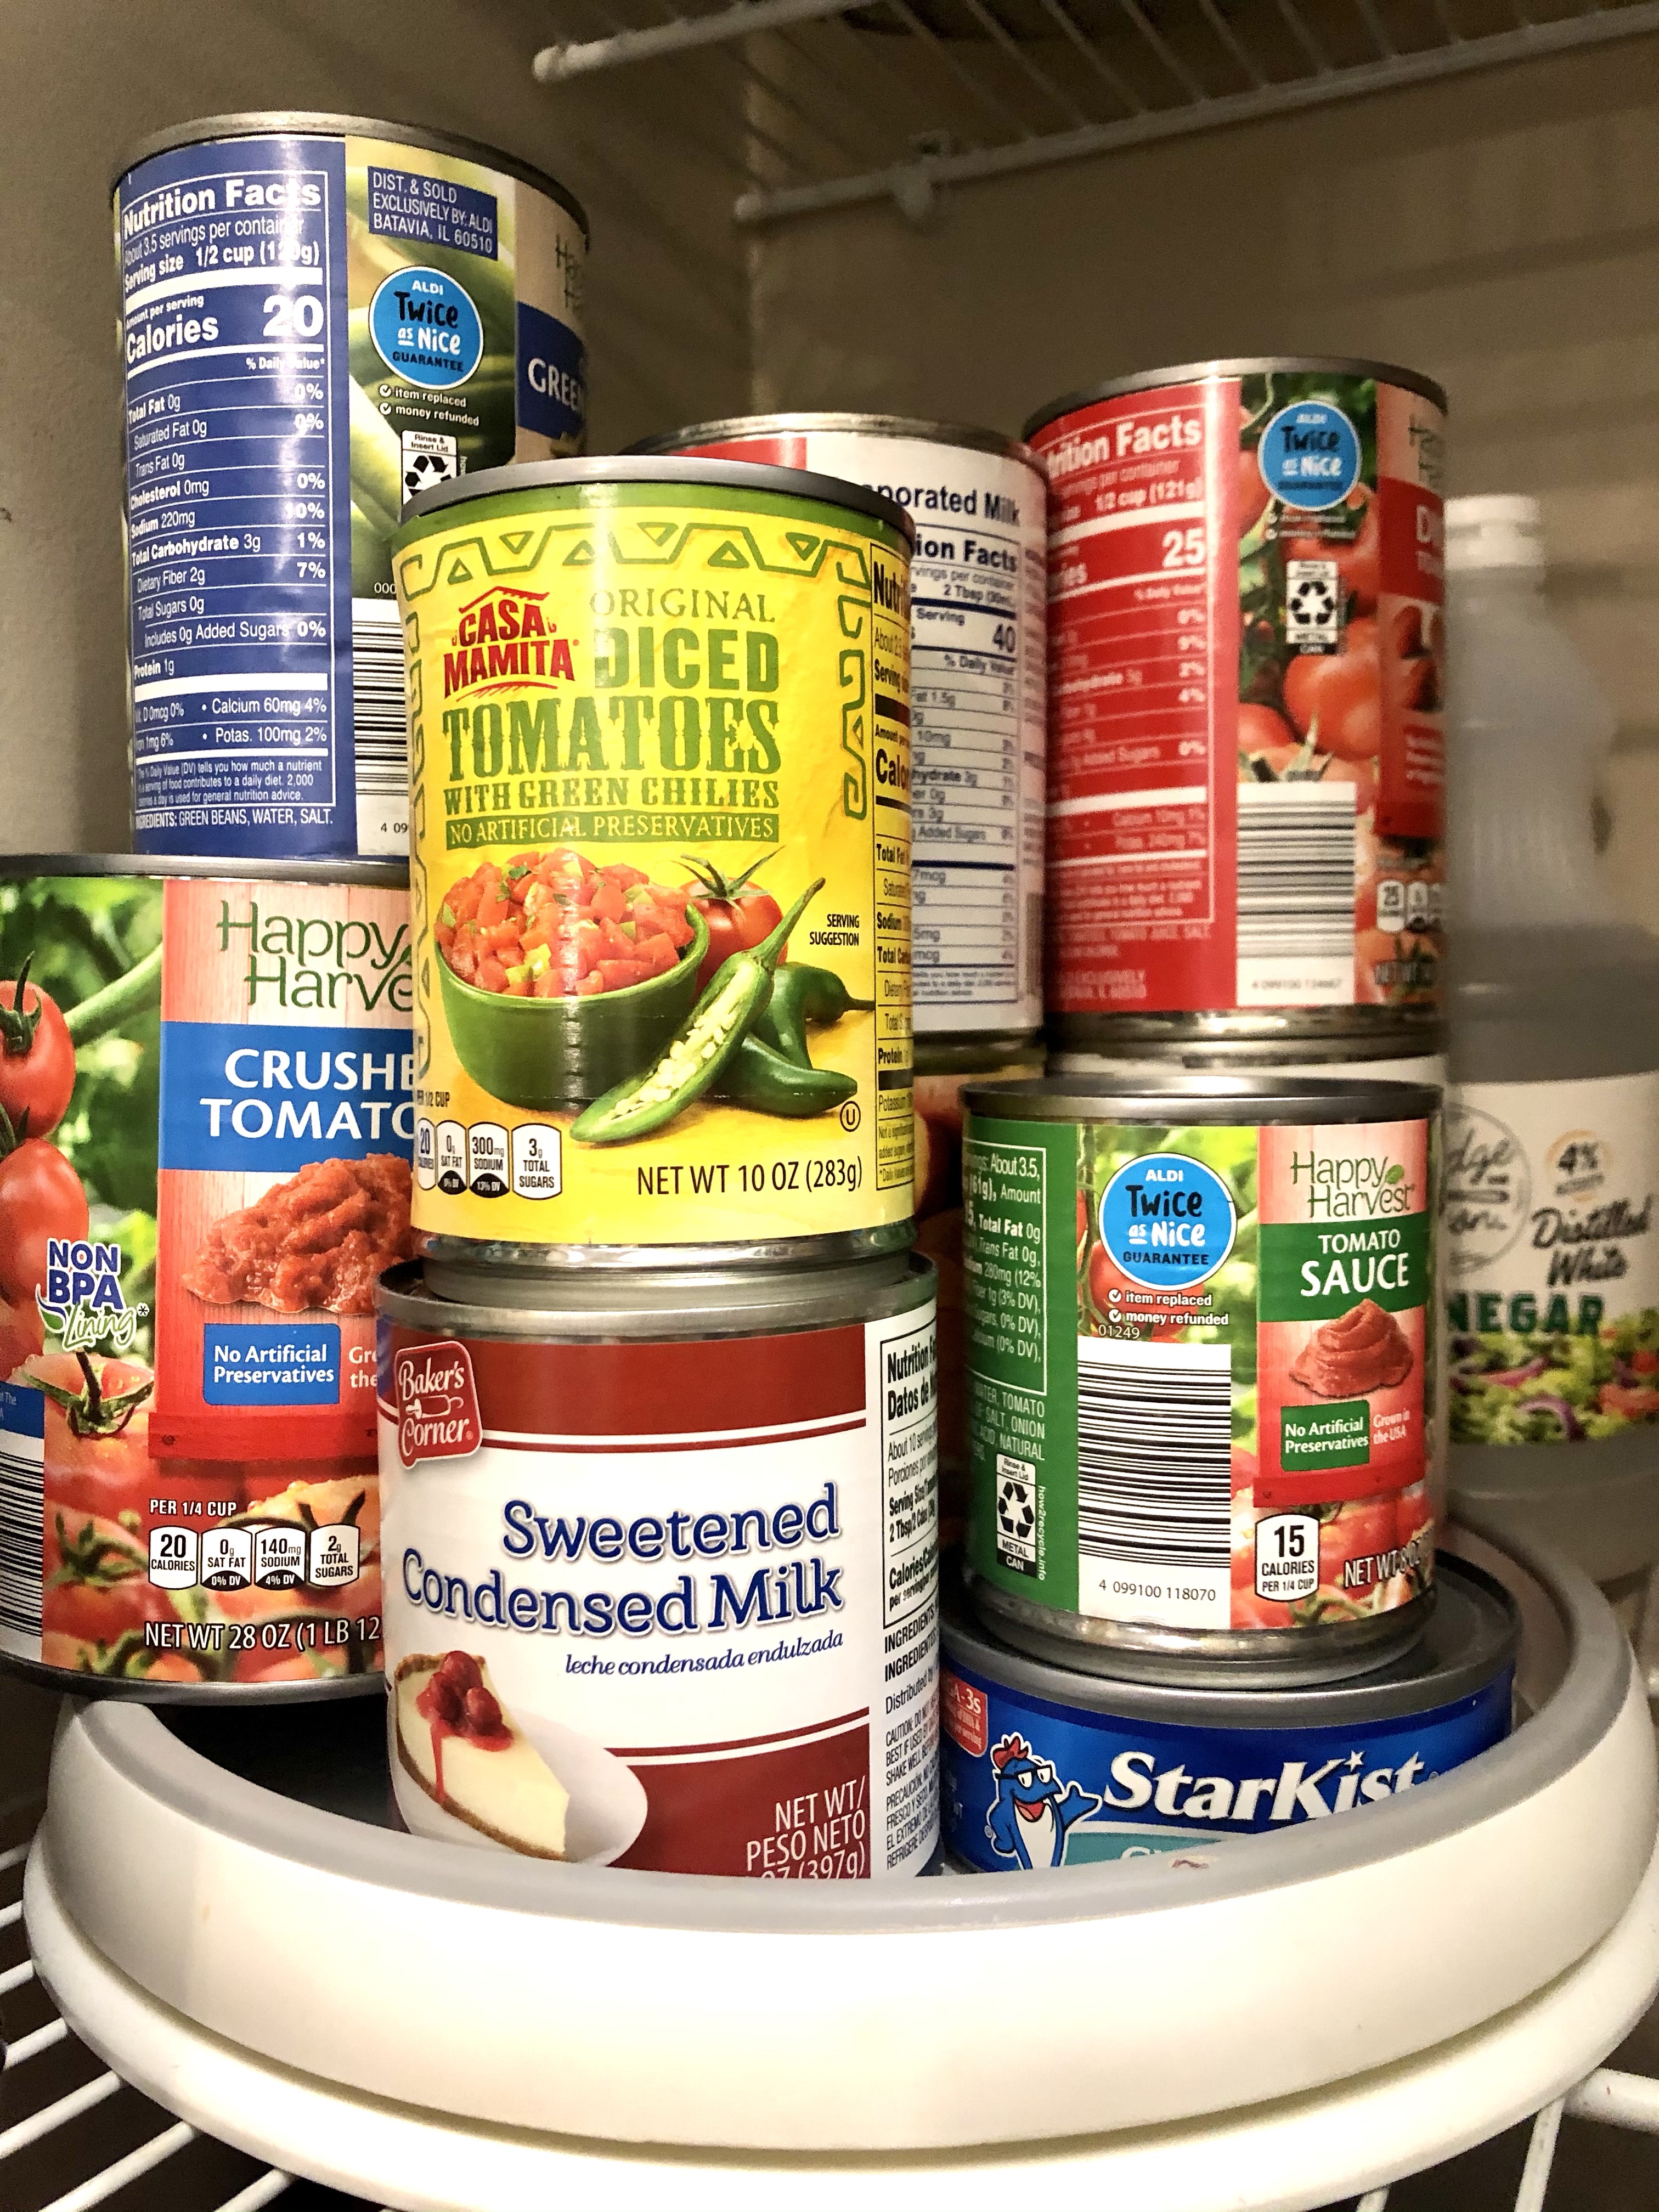
The lazy Susans are perfect for my canned goods. It’s easy to turn and see what’s available. On the top shelf are the pots and pans I don’t use that often, as well as some of my home canned fruits and vegetables. I have some of those things “hidden” by the framed recipe for bread, written in the handwriting of my dear friend, Hope, who is now in heaven. It’s a sweet reminder of her giving heart.
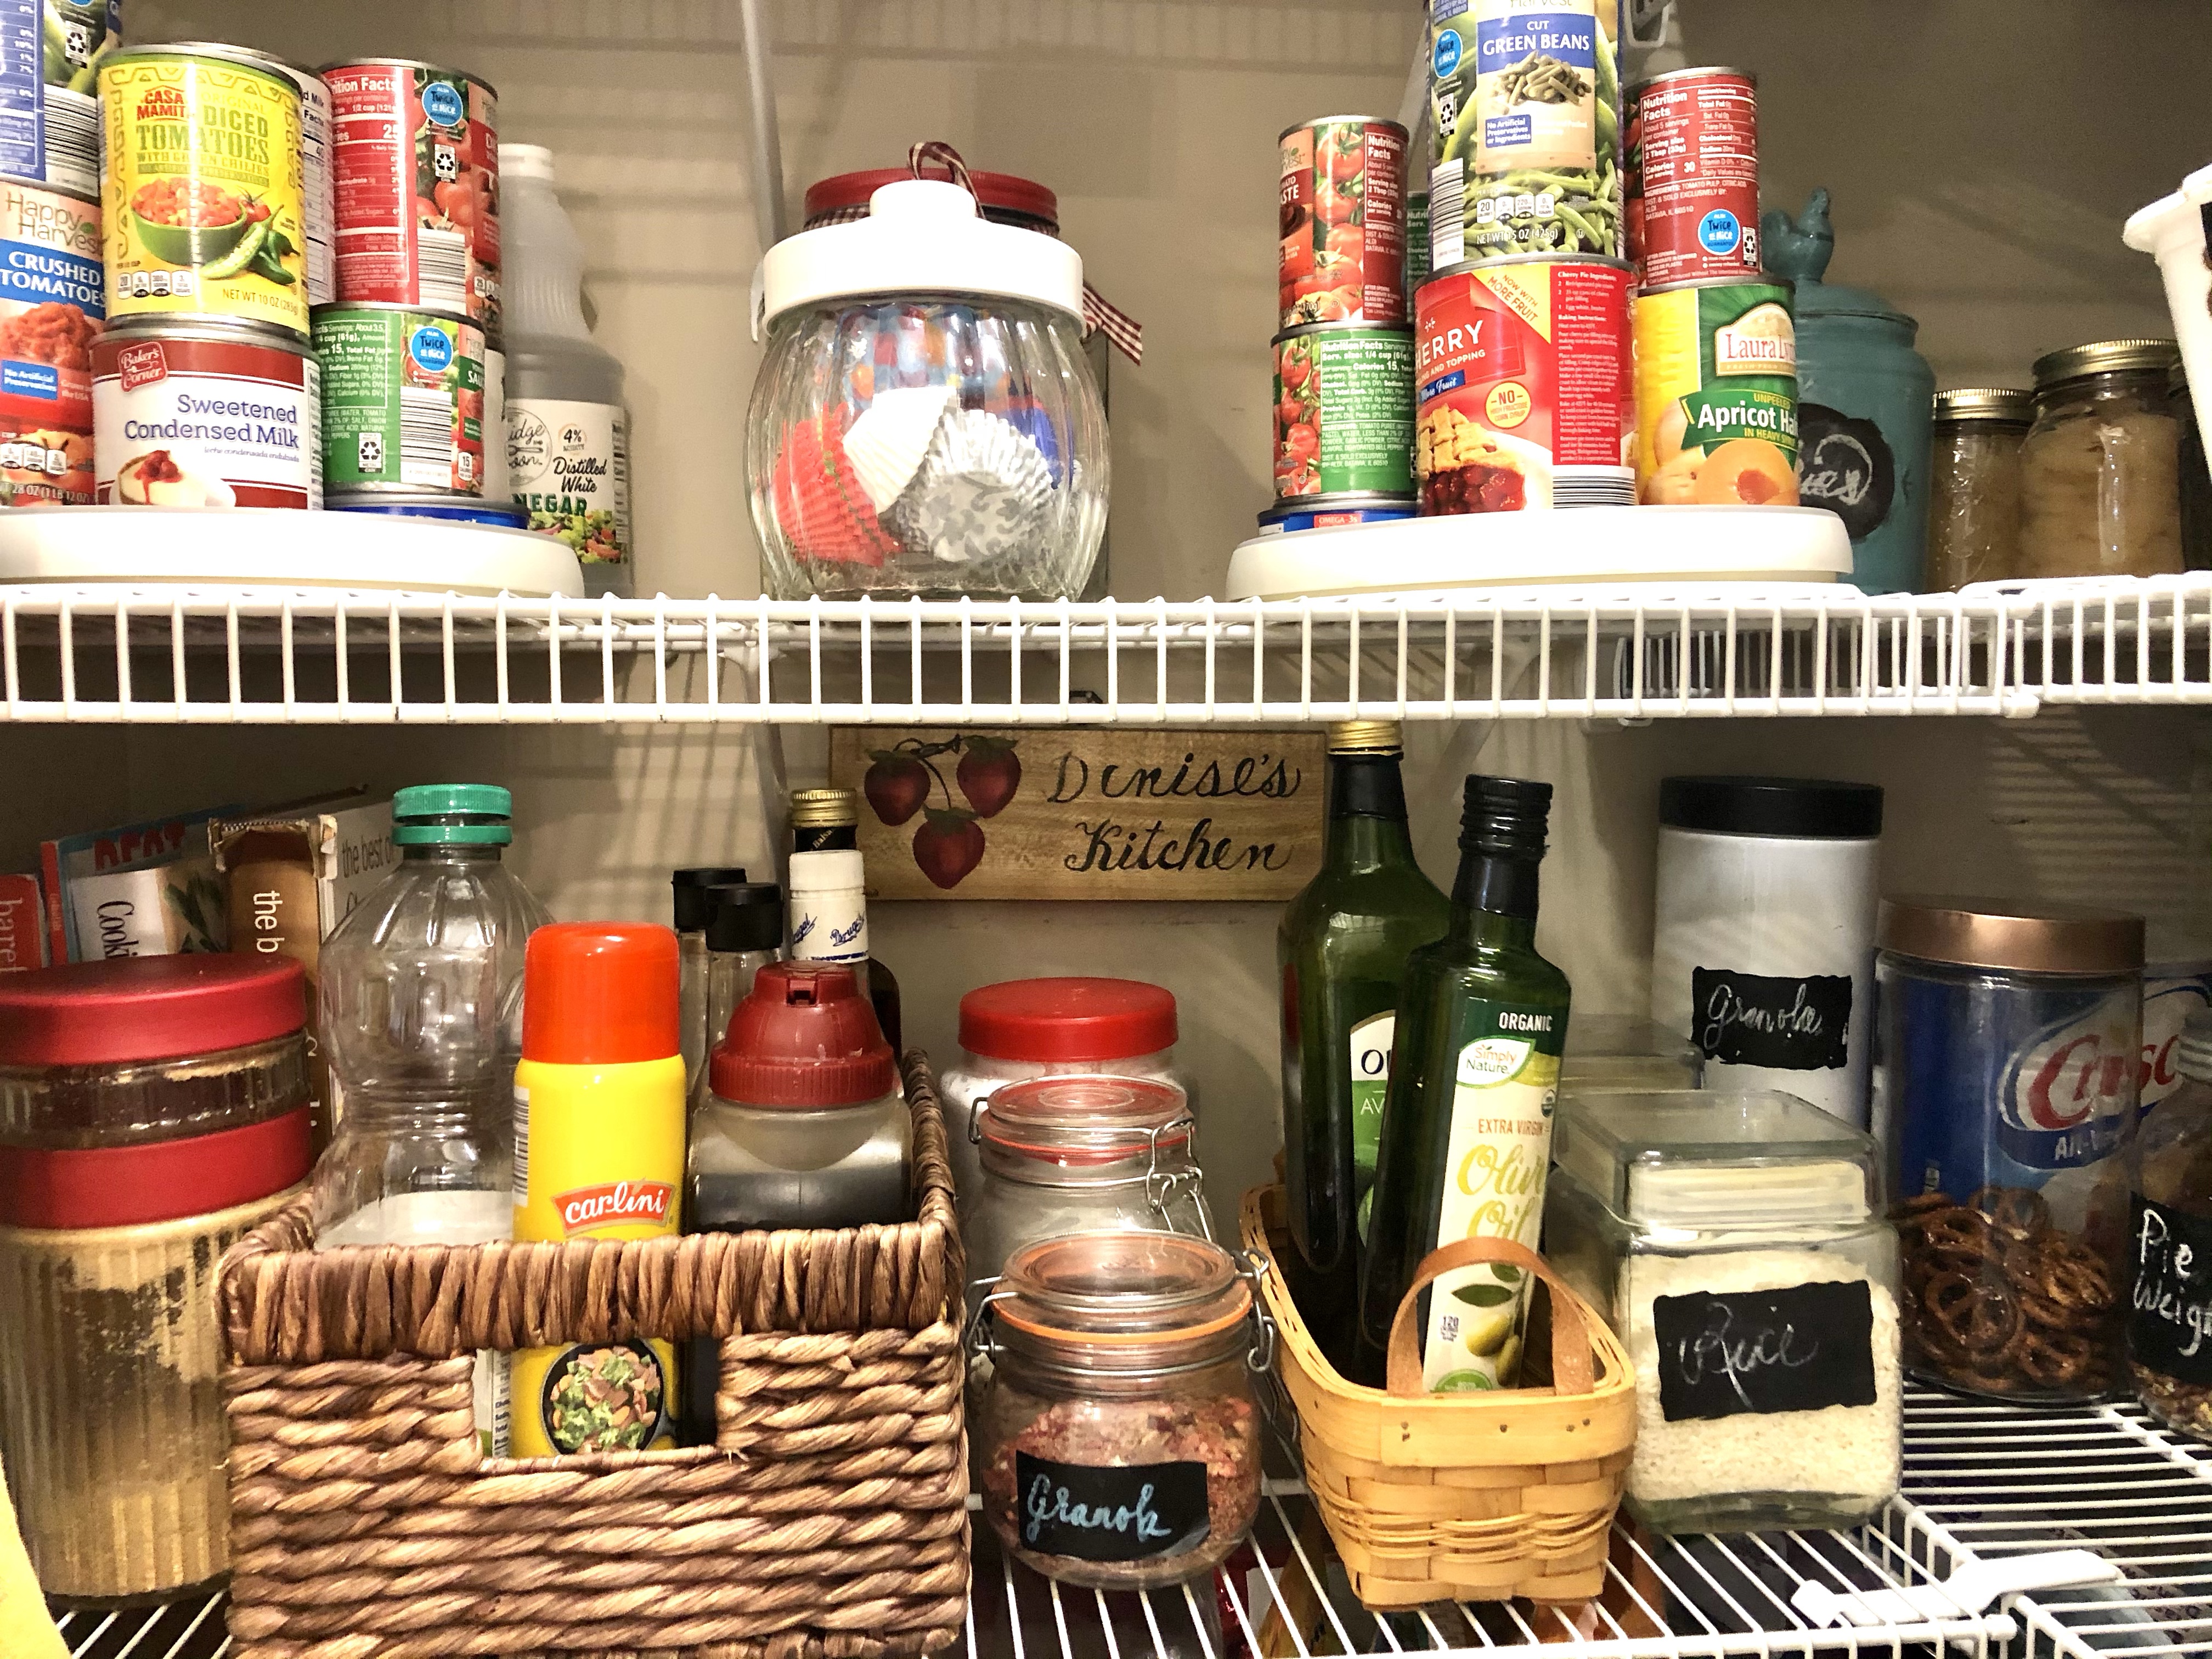
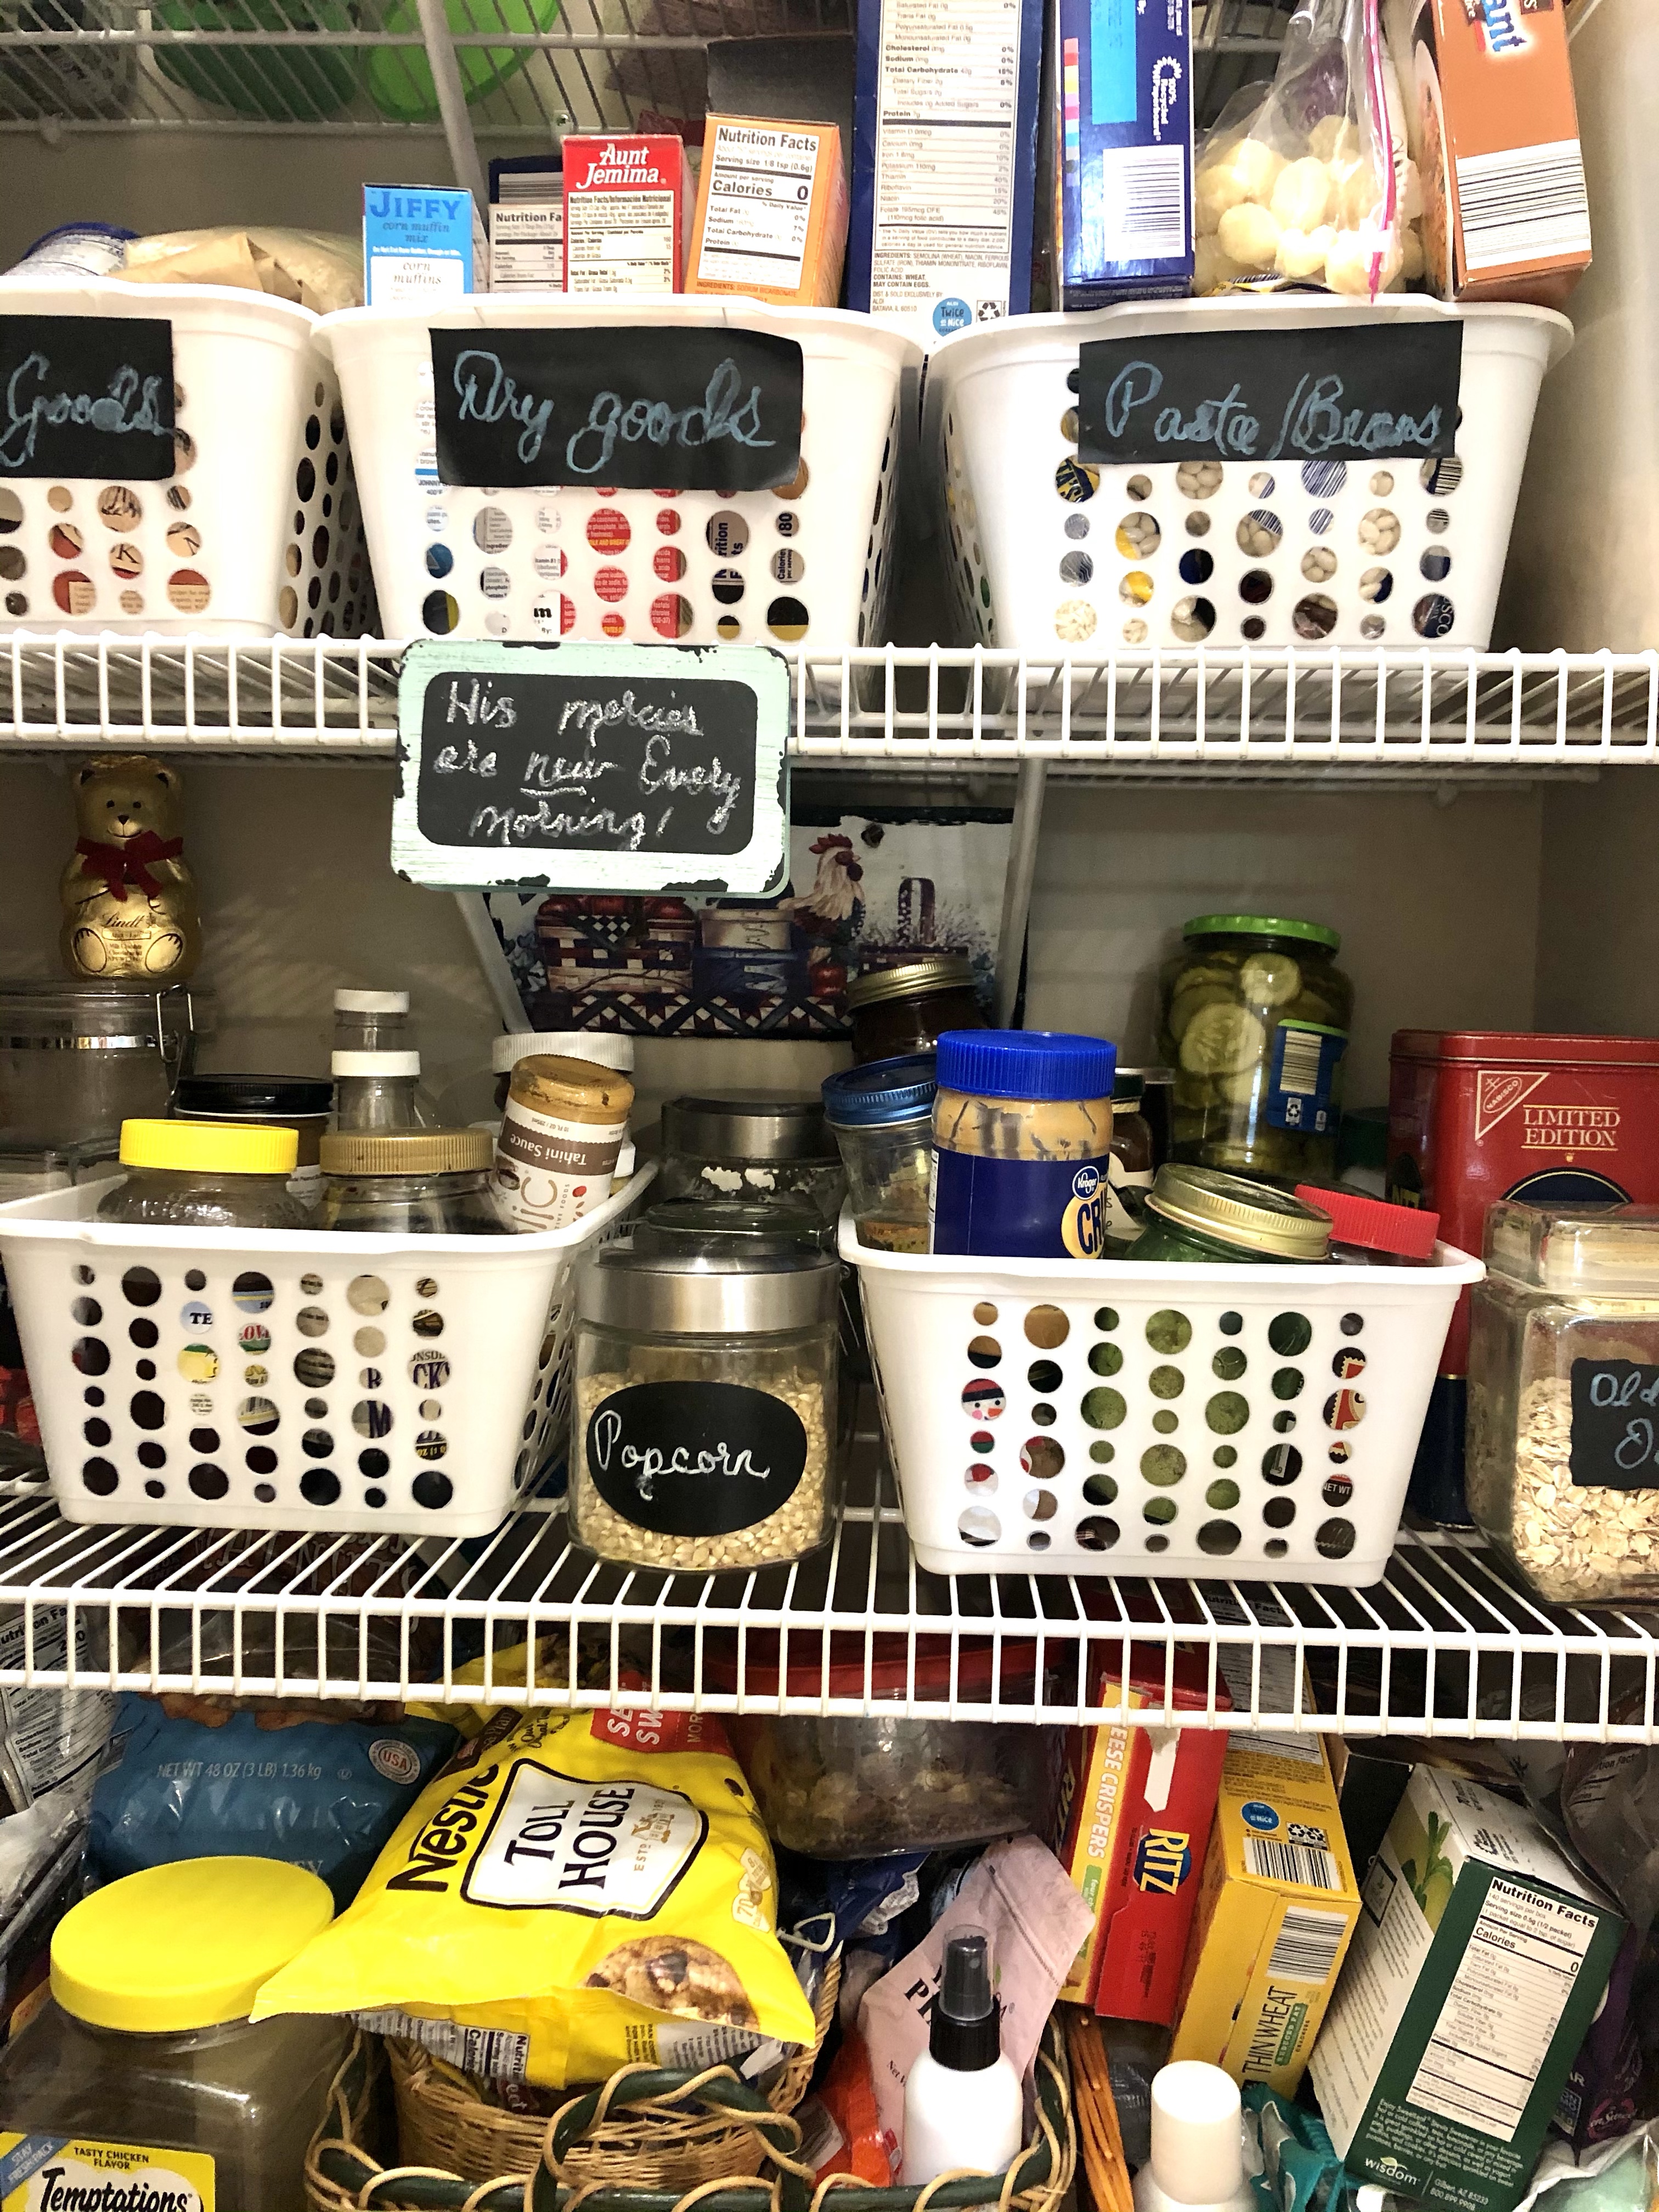
I don’t love the way these shelves look, but boxes of crackers, pastas and jars of condiments are all a little taller than my containers. These came from the Dollar Tree and have been okay, but I think I’ll be looking for deeper baskets in the near future.
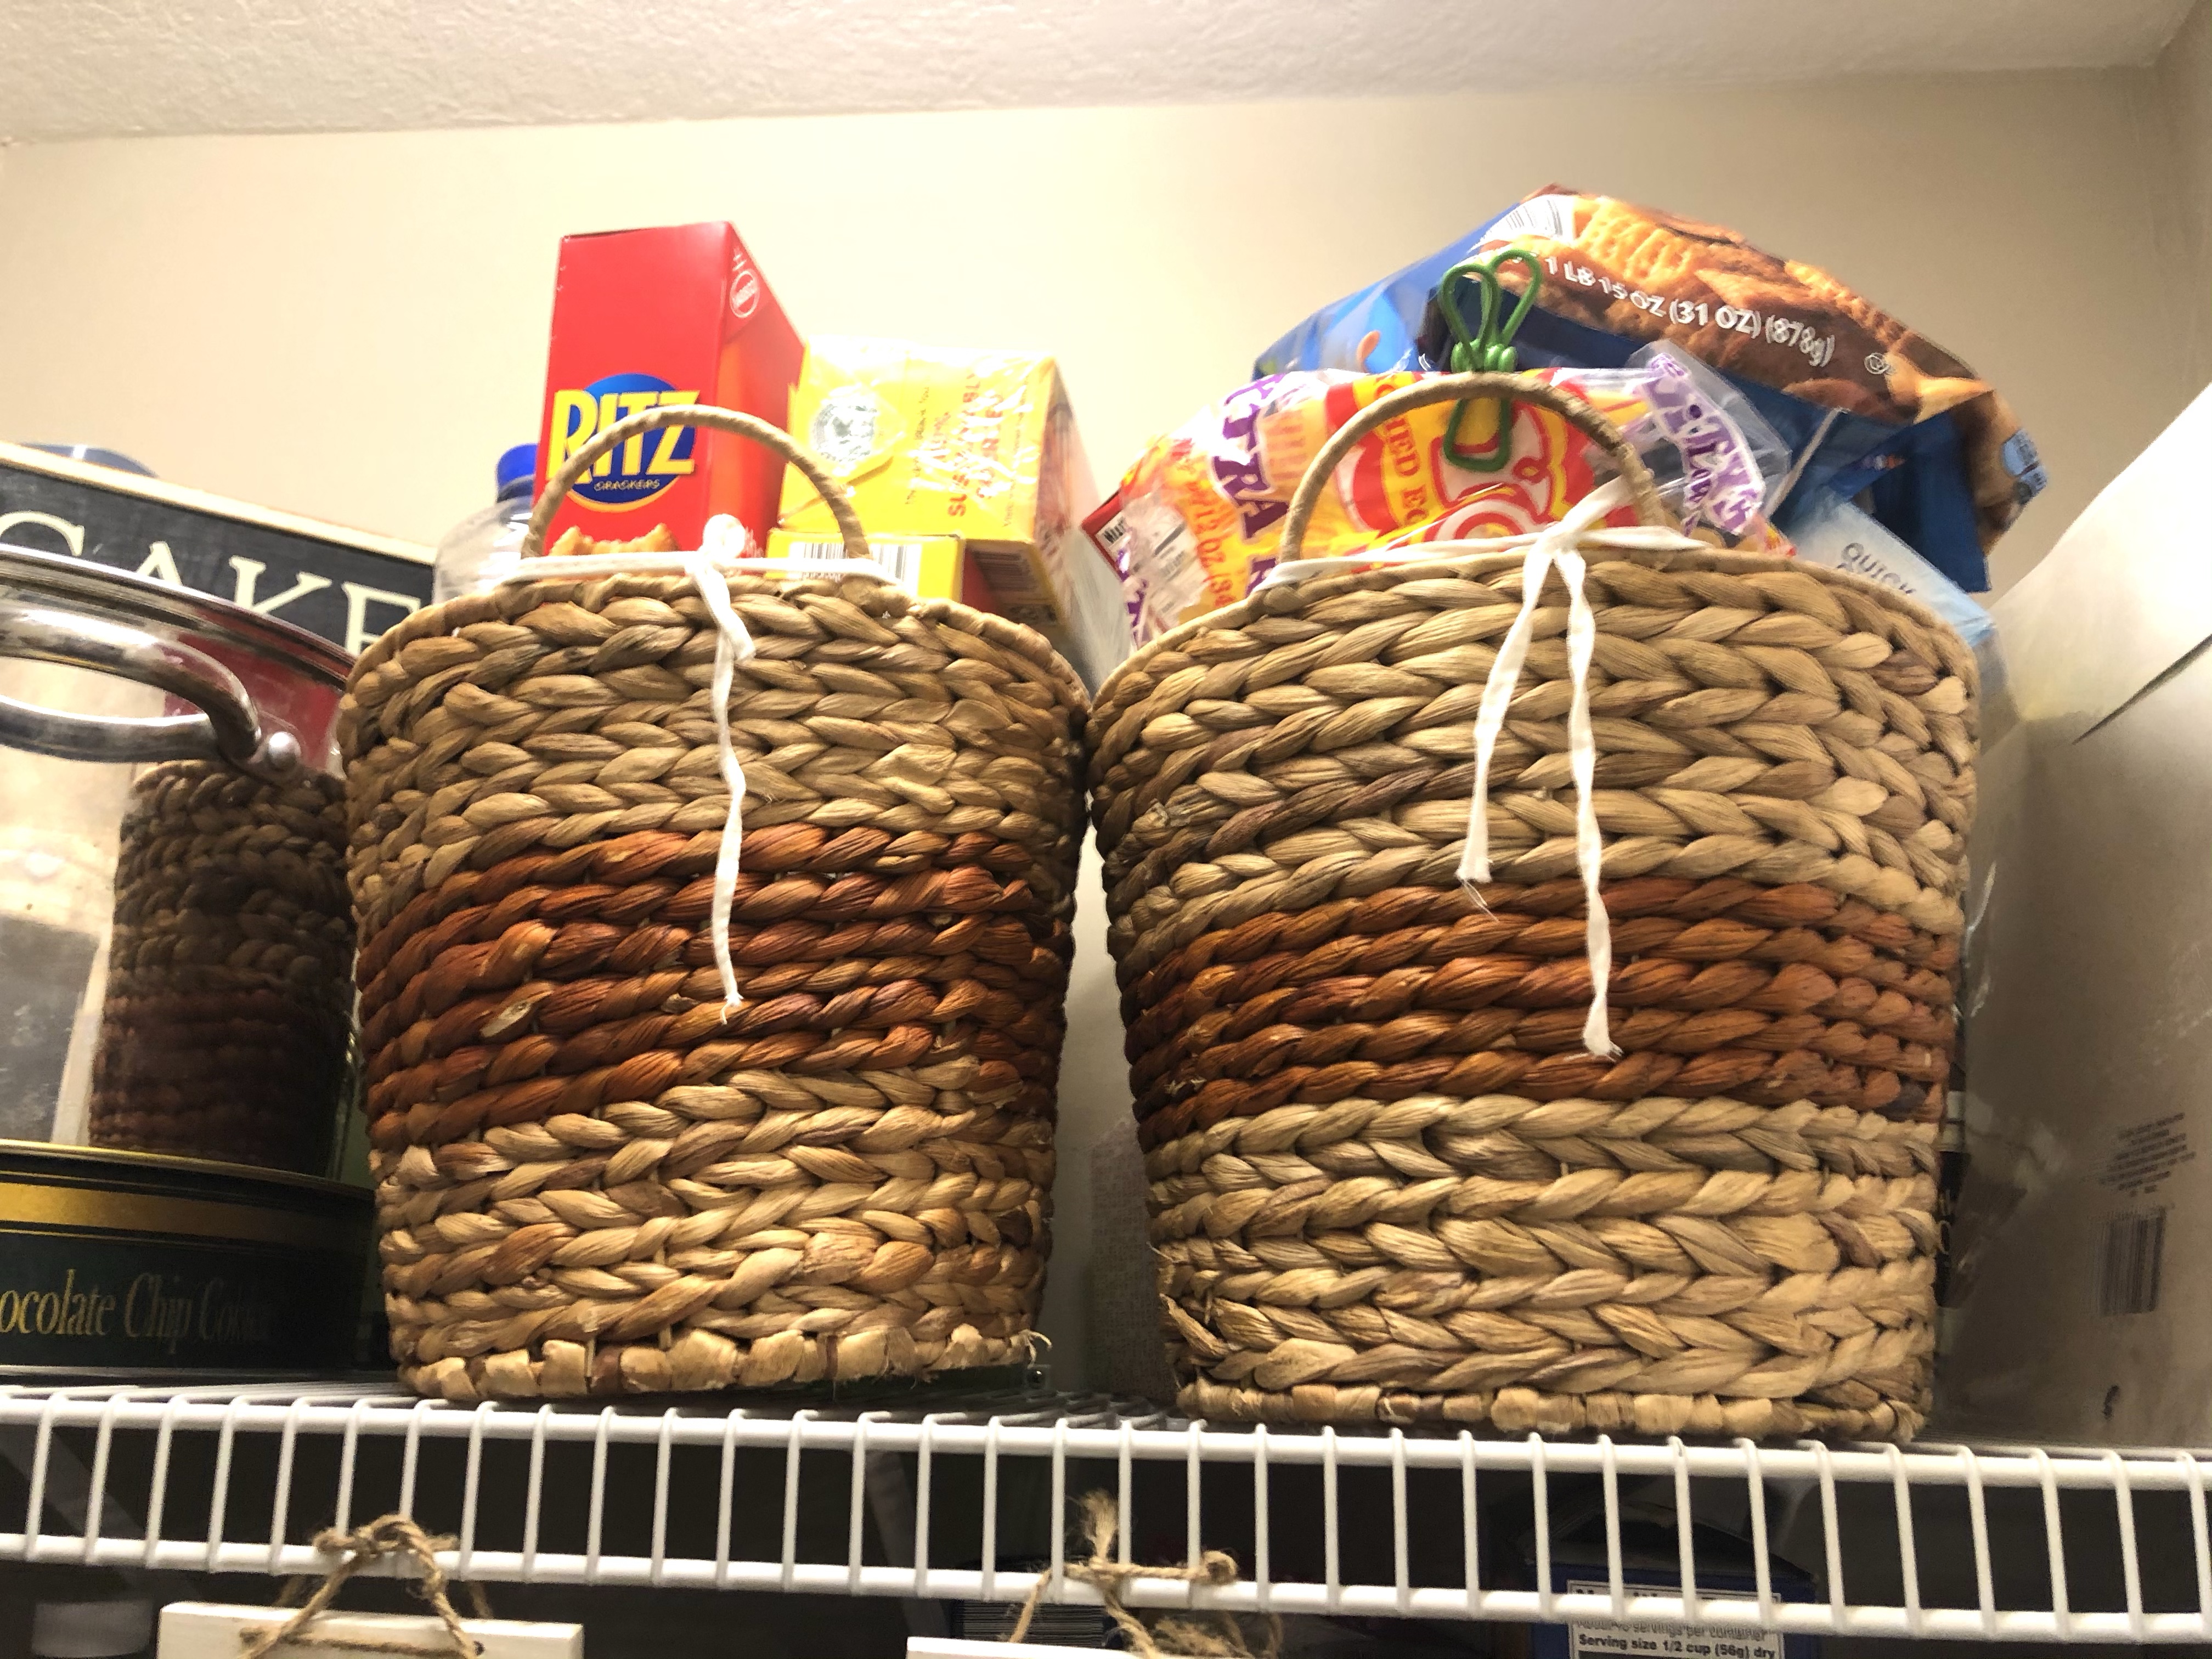
Above that shelf are two baskets with “extras.” They contain tea for sweet tea, Chex mix, crackers, Syran wrap and the like. I think this is the kind of material I’ll get for to replace the white Dollar Tree containers.
I LOVE keeping my pantry stocked so it’s easy to pull a meal together. I try to use what I have on hand, then restock as I empty my shelves. Canned tomatoes, pasta sauce, pastas, dry beans, and baking ingredients like chocolate chips, sugars, coconut and nuts are all sitting and waiting to be stirred into my favorite recipes. My girls tease me and say if there’s ever a food shortage, they’re coming to my house! Live and learn, right?
After my little survey, I’m going to be looking for new baskets, but other than that, my system is working well. I say that because as Whitney, one of the most organized people I know, says that if your organization makes it difficult to use your things, then it’s not well organized!
How about you? Do you need to take inventory of your pantry space? Do you need bins, jars or baskets to keep like things together? Is your space working well and making it easy to work in the kitchen? Even if your pantry is a cupboard or one shelf in a closet, it’s important to keep it organized so you know what you have, you don’t over-purchase and you’re more effective because of your organization. Also, it will make you smile every time you open it up! Well, maybe you’ll be smiling at the chocolate chips you see, but you will be smiling!
Spring is a time of freshness, new life and so much beauty. Our homes can reflect all those characteristics simply by adding a few simple touches. I love to shop around my yard and my house for those items. I try to keep it light and airy with not too much on tables and shelves.
I have mentioned before that using fresh greens is so much better than buying fake plants – unless they really look real.
Here are a few vignettes that I added this week…
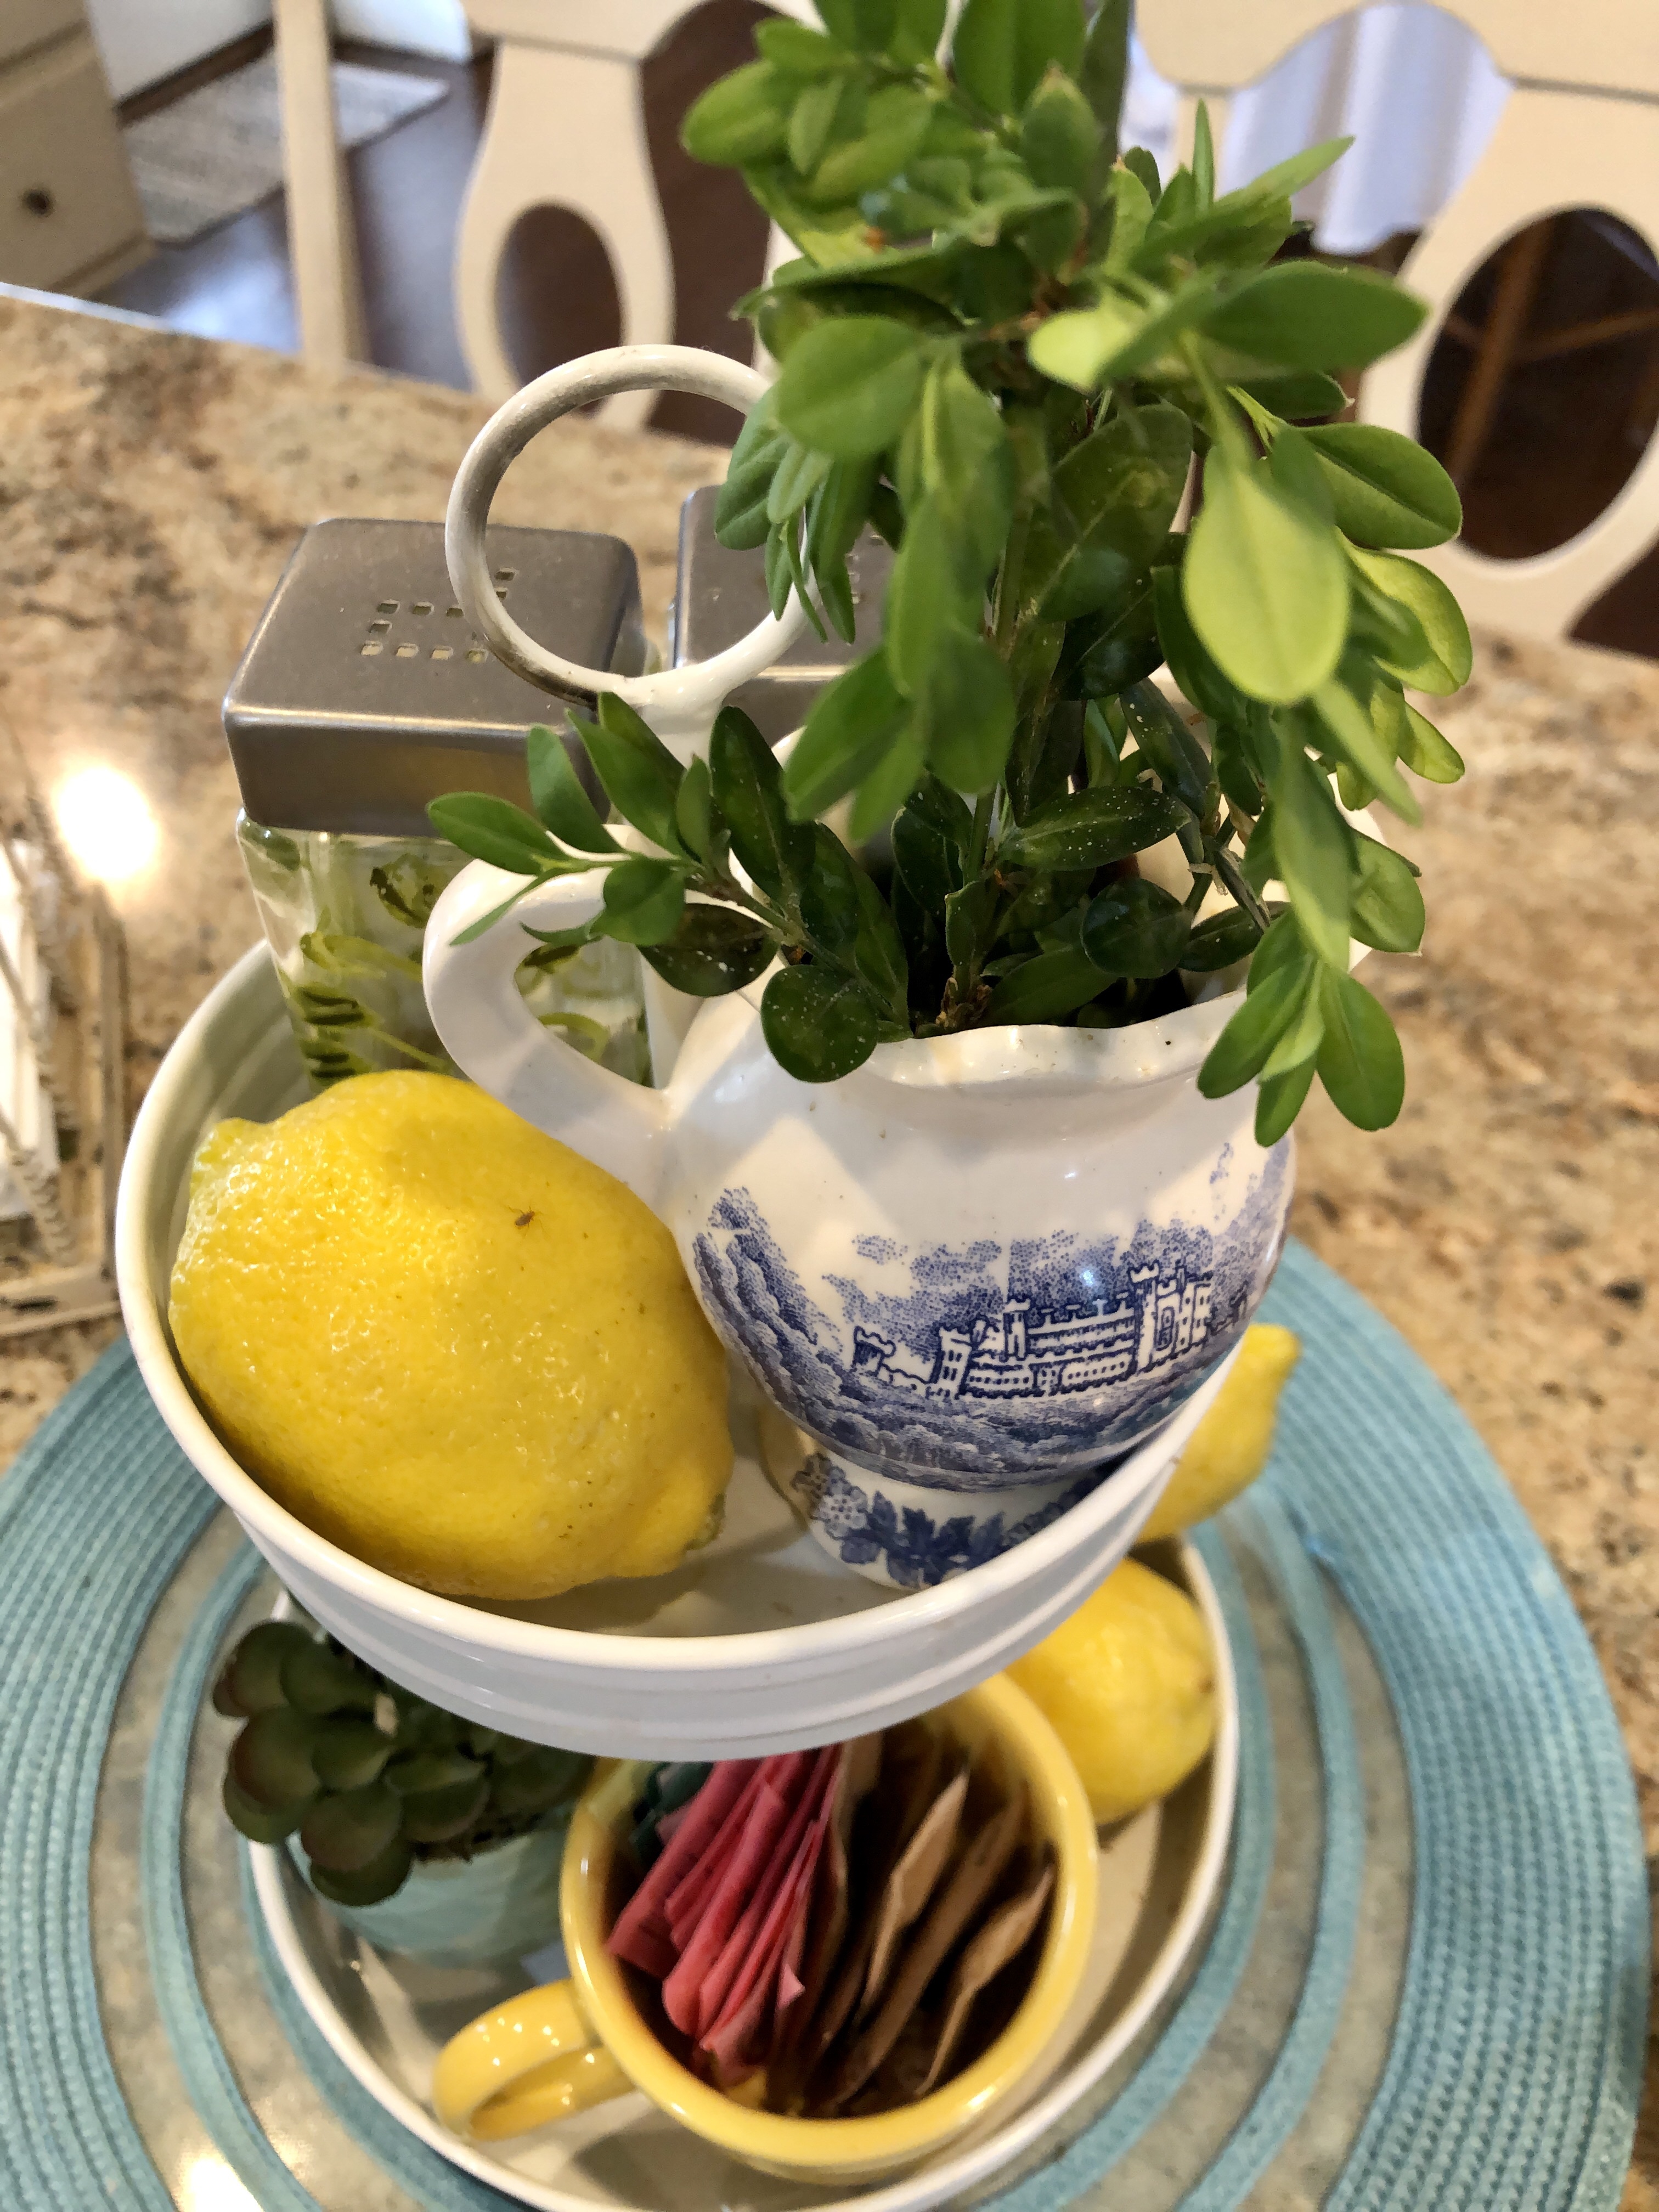
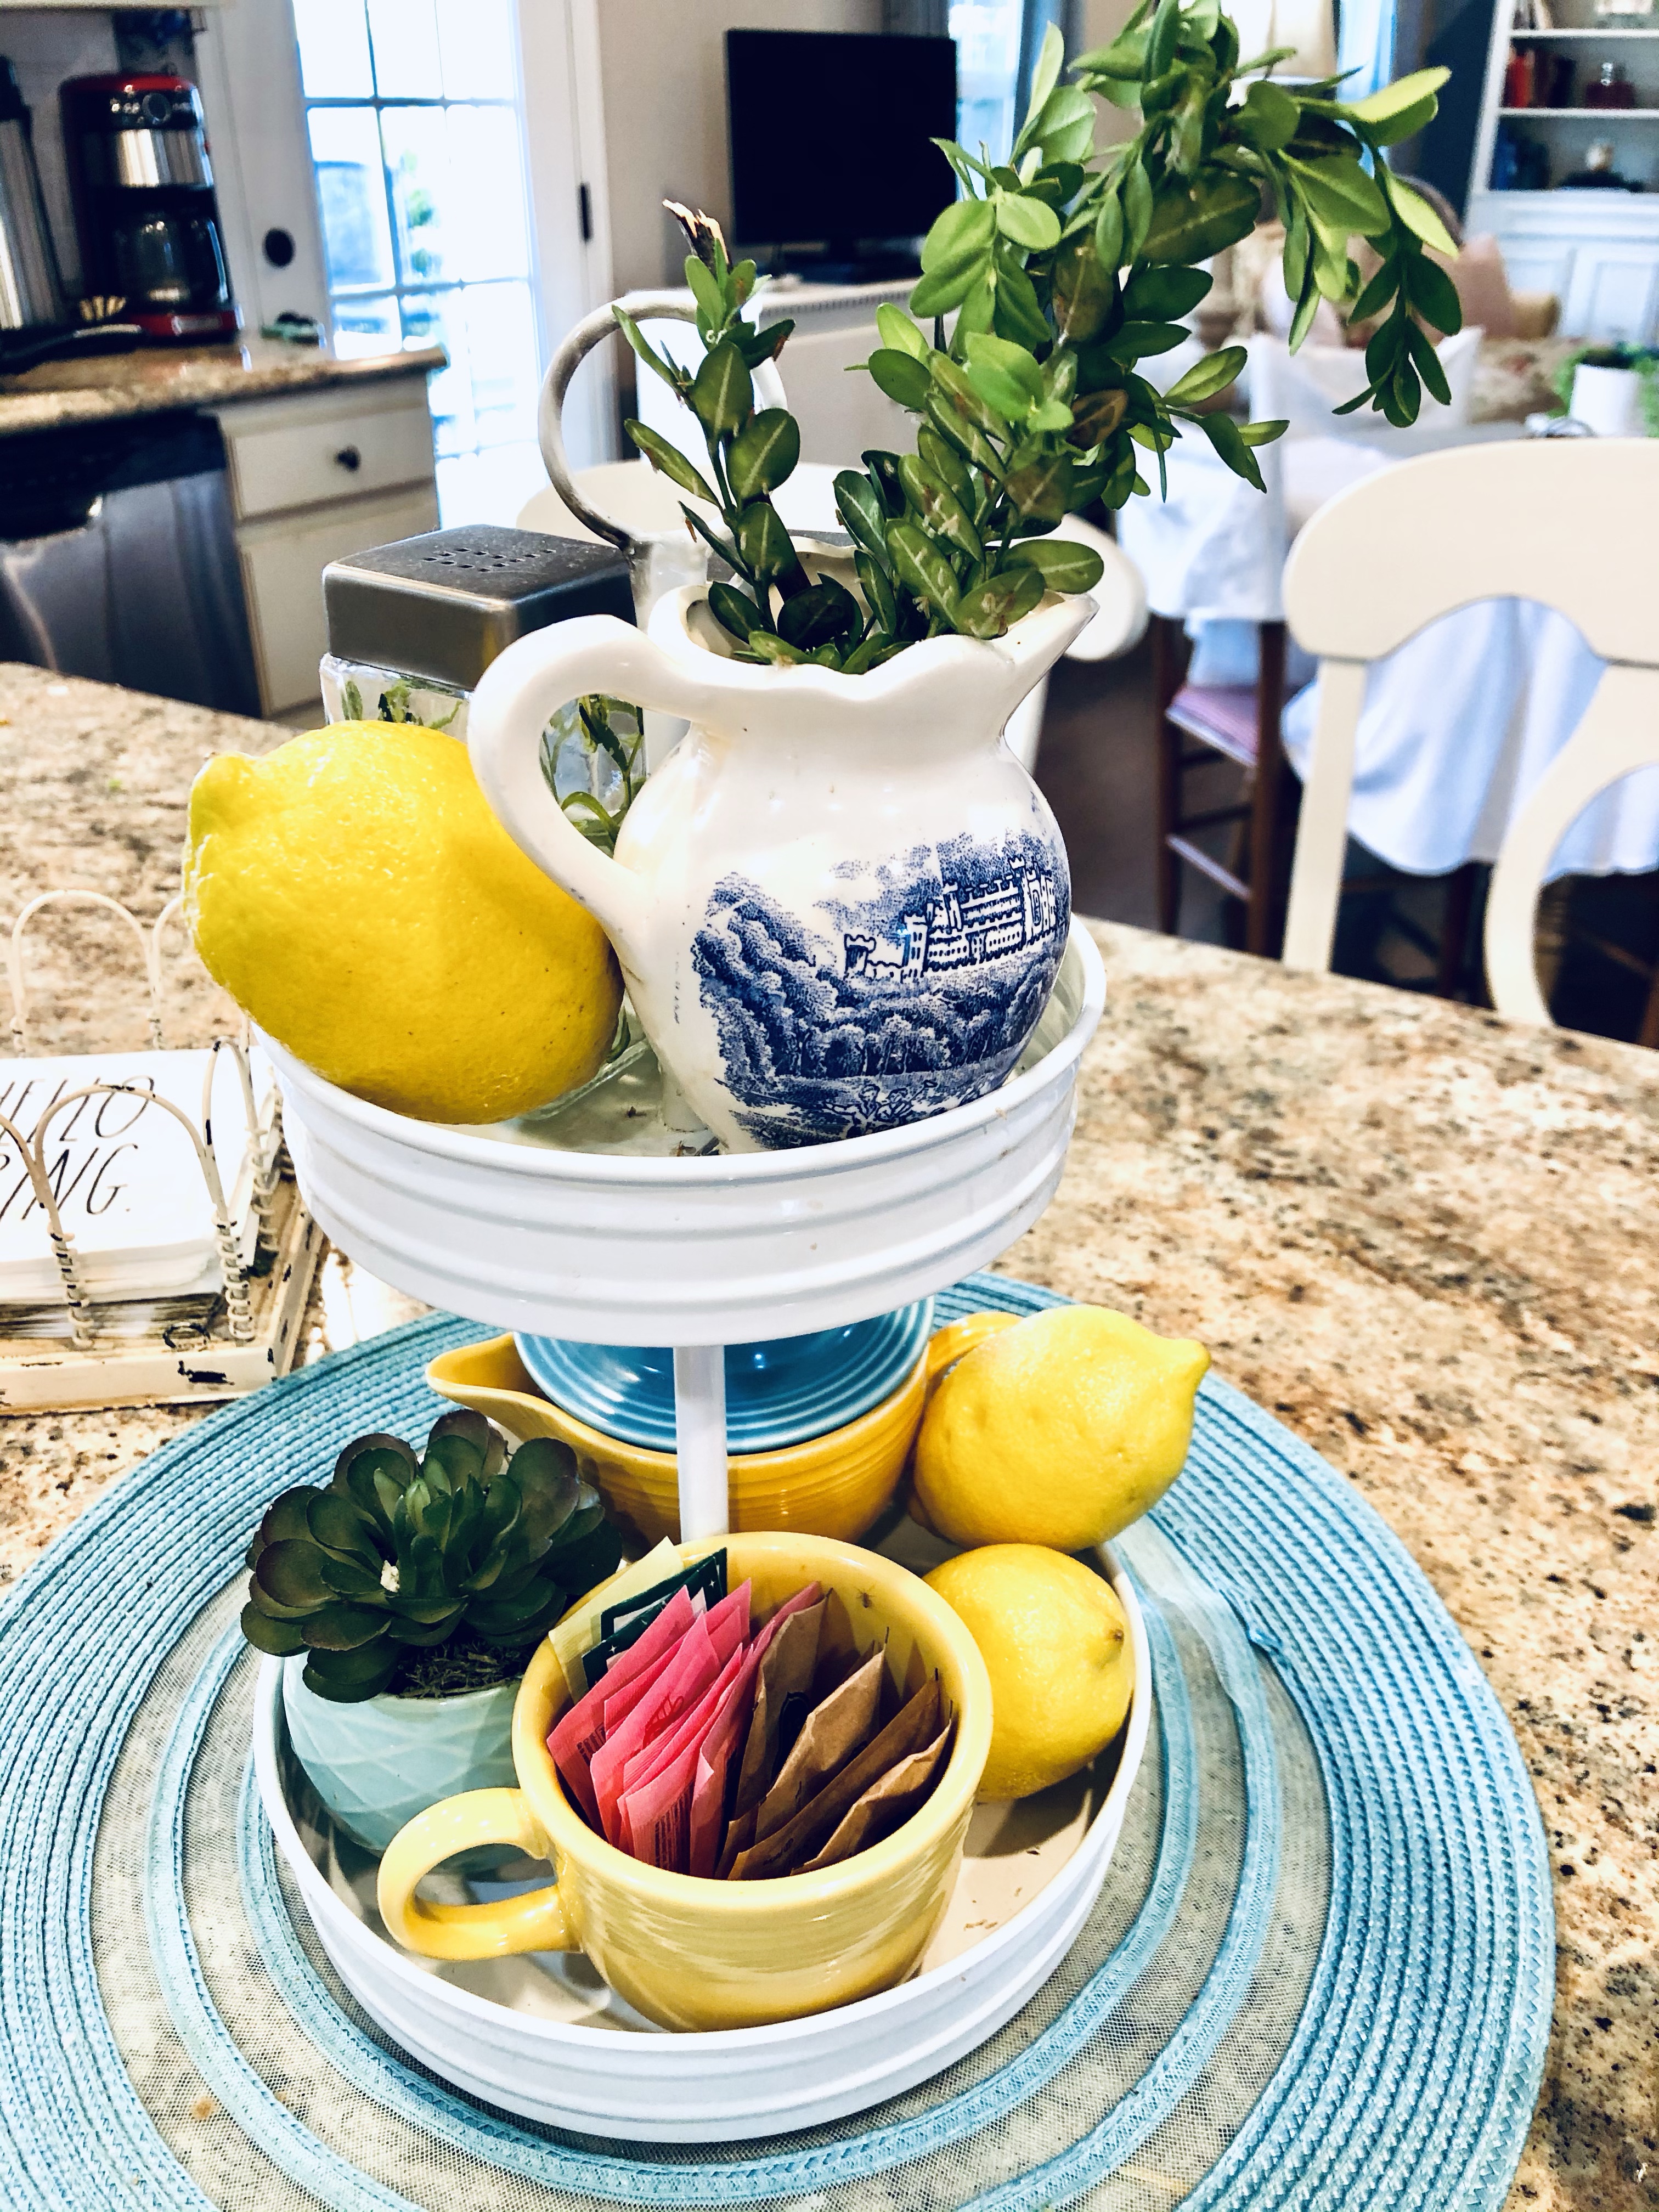
Bar counter tiered stand. Boxwood limbs and lemons add the pop of yellow and some fresh greens.
The succulent on the bottom tier is artificial, but the real ones look artificial, too, so I’m happy with this little pot.
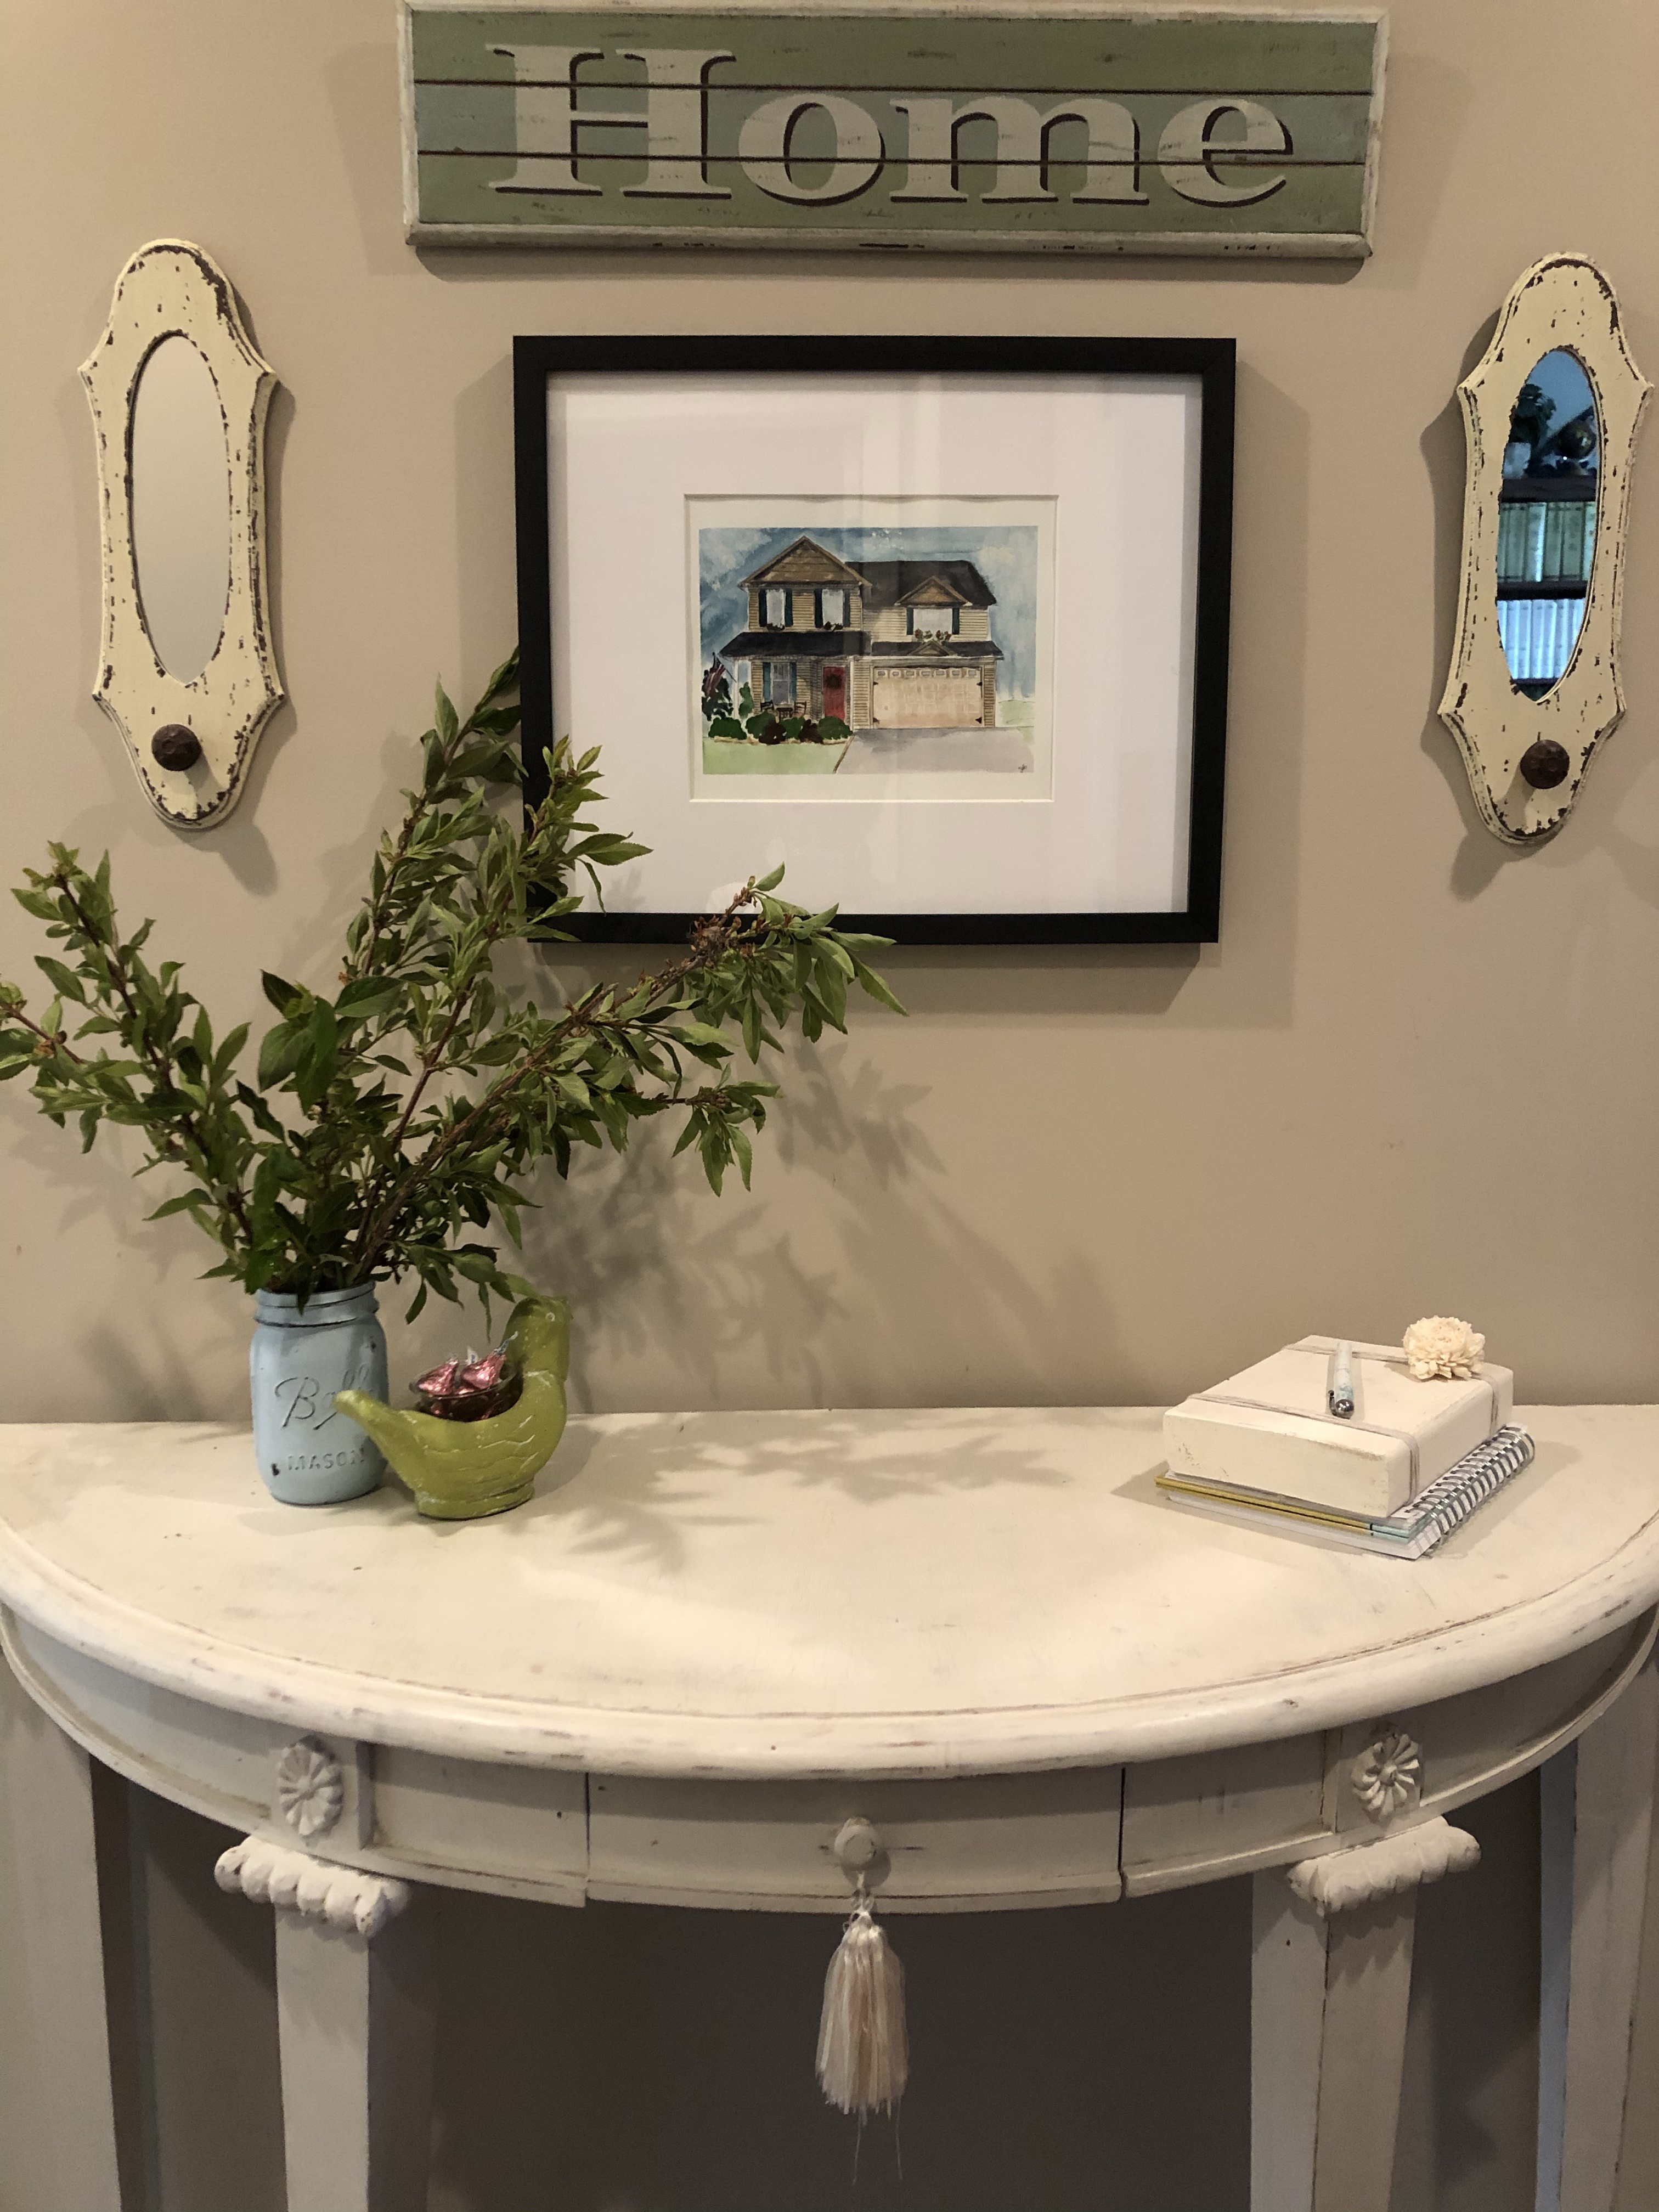
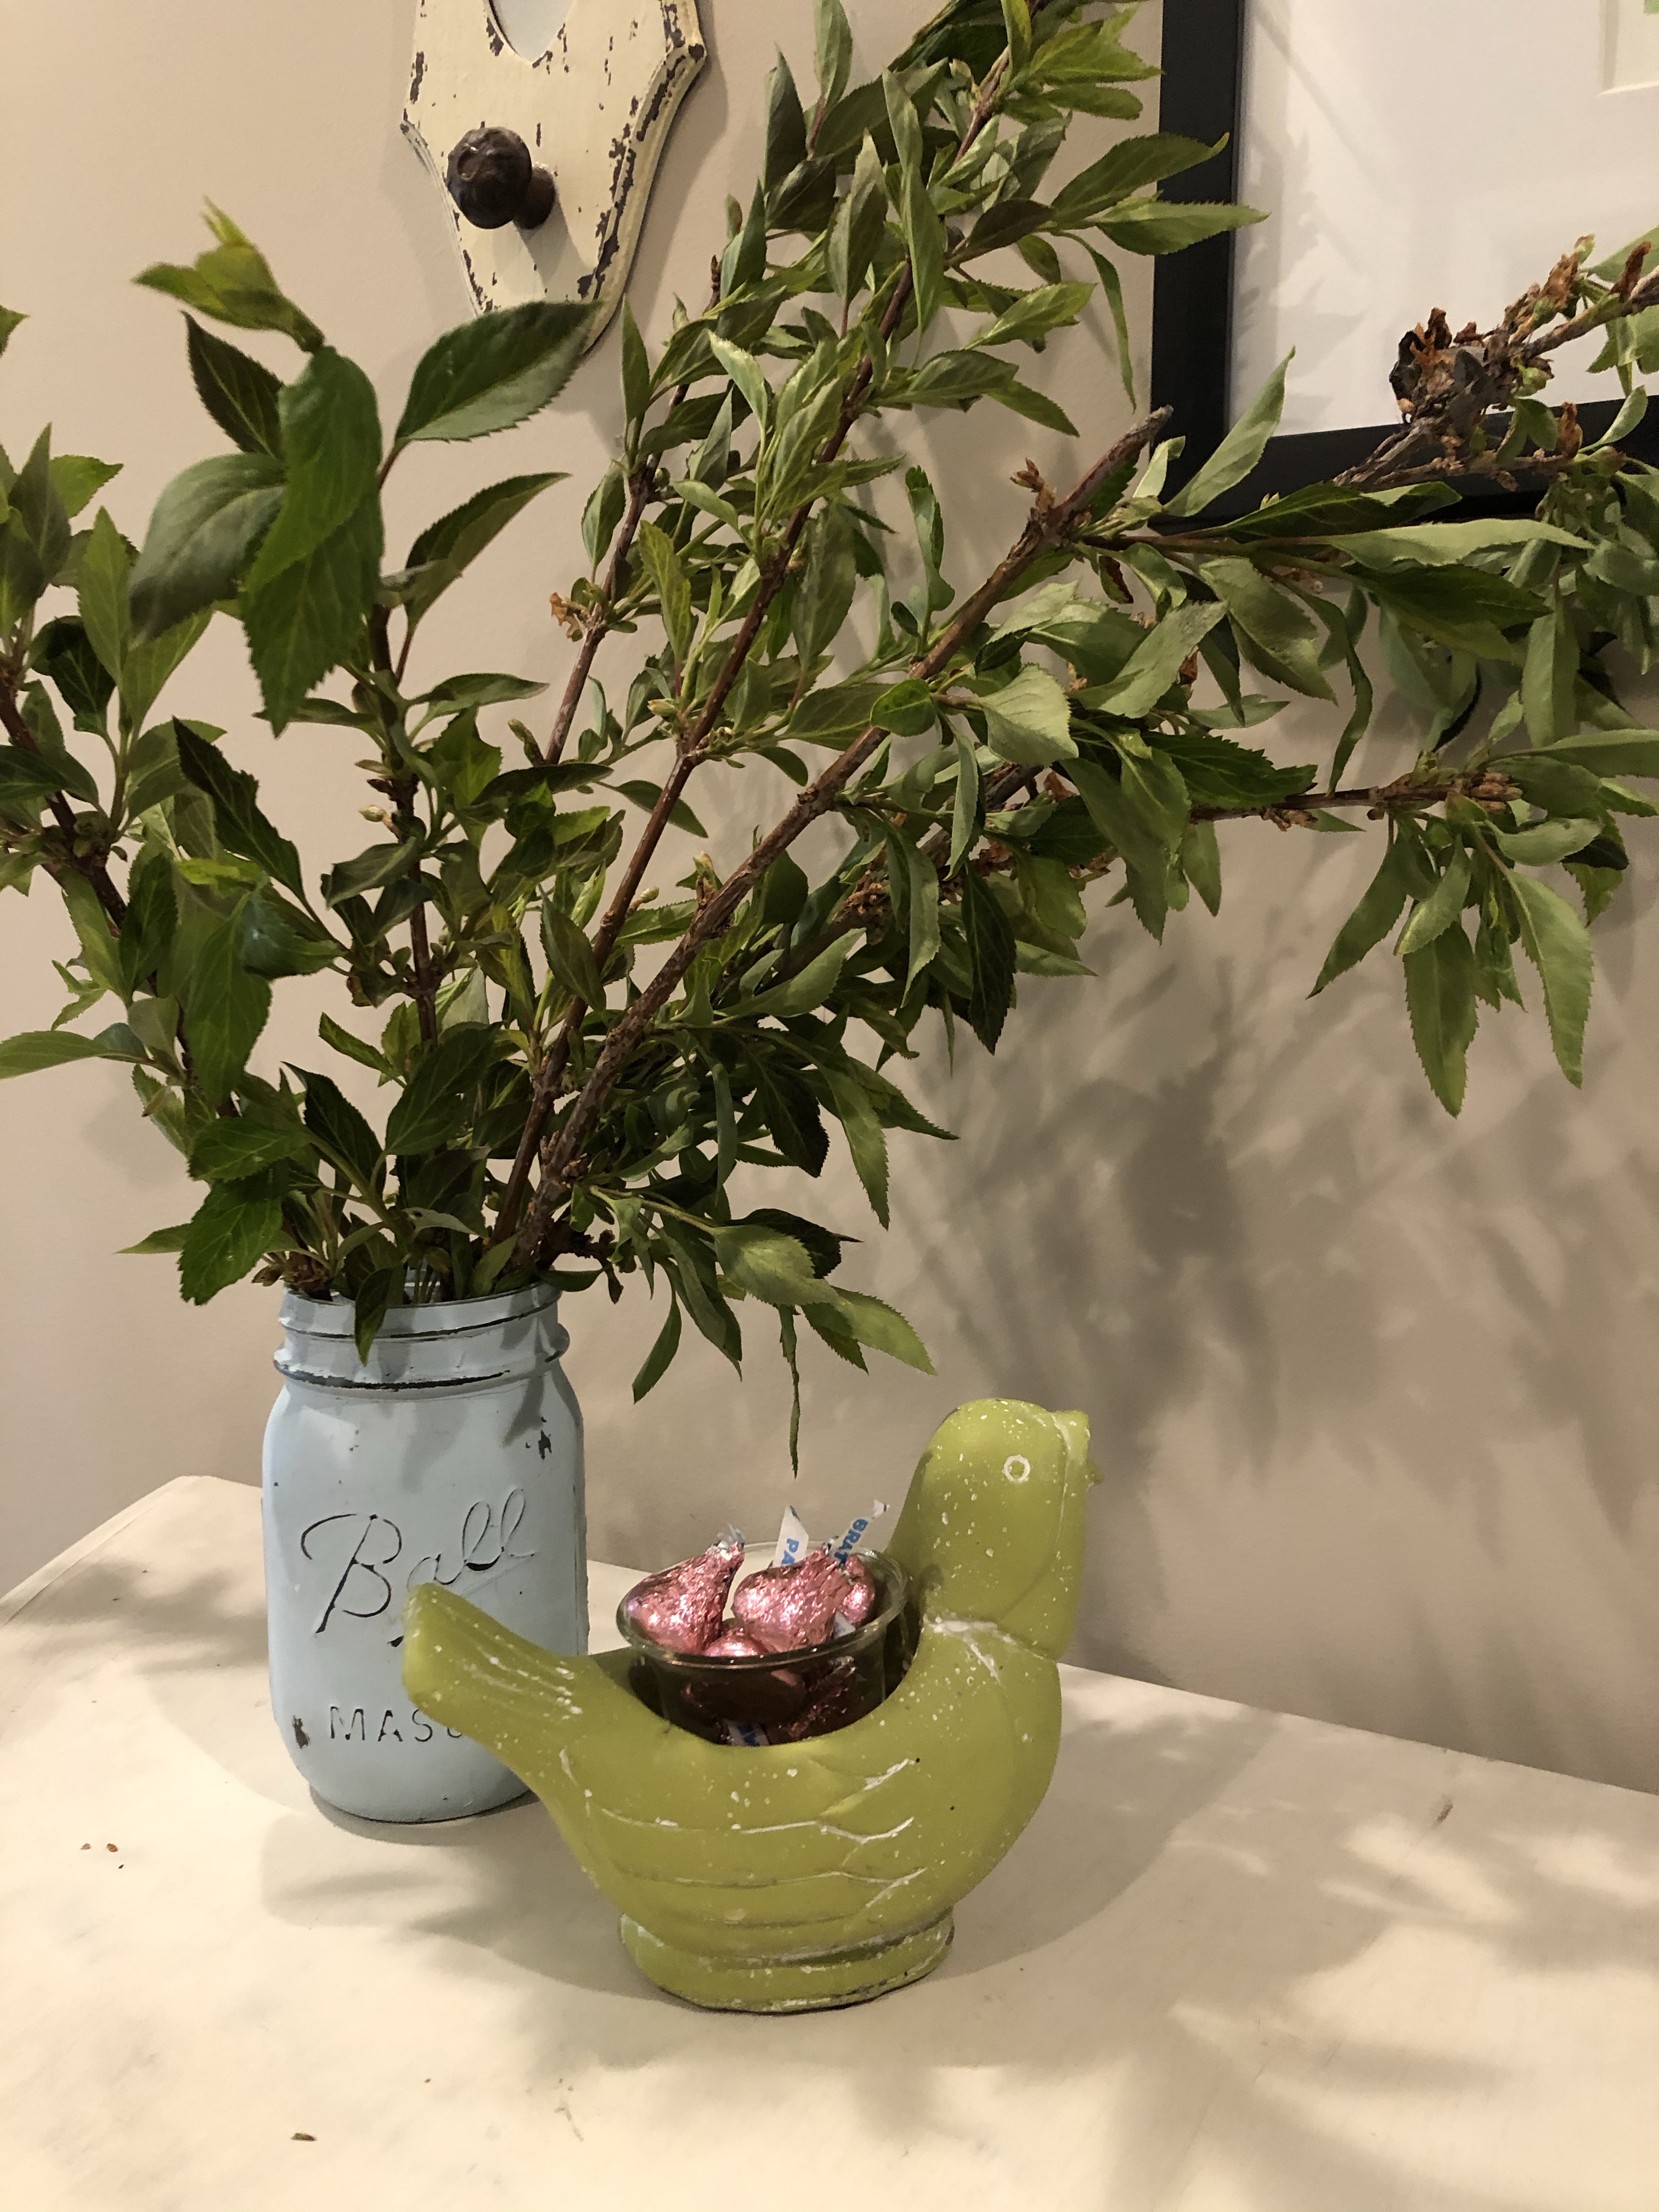
The entryway needs a fresh welcome. Greens, some chocolate to share with guests, and my guest book all rest on the entry table.
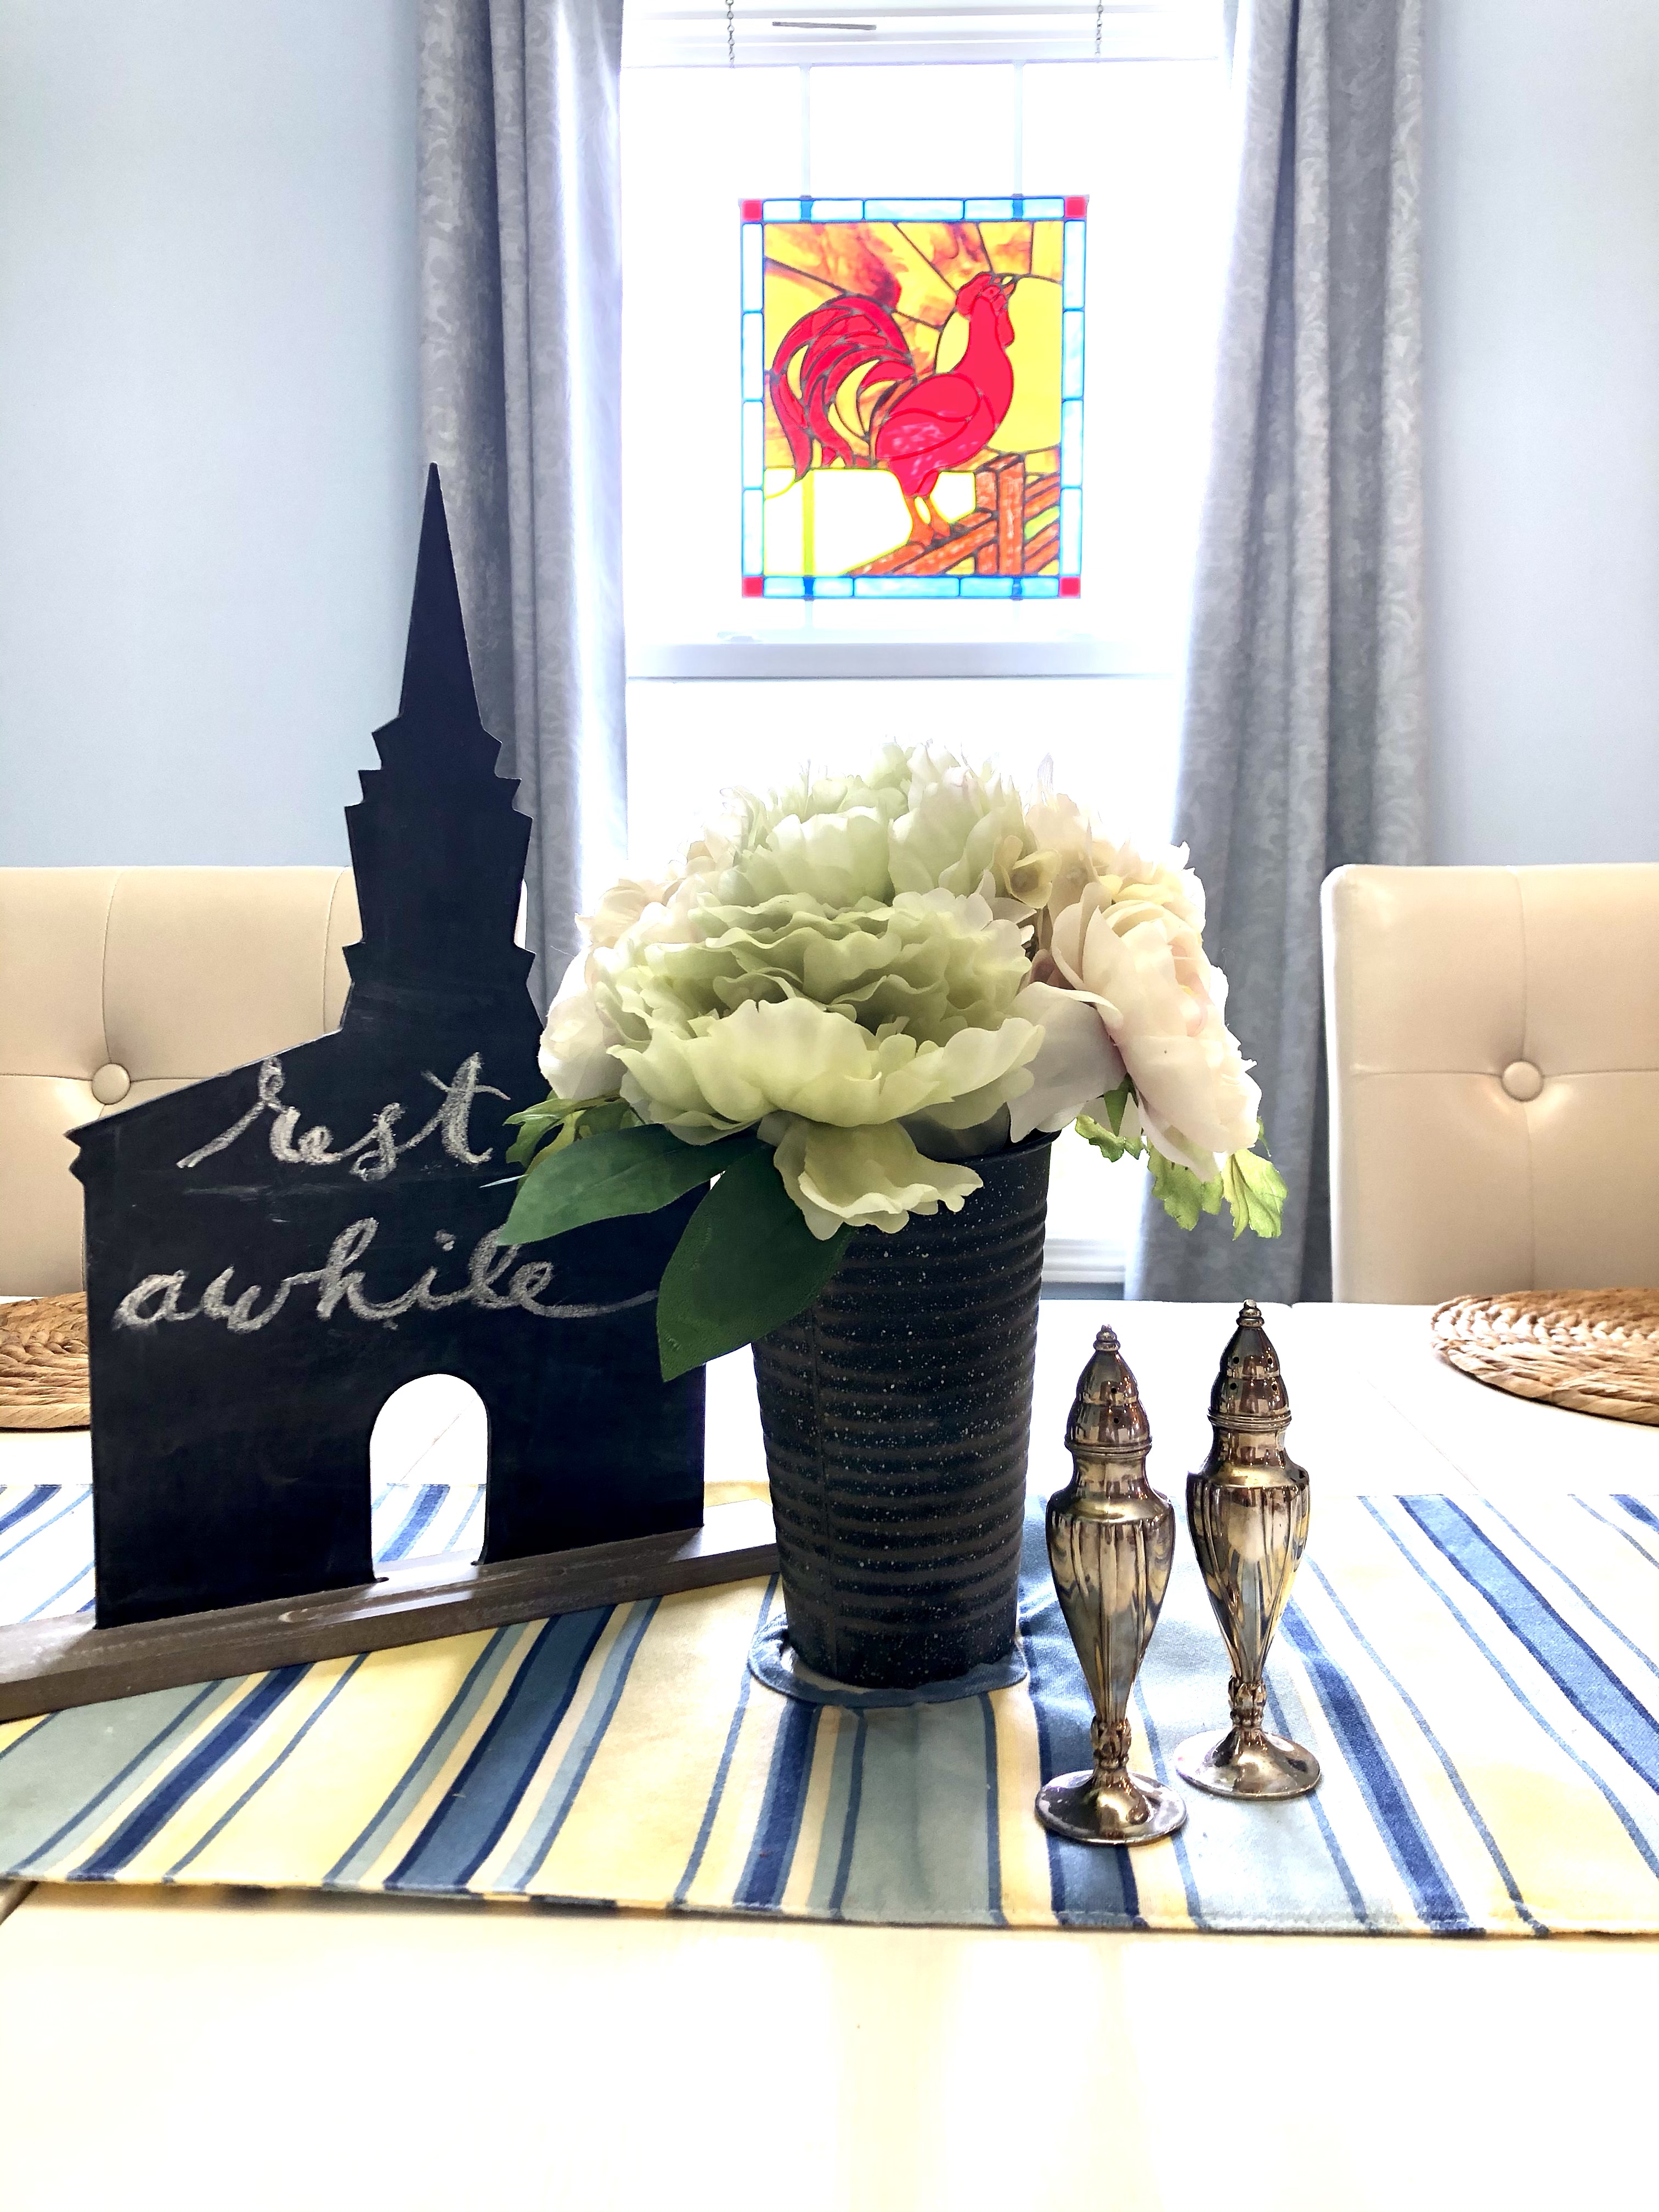
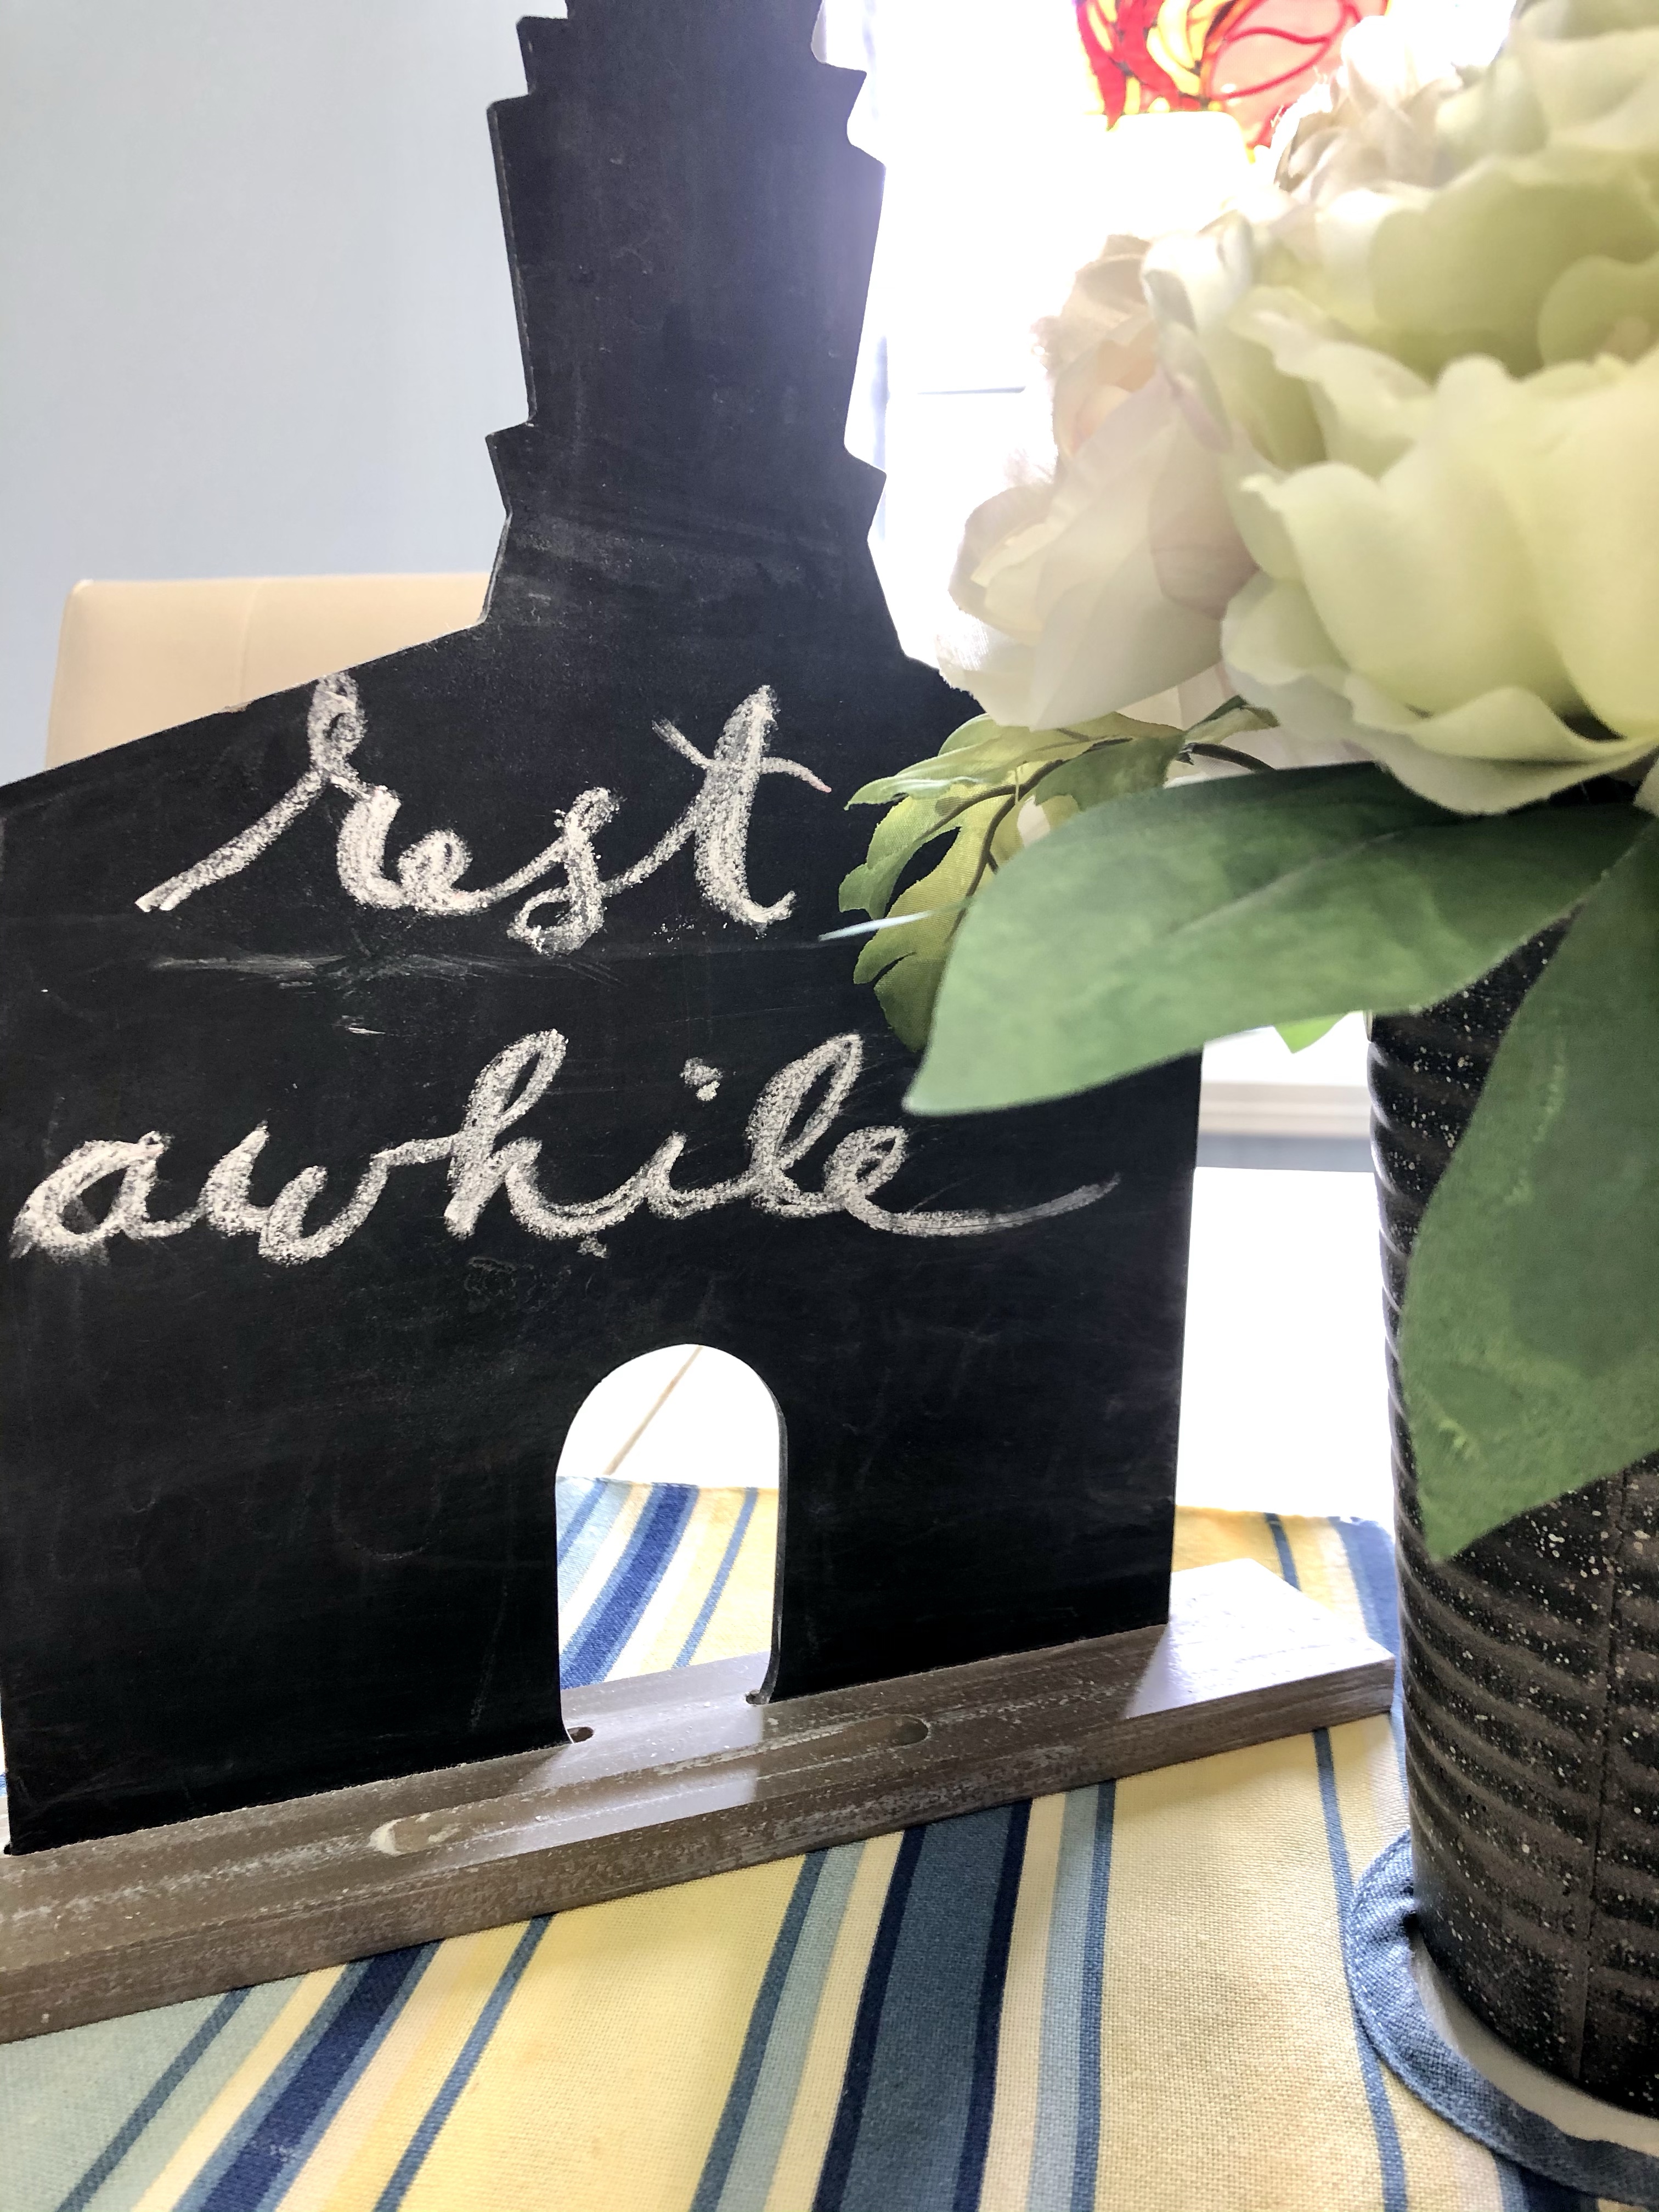
My little church chalkboard is the message I want all my guests to do! I broke my fake flower rule here, but they do look pretty real., so they’ll work until my roses begin to bloom again!
Kitchen table
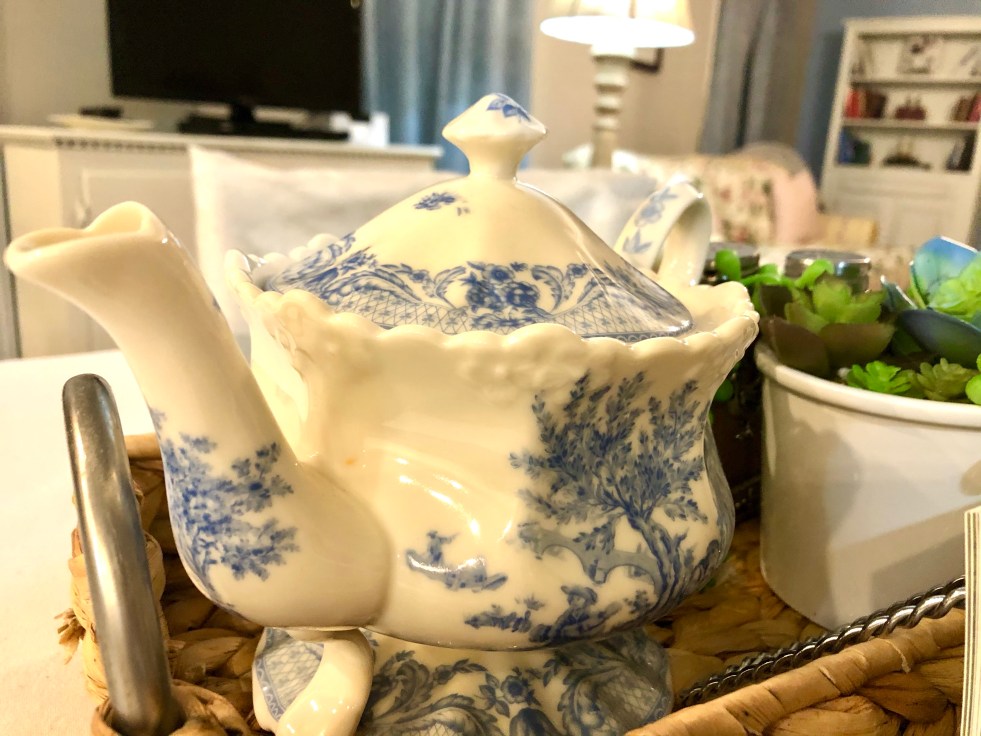
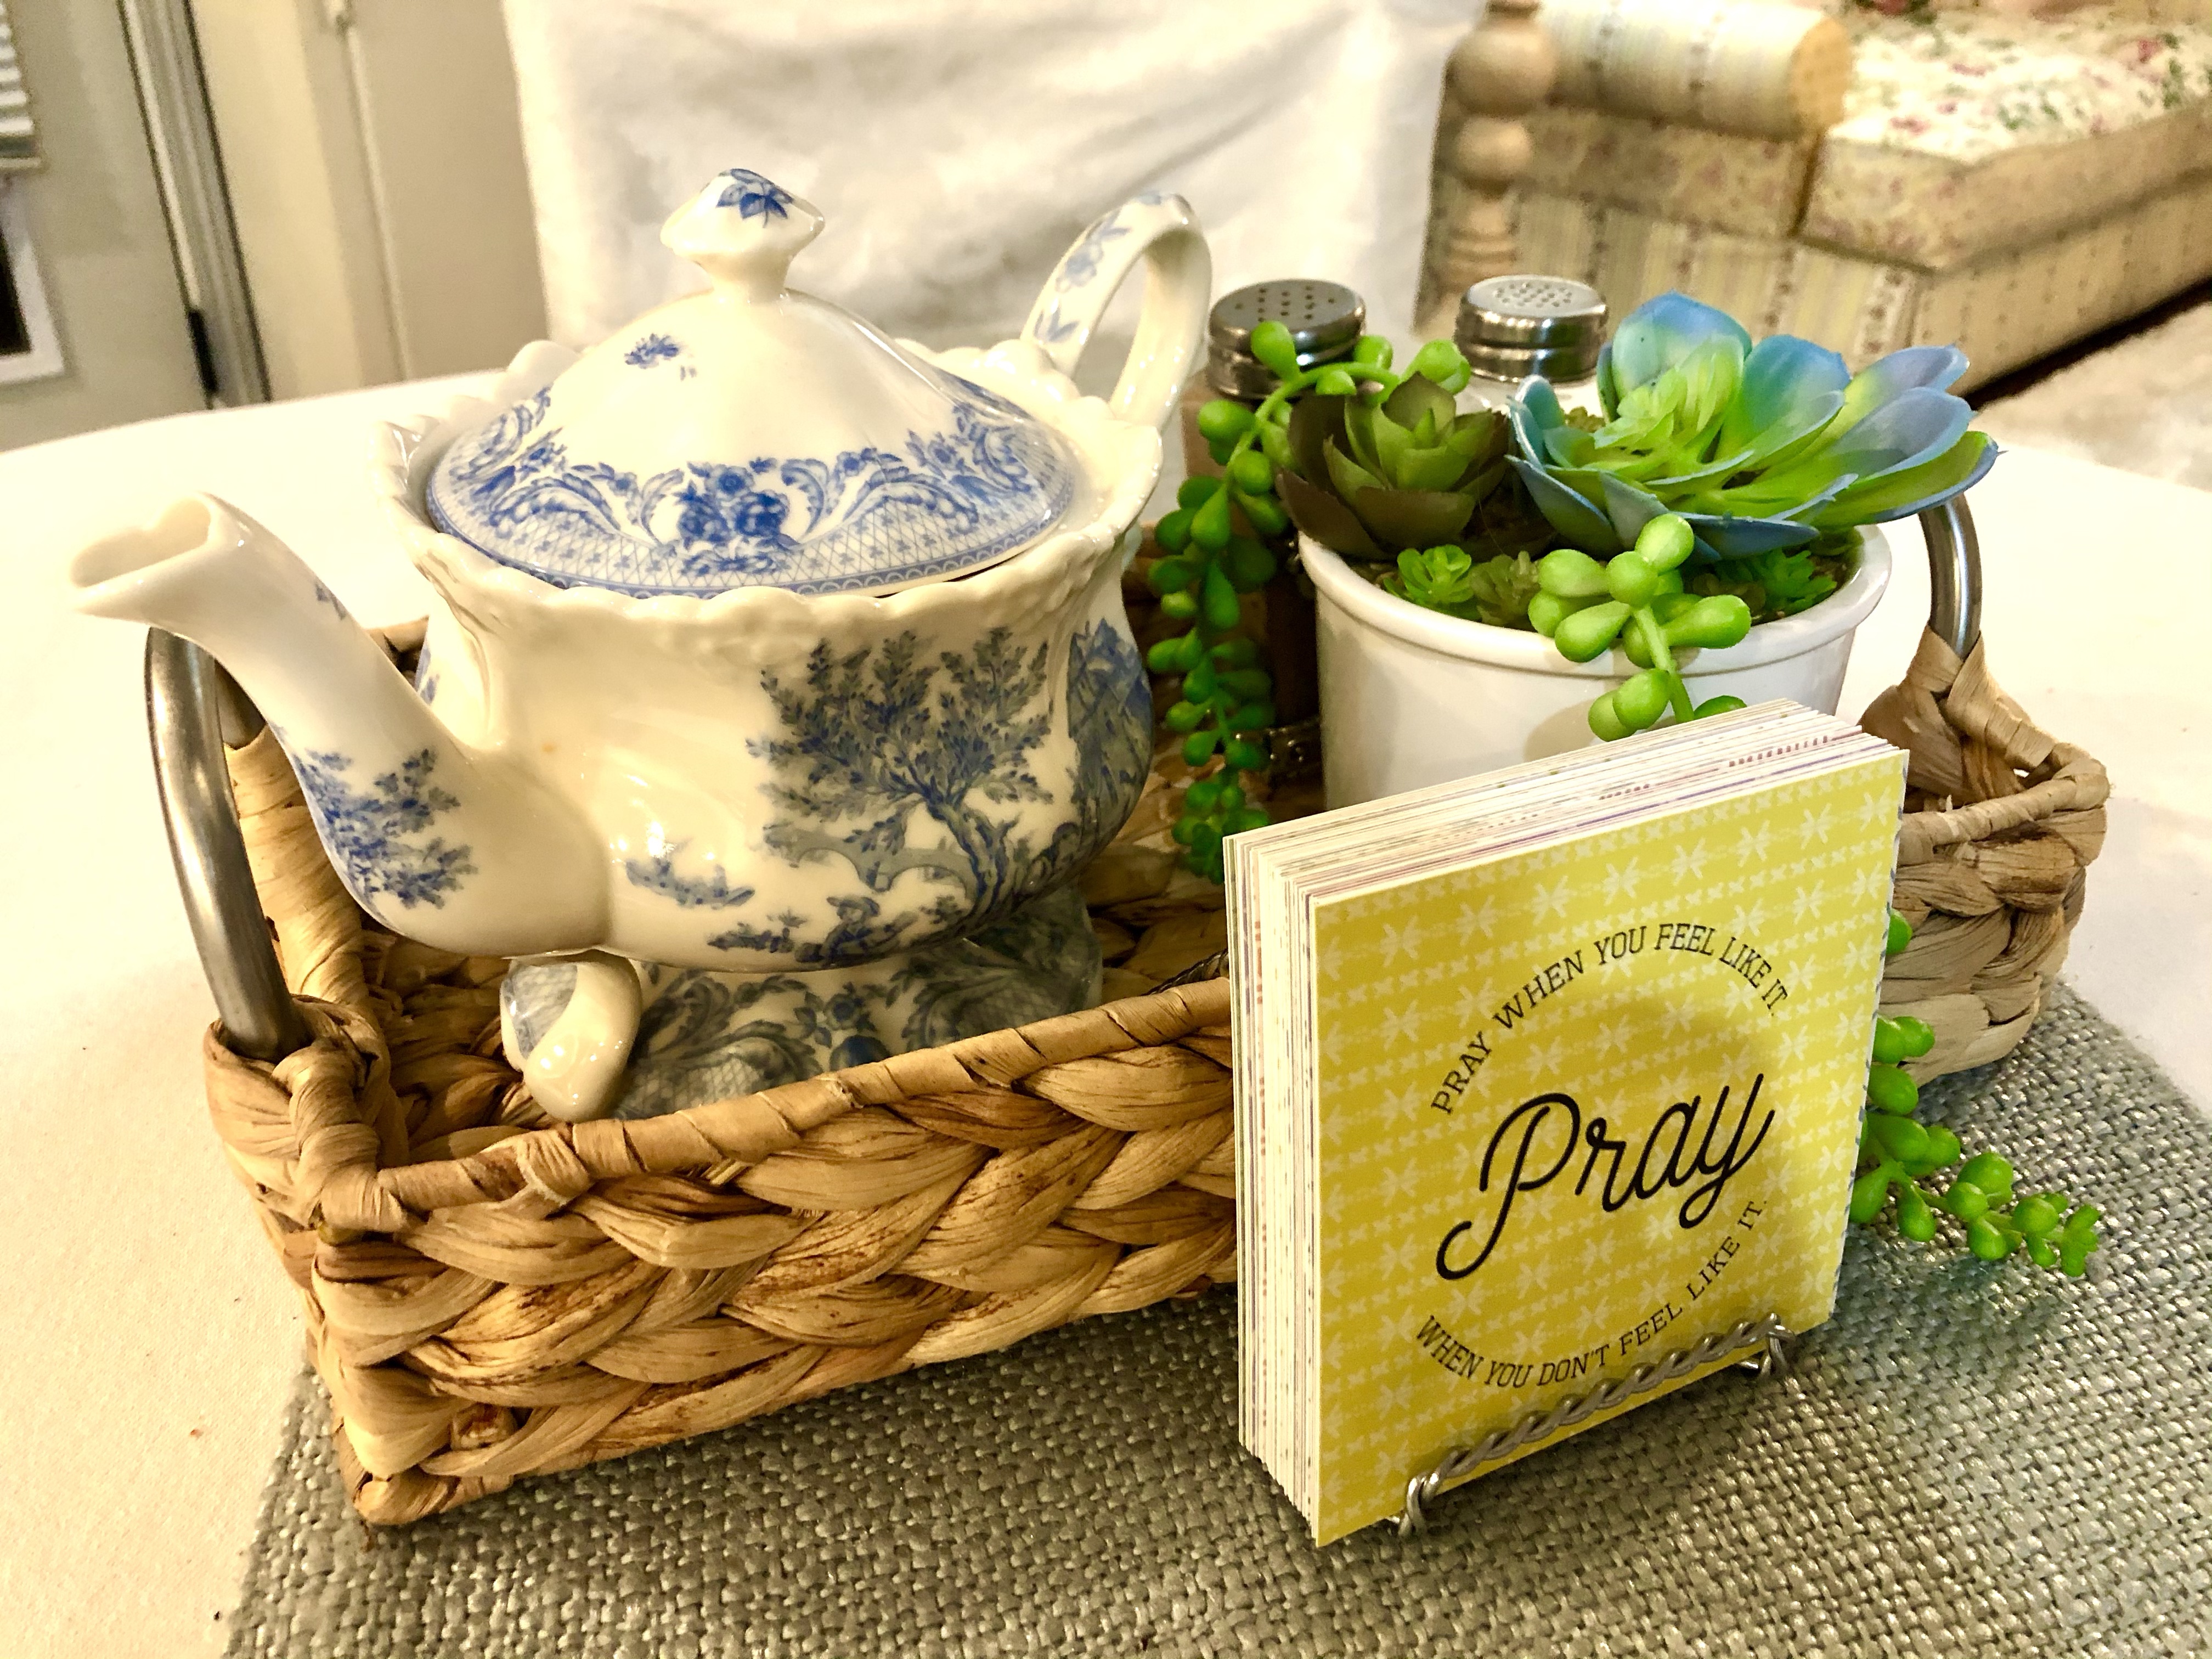
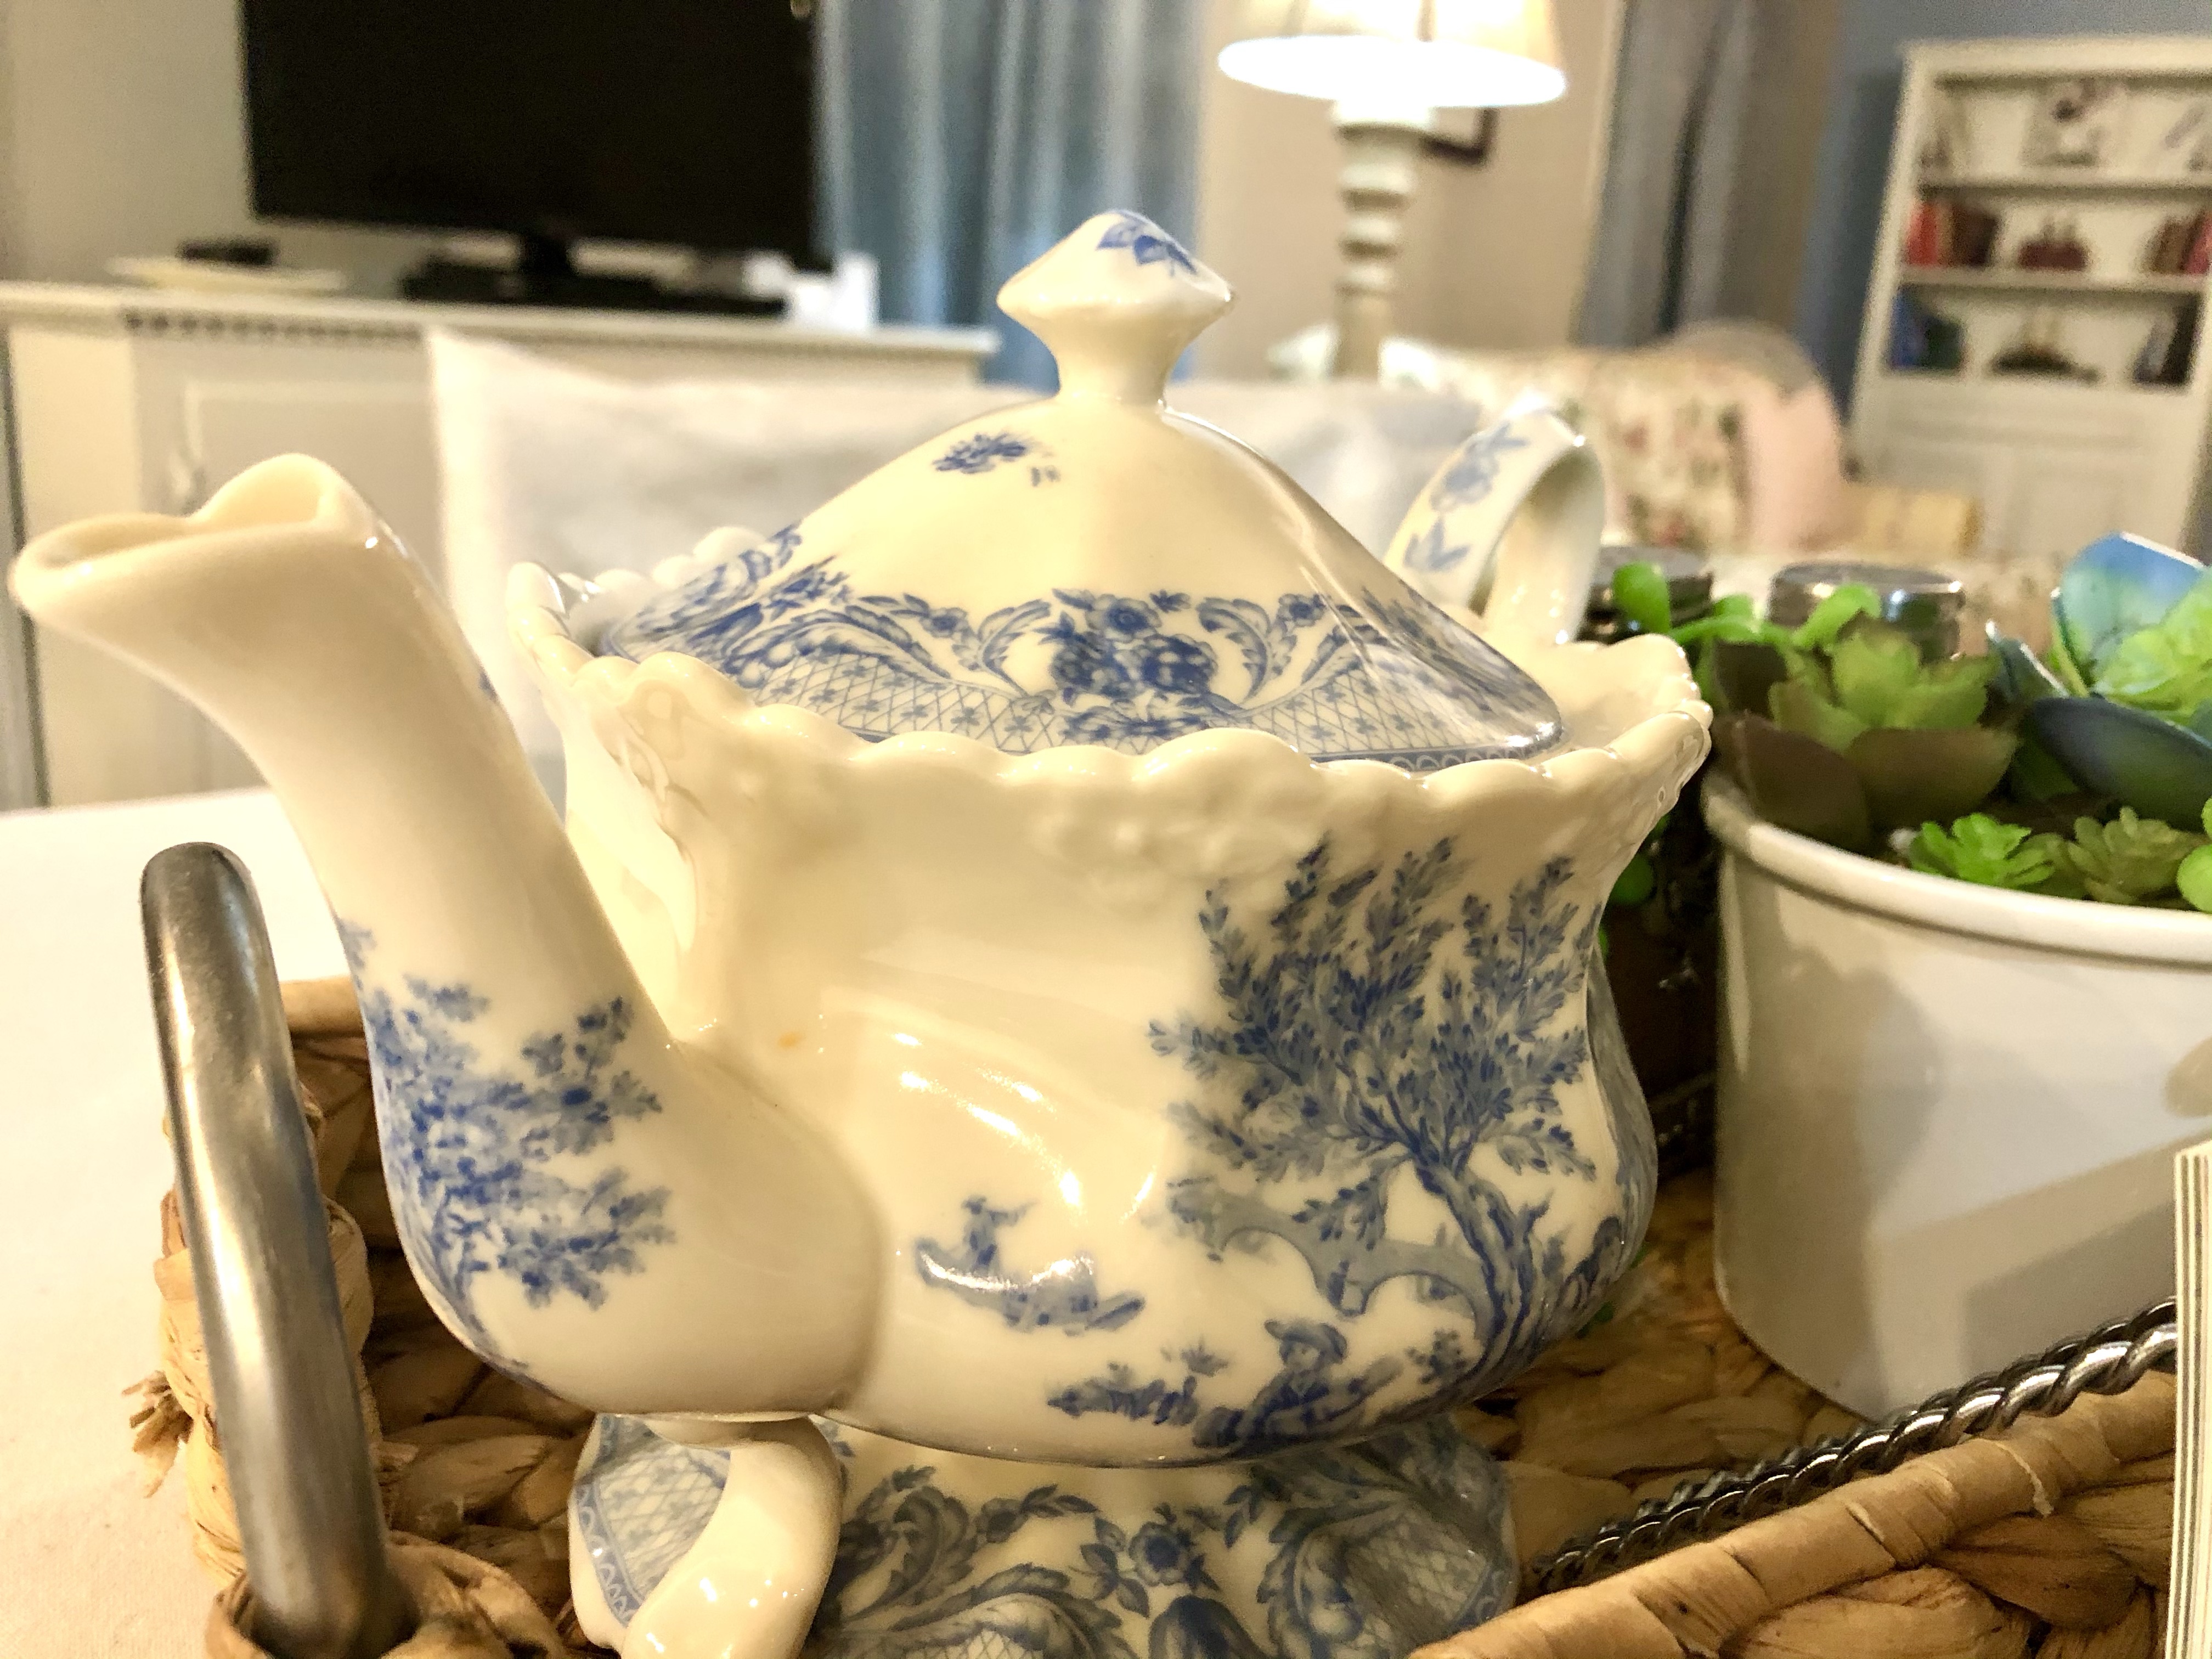
A bamboo tray on the kitchen table holds a darling tea pot from a sweet friend, a succulent, a tray of encouraging quotes from another dear friend, and the salt and pepper. Small baskets like this are so versatile!
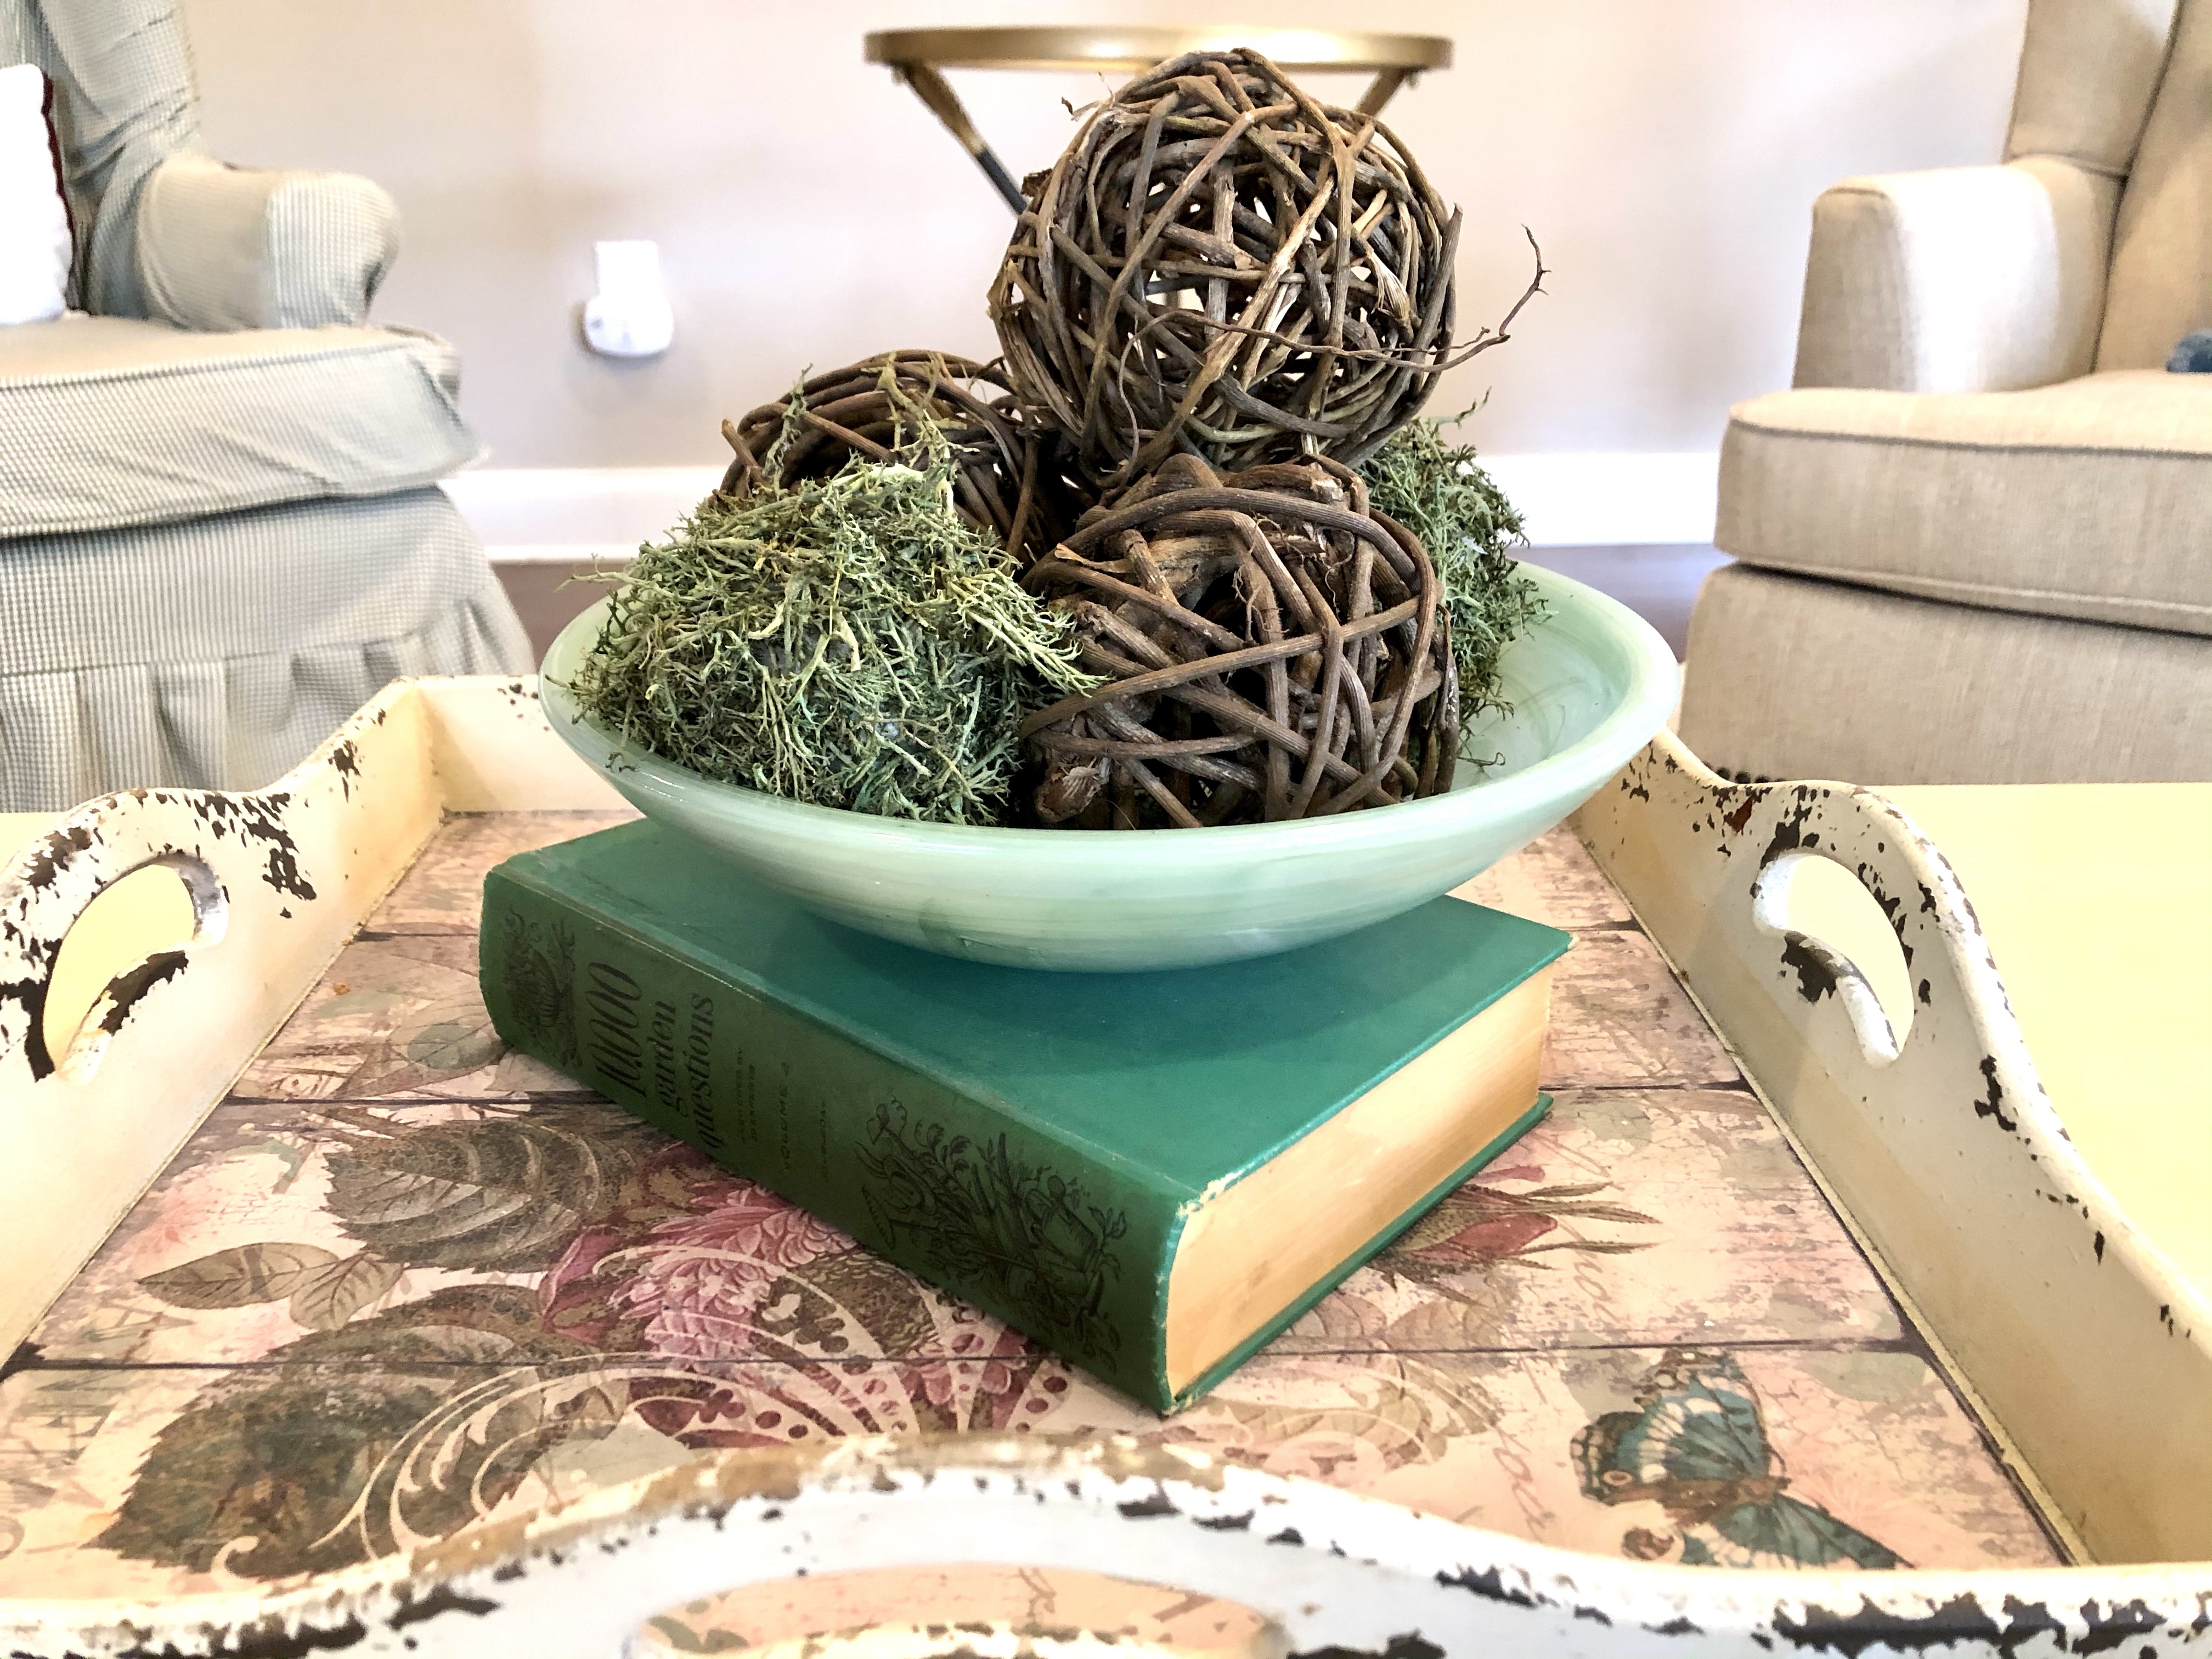
Coffee Table
To my wooden decorative balls, I added some moss covered balls. I made these for less than $3 with items from the Dollar Tree. Styrofoam balls, hot glue and Reindeer moss were used to make them. So easy! I’m going to be on the lookout for a small strand of tiny white battery operated lights to add to this bowl. I think they’d add the perfect touch!
I
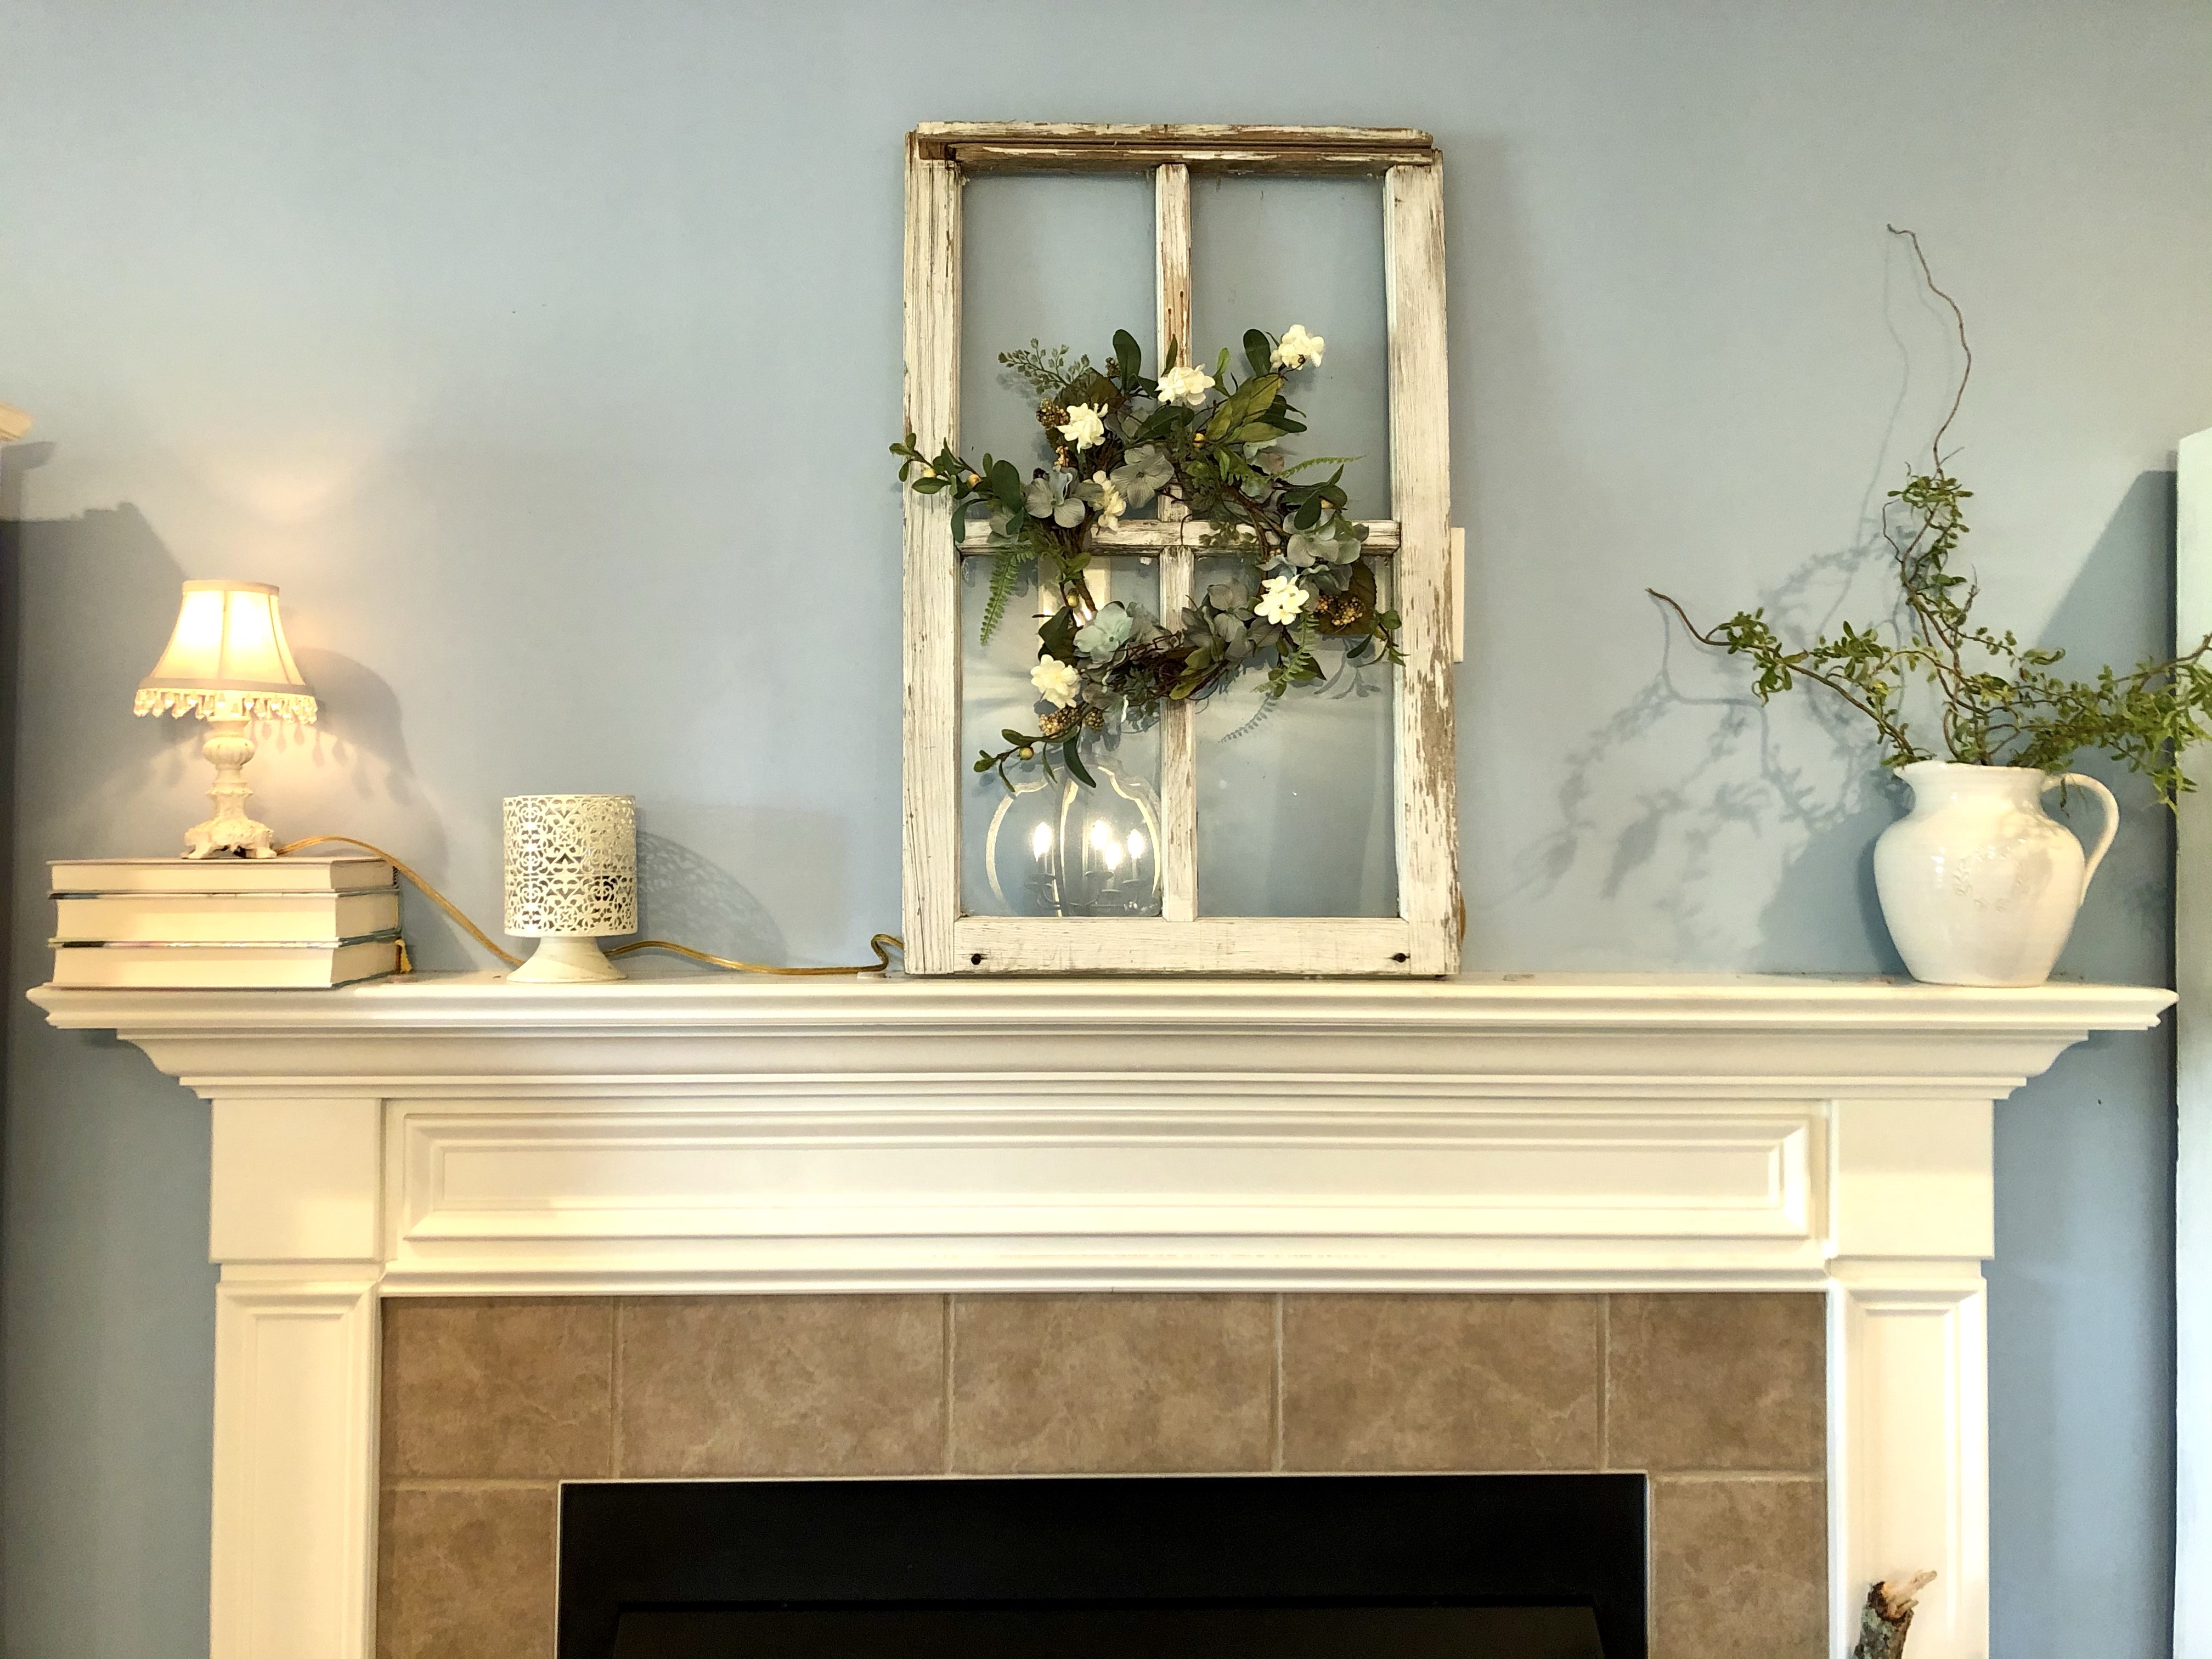
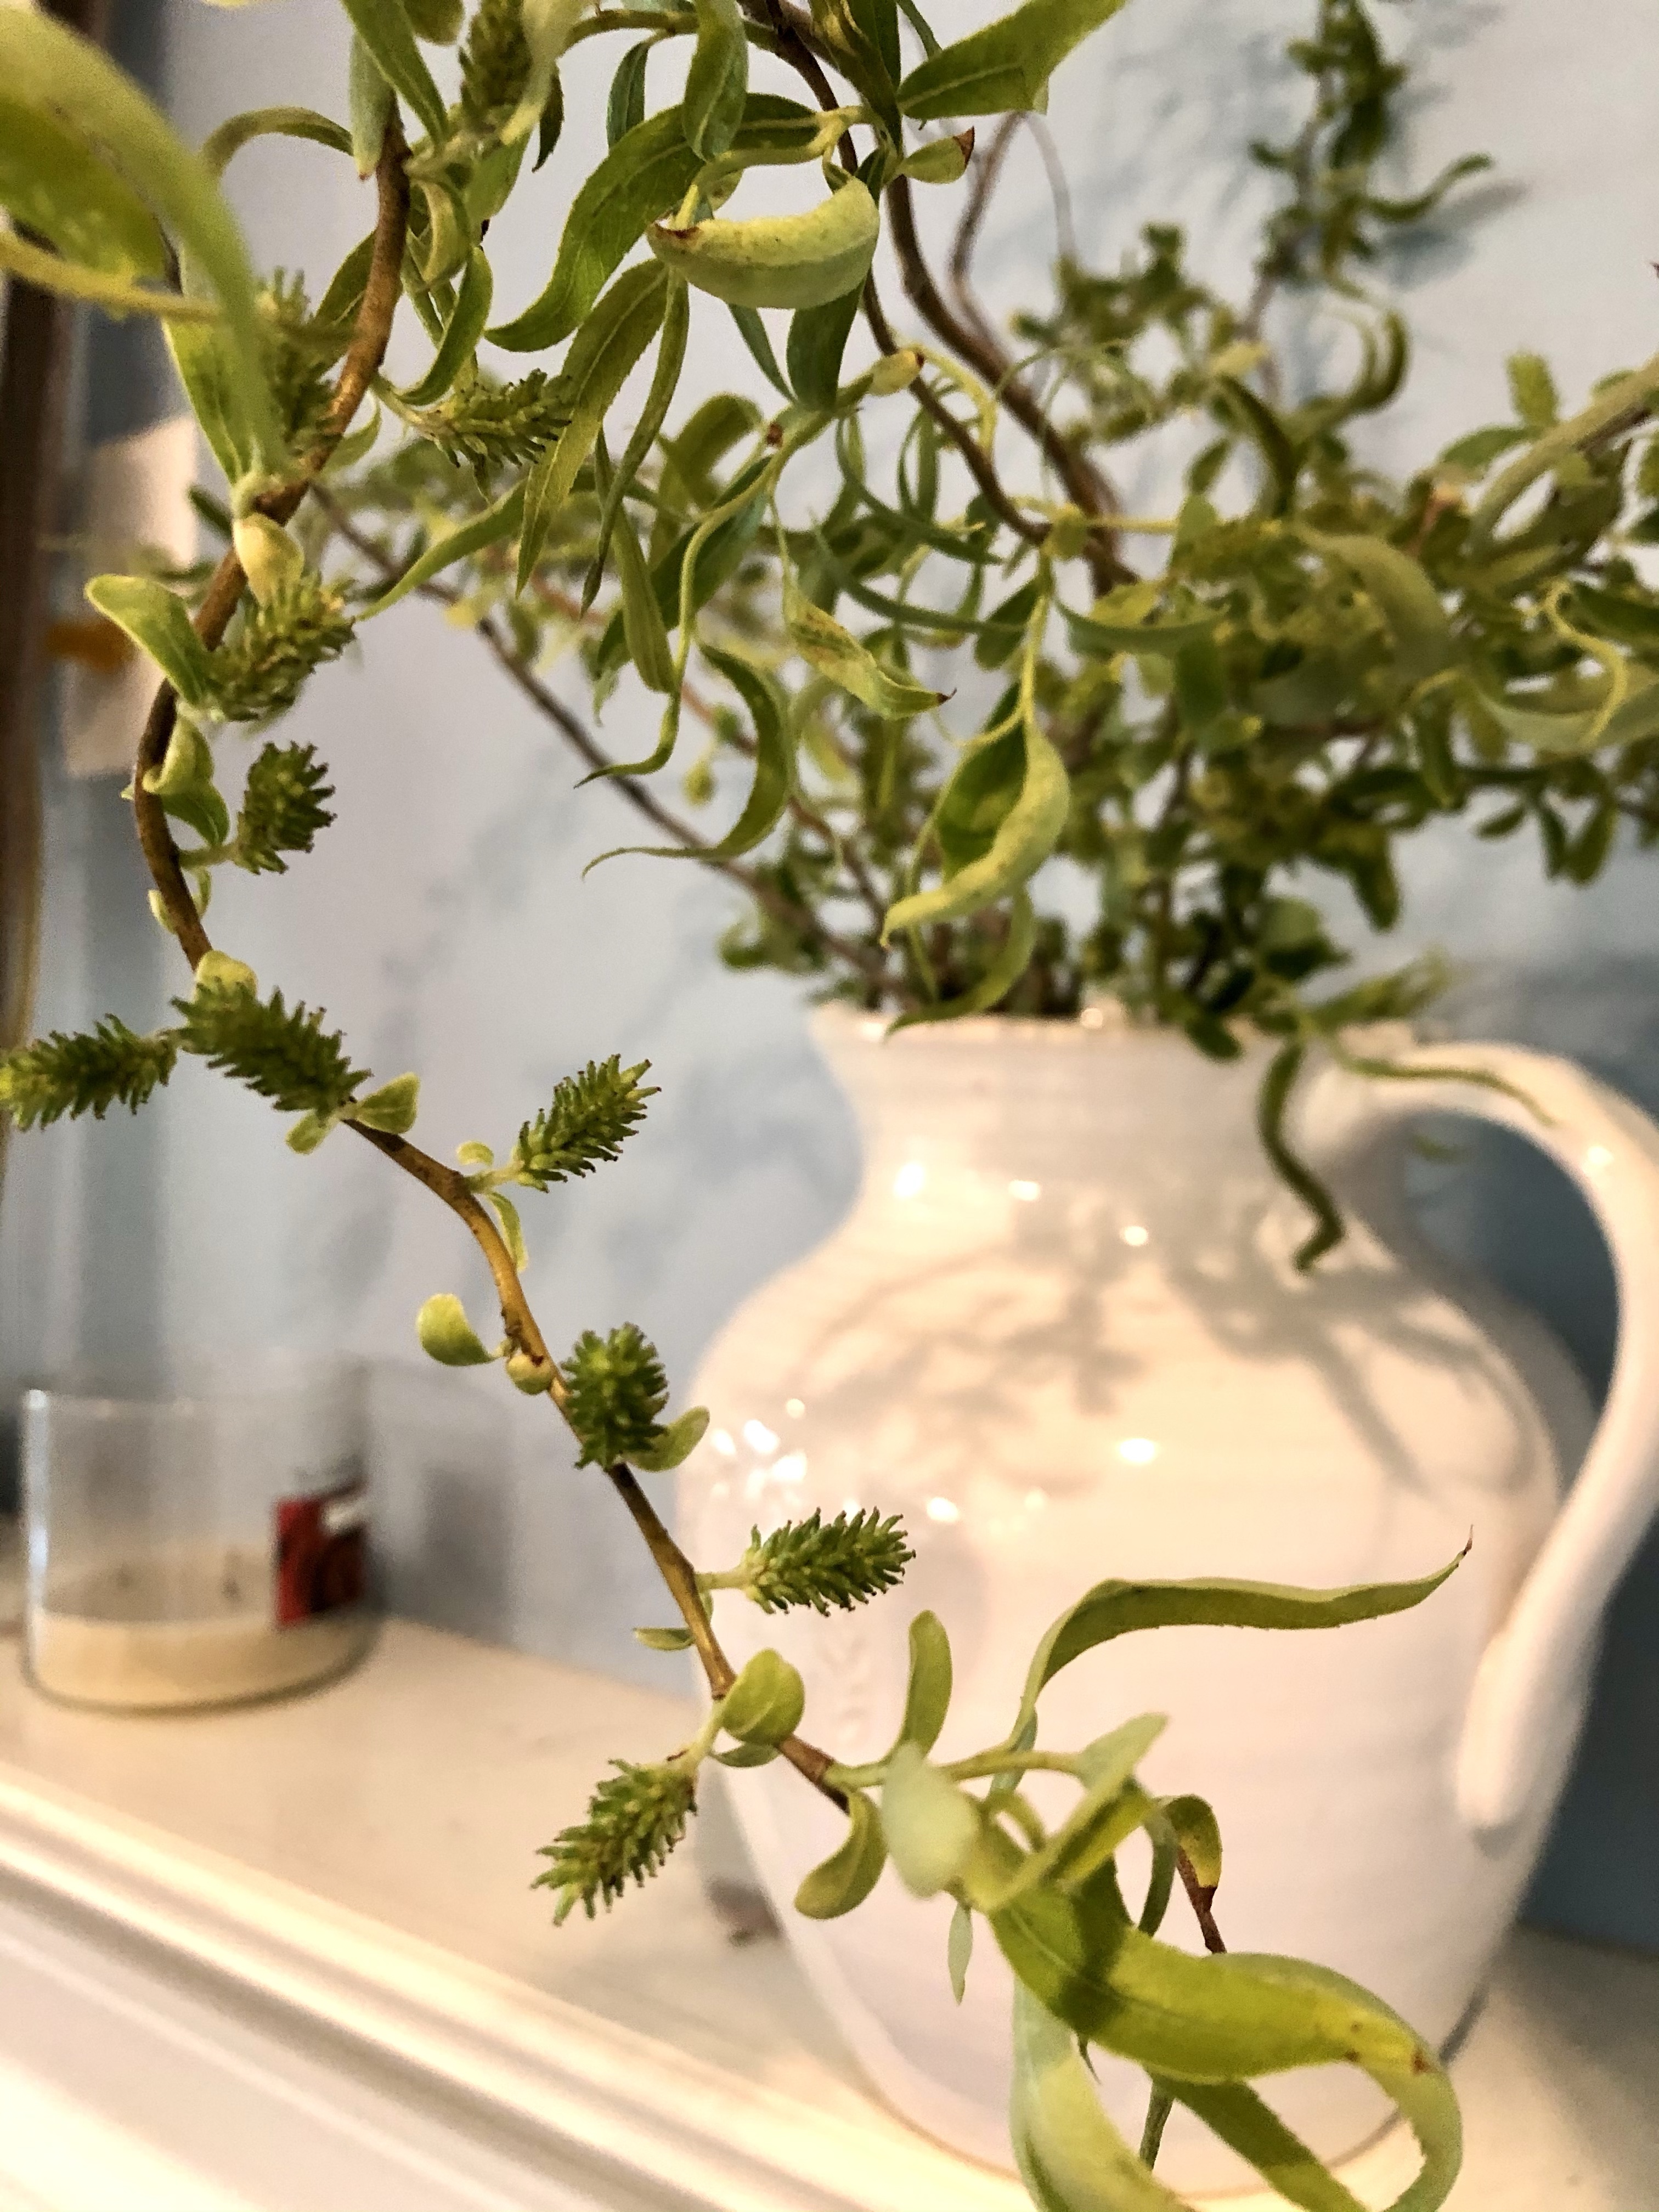
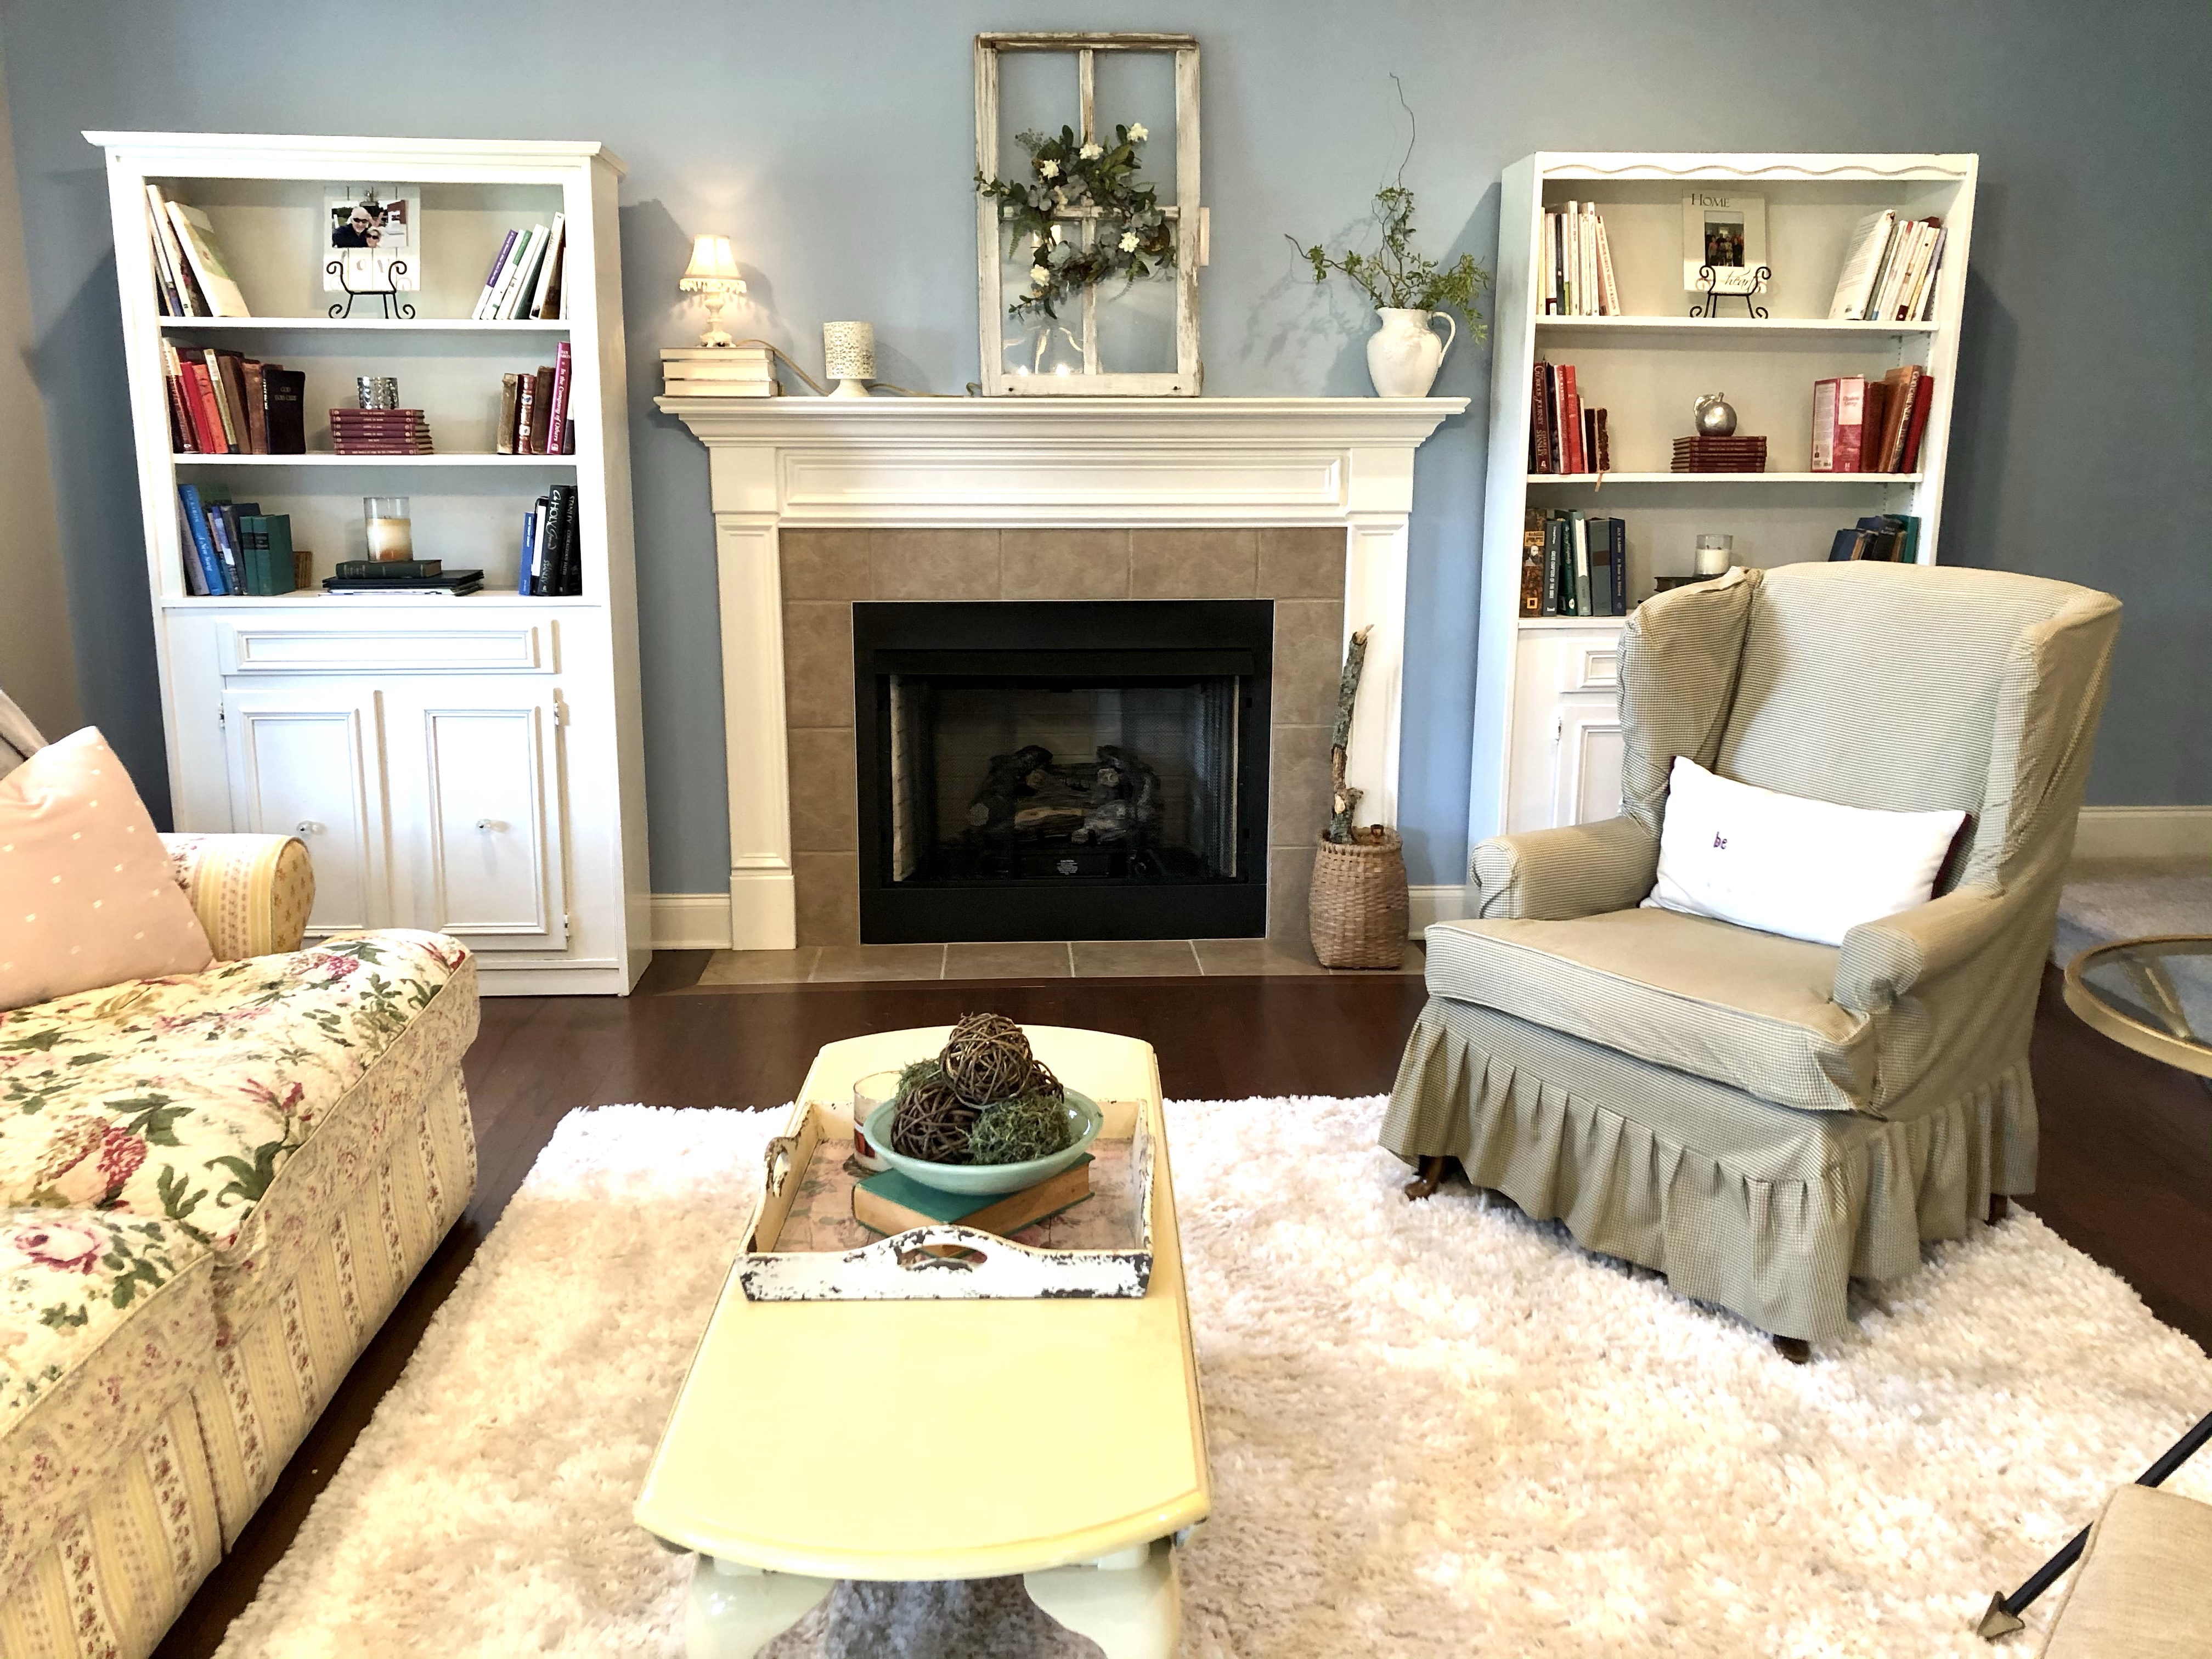
I removed the mirror from the mantle and changed it out with the old window, just for something different. I added branches from the backyard for greenery and then used only white decor. Something about green and white just feels fresh!
I love these curly branches!
What do you love adding to your decor in the spring? Maybe some of you had to add a snow shovel to your front porch this week when that cold front blew through! Crazy weather! Here’s to warmer temps and some lovely vignettes!
We have some super-fun plans for this weekend I can’t wait to share with you! Hope you have something fun planned, too!
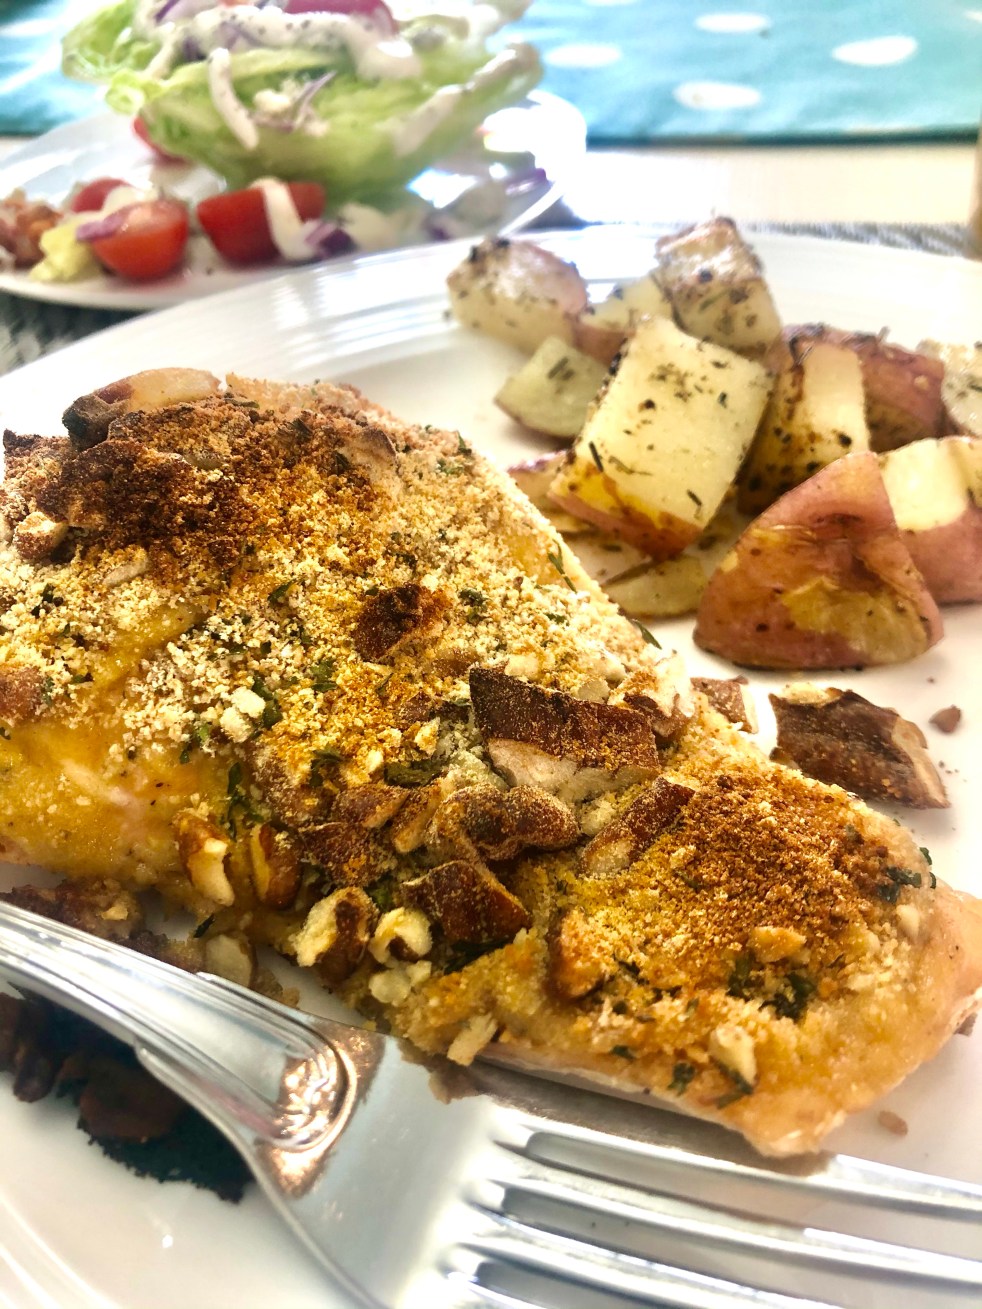
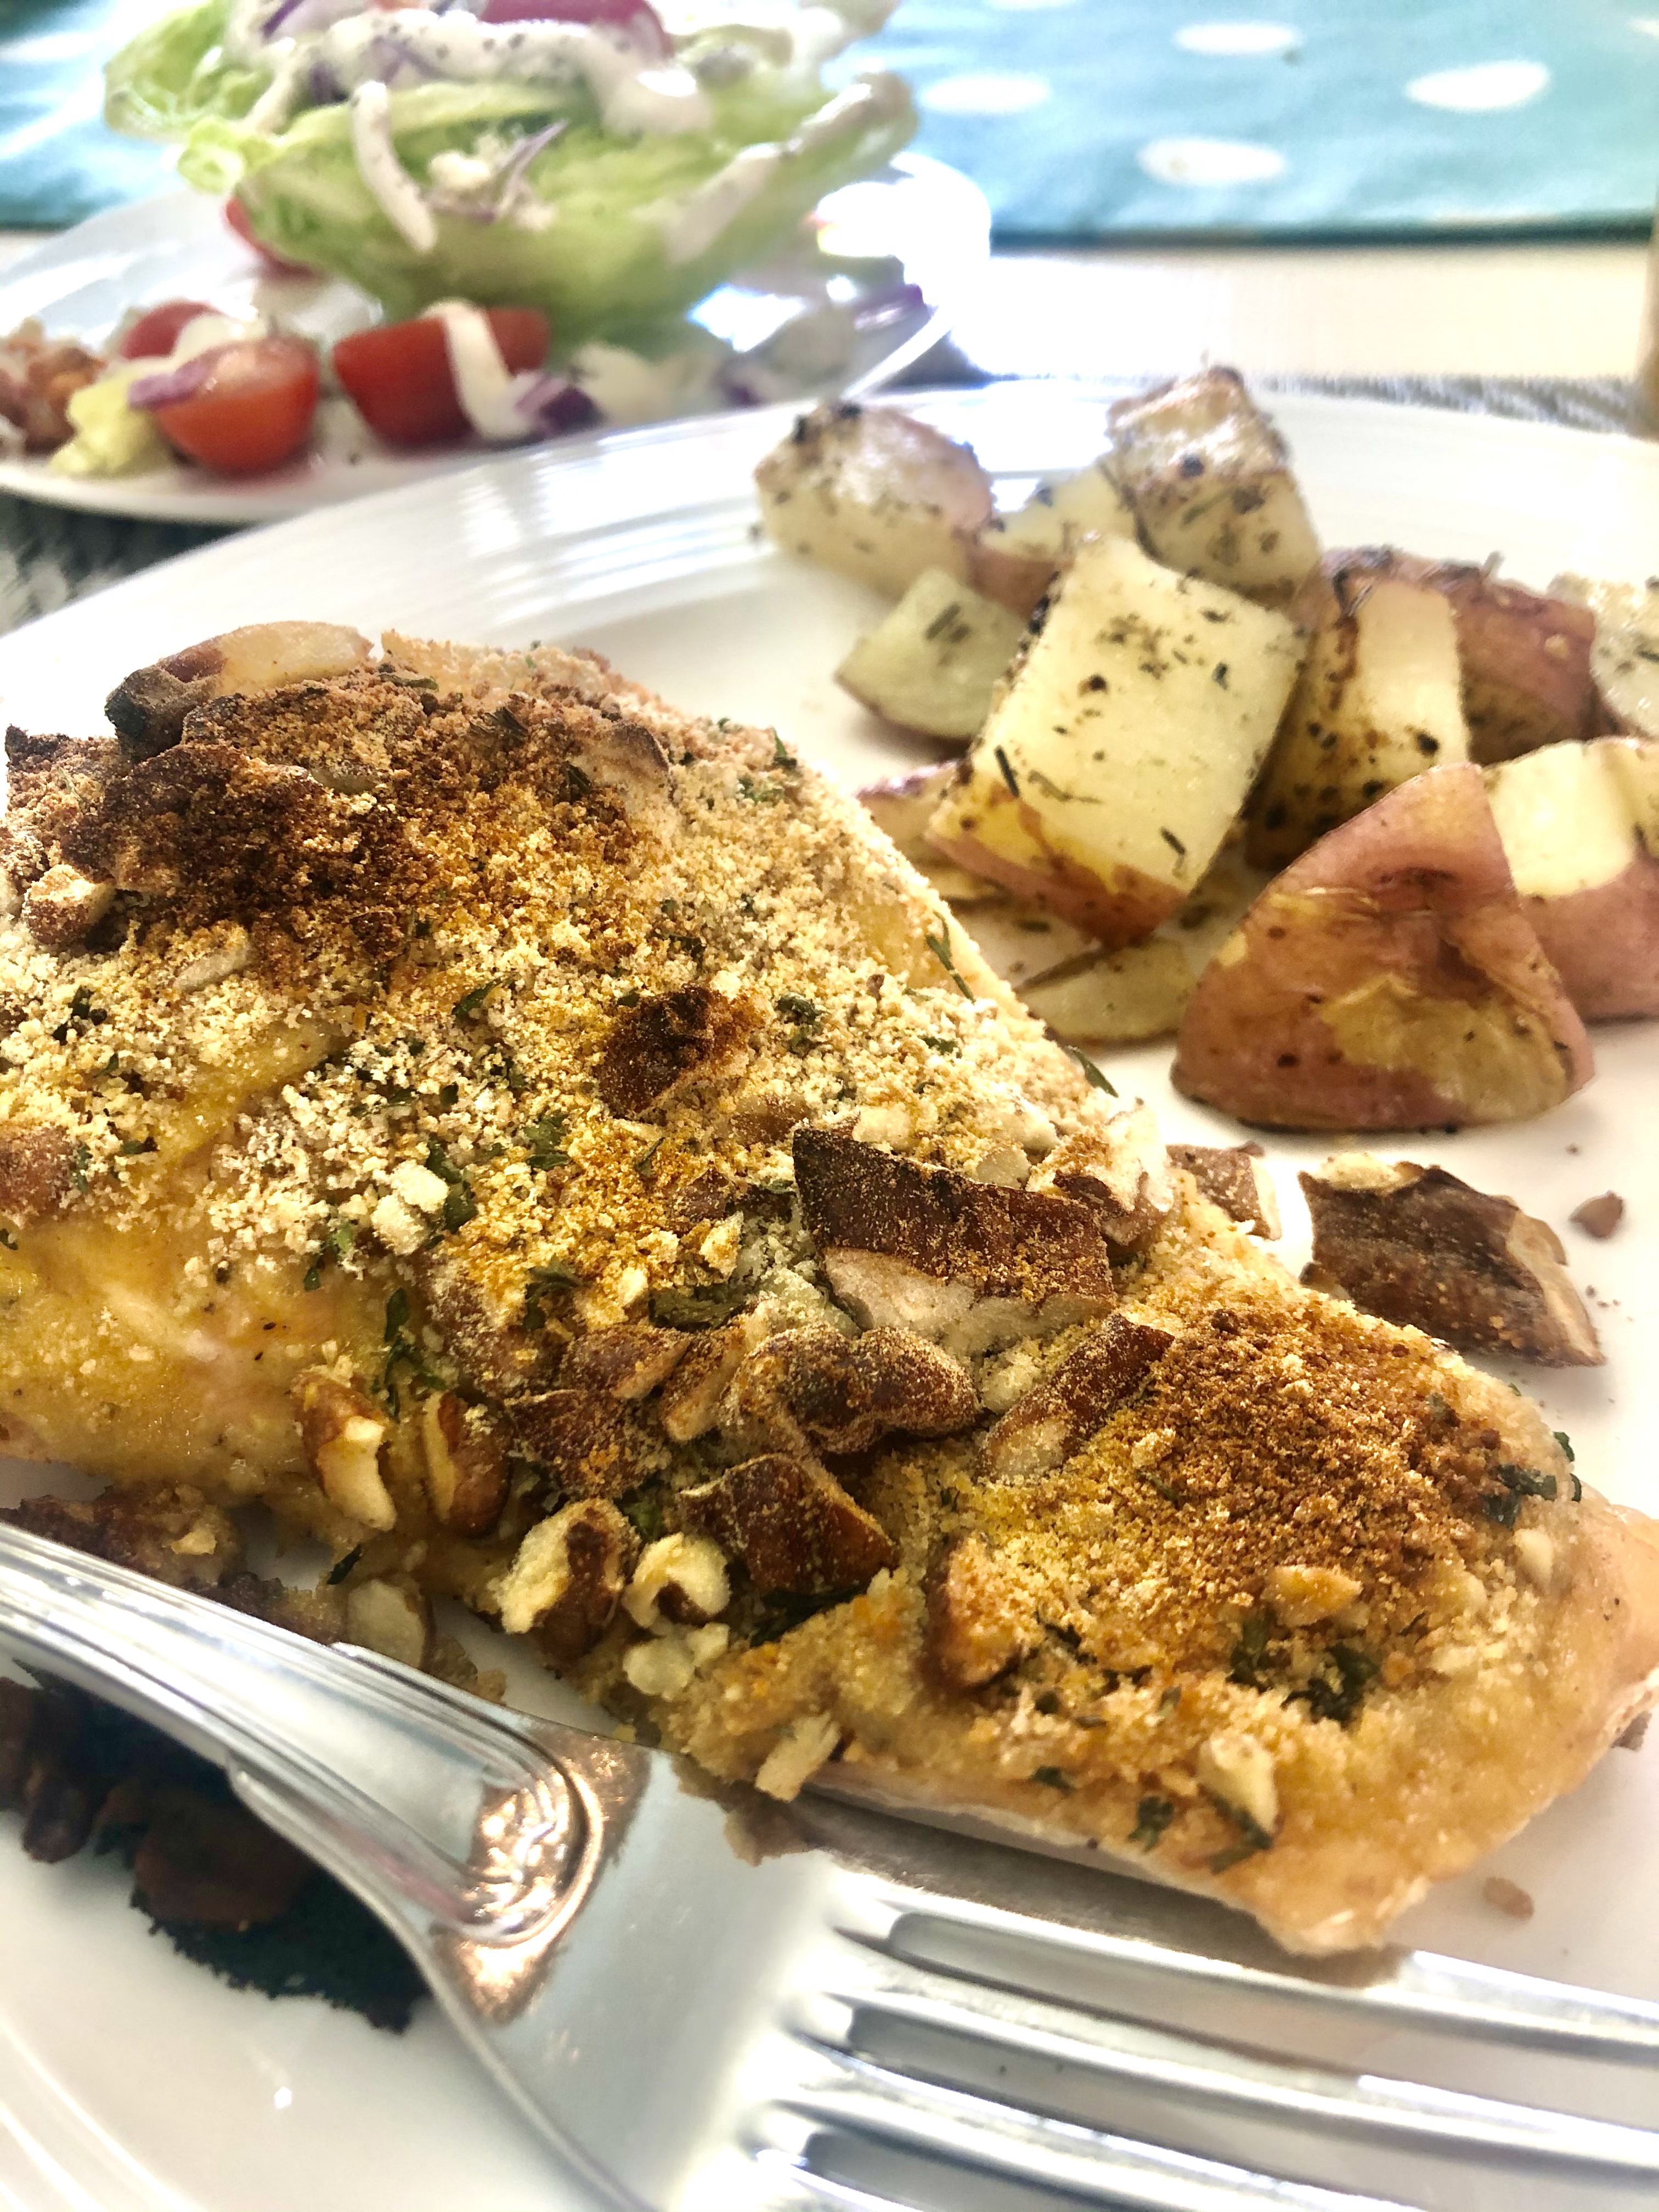
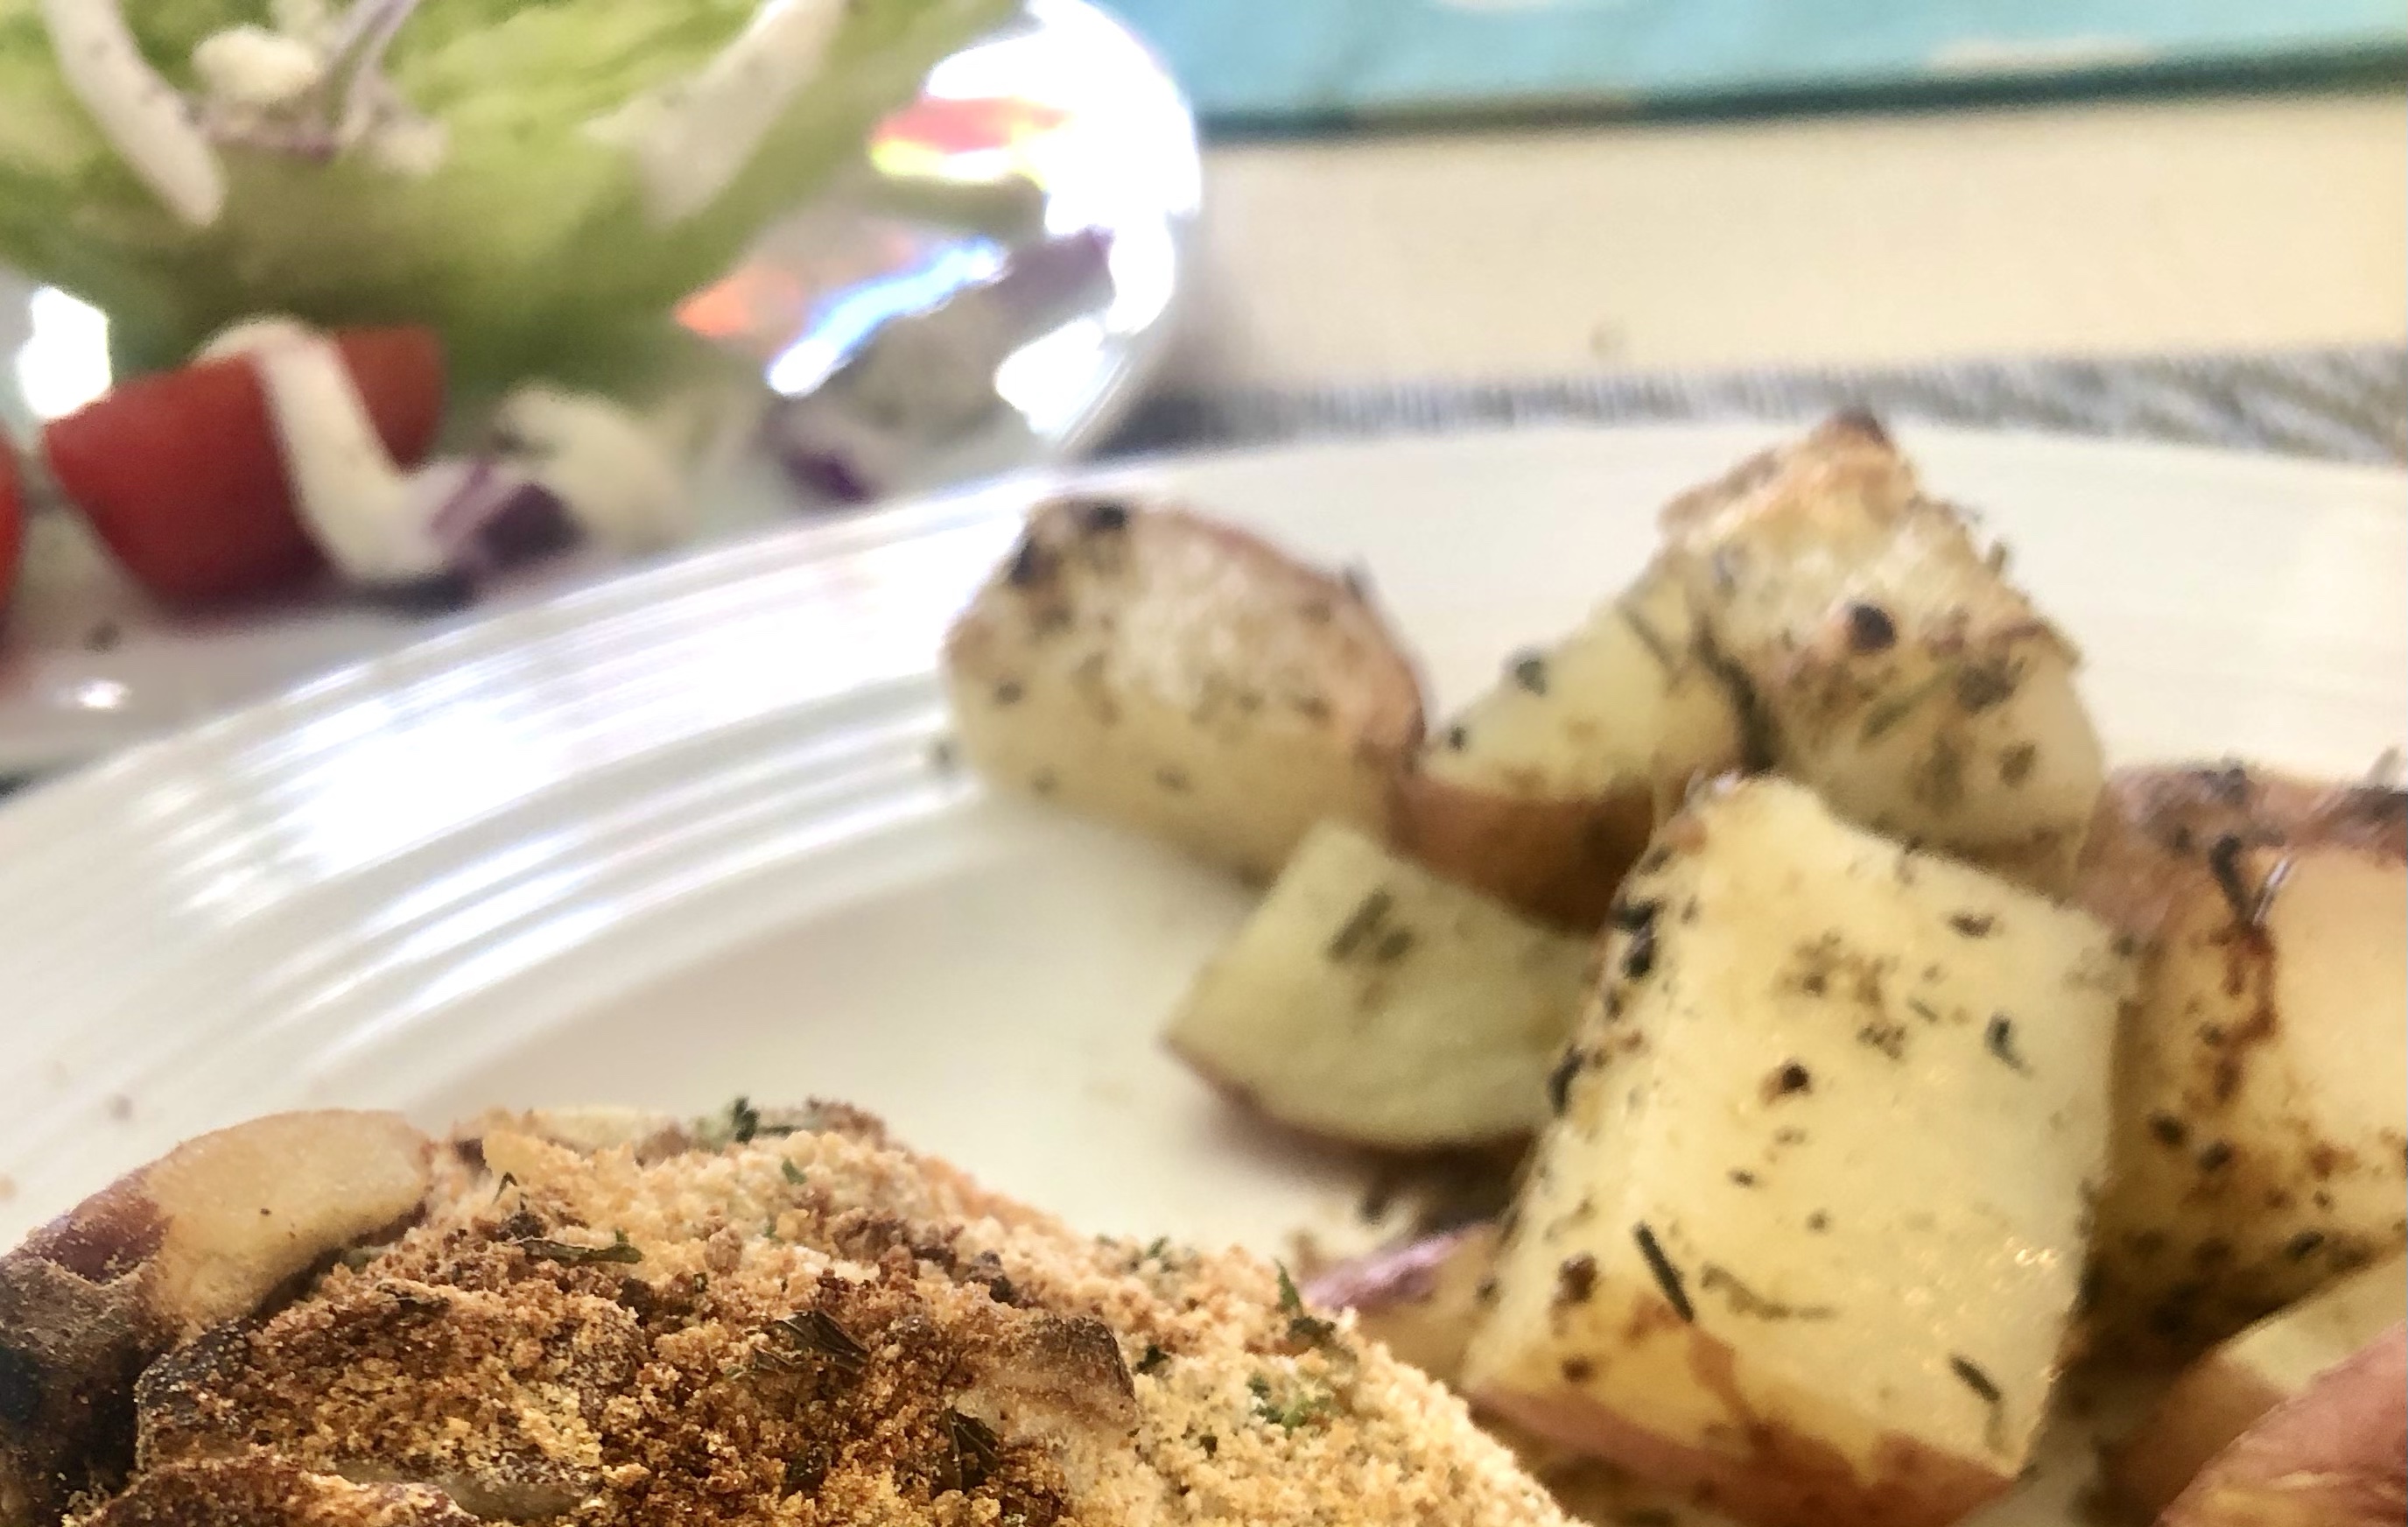
See those crispy brown potatoes at the top of the picture? Read on!
I love discovering helpful tricks in the kitchen. I don’t mean like putting a rubber band around the spray nozzle and soaking the next user, I mean tricks that help me get a delicious homemade meal on the table in record time! When potatoes are on the supper menu, it can be tricky to get them cooked if you are pressed for time.
My husband and I love oven-roasted potatoes, but they can take 25-30 minutes to get done. I recently discovered a super-fast way to make them. We all know the microwave cooks things faster, but I don’t always love the texture of foods cooked that way. The technique I’m going to share starts off with the microwave, but ends in the oven.
Here’s how to make these crispy, golden potatoes in record time ~
Preheat the oven to 425 degrees. Prep a baking sheet with cooking spray.
Cut your potatoes to whatever shape you’re wanting – diced, wedges or into fries.
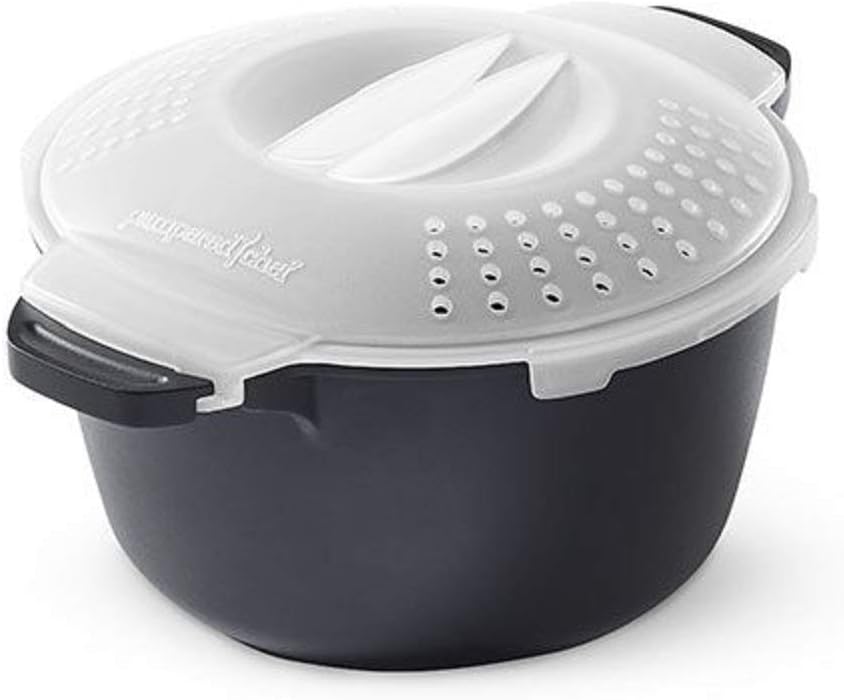
Place the potatoes into a dish that allows you to steam. I have a pot from Pampered Chef that works perfectly. Don’t over-crowd the potatoes. Using a dish big enough to let them cook. The more potatoes, obviously the longer they’ll take to cook.
I don’t add any liquid at all!
I place my 1 quart size container in the microwave and cook on high for 5 minutes. Potatoes should be soft, but not mushy.
Put potatoes on the baking sheet, Season potatoes as desired. Place in oven and roast for about 10 minutes, or until golden and tender. Or you can cook them on the stovetop in a skillet coated with cooking spray and/or a little olive oil.
This is the updated version of the pot I have and love.
Crispy, delicious potatoes can be on the table much faster with this 2-step method of microwaving and browning. I hope this trick is as helpful to you as it has been for me!
If you need mashed potatoes done easily here’s my best tip for those!
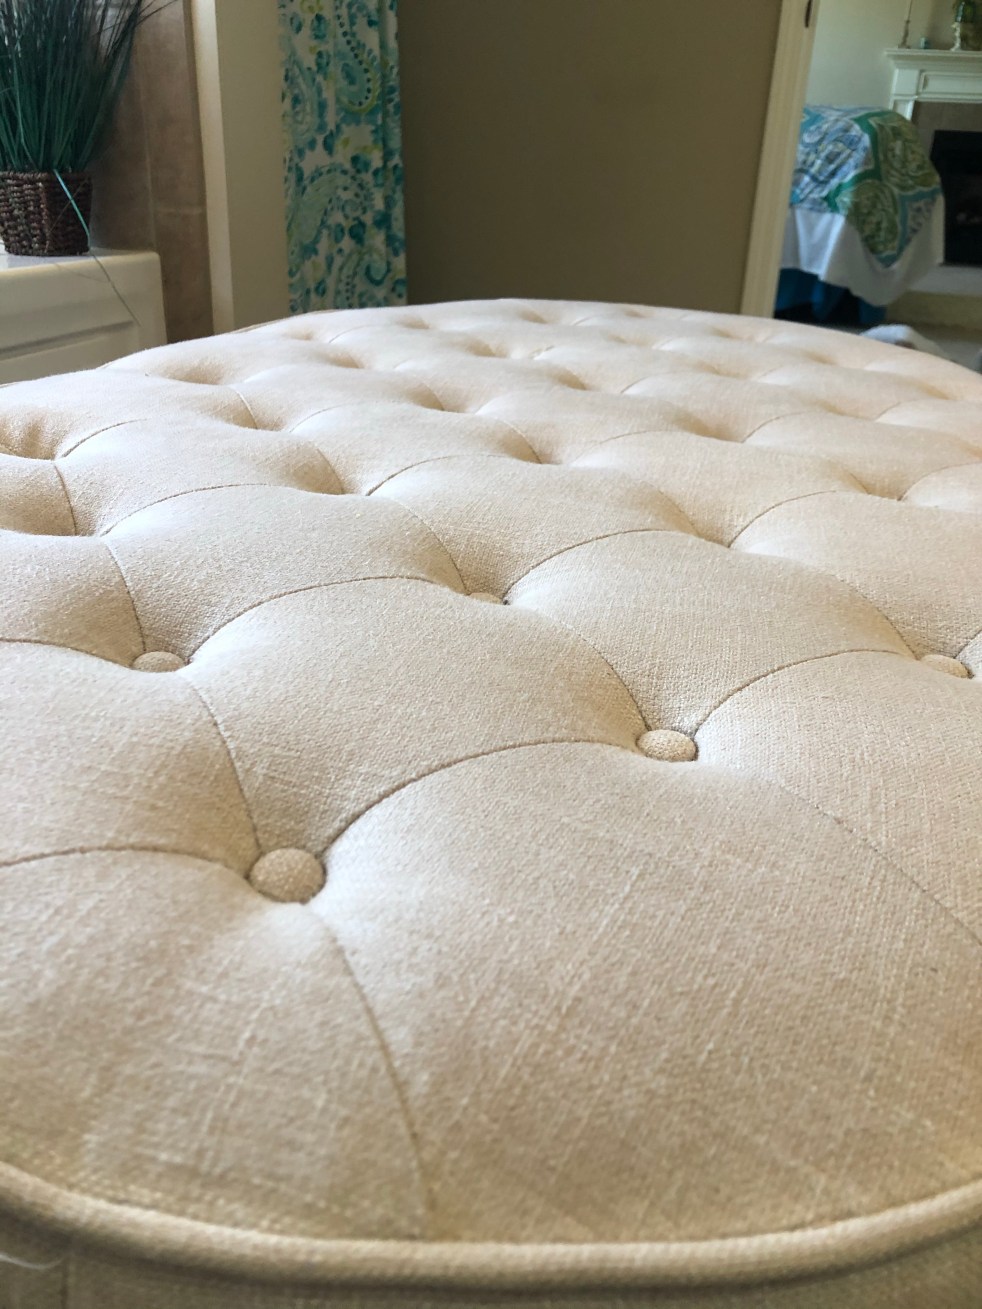
Spring cleaning is so rewarding! However, if you want to ruin the look of that freshly cleaned room, just neglect a dirty piece of furniture! A stain that’s obvious, a grimy arm on a chair or an ottoman can make us cringe. How do I know? I have an off-white ottoman in my bathroom that got a water spot on it. In an attempt to fix it, I did a little dabbing at it, which only increased the size of the already noticeable stain!
See the dark spot on the left? Yeah, me, too!
HELP!
I went searching for a way to clean it and I found a method that promised me a clean surface if I followed this process, step-by-step. Guess what? It worked!
Tide Simply Oxi, Sparkling water, and vinegar and warm water were my products.
Using a spray bottle, I sprayed the entire surface with warm tap water.
I put 4 parts water to one part stain remover into a spray bottle and sprayed a small surface at a time, rubbing in a gentle circular motion with a white cotton cloth. (If you’re cleaning a colored fabric, I would test a hidden area before cleaning)
Into a spray bottle, I added 1 cup sparkling water and 1/2 cup white vinegar and sprayed the surface of the fabric. The vinegar breaks down the soapy particles and the carbonation in the sparkling water will bring it to the surface, as well as any deeper dirt. I Gently scrubbed the fabric again until the rags stopped pulling dirt from the surface. The sparkling water works wonders!
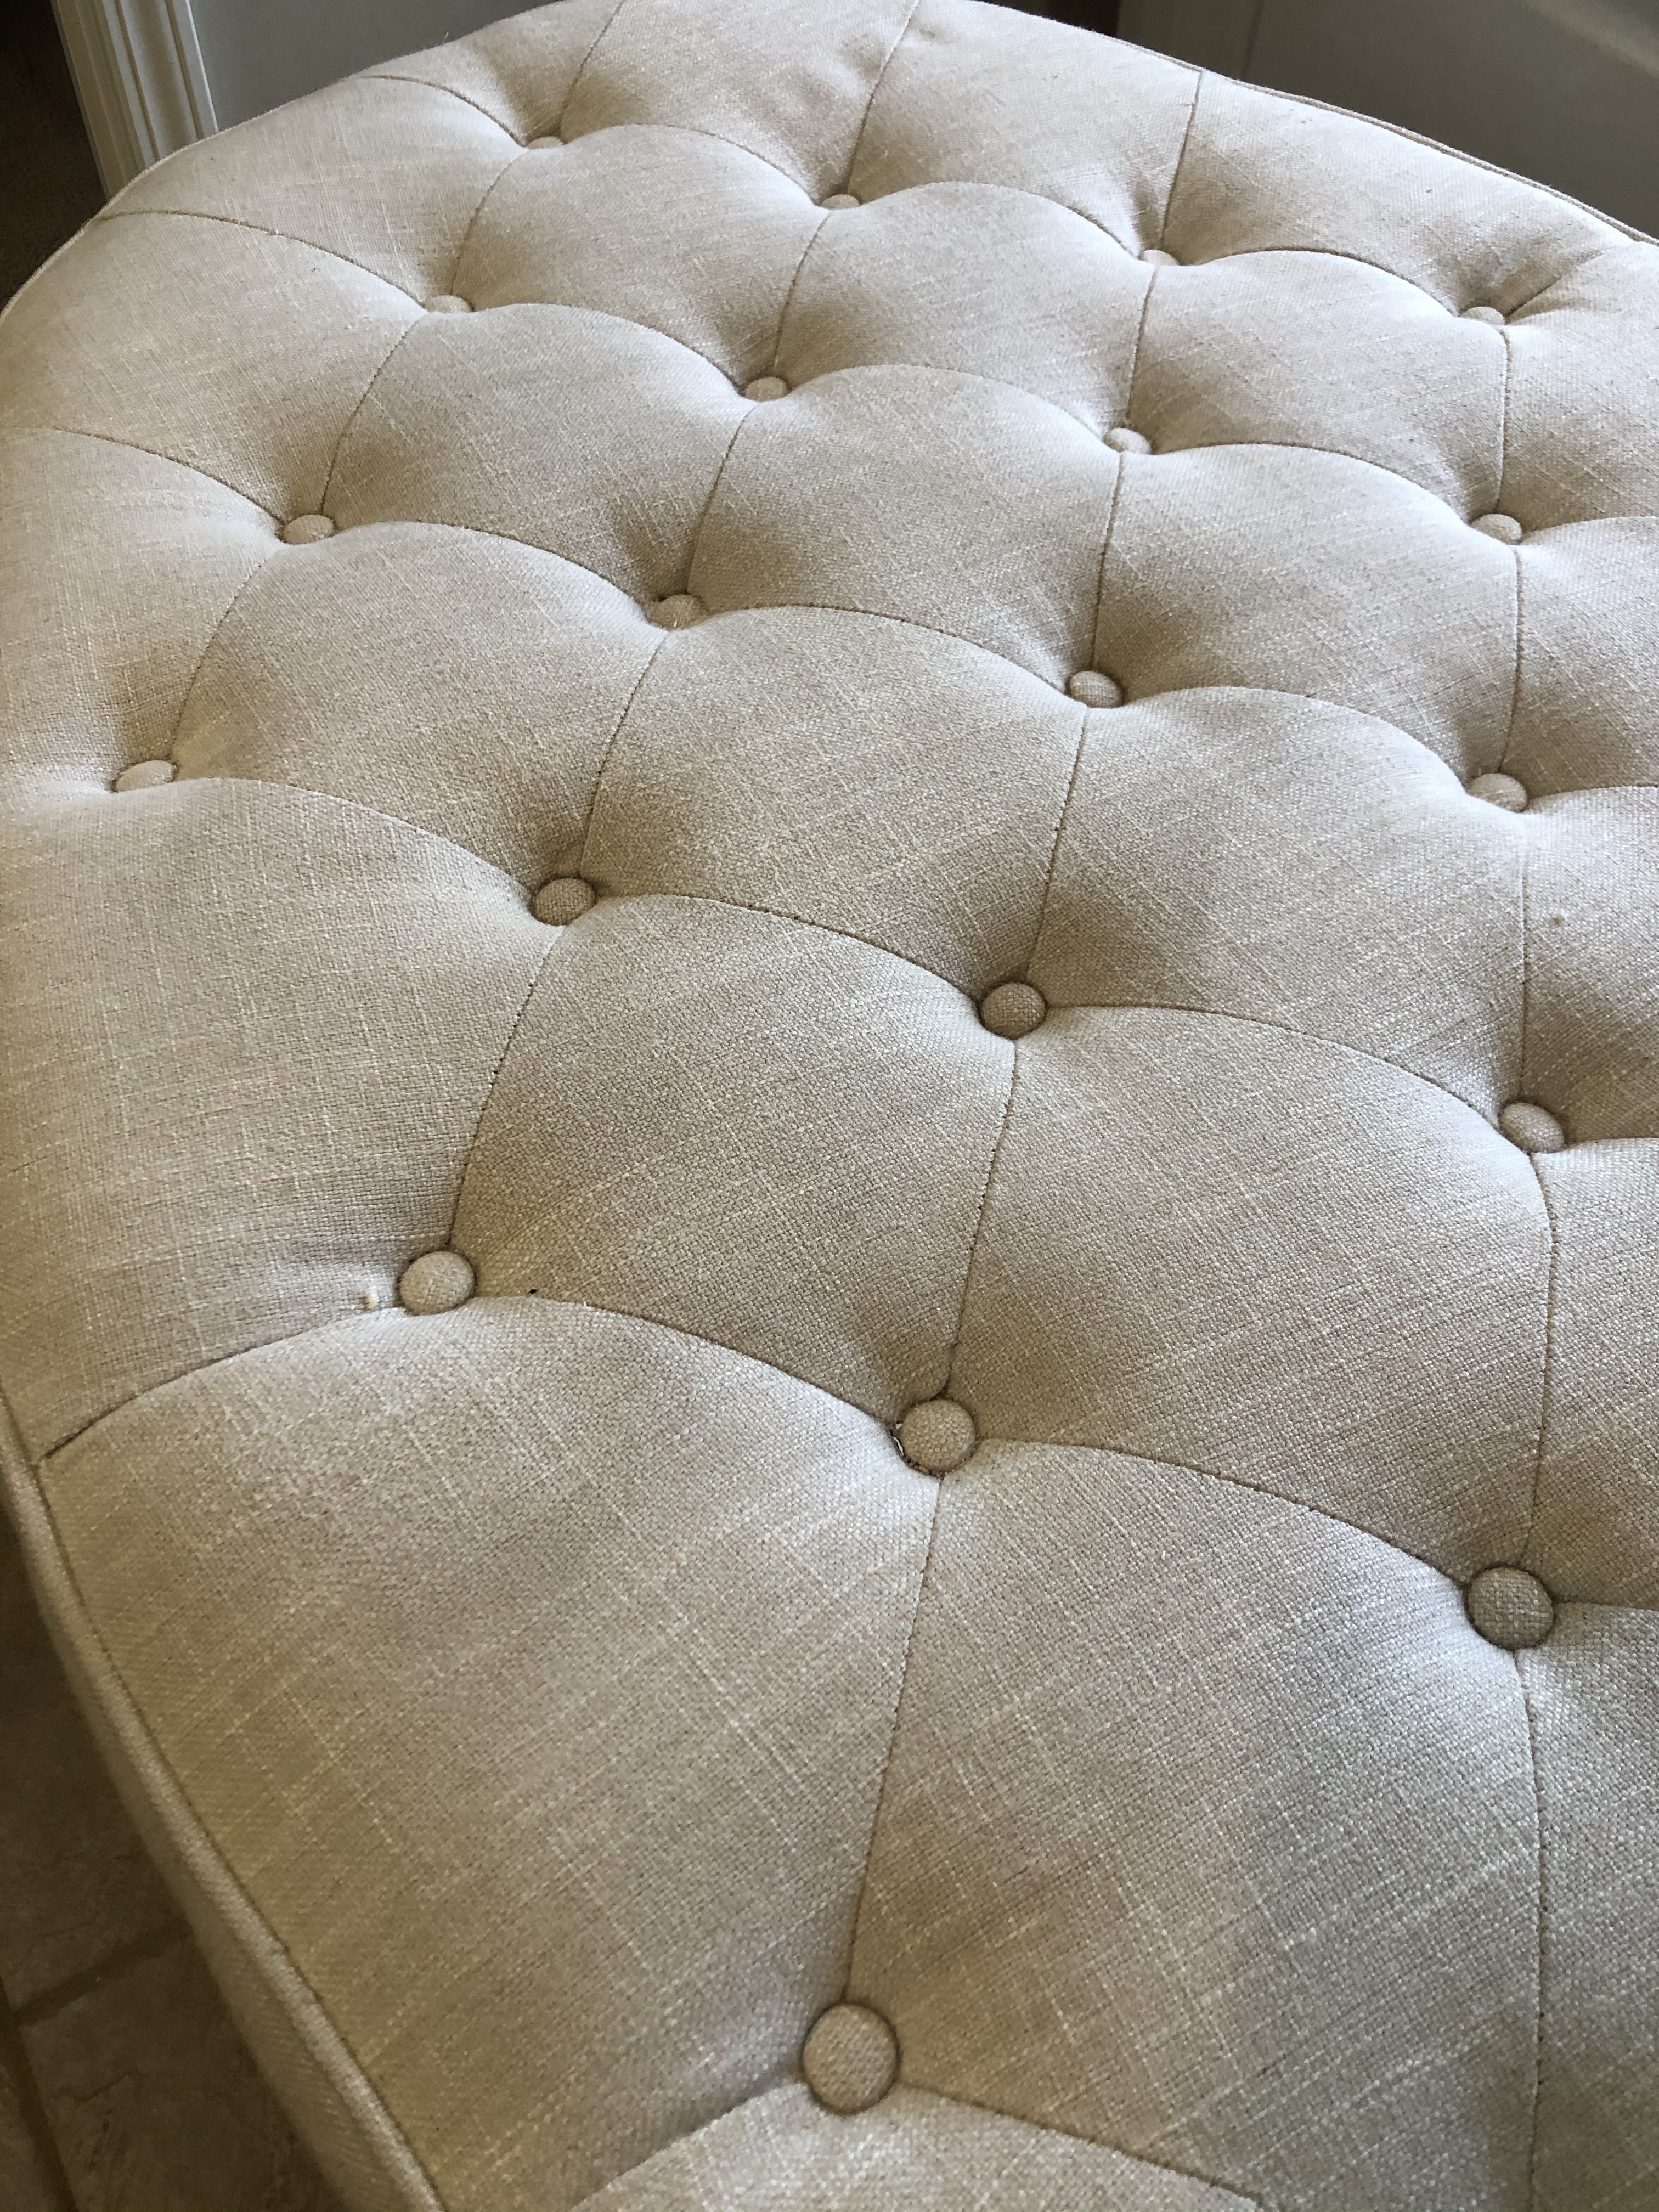
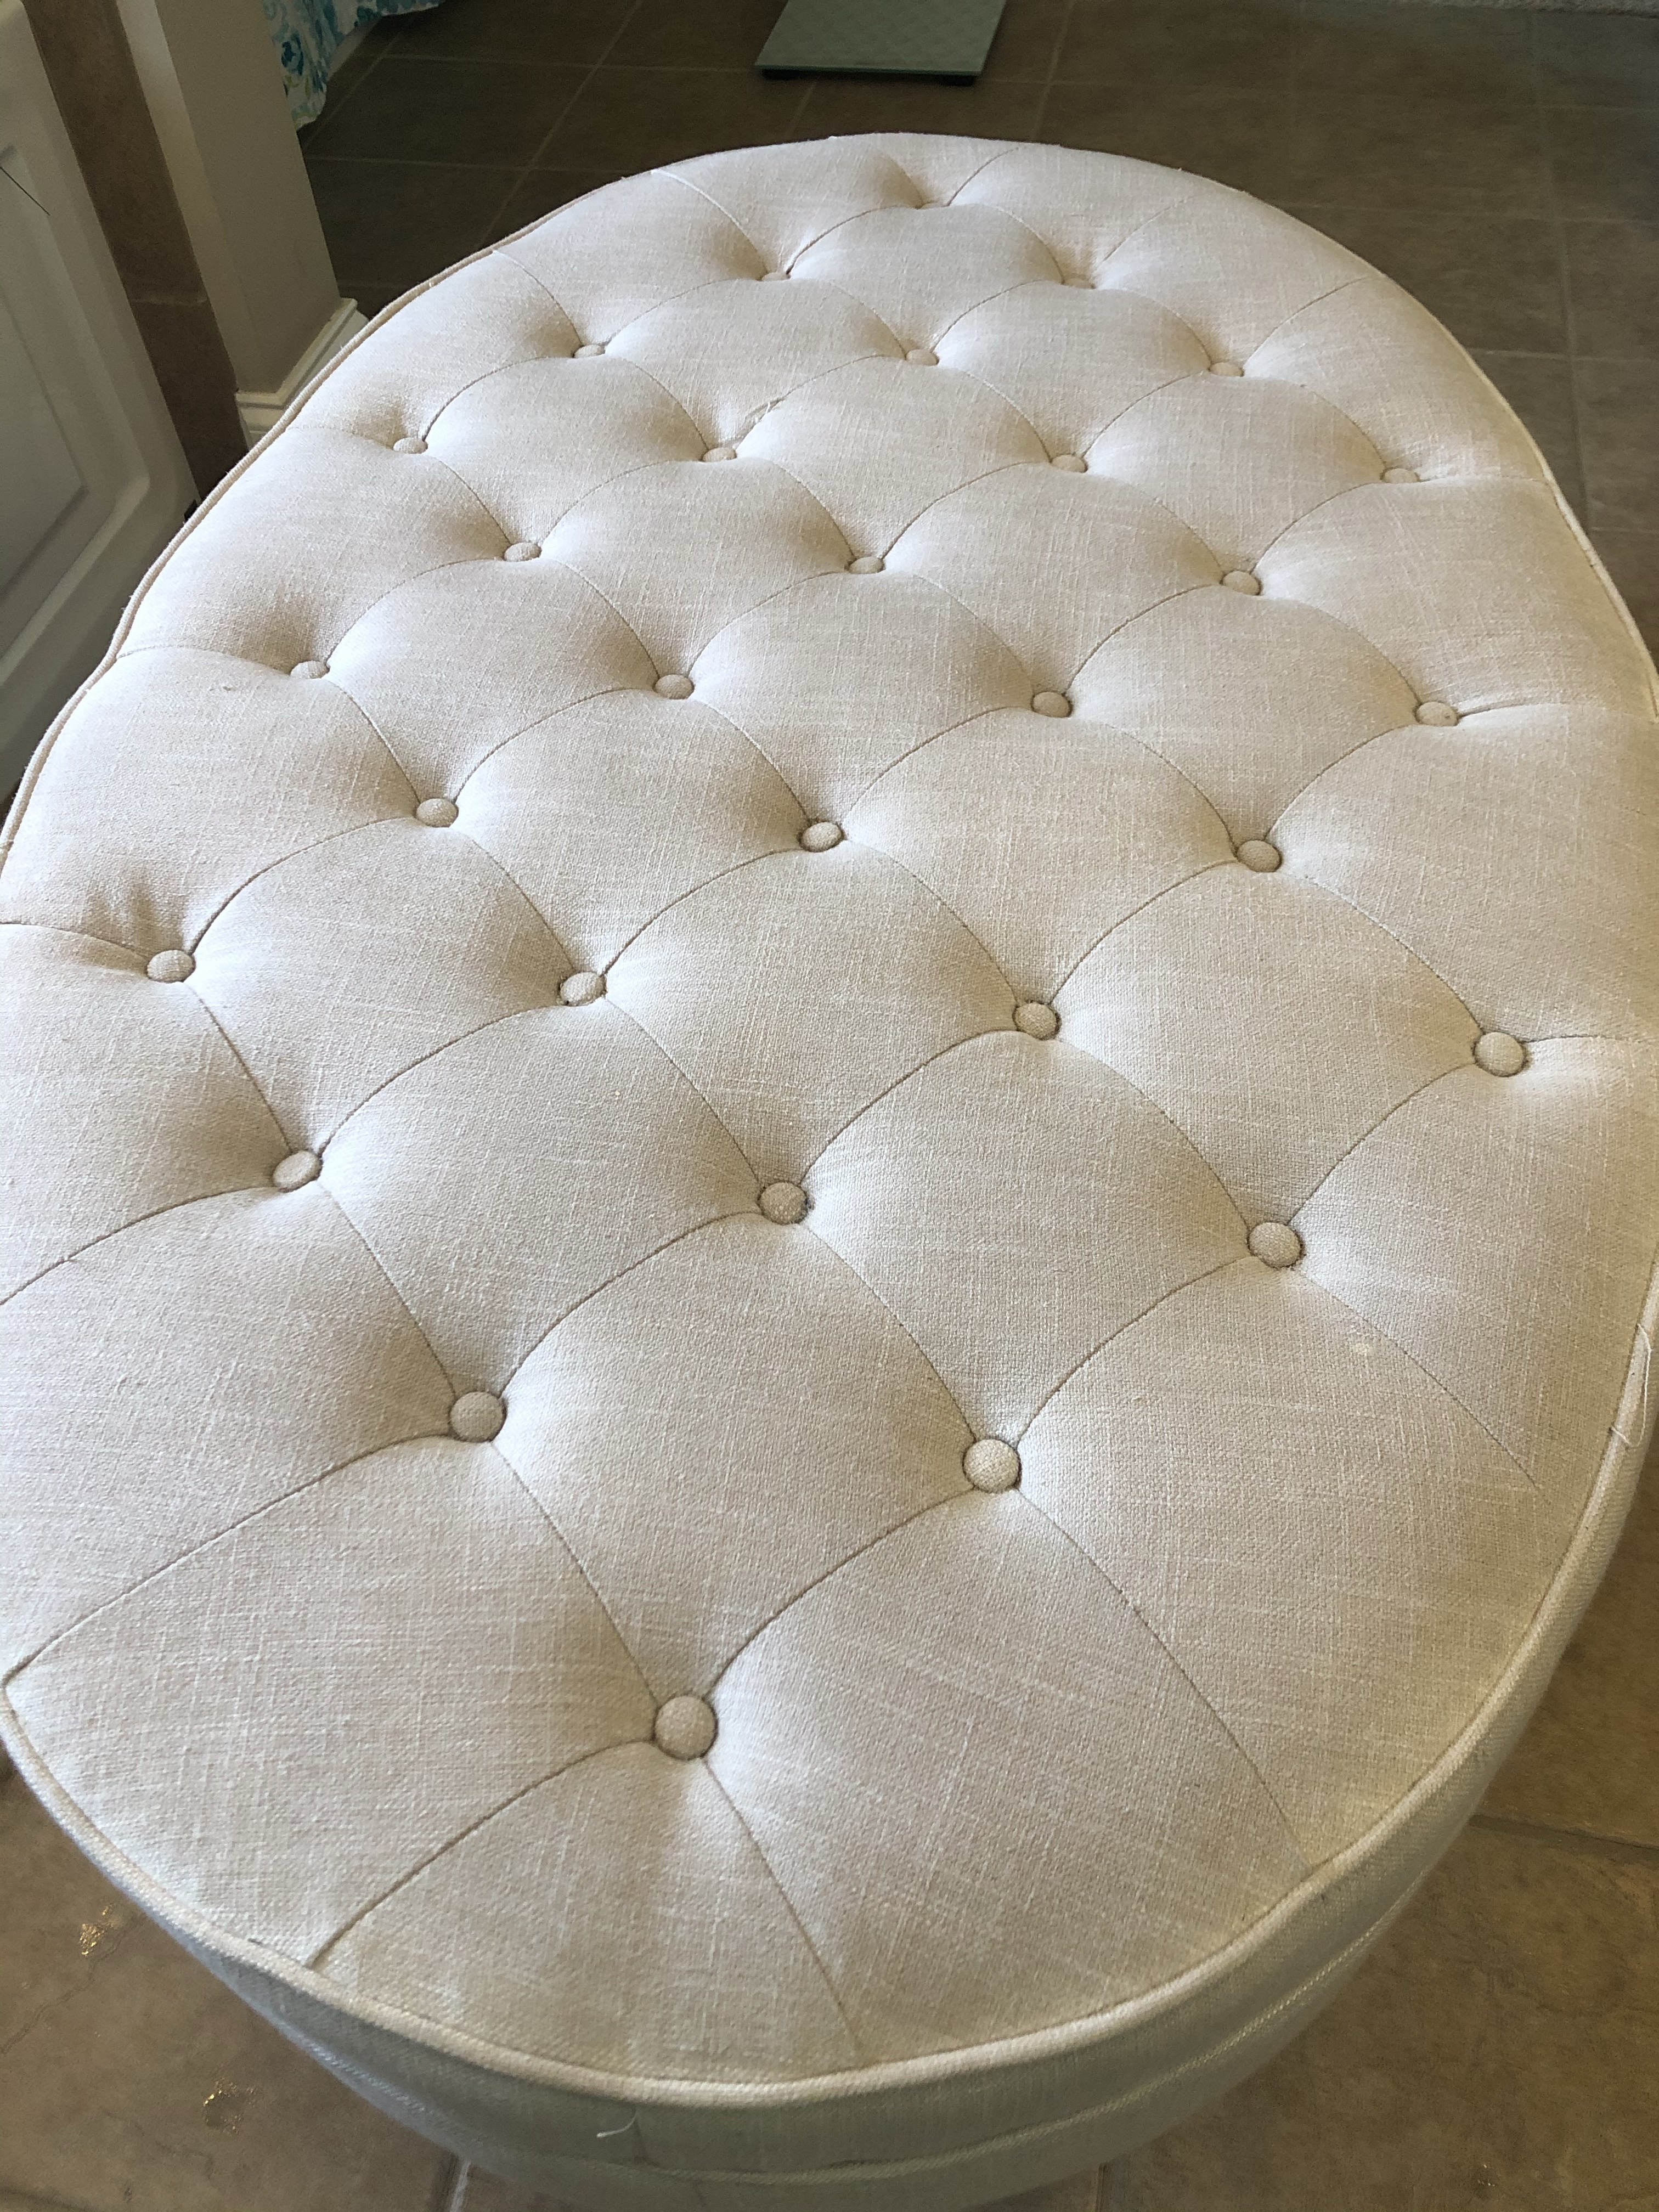
The finished ottoman, still wet from cleaning.
So clean!
I’m so glad I took the time to address the stain! I had been hiding it under a throw, but now, I can keep it cleared off and show off it’s beauty!
What piece of furniture comes to your mind as you read this post? I hope you’ll try this method!
Refresh your soiled upholstery with a good spring cleaning!