There’s just something so cute about a single serving size dessert. Maybe it’s knowing you don’t have to share it, I don’t know, but I have a new single serving size that’s pretty remarkable.
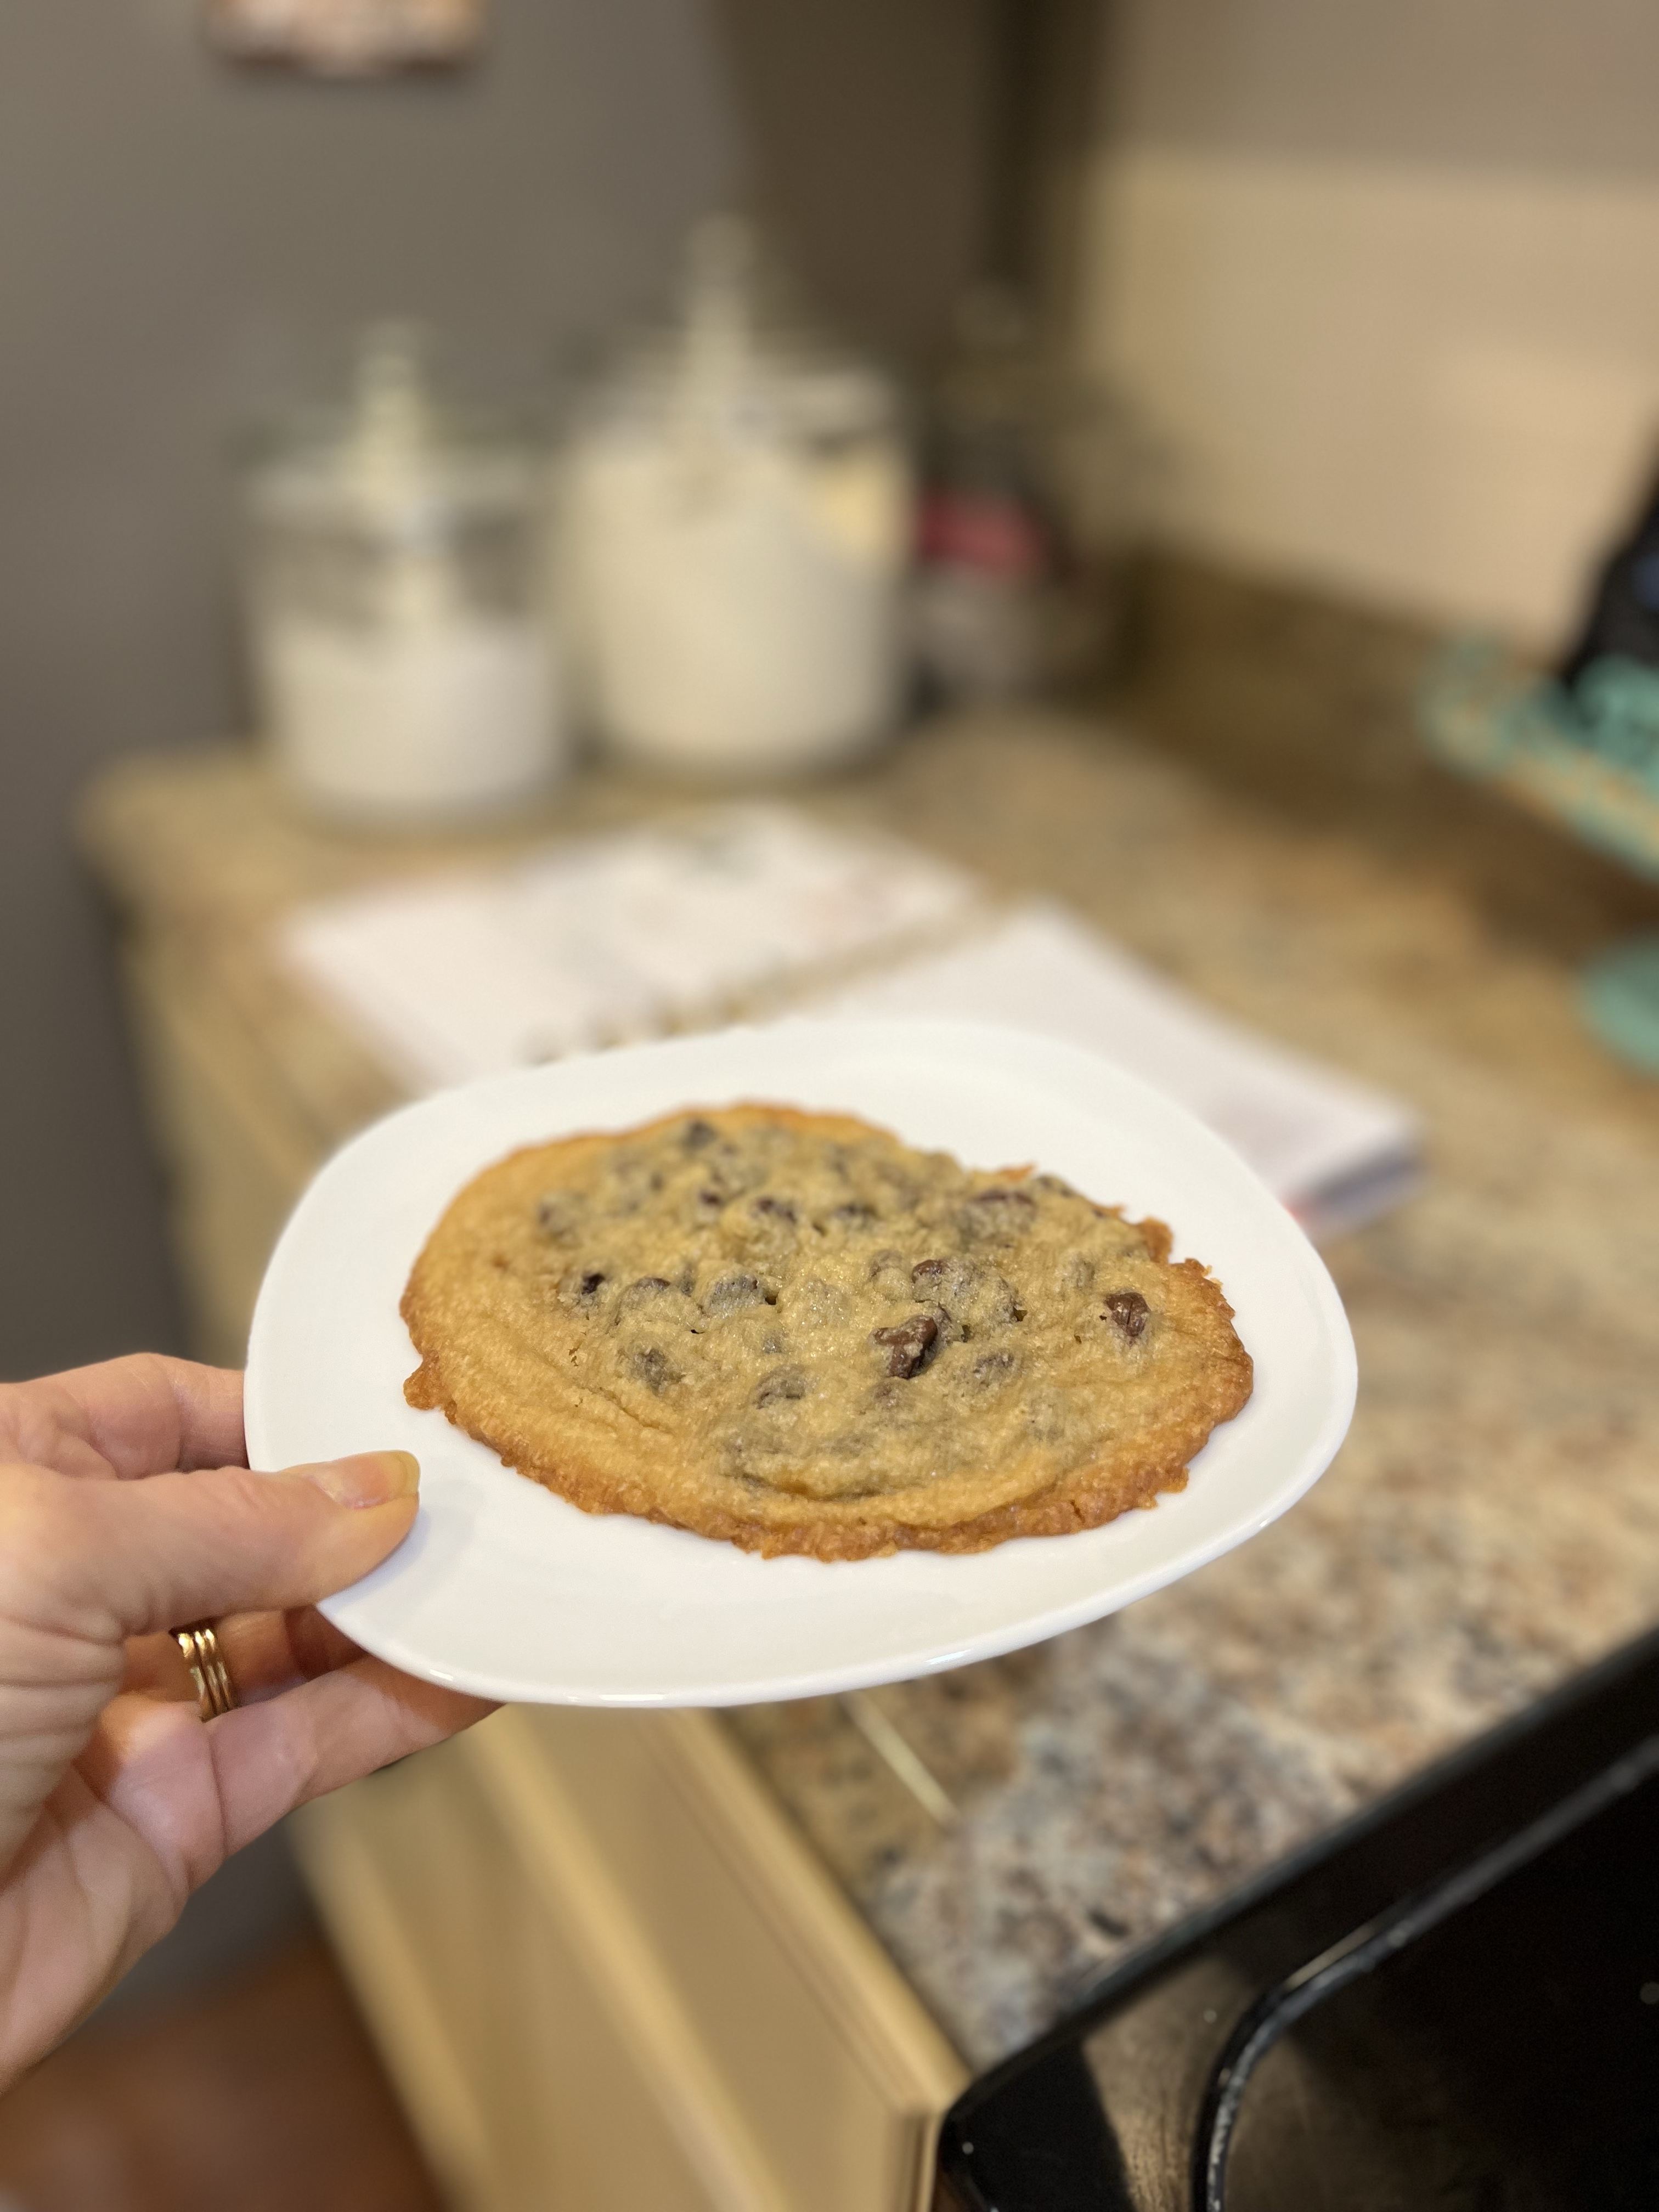
One cookie.
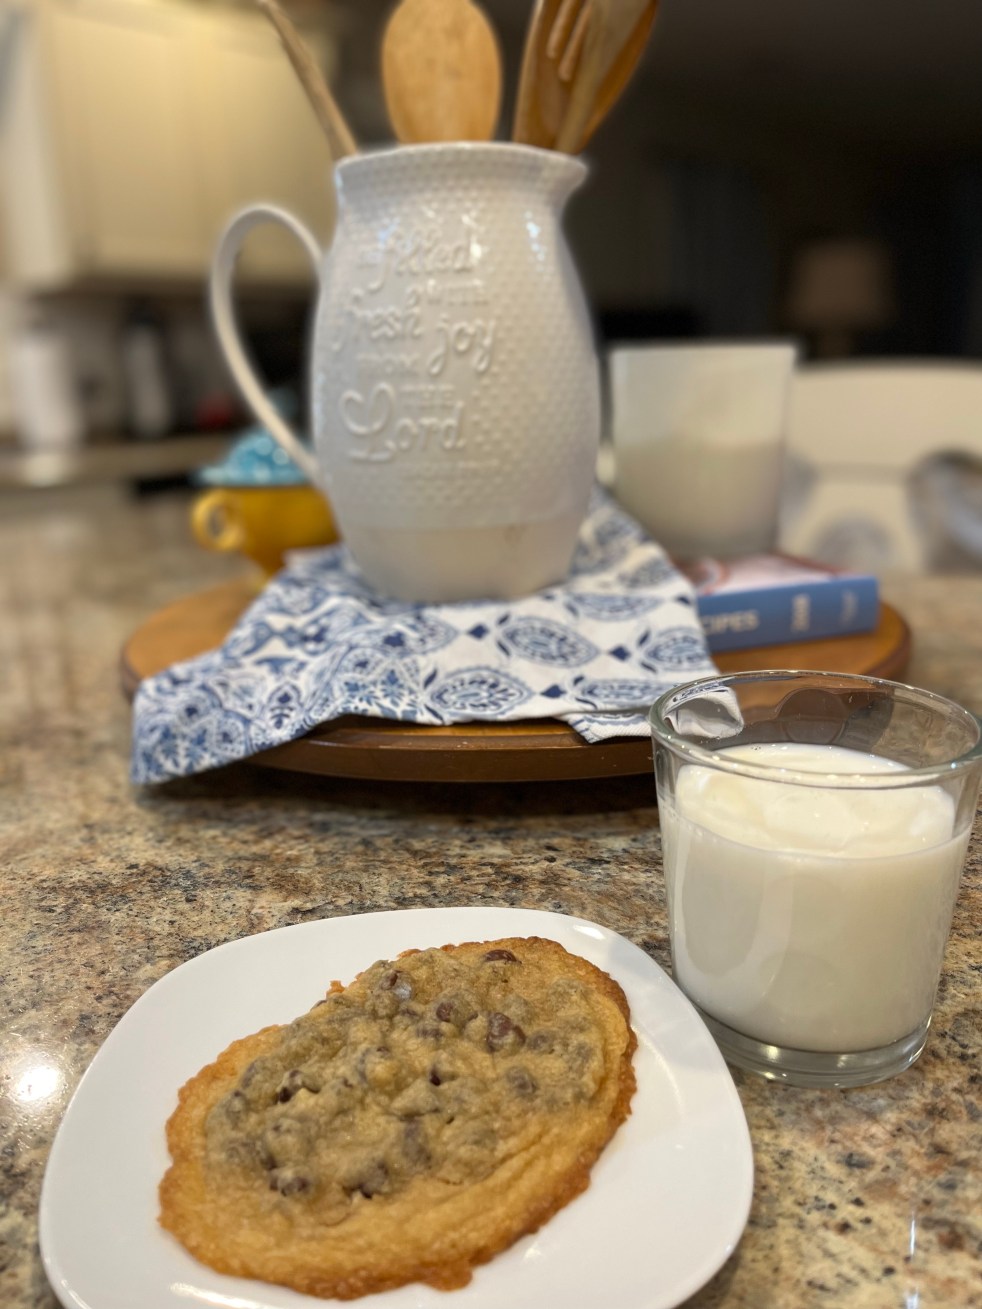
One GIANT cookie that serves one (okay, you might want to share this if you’re feeling generous, but divide it before you take a bite or you may change your mind!
There are times when you don’t need/want to make up a whole batch of cookies, am I right? This recipe makes one large cookie in a matter of minutes! I saw this on Southern Living’s You Tube Channel and knew I had to try it. Here’s all there is to it:
Single Serving Chocolate Chip Cookie
1 Tbl softened butter
1 T brown sugar
1 tsp granulated sugar
2 Tbl flour
1/8 tsp Vanilla
1 1/2 Tbl Chocolate Chips
Mix all ingredients together. Place on a lightly greased baking sheet or line with parchment paper. Bake at 350 degrees for 10 minutes for soft cookie; 15 for crispy. Sprinkle with coarse salt.
Hot from the oven with a glass of cold milk, this makes an incredible treat! This might be a sweet dessert for your Valentine!
I always under-bake my cookies because I am Team Soft Cookie! Which are you; Team crispy or Team soft?
If you need another single serving dessert, check out this fruit cobbler.
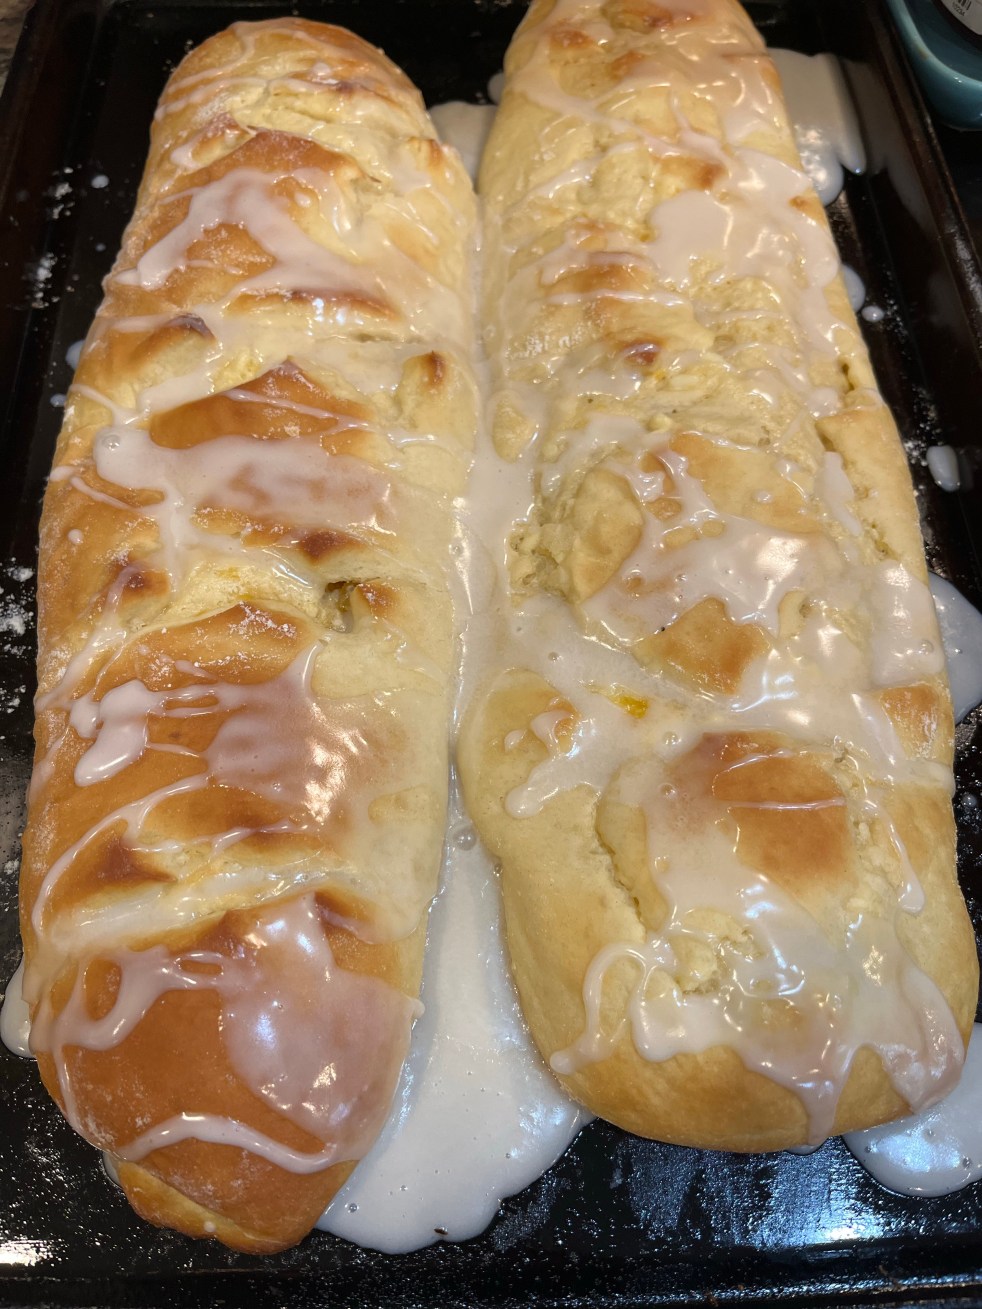
For quite a few years I have been baking these Cream Cheese Danishes because after making them the first time, I was hooked! I usually make them for gifts at Christmas time, but save one for our family’s holiday breakfast!
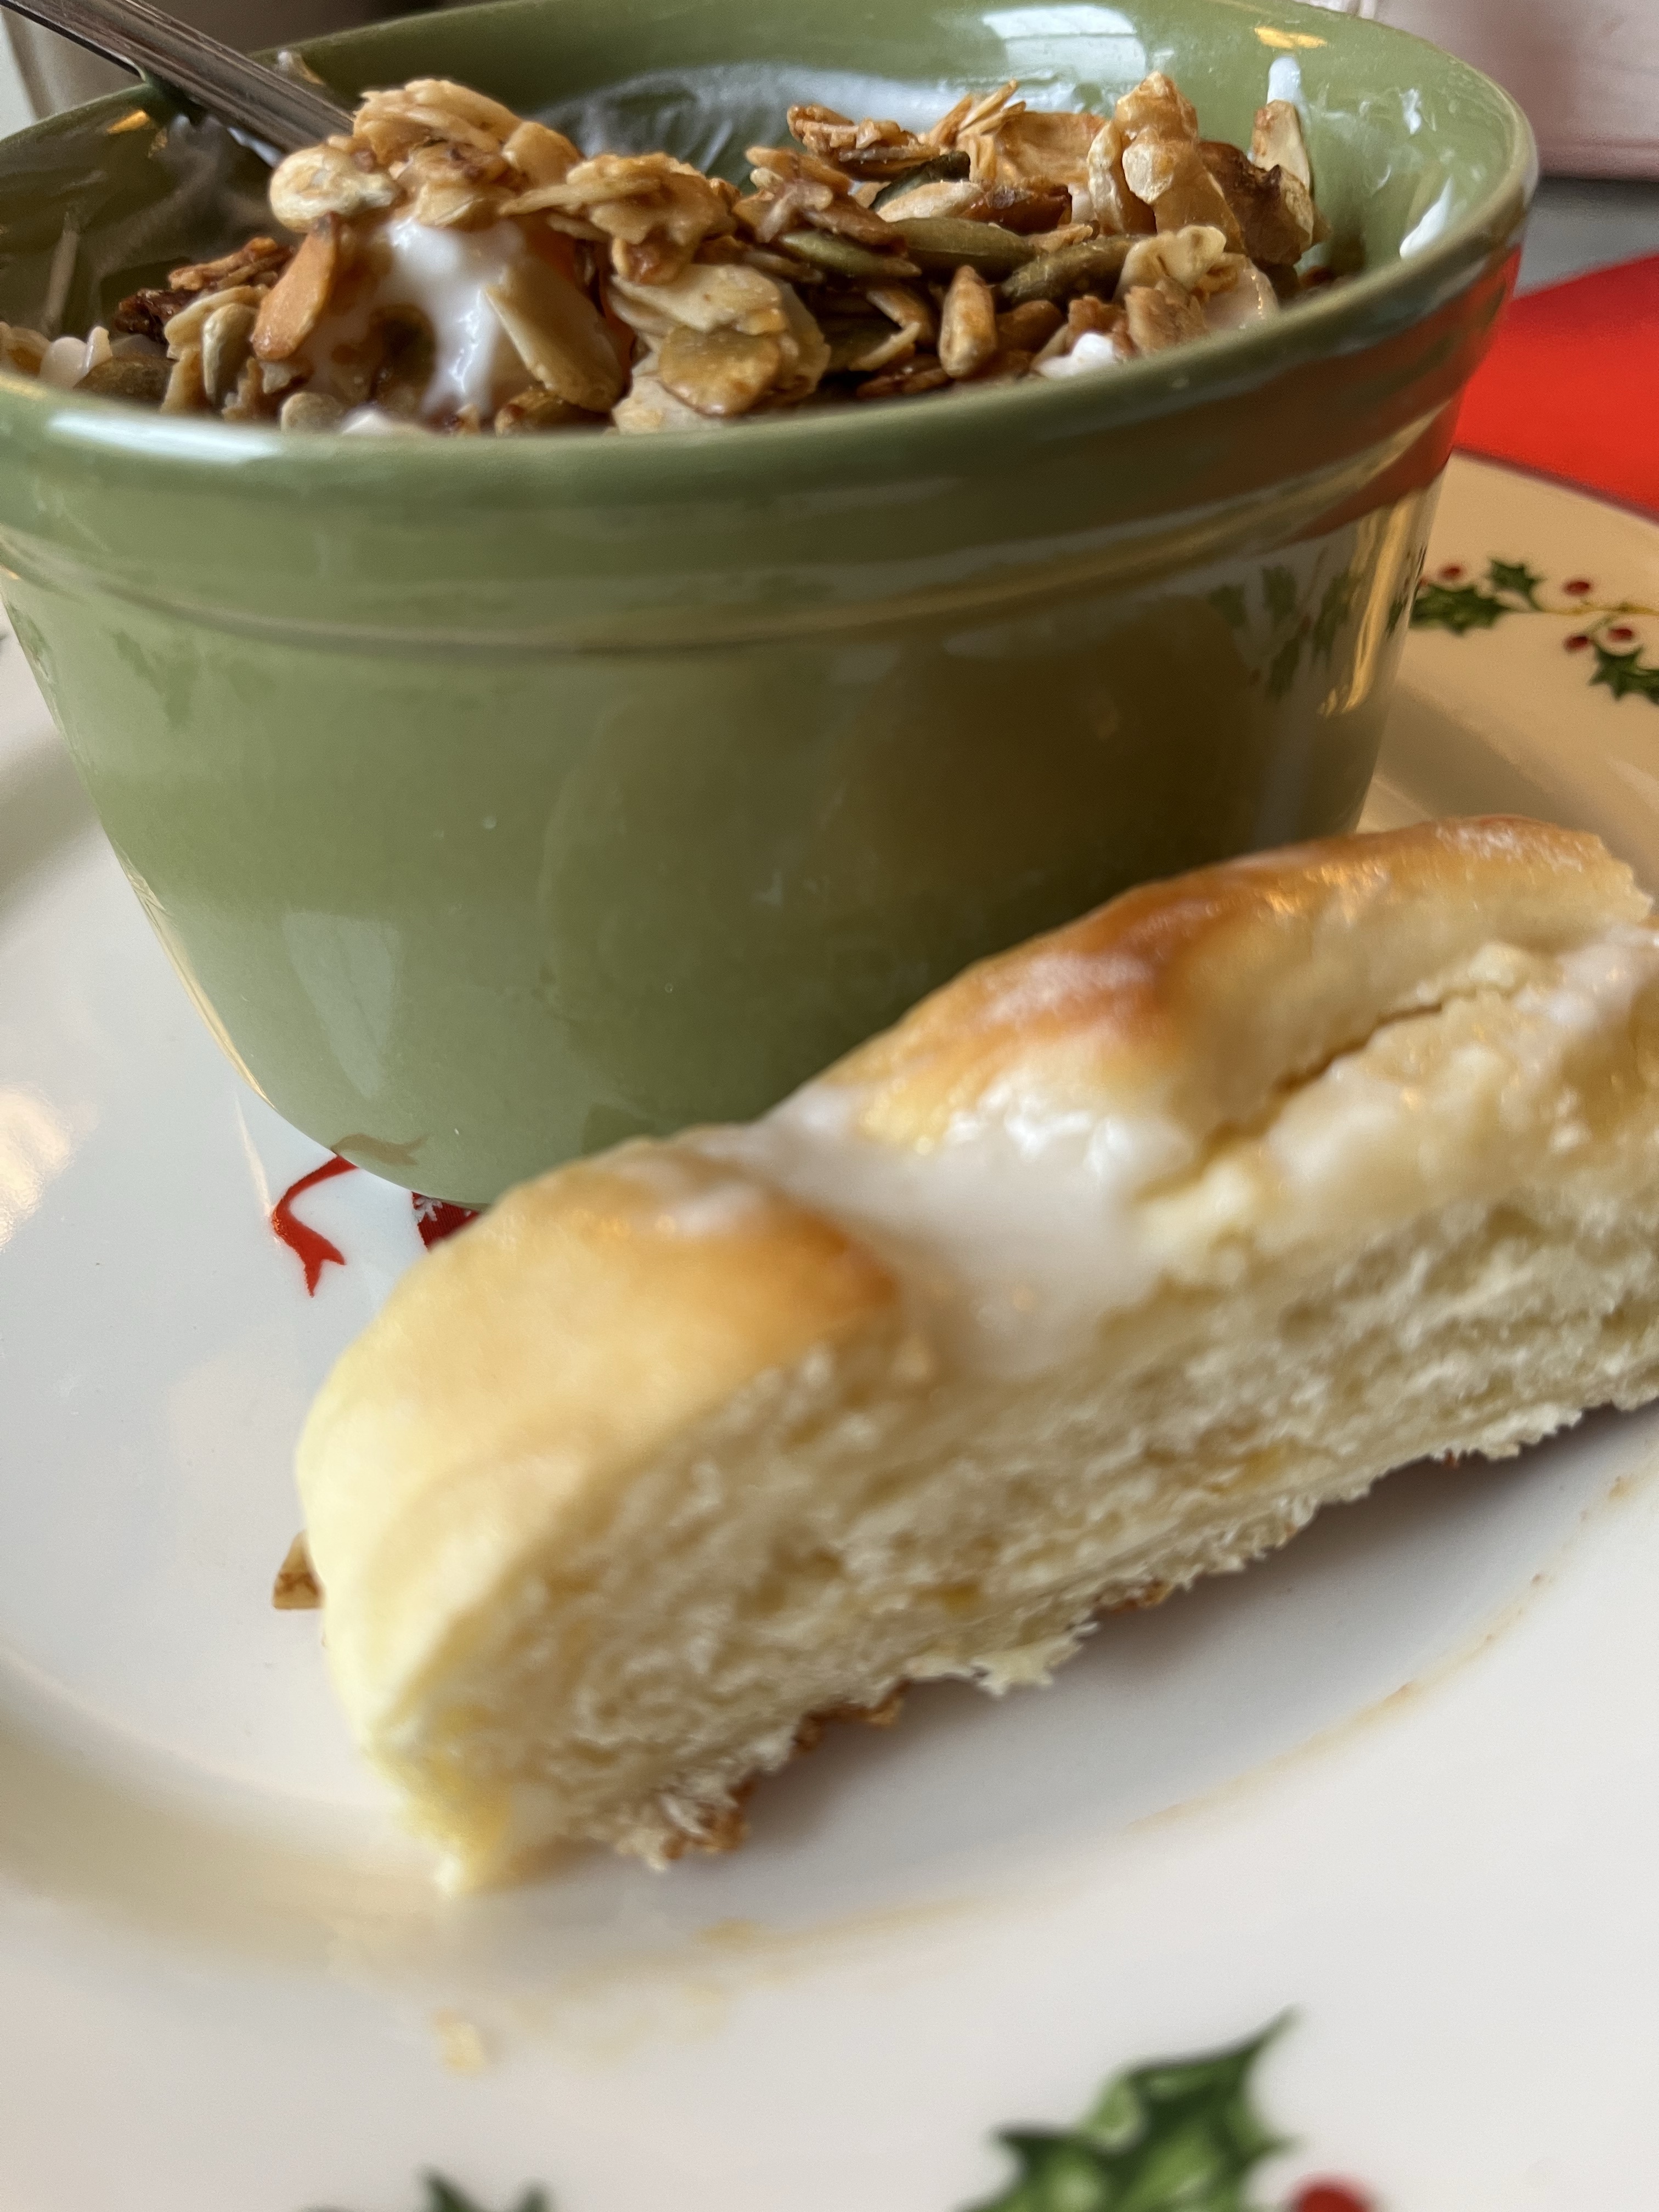
It’s hard to believe these are light, but they are, but they taste every bit as good as any danish you could purchase at a lovely bakery! I made this recipe up last week and have been enjoying a little sliver with my coffee, fruit, yogurt and granola each morning. It’s made this a much anticipated meal! It’s soooo good!
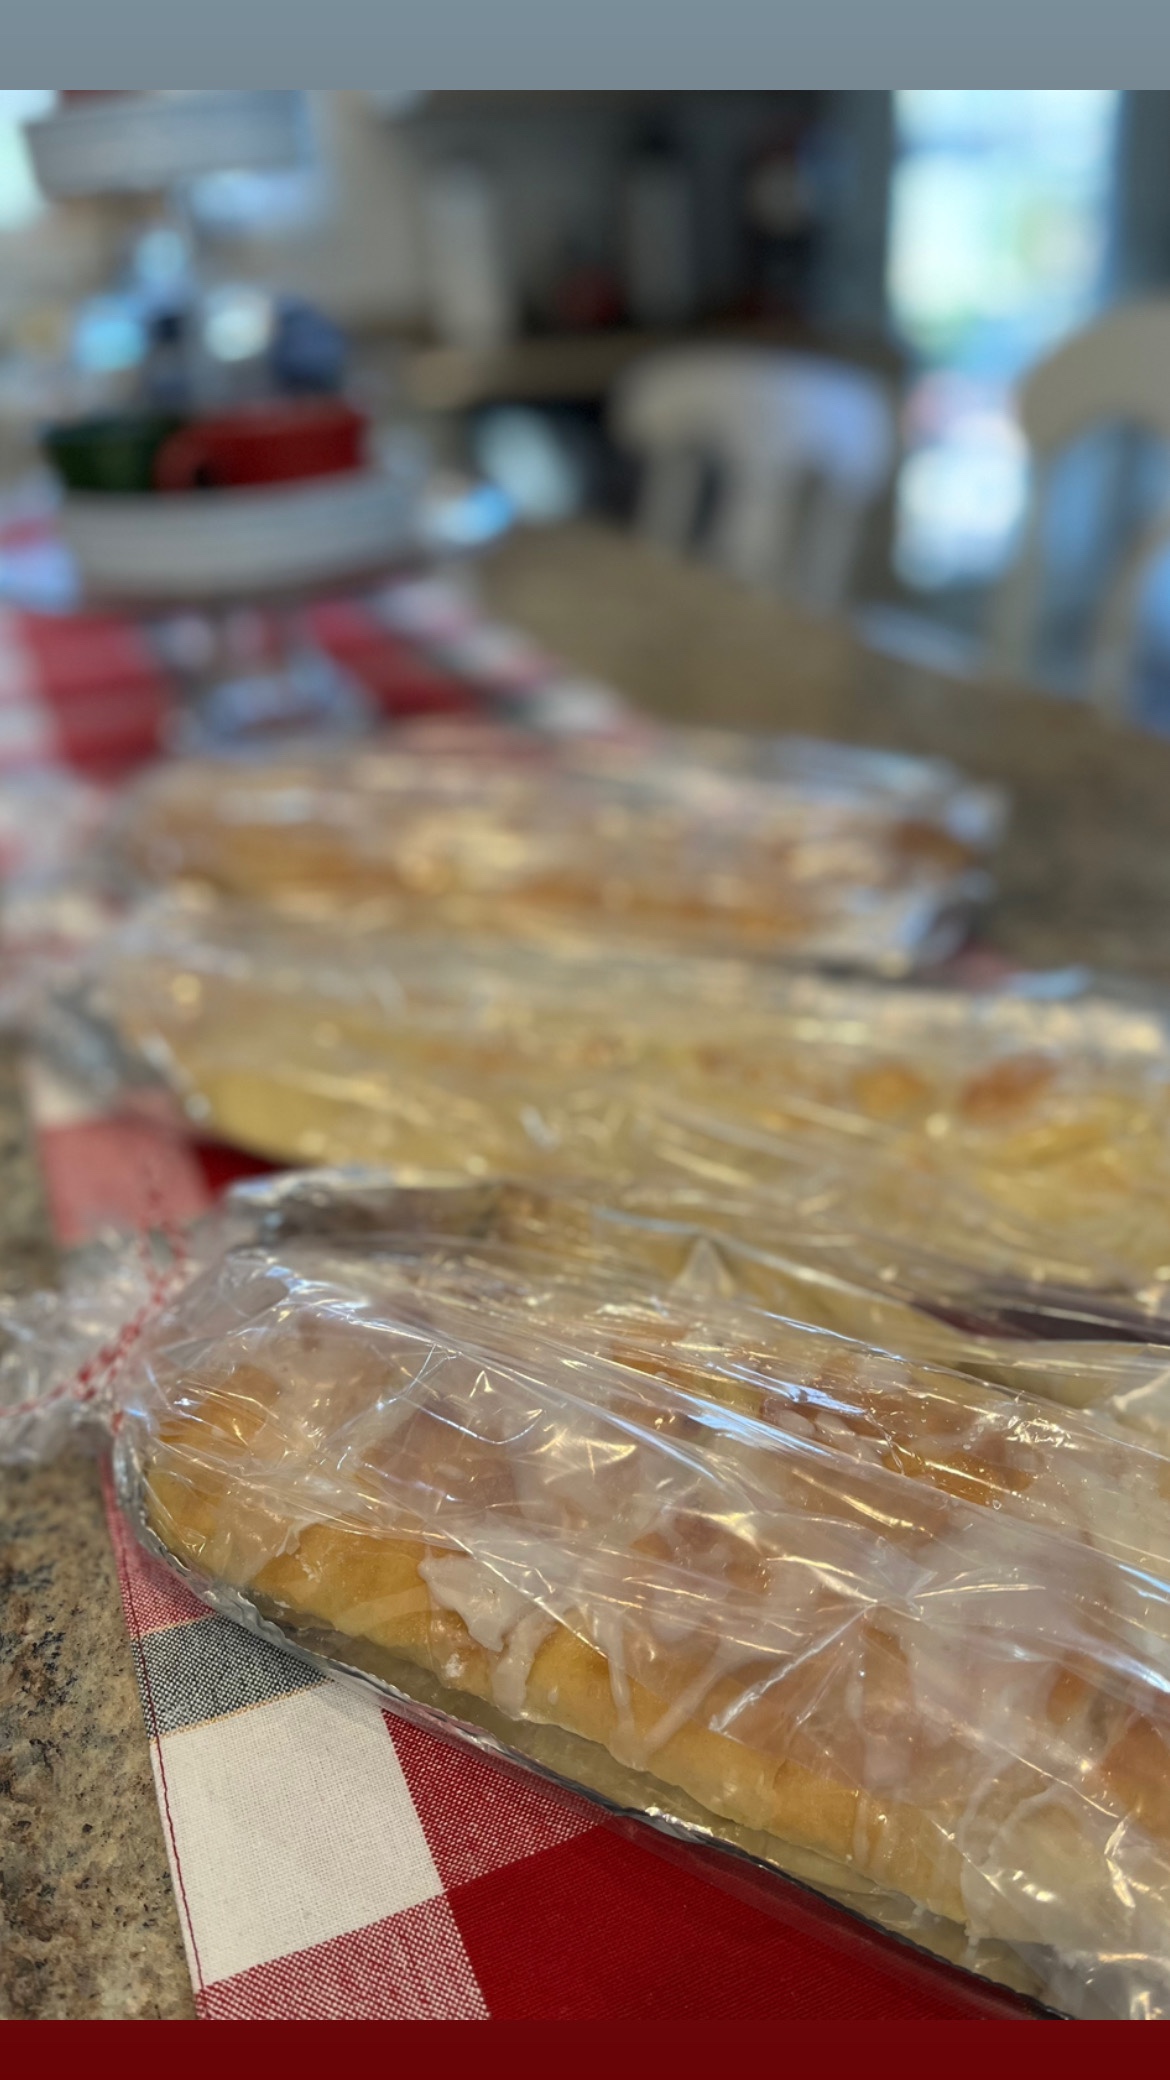
These do take a little time, but I usually make the dough in the evening, stick it in the fridge, and then finish making them the next day. They are so worth the effort! You get four large danishes out of this recipe. Whoever you choose to share this with, will be your humble servant for life! (!) Okay, maybe not life, but they’ll love you for your kindness!
I like to set them on a piece of thin cardboard, covered with foil, then slide them into one of my large bread bags and tie with a ribbon. The cardboard will keep the delicate danish from breaking. You could top these with almonds, if you wish!
Here’s the lightened up recipe from Cooking Light ~
Step 1 To prepare dough, combine first 4 ingredients in a saucepan over medium heat, stirring until sugar dissolves. Remove from heat; cool. Dissolve yeast in warm water in a large bowl; let stand 5 minutes. Stir in sour cream mixture and 2 eggs. Lightly spoon flour into dry measuring cups; level with a knife. Gradually stir flour into sour cream mixture (dough will be soft and sticky). Cover dough; chill 8 hours or overnight (my preference).
Step 2 To prepare filling, combine preserves and next 4 ingredients (preserves through 1 egg) in a medium bowl; beat with a mixer at medium speed until well blended.
Step 3 Divide dough into 4 equal portions. Turn each portion out onto a lightly floured surface; knead lightly 4 or 5 times. Roll each portion into a 12 x 8-inch rectangle. Spread one-fourth of filling over each portion, leaving a 1/2-inch border. Starting at a long side, carefully roll up each portion jelly roll fashion; pinch seam and ends to seal.
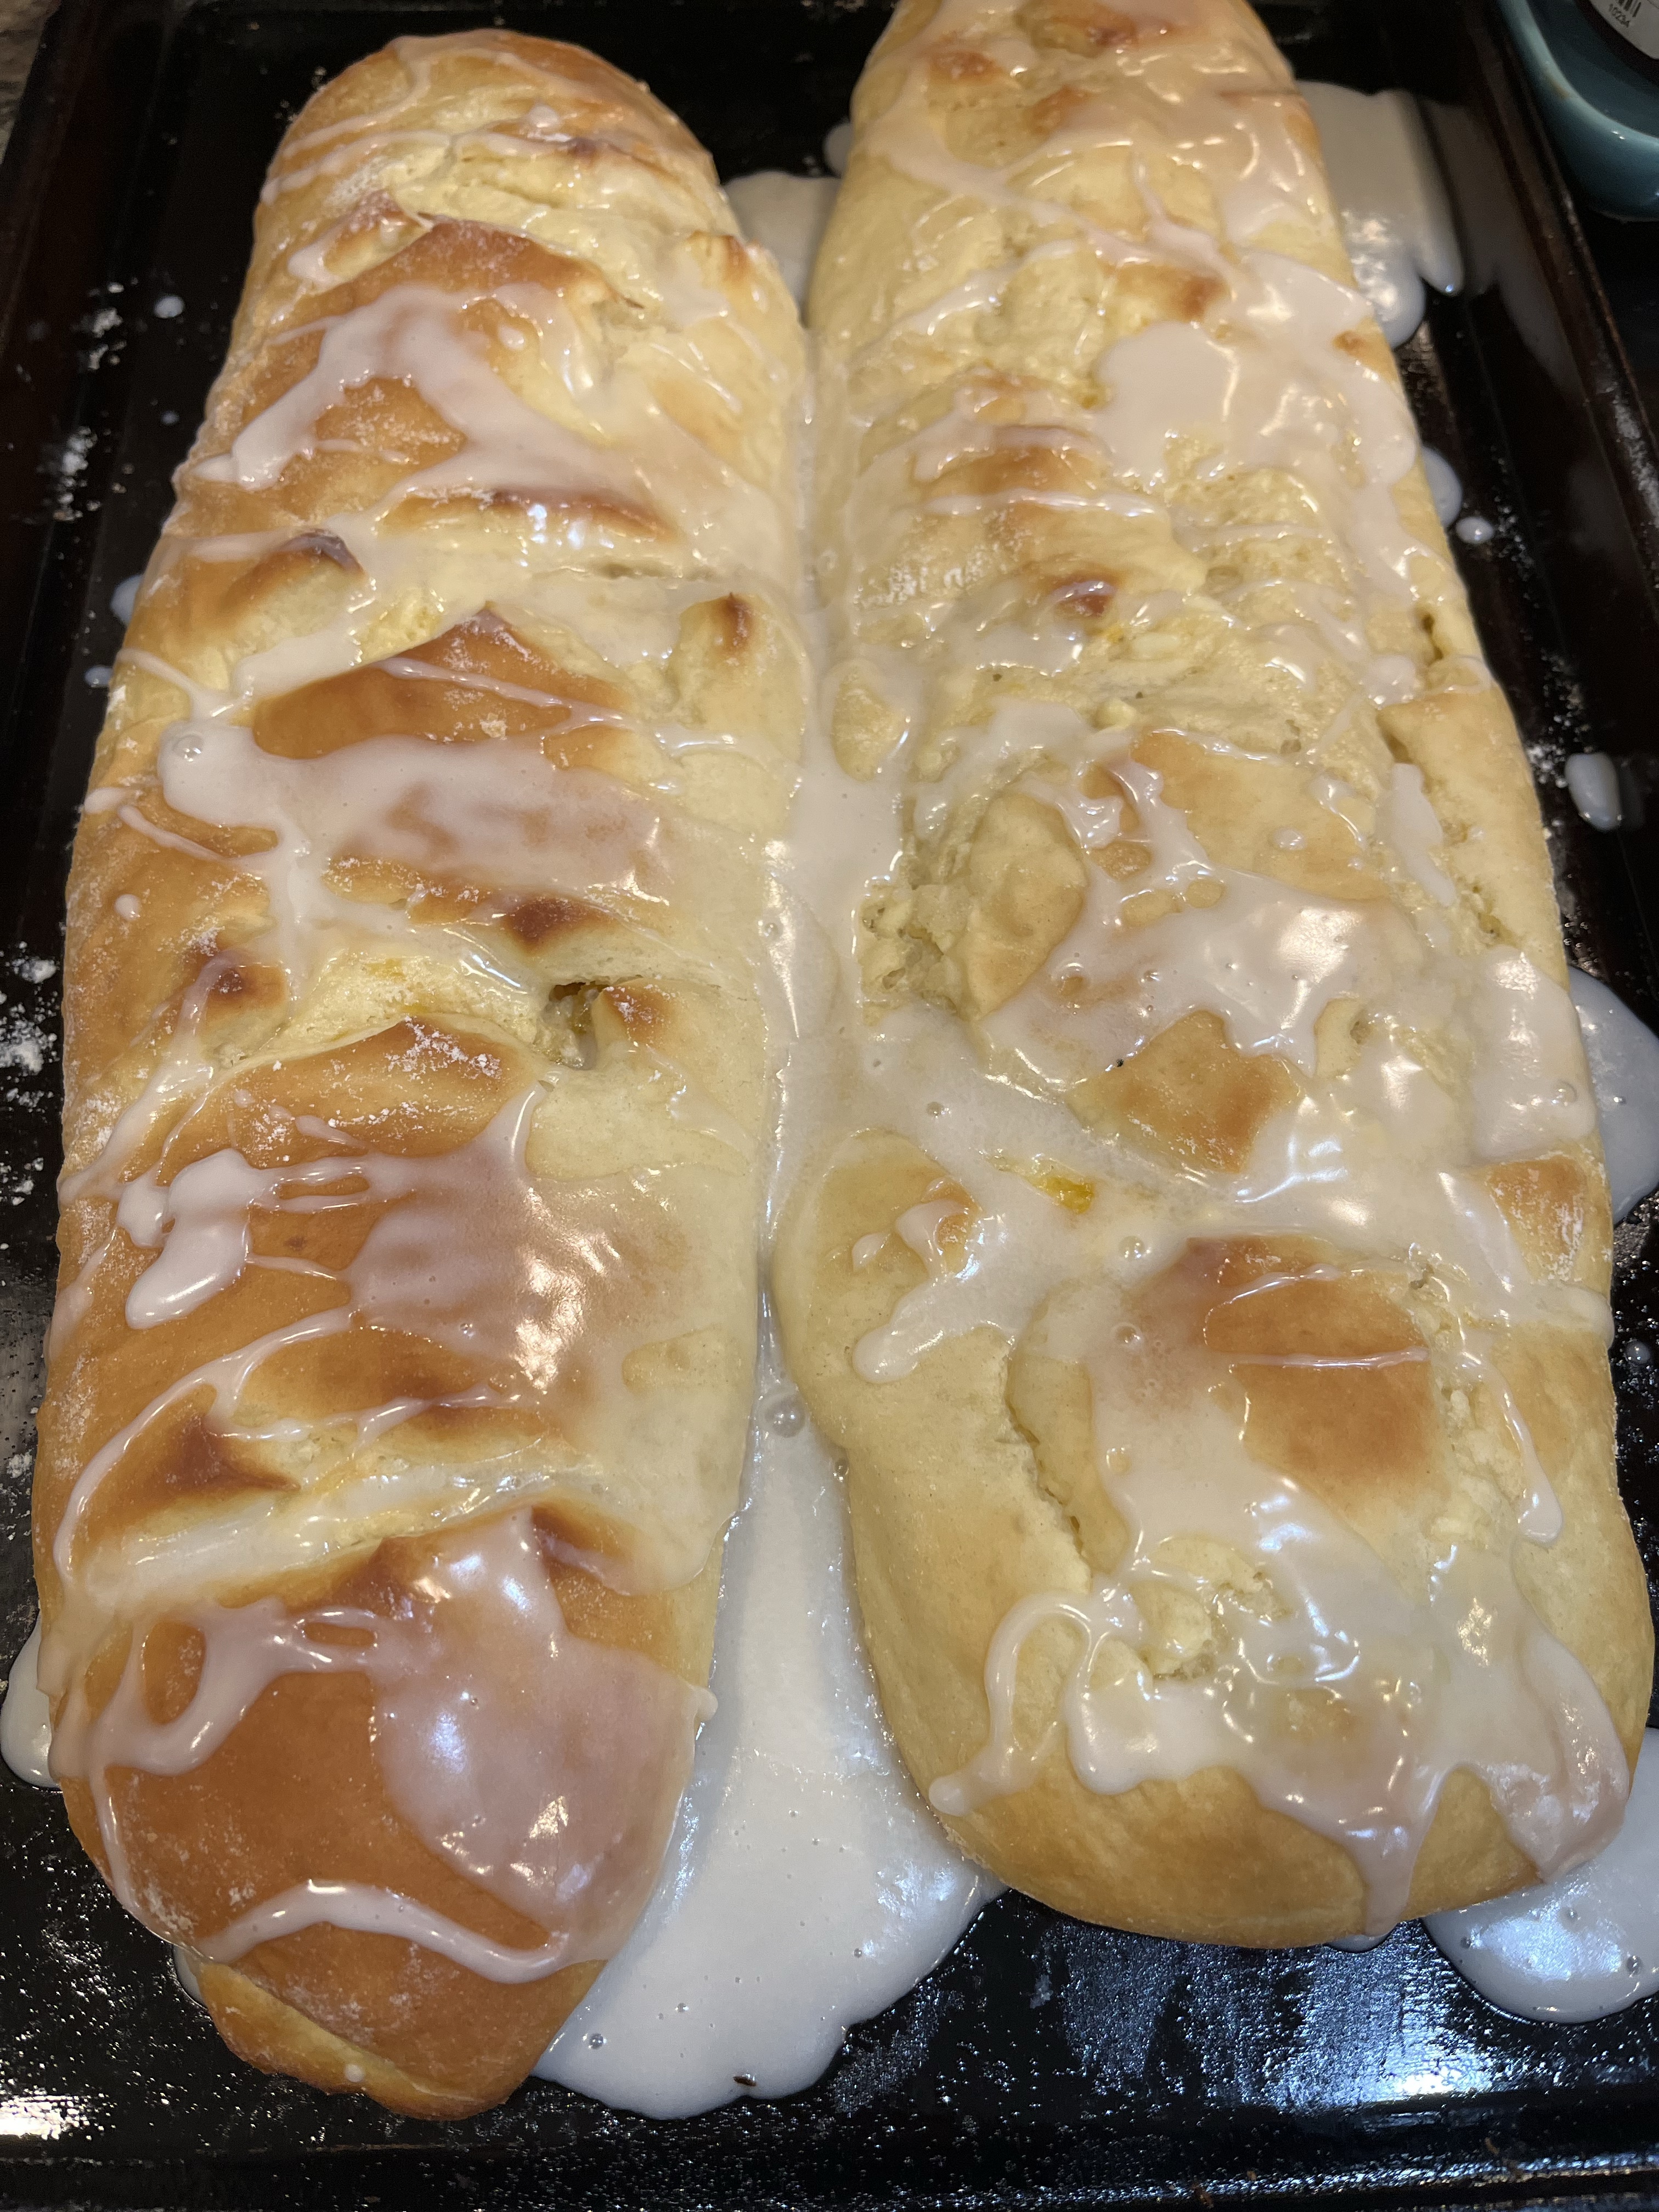
Step 4 Place 2 loaves on each of 2 baking sheets coated with cooking spray. Cut 4 (1/4-inch-deep) “X”s in top of each loaf with scissors. Cover and let rise in a warm place (85°), free from drafts, 25 minutes or until doubled in size.
Step 5 Preheat oven to 375°.
Step 6 Place 1 baking sheet in oven (cover remaining loaves to keep from drying). Bake at 375° for 15 minutes or until lightly browned. Repeat procedure with remaining loaves. Cool loaves slightly.
Step 7 To prepare glaze, combine powdered sugar, milk, and 1 teaspoon vanilla, stirring with a whisk. Drizzle warm loaves with glaze.
These are amazingly easy…really! I hope you’ll try them! You’ll keep making them, like I do. I’m sure!
Could you enjoy a little danish with coffee in the morning? It makes morning even sweeter in my book!
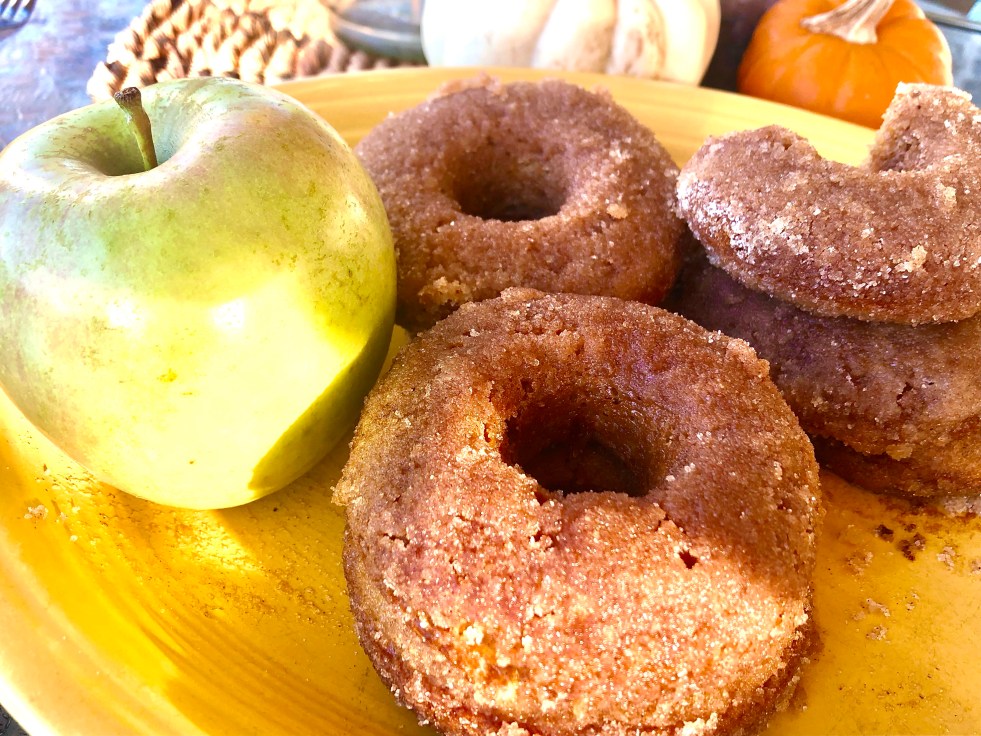
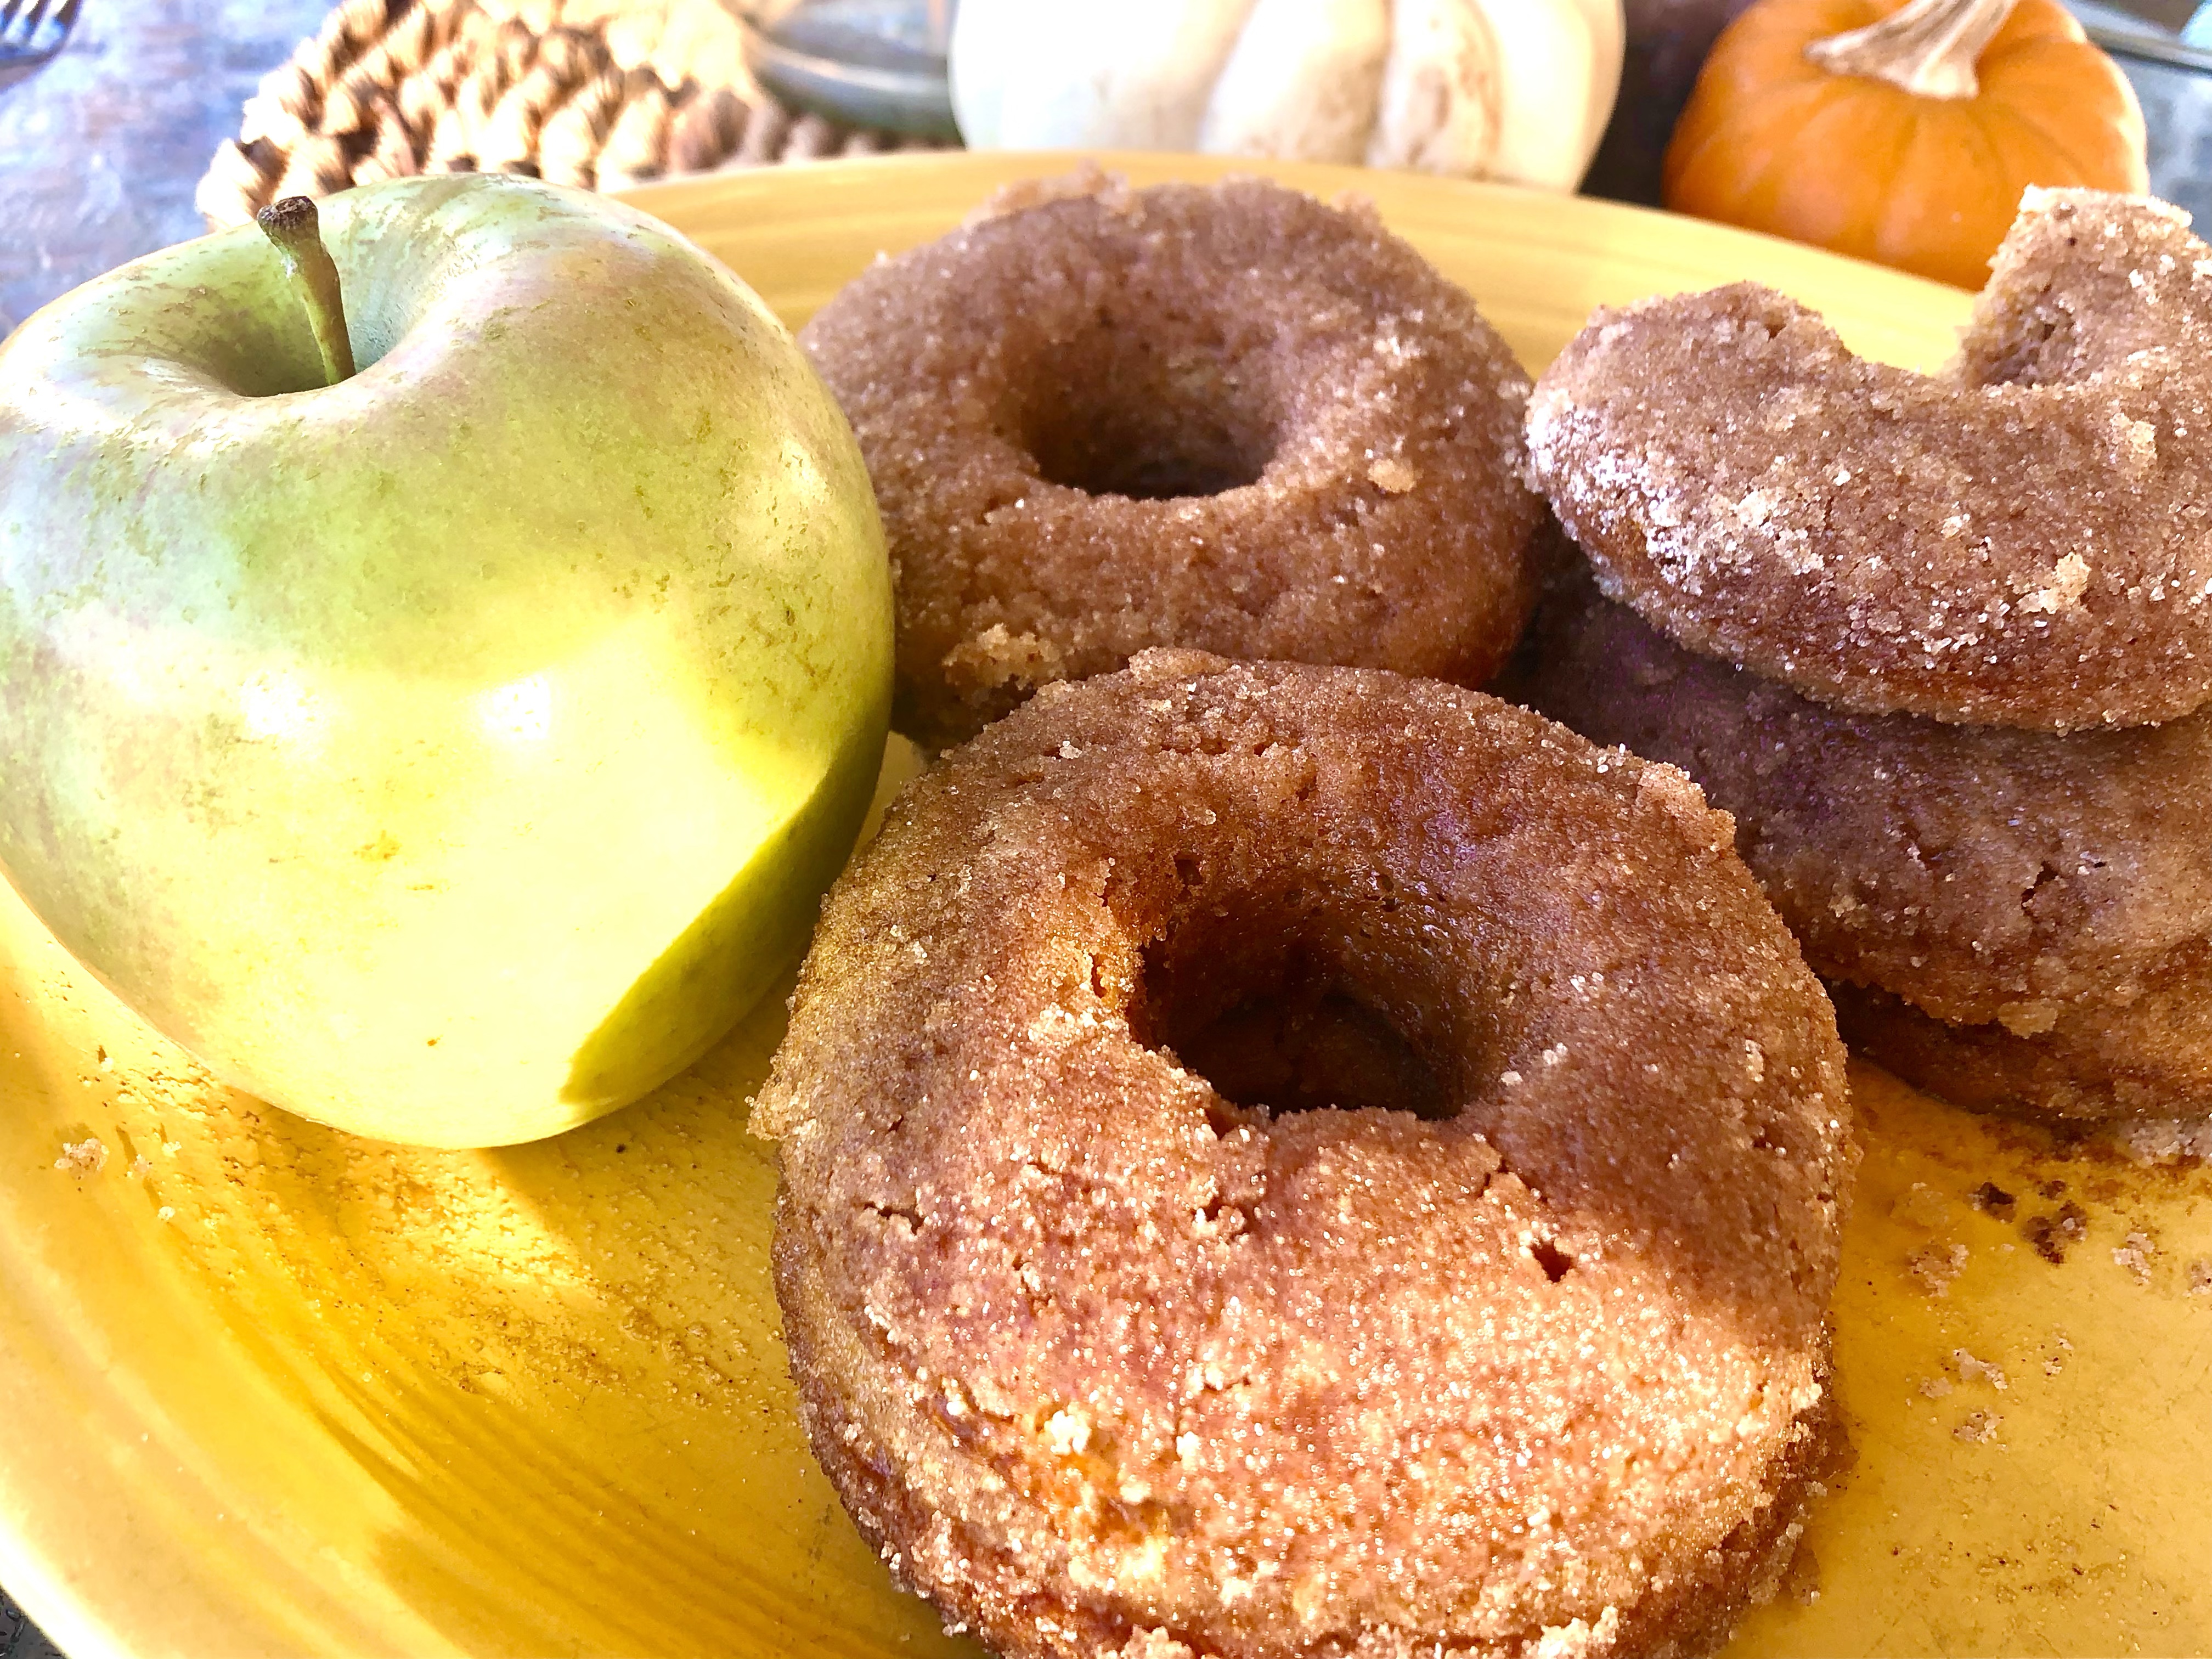
When I was a child, we would make trips to a cider mill near us. The highlight for me was getting to enjoy a doughnut and a little cup of cider while there. Maybe this is where my love for a cake doughnuts began. Oh my! It was such a treat! I recently made a Cider Donut recipe that took me back to that childhood memory!
These Cider Donuts from Sally’s Baking Addiction have a lovely apple flavor that is enhanced by the addition of the cider, of course, but also the apple pie spices in the dough and in the sugar topping. These are baked, so they’re more healthy than the fried versions. Okay, the butter they’re dipped in might add some calories and fat, but every fall needs an occasional treat, right?!
Here’s the simple recipe with my additional notes and improvisions.
Apple Cider Donuts – These make about 18
1 and 1/2 cups apple cider
2 cups all-purpose flour
1 teaspoon baking soda
3/4 teaspoon baking powder
1 teaspoon ground cinnamon
1 teaspoonapple pie spice*
1/4 teaspoon salt
2 Tablespoons unsalted butter, melted
1 large egg, at room temperature
1/2 cup packed light or dark brown sugar
1/2 cup granulated sugar
1/2 cup milk, at room temperature
1 teaspoon pure vanilla extract
Topping
1 cup granulated sugar
3/4 teaspoon ground cinnamon
3/4 teaspoonapple pie spice*
6 Tablespoons unsalted butter, melted
Instructions
Reduce the apple cider: Stirring occasionally, simmer the apple cider in a small saucepan over low heat until you’re left with about 1/2 cup. Start checking at every five minutes, etc until you have 1/2 cup. (Mine took about 30 minutes.) If there are any spices or solids on top of your reduced apple cider, leave them. Set aside to cool for 10 minutes.
Preheat oven to 350°F. Spray donut pan with non-stick spray. Set aside.
Make the donuts: Whisk the flour, baking soda, baking powder, cinnamon, apple pie spice, and salt together in a large bowl. Set aside.
Whisk the melted butter, egg, brown sugar, granulated sugar, milk, and vanilla extract together. Pour into the dry ingredients, add the reduced apple cider, and whisk everything together until smooth and combined. Batter will be slightly thick.
Spoon the batter into the donut pan—I highly used a large zipped-top bag and cut a corner off the bottom of the bag and piped the batter into each donut cup, filling about halfway.
Bake for 10-11 minutes or until the edges and tops are lightly browned. To test, poke your finger into the top of the donut. If the donut bounces back, they’re done. Cool donuts for 2 minutes then transfer to a wire rack. Re-grease the pan and bake the remaining donut batter.
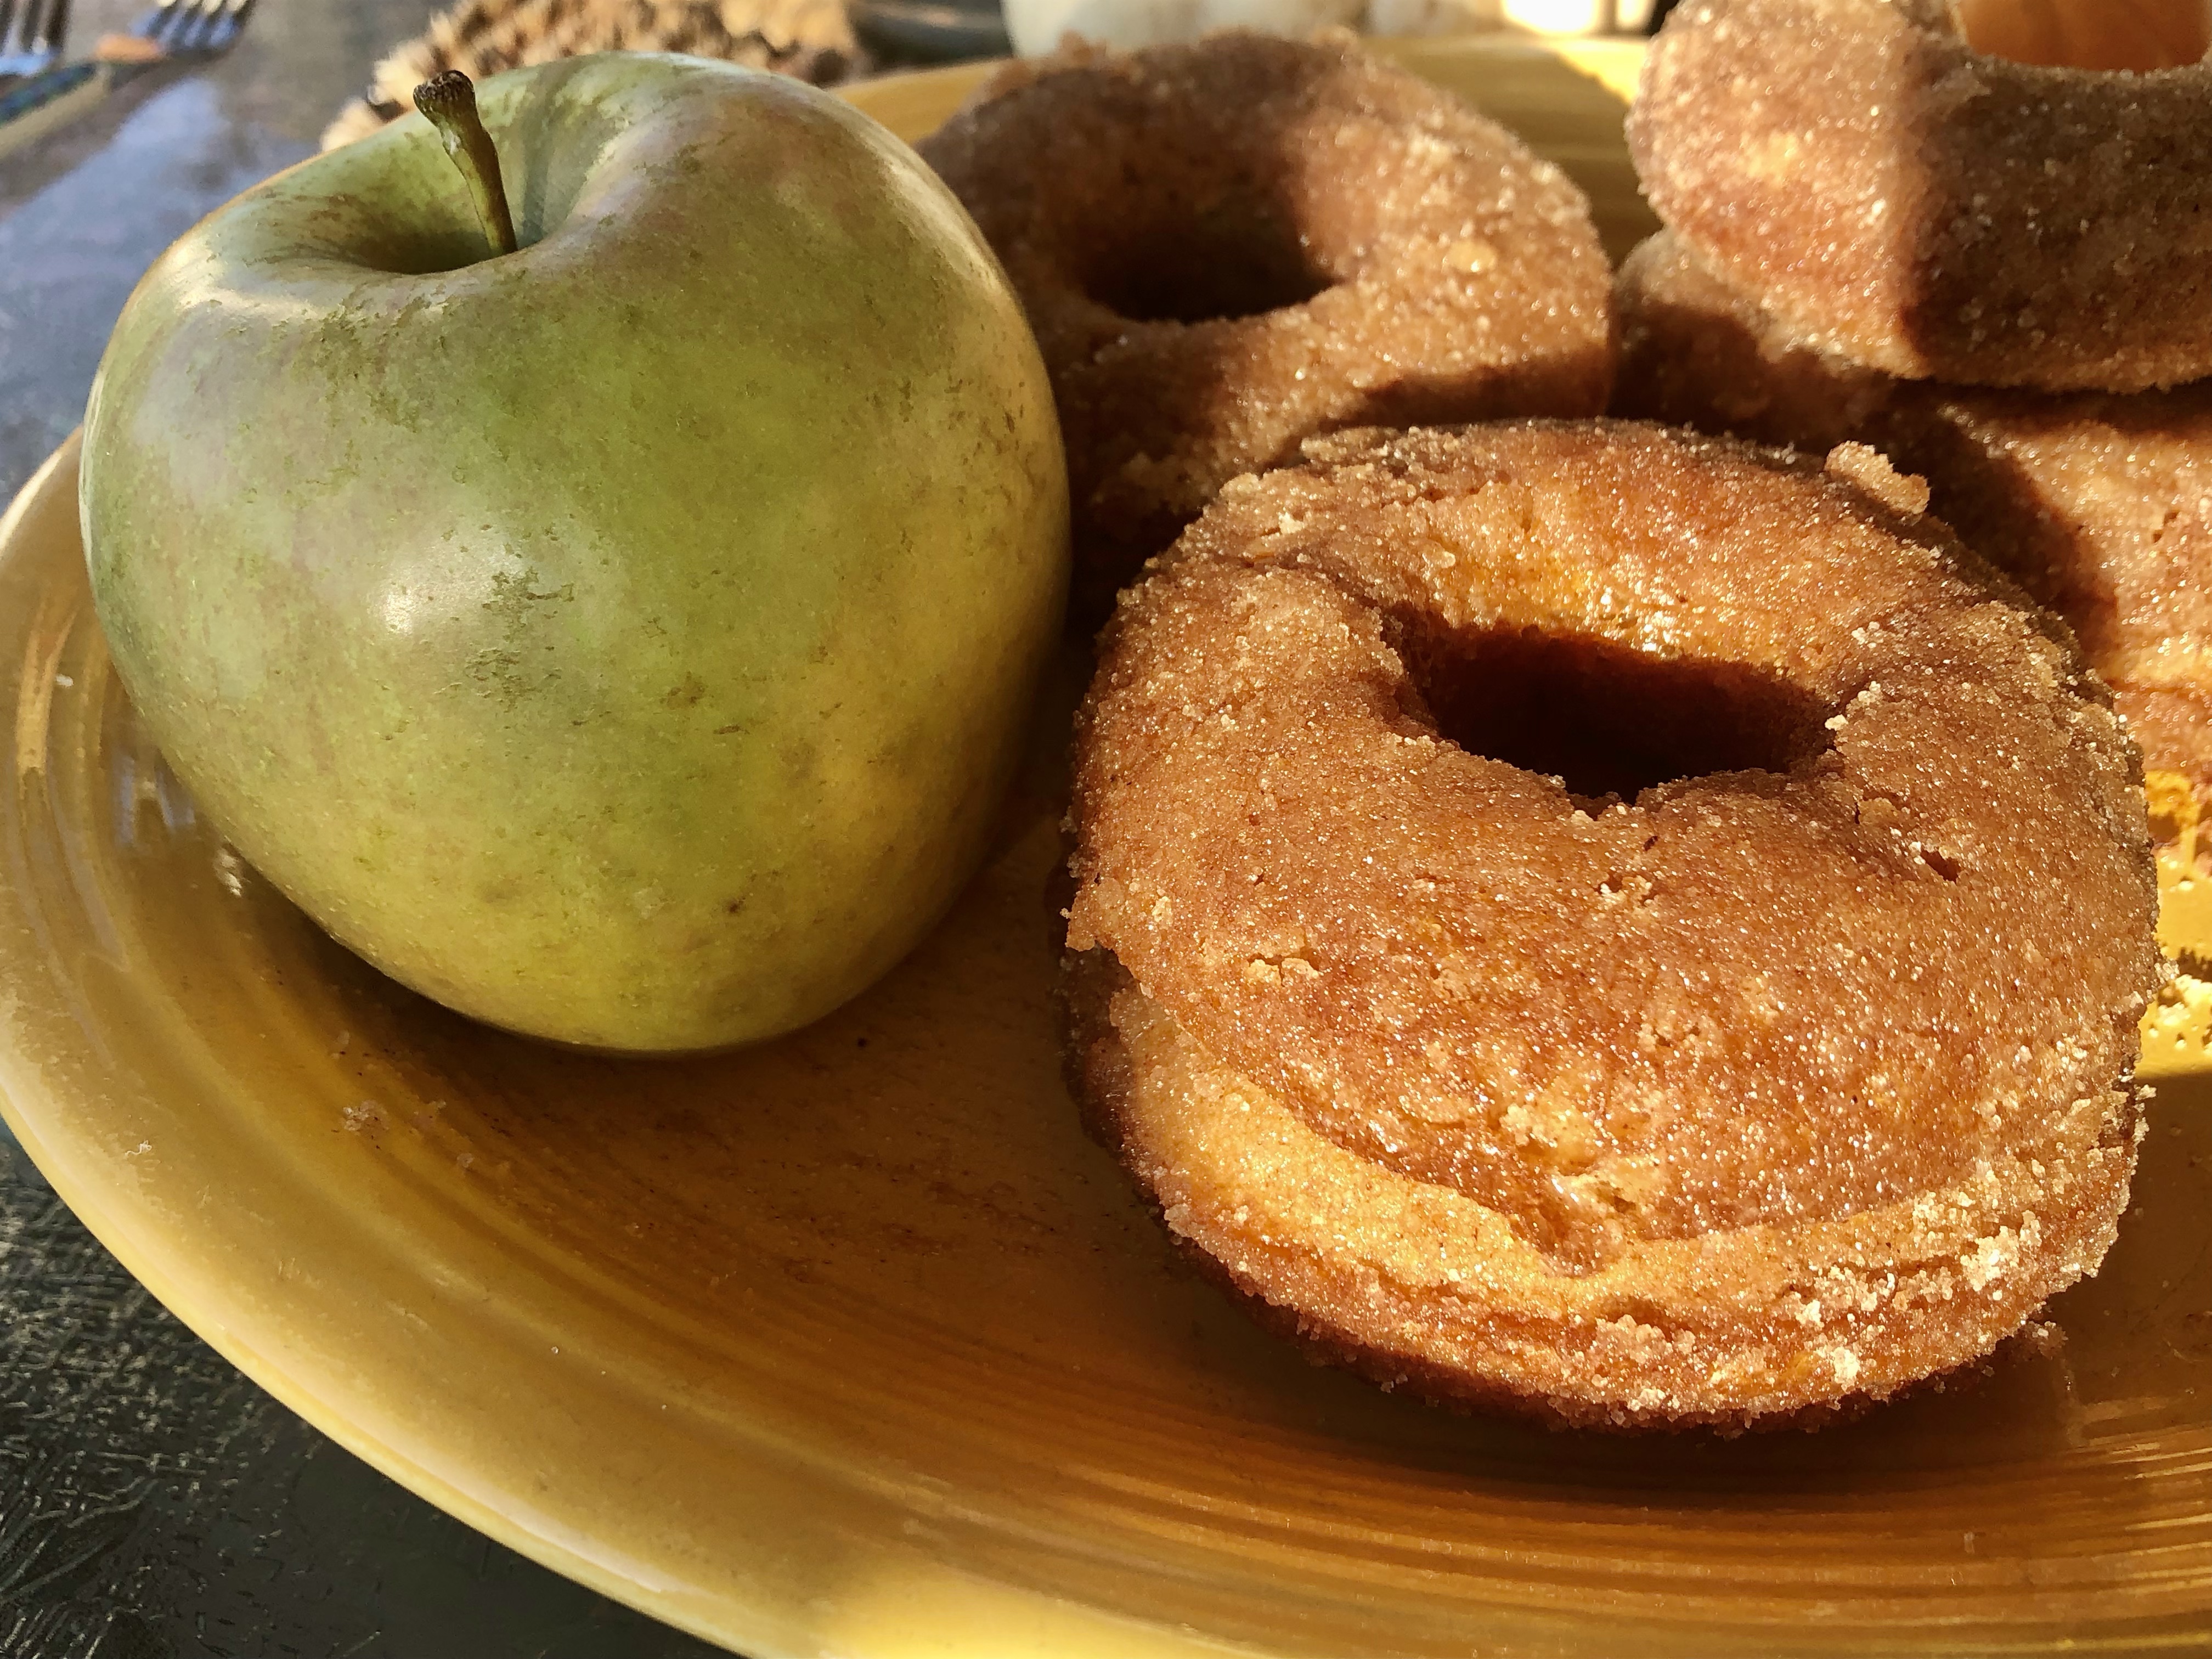
Coat the donuts: Combine the granulated sugar, cinnamon, and apple pie spice together in a medium bowl. Once cool enough to handle, dunk both sides of each donut in the melted butter, then generously in the apple spice topping.
Donuts are best served immediately. Leftovers keep well covered tightly at room temperature for up to 2 days or in the refrigerator for up to 5 days. I only baked up one dozen, then put the bag with the batter into the fridge overnight. The next day I baked off the next pan of six, and they did great! Then I froze them uncoated. A couple days later I pulled them out and dipped them in the butter and sugar coating. Yum! This was a great way to have a homemade donut at a moment’s notice!
If you don’t have apple pie spice (like me!), you can mix up your own using this recipe:
4 tablespoons ground cinnamon
1 1/2 teaspoons ground nutmeg
1/2 teaspoon ground allspice
1 teaspoon ground ginger
1 1/2 teaspoons ground cardamom – I didn’t have this and left it out. It was still great!
All these need is a cold glass of milk, a cup of coffee…or of course a glass of cider to make the perfect fall treat!
If you’re a cake donut fan, you’re going to love these!
Some other donut suggestions – Have you tried these light donuts I posted a while back? Also if you don’t have a donut pan, you could bake up these muffins that have a very similar taste as the Cider donuts!
Would someone explain to me why when fall rolls around I get this insatiable desire to bake everything delicious? The temps drop, and I seriously want to make Cinnamon Rolls, Apple Cake, Donuts, Muffins of every sort, and a whole assortment of cookies! I need to join a support group.
If you’re like me, then I’m going to help you. I wrote a post last year about my Roll Call of Favorite Fall Foods. I recently added a BUNCH more of my favorite recipes to that post! To make it easy to find, I have added a “Seasonal Foods” category to my recipe index. Scroll down below 30-minute recipes and you’ll find Fall Favoritesthere.
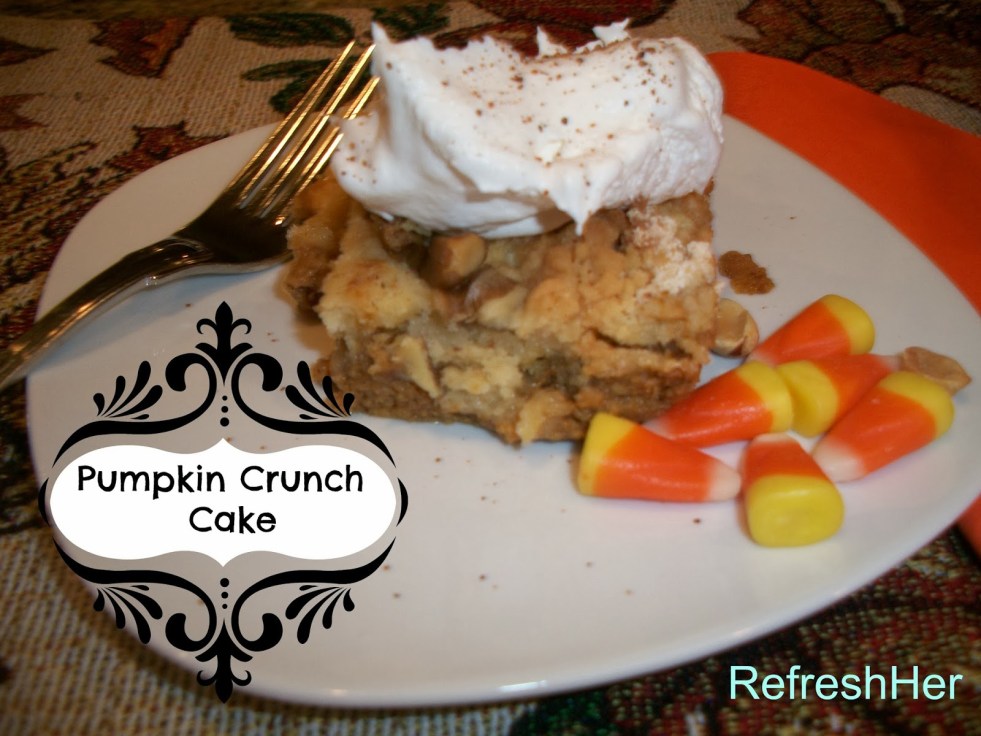
Pumpkin Crunch Cake
This is an example of one recipe in my line-up of fall favorites – I’m pretty sure I post this recipe for Pumpkin Crunch Cake every year, but it’s with good reason! It’s the BEST pumpkin recipe I’ve ever made. Everyone loves this cake and it’s so easy it’s crazy!
The list of fall foods is complete with main dishes, breads, soups, all my favorite pumpkin recipes and more! I hope you’ll avail yourself to my list and cook and bake up a storm this fall!
Who else gets the urge to bake when it turns cool outside?
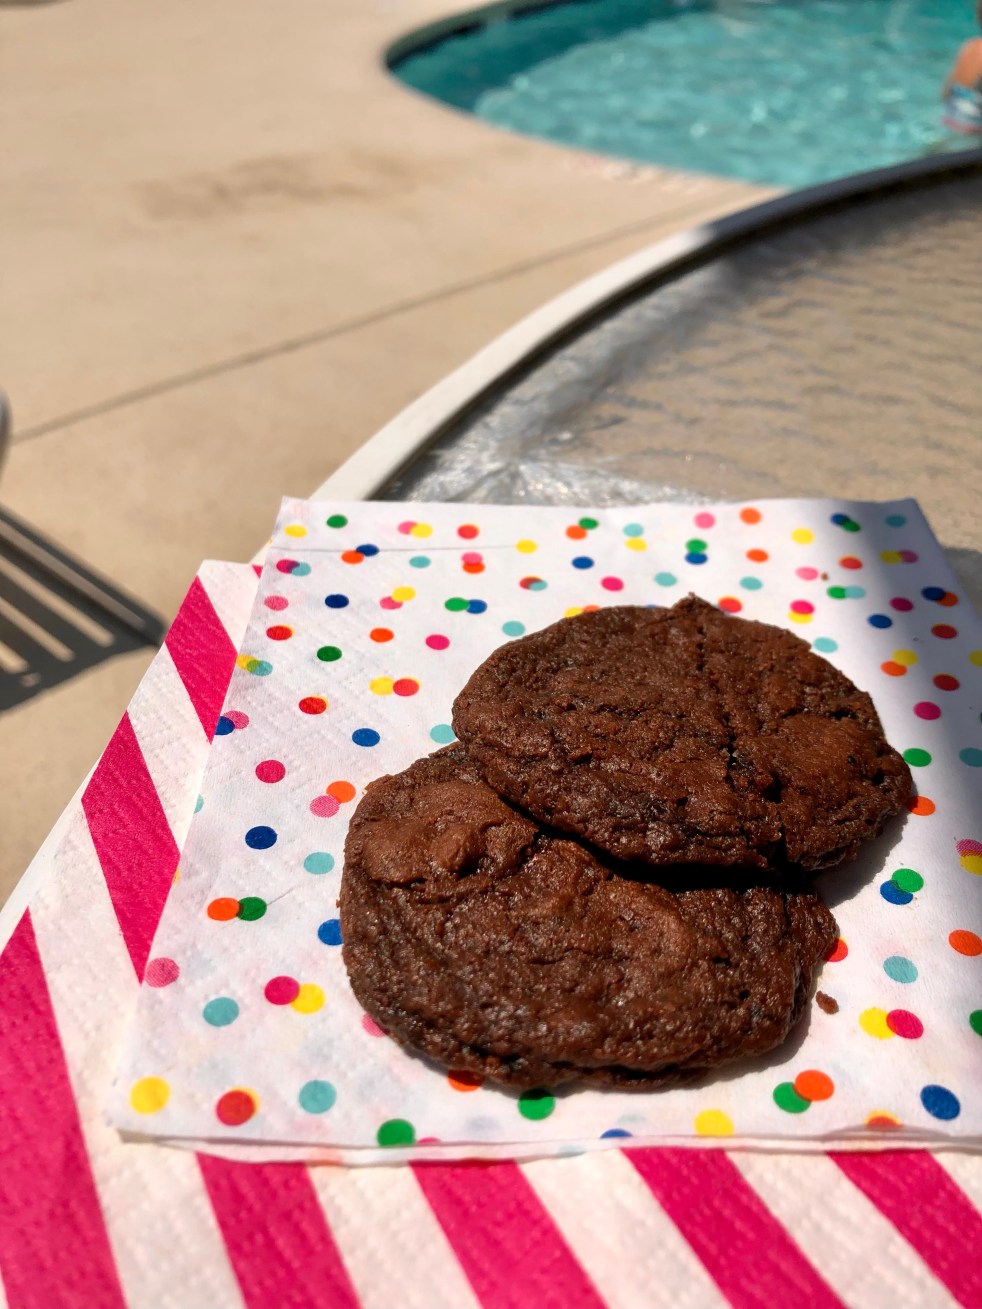
I love it when simple meets delicious! These fudgy cookies can be mixed right in a saucepan and spooned onto the baking sheet. They end up crispy around the edges and soft in the middle.
I made these last weekend for a girl’s trip I went on, and they were the perfect ending to our poolside lunch! They were also the perfect little snack in the middle of the day! If you love chocolate AND a soft cookie, this is your recipe!
Cocoa Fudge Cookies
Ingredients
1 cup all-purpose flour
¼ teaspoon baking soda
⅛ teaspoon salt
5 tablespoons butter
7 tablespoons unsweetened cocoa
⅔ cup granulated sugar
⅓ cup packed brown sugar
⅓ cup plain low-fat yogurt
1 teaspoon vanilla extract
Cooking spray
Directions
Step 1 Preheat oven to 350°.
Step 2 Lightly spoon flour into a dry measuring cup; level with a knife. Combine flour, soda, and salt; set aside. Melt butter in a large saucepan over medium heat. Remove from heat; stir in cocoa powder and sugars (mixture will resemble coarse sand). Add yogurt and vanilla, stirring to combine. Add flour mixture, stirring until moist. Drop by level tablespoons 2 inches apart onto baking sheets coated with cooking spray.
Step 3 Bake at 350° for 8 to 10 minutes or until almost set. Cool on pans 2 to 3 minutes or until firm. Remove cookies from pans; cool on wire racks.
I failed to mention that these are only 78 calories! Cooking LIght does a great job at providing low cal treats! These Raspberry Strippers are another favorite cookie recipe I found on their site.
Are you a crispy cookie lover or do you prefer a soft cookie?