dessert

What’s Cookin’ in the Parsonage?

I got to do some baking this weekend – something I don’t do nearly as much as I’d like.  Now that it’s just the two of us here, I try to only bake when I’m having company.  In Sunday’s case, we weren’t having company – we were the company.  How nice that was!  I’m always reminded of the blessing people receive when we open our homes.  It was a blessing for us, and I need to remember to not just receive the blessing, but also to extend it to others. 

When I asked what I could bring, our hostess suggested dessert.  Yay!  Here was an opportunity to try a couple new recipes.  (Yep, I did it again!) 

Since there were going to be ten at the meal, I decided to make two desserts so there would be plenty, and everyone could have a choice.  I opted on a pie and a cake.  One was from Cooking Light and one from Taste of Home.
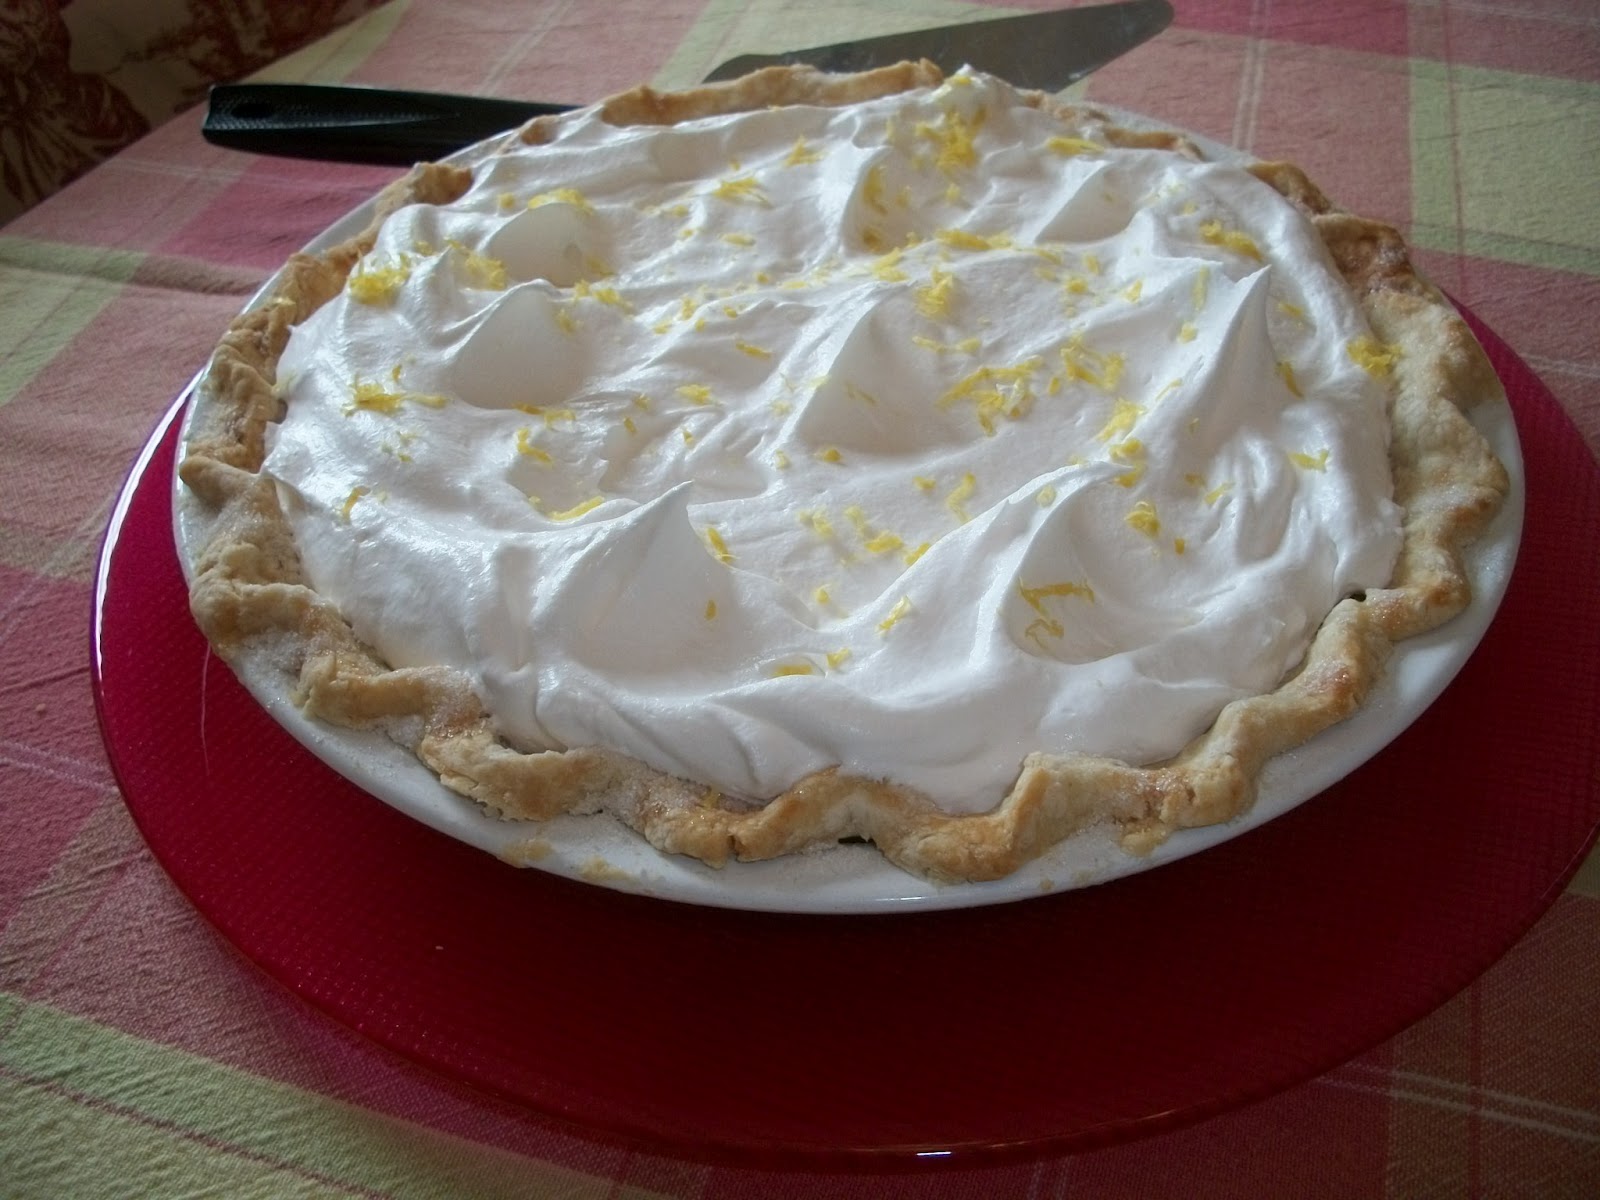
I wanted to try a “light” pie, so I opted for a Lemon Cream Pie.  Instead of the bright yellow filling, this is a light yellow, because of it being a cream.  It’s not a super lemony flavor, but a mild one.  I found this at Cooking Light, where I get tons of great recipes.  Rather than making the link to the recipe I’m posting it here so you’re only a click away from the recipe if/when you come back to find it in the recipe tab.

Lemon Cream Pie

1/2 (14.1-ounce) package refrigerated pie dough (such as Pillsbury) – I used homemade
Cooking spray

1/2 cup sugar

1 tablespoon grated lemon rind, divided

1/4 cup fresh lemon juice

3 tablespoons cornstarch

1/4 teaspoon salt

2 large eggs

1 1/2 cups fat-free milk – I used 2% milk

1/4 cup (2 ounces) 1/3-less-fat cream cheese, softened

2 tablespoons butter, softened

1 1/2 cups frozen fat-free whipped topping, thawed

Preparation

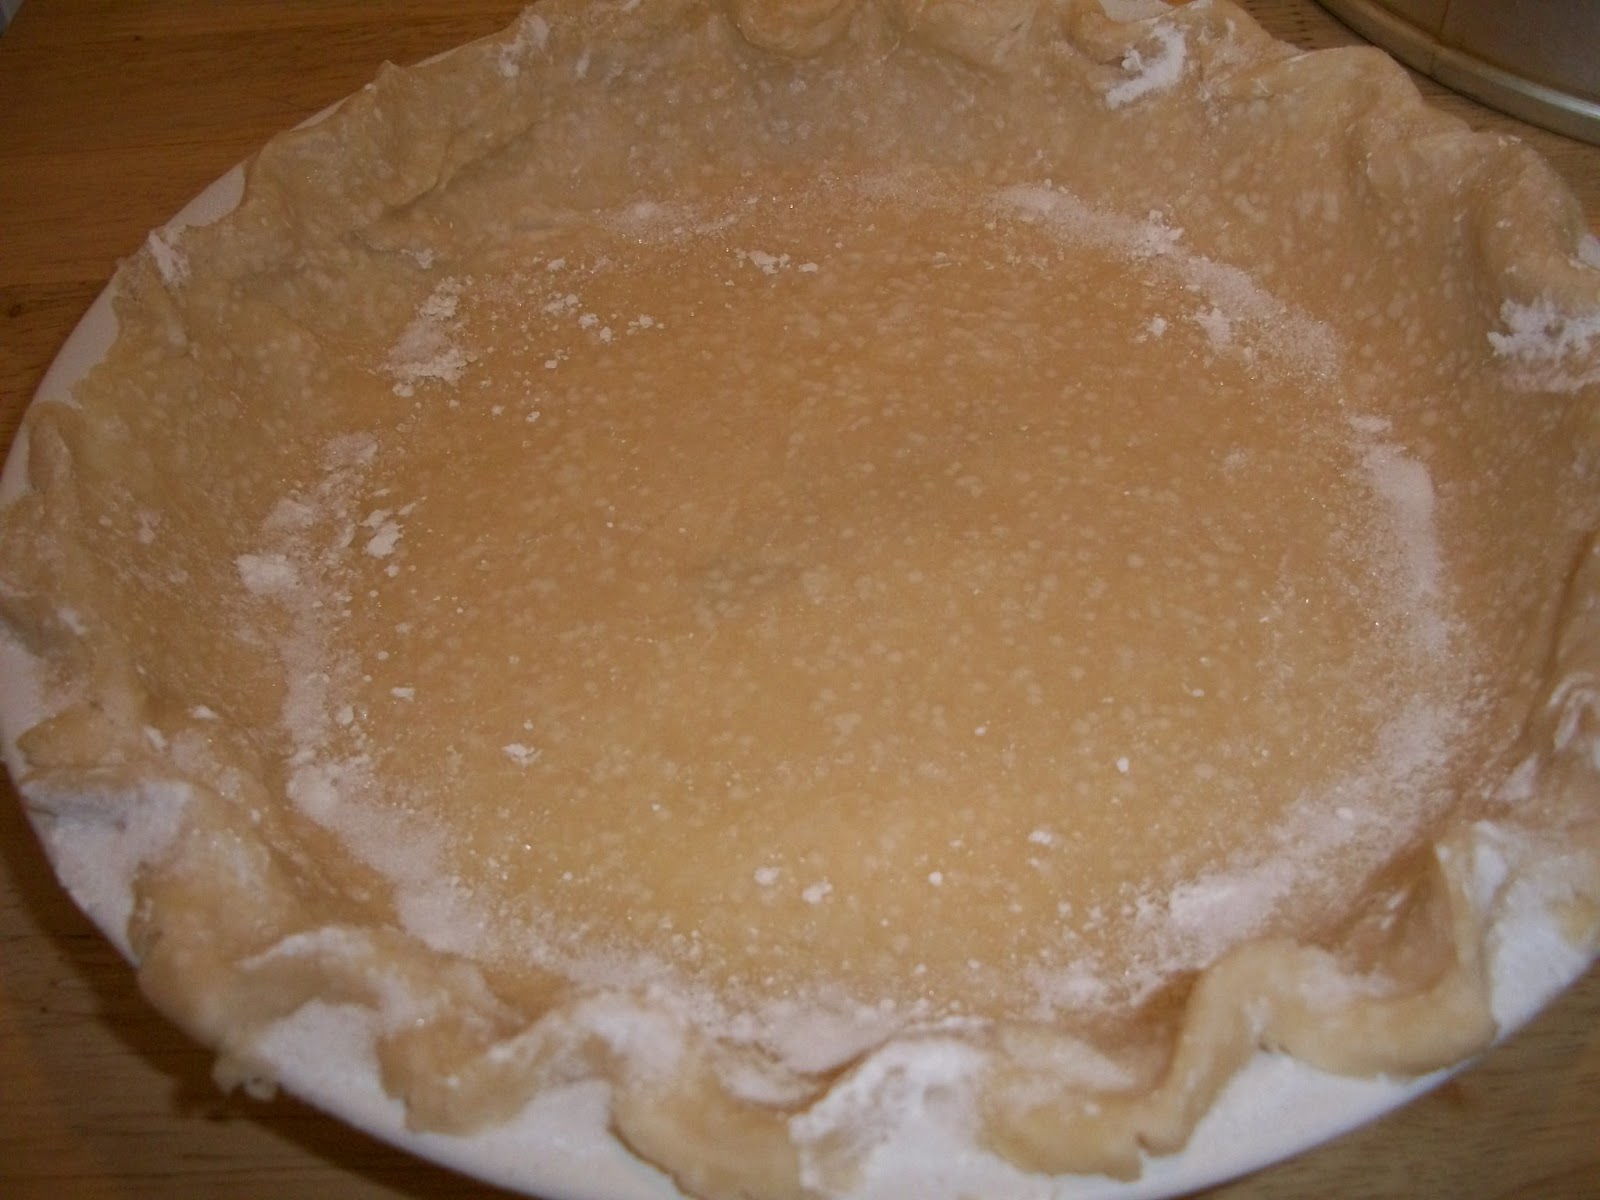
1. Roll dough into a 12-inch circle; fit into a 9-inch pie plate coated with cooking spray. Fold edges under, and flute. Bake piecrust according to package directions. Cool completely on a wire rack.

2. Combine sugar, 2 1/2 teaspoons rind, and the next 4 ingredients (through eggs) in a large bowl, stirring well. Combine milk and cheese in a medium, heavy saucepan over medium-high heat; cook until mixture reaches 180° or until tiny bubbles form around edge (do not boil). Gradually add the hot milk mixture to sugar mixture, stirring constantly with a whisk. Return milk mixture to pan, and cook over medium heat 10 minutes or until thick and bubbly, stirring constantly. Remove from heat; stir in butter.
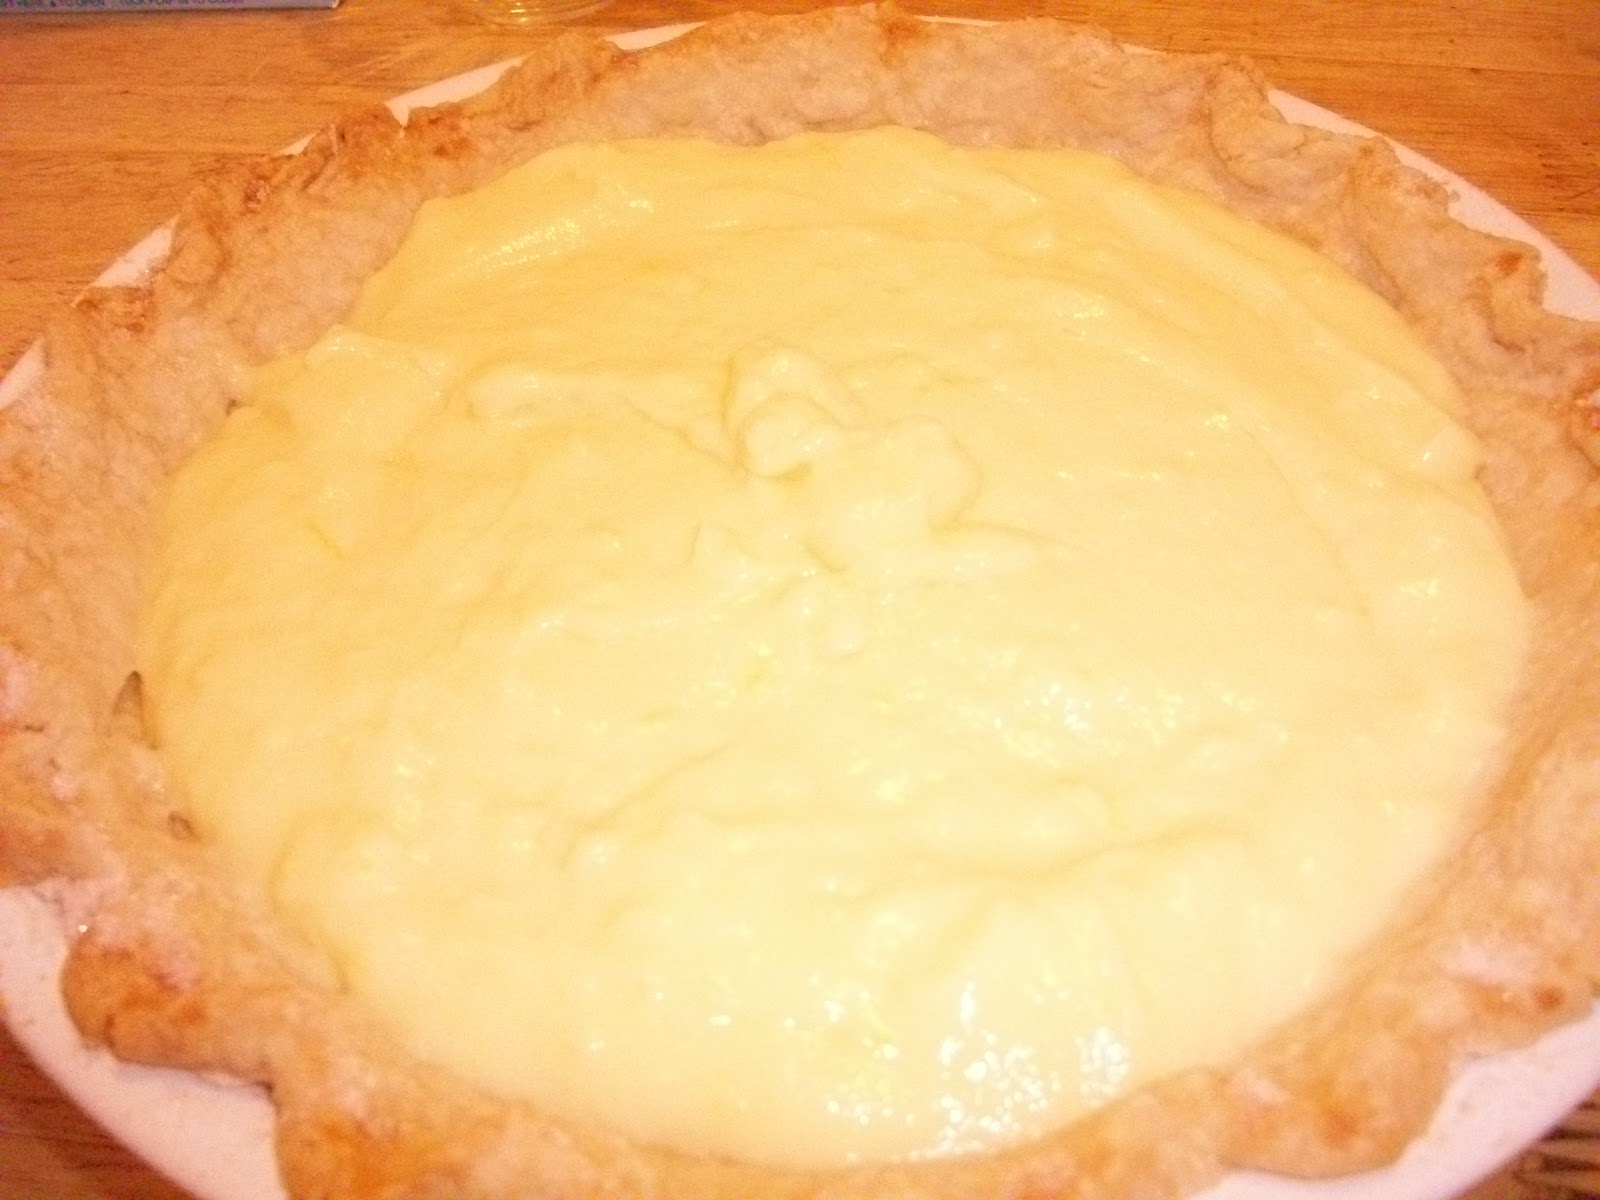
3. Place pan in a large ice-filled bowl for 10 minutes or until the mixture cools to room temperature, stirring occasionally. Spoon filling into prepared crust, and cover surface of filling with plastic wrap. Chill for 3 hours or until set, and remove plastic wrap. Spread the whipped topping evenly over chilled pie, and sprinkle with remaining 1/2 teaspoon lemon rind.

For the second dessert, I decided on chocolate.  This cake originally was to have a cherry filling, but that is a story I’ll share later. ~Sigh~ Cherry wasn’t an option, but after remembering a new flavor of ice cream Blue Bell has – Chocolate Covered Strawberry, I figured strawberry filling on a chocolate cake might not be a bad idea.  =)  So, that’s what I went with!
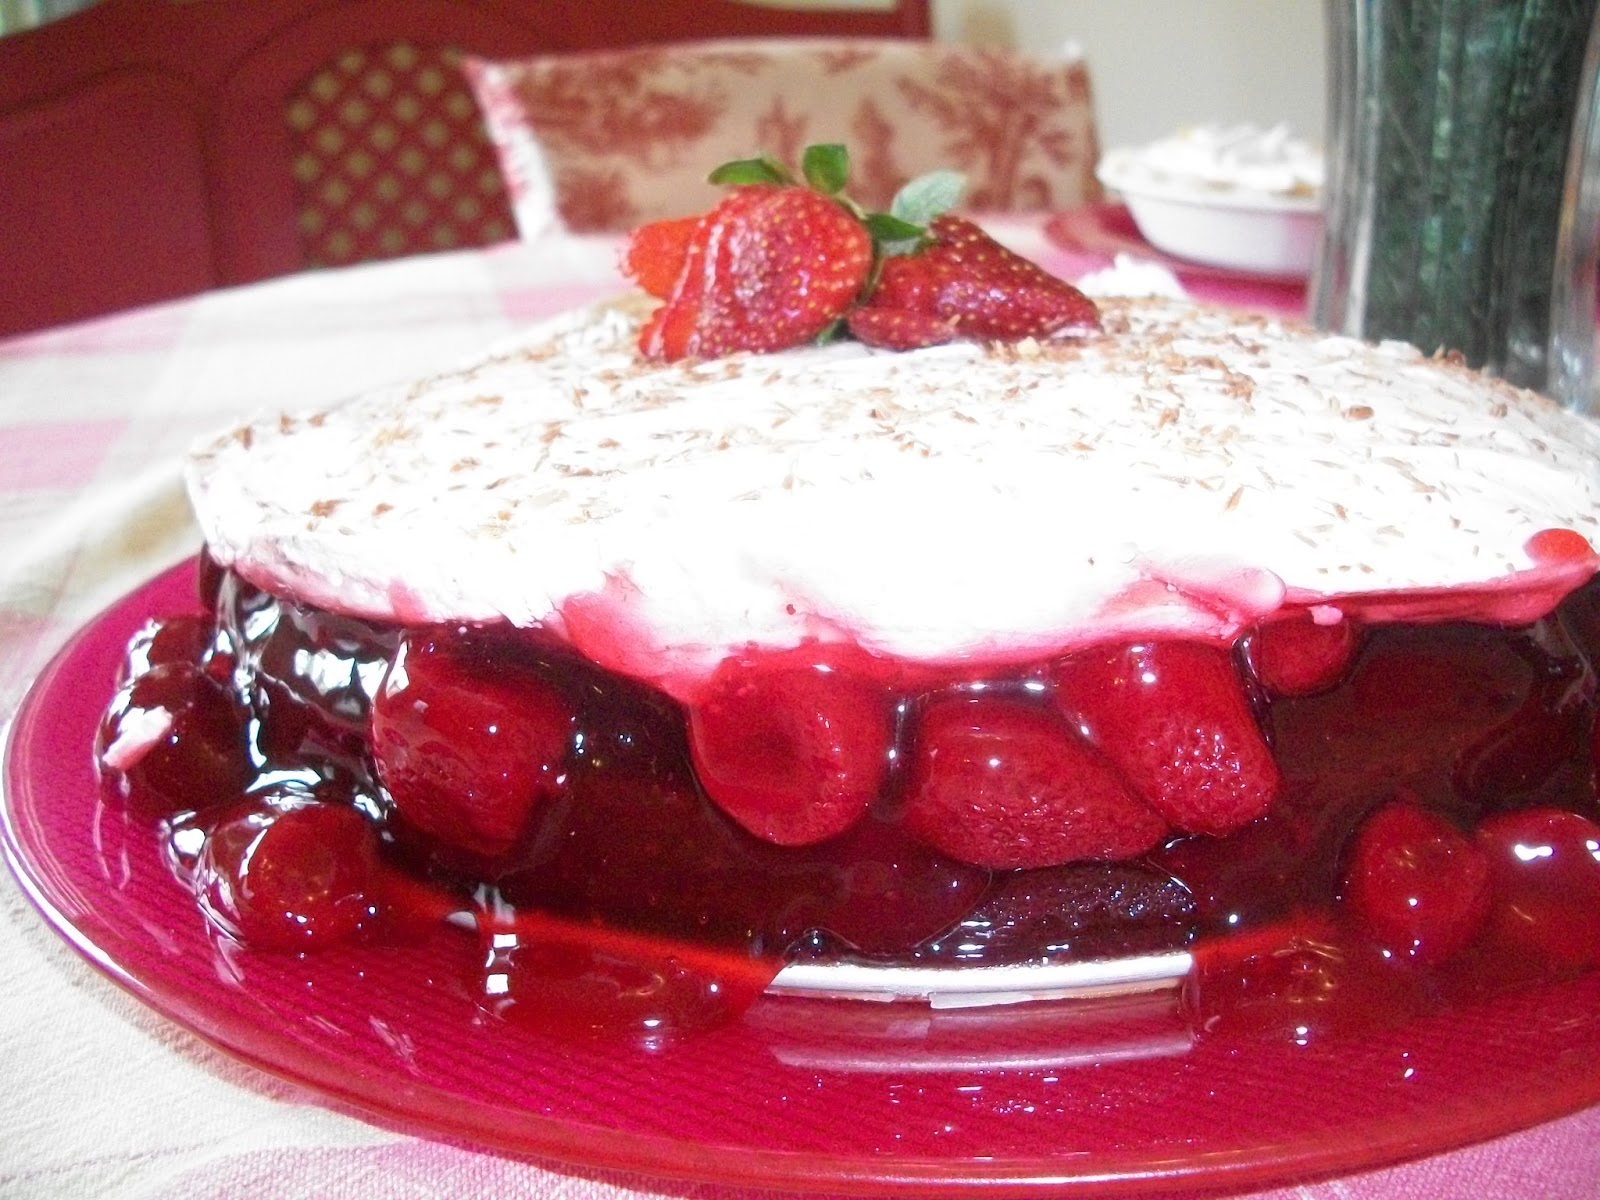
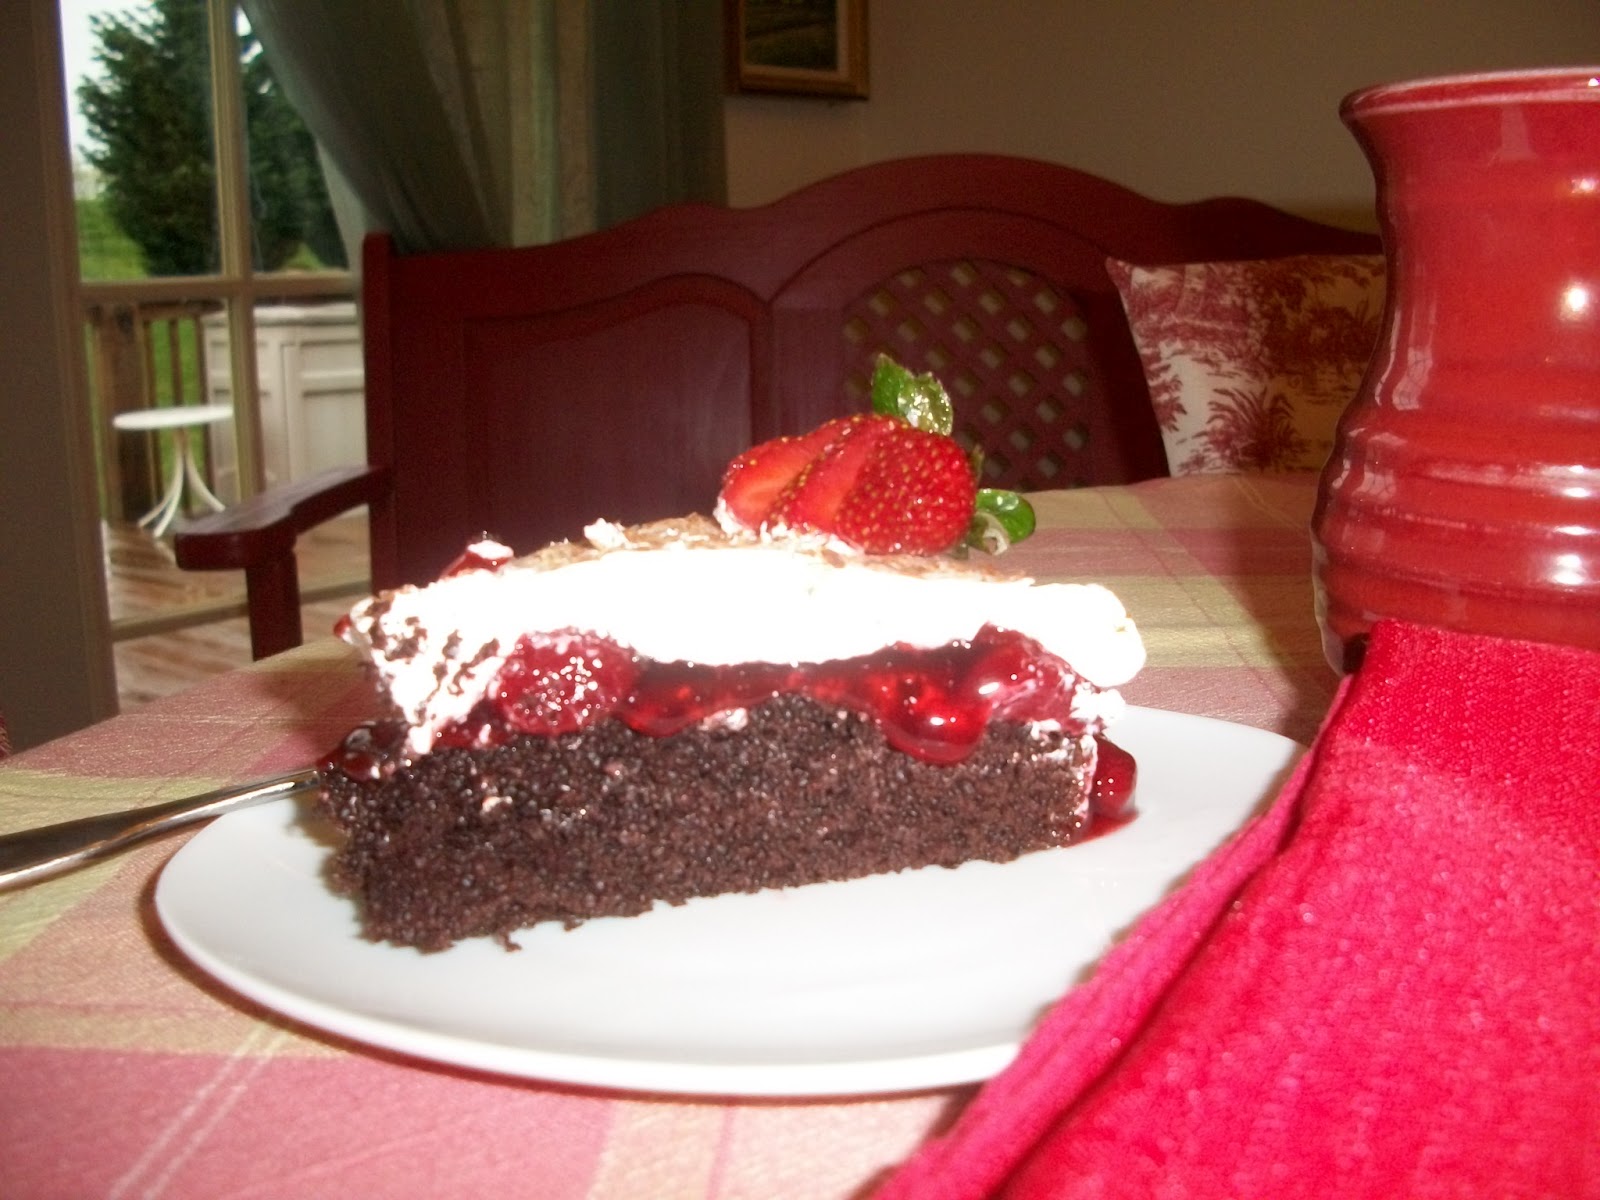
Chocolate Covered Strawberry Cake – Or Black Forest Cake
This cake gets better as it sits in the fridge.  Next time, I’ll make it a couple days ahead! 
•1 package (9 ounces) chocolate cake mix – You can also use half of a cake mix

•1/2 cup water

•1 egg

•1 package (3 ounces) cream cheese, softened

•2 tablespoons sugar

•1 carton (8 ounces) frozen whipped topping, thawed

•1 can (21 ounces) cherry pie filling – Or Strawberry Pie Filling

Directions

•In a small bowl, beat the cake mix, water and egg on medium speed for 3-4 minutes. Pour into a greased 9-in. springform pan; place pan on a baking sheet.

• Bake at 350° for 23-25 minutes or until cake springs back when lightly touched. Cool on a wire rack.

• In a small bowl, beat cream cheese and sugar until fluffy; fold in whipped topping. Spread pie filling over cake; top with cream cheese mixture. Cover and refrigerate for 4 hours. Remove sides of pan. Yield: 6-8 servings.
What was cooking/baking in your kitchen this week?

From my parsonage kitchen,

Uncategorized

Freshen Up Friday

Here is a great product that every woman should have in her dresser drawer…Lingerie Tape.  It’s used to hold clothing in place so there won’t be embarrassing reveals.  I first saw this product when I was coordinating a wedding.  A bridesmaid came with a roll of it to keep straps hidden and neckline secure.  It works great and is invisible. 

Gaping necklines or tank top straps can be made secure with just a couple inches of tape tucked under your clothing.  The tape is double-sided, so after pulling off the amount you need, place the sticky side on your skin under the garment, then pull off the white layer revealing the other sticky side of the tape.  Press the clothing onto the tape and voila’! 

Because my top had narrow sleeves, I added a piece of tape just below each shoulder.  It held it in place beautifully.  Summer outfits need this product!

This stuff is great and makes an outfit modest without having to constantly be fooling with it to keep it where it ought to be.  I found it on Amazon for $6.  Freshen up your wardrobe (and your modesty) and invest in a roll.  It will make a believer out of you!

Be refreshed,

Easter

A Peek Inside the Parsonage

I pinned an ever-so-cute Bunny Napkin Fold on one of my Pinterest boards and decided that I would fold my napkins like that this Easter.  Last week I got out my freshly ironed napkins, along with the on-line instructions from Martha Stewart and tried my hand at this delicate fold. Um, sure! I felt like a magician because the bunny kept disappearing!  I’d see the formation of the ears, then I couldn’t figure out how to finish it, or it would pop open after I thought I had it secured.  But you know what?  I kept trying until I got it!

Anything worth doing is worth working at until you master it! What thing in your spiritual life do you need to keep working at, with God’s help? Bible study? Memorization? Witnessing? Don’t quit!

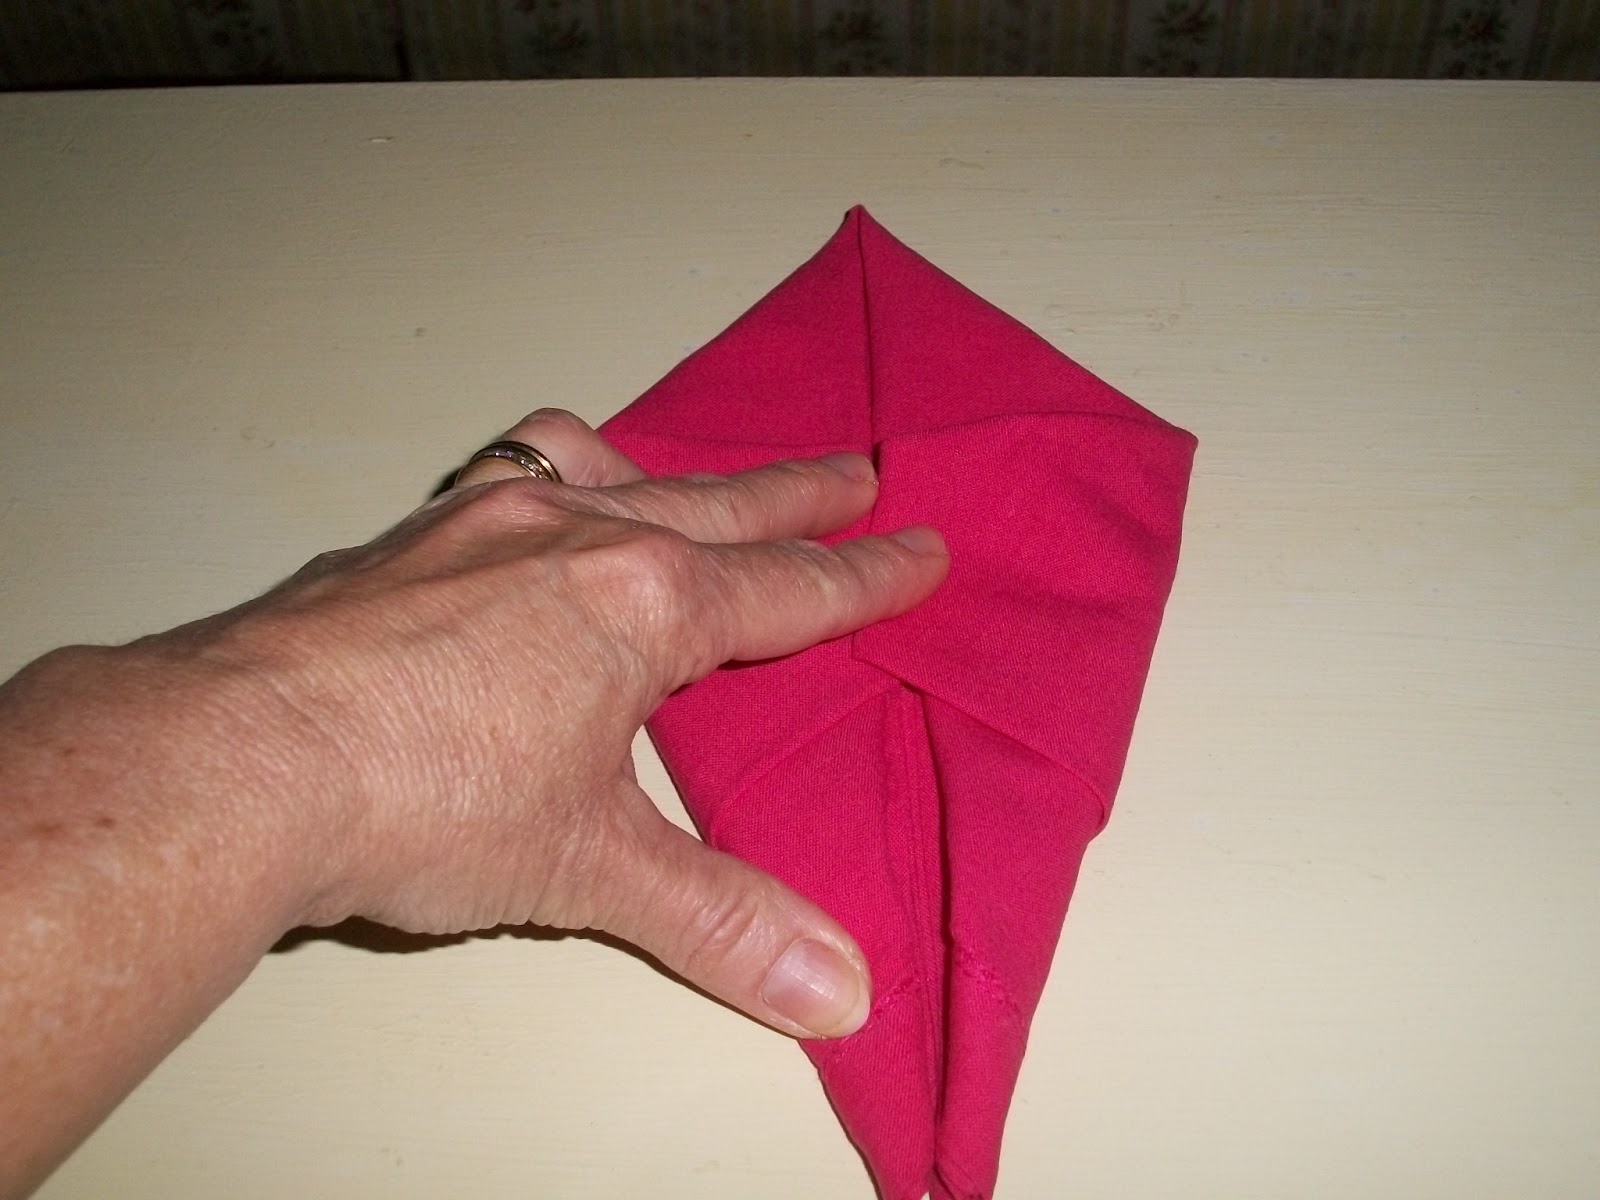
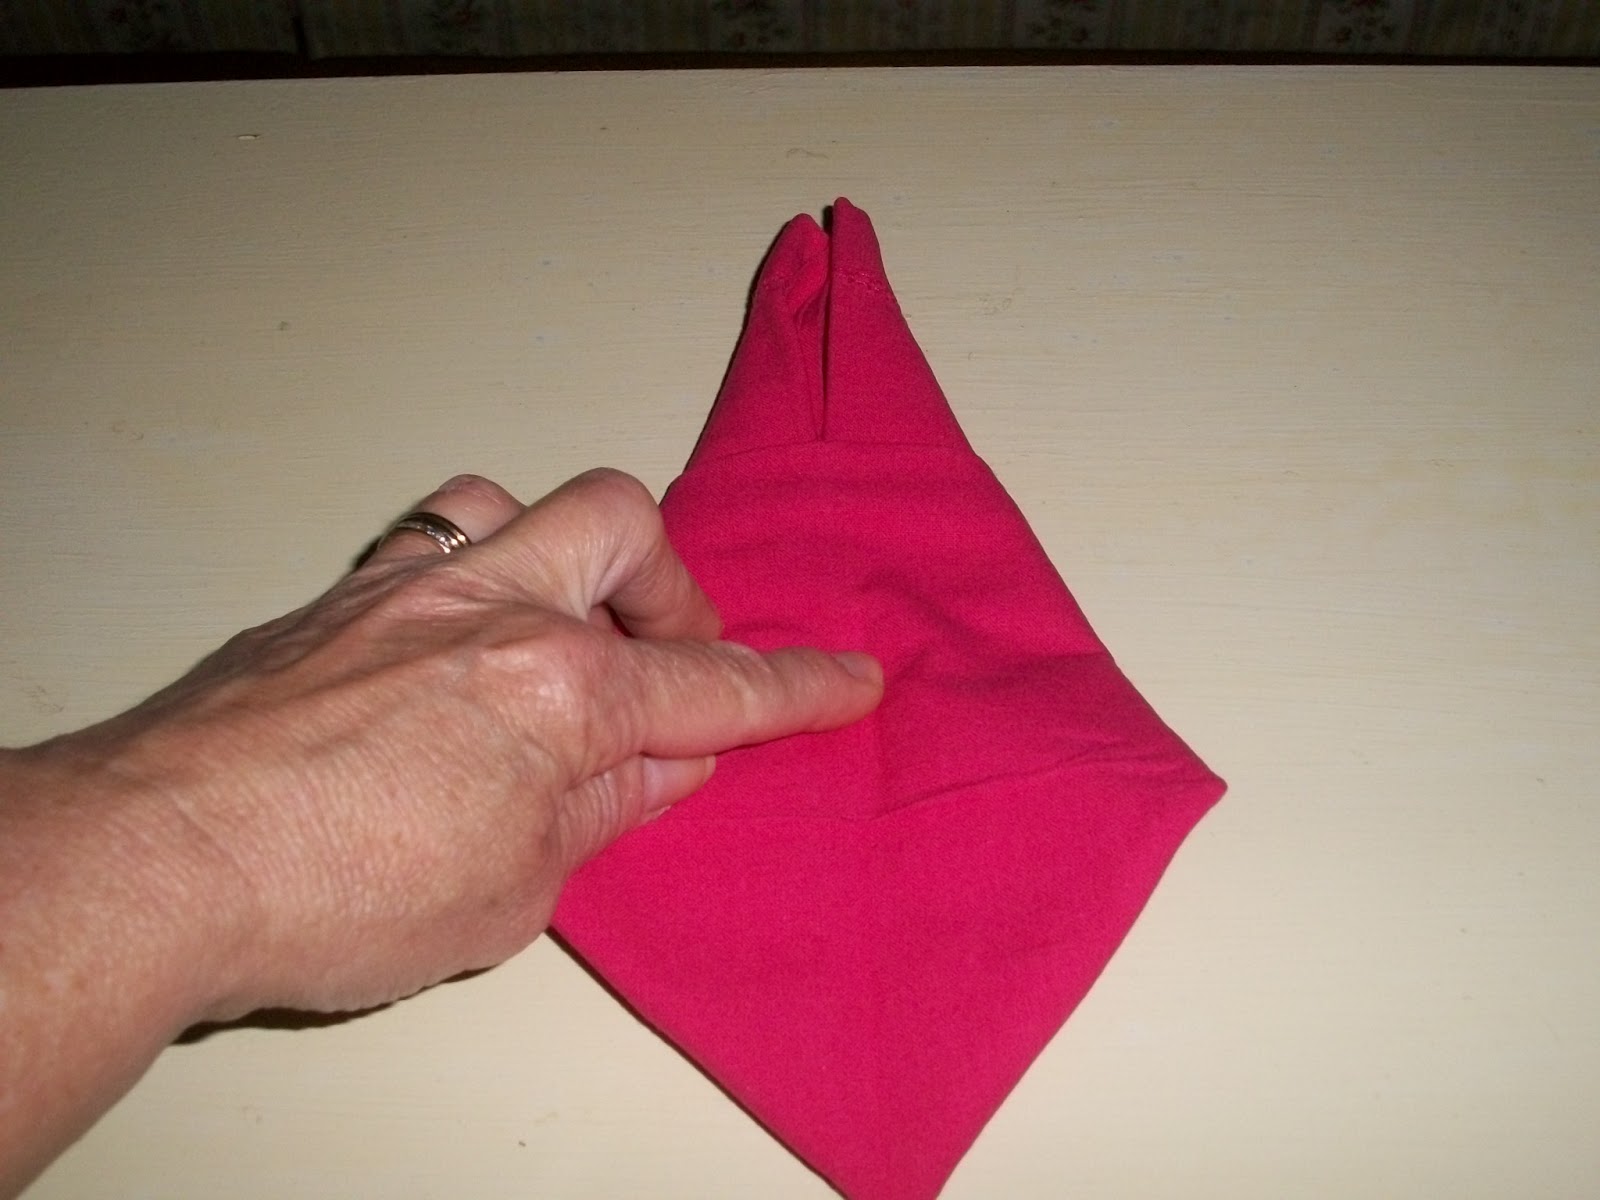
I don’t do well with drawings or written instructions!  I’m a visual learner who has to see the real thing in pictures to progress at any speed.  Once I learned how to do this fold,  I snapped pictures in case anyone else does better with snapshots than drawings.  Here you go.

Here’s where we’re headed.  This is the finished fold…

My instruction pictures are using a pink napkin so you can see it better. The stiffer the napkin, the easier it will be and the better it will look.  I like the looks of my pink napkin better than the cream colored, though I’ve never seen a pink bunny!

Step 1 –
Fold starched napkin into thirds to form a rectangle. (If you’re using a square napkin, you’ll need to fold in half, and then fold in half again to get a long rectangular shape.)

Step 2 –
Crease in half to create a center line for reference    That was Martha’s instruction.  I would just say to – Find the center of the napkin and  fold top corners down to this center line.

Step 3 –

Fold up bottom corners.  Don’t worry about that little fold on the side.

Step 4 –

Bring right and left edges together to center.  See the bunny’s ears appearing?  They’re at the bottom.

Step 5a –

Flip upside down and over.  The ears are on top now.

Step 5b –

Turn bottom point up.  (This will become his tail)

Step 6 –

To fasten: Fold left and right corners back (really towards the front of the bunny); tuck one corner into the pocket of the other. Pull out bunny ears first; open up base.

Here’s a picture of the other side of the bunny – the side that is “tucked.”  See how it goes into the fold?  Depending on the size of your napkin you might only have a little to tuck.  Just keep working with it until it stays put.  Again, the stiffer the napkin the easier this will be.

While you’re holding the tucked corners, fluff up the ears and make the tail stand up. At first it looks like this…kind of pitiful.

Keep working until it looks like this…

Isn’t it adorable? 
Hmmm, will I gasp when my Easter guests unfold this little guy?  =)  Nah, there’s more where he came from!

From my parsonage windows,

Uncategorized

What’s Cookin’ in the Parsonage?

I’m not sure if there’s a smell so grand as garlic baking on bread sticks!  Does that bring Olive Garden to mind?  What a delight to smell that basket of garlic making its way to your table! 

Do you know there is a smell God loves?  I read  this in my Bible reading this weekend – Genesis 8:20, 21 – And Noah builded an altar unto the LORD; and took of every clean beast, and of every clean fowl, and offered burnt offerings on the altar. And the LORD smelled a sweet savour; and the LORD said in his heart, I will not again curse the ground any more for man’s sake; for the imagination of man’s heart is evil from his youth; neither will I again smite any more every thing living, as I have done. The Lord loves the smell of our love for Him that is seen in our obedience!  Is He smelling that sweet savor in your life today?

 
I was so happy to find a recipe that mimics the taste of Olive Garden’s bread sticks.  They are a yeast bread that only has to rise once, so they are done in a relatively short amount of time. 

My menu yesterday was:

Swiss Steak
Mashed Potatoes
Southern Style Green Beans
Green Salad
Garlic Bread sticks
~~~~~~
Pound Cake with Fresh Strawberries and topped with
 Strawberry Whipping Cream
Swiss steak is a great dish for Sunday, because it requires 4 hours of baking time.  During the time you’re in Sunday school and church – you were there, right? 🙂 – the meat cooks down so tender you don’t need a knife!

4 lb. Arm roast
1/4 cup flour
1/2 tsp. salt
1/4 tsp garlic powder
pepper
2-3 Tbsp oil
1 16 oz. can tomatoes, cut up
1 onion, sliced
1 small green pepper, sliced

Serves 6
Heal oil in large skillet.  Season roast with salt, pepper and garlic powder.
Dredge in flour, then brown on both sides in hot oil. 

Place in roasting pan.  Arrange onion and pepper slices on top of roast, then pour tomatoes over top.  cover and bake at 250 degrees for at least 4 hours, more if you have time.  check occasionally to see if it needs water. d(Okay, you cant’ do this if you’re at church, but I just make sure it has plenty before I leave.) Makes its own gravy.

I did my mashed potatoes in the crock pot – like I’ve mentioned before.  Just peel and cut them up, cover with water in your crock pot and turn to high.  When you get home they will be ready to mash!

For Southern Style Green Beans in a can, pour the beans – liquid and all in a skillet.  For 2 cans of greens beans add about 2 Tbl of butter and cook over low heat until all the liquid is evaporated.  They taste like they’ve cooked all day long!

Garlic Bread sticks as seen on Chef in Training.

1 1/2 cups warm water (between 110 – 120 degrees F)

1 package active dry yeast

4 1/4 cups all-purpose flour

2 tablespoons unsalted butter, melted

2 tablespoons sugar

1 tablespoon salt

In a large bowl, dissolve sugar and yeast in warm water and allow to sit for 10 minutes, covered. Mixture should be frothy.In separate bowl, combine flour and salt.

Add to yeast mixture. Add melted butter. Mix with paddle attachment of stand mixer or wooden spoon until fully combined.

Knead dough for a few minutes just until dough is smooth. Do not over knead!

Grease a cookie sheet. Pull off pieces of dough and roll out into strips. (It will make 16, so cut the dough in half, then each half into 8 strips.)
Cover the dough and let sit in a warm place for 45 minutes to an hour.
Preheat your oven to 400 degrees F and once heated, pop in the bread sticks. In microwave, combine the following:

1 stick unsalted butter (or 1/2 cup margarine)

2 teaspoons garlic powder

1 teaspoons salt

After bread sticks have cooked for 6 or 7 minutes, brush the bread sticks with half the butter mixture.

Then continue to bake. Bake for 5-8 more minutes.

Immediately upon removal from the oven brush the other half of the butter on the sticks. I also sprinkled them with some Parmesan Cheese.
Allow to cool for a few minutes before eating.  (Sure.  Just try!)

Strawberry Whipping Cream

Whip up heavy whipping cream with about 1/3 Cup powdered sugar.  Whip until soft peaks form.  Mash up strawberries or raspberries, add to whipped cream. 

What was cooking in your kitchen this weekend?

From my parsonage kitchen,

Easter

Freshen Up Friday

There are so many adorable ideas on the Internet for Easter…which is only three weeks away.  Have you found any recipes or decorations that you are excited to do this year?  Let me inspire you with a few things I’ve found; ideas to refresh your spring and your anticipation of Easter.


This darling treat is from Martha Stewart


These miniature centerpieces would be so simple!


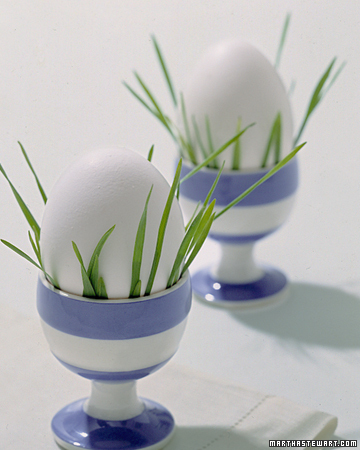
Here is a simple idea from Martha Stewart to just add blades of grass around your morning eggs.  Cute!


Edible nests!  I think my Sunday school class would love these!


I love this door decoration because it is the symbol of what Easter is all about.

If nothing else, put out a bowl of jelly beans or chocolate eggs in a pretty bowl or pretty little basket and set it out on the coffee table or your entry table so your guests will have a spring treat.

I hope you’ve been inspired!

Now, how about some refreshment in your spiritual life?  We all need it every day, don’t we?  We begin revival meetings this Sunday with Ben Farrell.  The meeting runs Sunday through Friday.  We’d love to have you come!  We are looking for the Lord to do great things among us!

See you in church!

Be refreshed,

P.S.  Did you notice the new tabs above today’s post?  I’m especially working on the “Recipe” tab to create links to all the recipes on my blog so it will be easier for you to find them.  Hope this is helpful to you!