What did you bring (to the potluck)?
Ever get asked that when you go to a family or church gathering? I think it’s the most popular question! Who cares where you went on vacation or how you’re feeling after having the flu for two weeks? We want to know what you brought that was yummy for us to eat! (Just kidding!)
A great to-go recipe is sometimes just a simple something like an old recipe. That’s what I took to our church’s Friend Day picnic yesterday. I made a salad that I’ve been making for close to thirty years. Sometimes I forget to go back to those old tried and true recipes! What was I thinking for leaving this recipe in the dust? It’s so delicious, so pretty, and it is made the night before!
What is it? It’s the trusty Seven-Layer Salad. Have you ever made it? Has it been in your recipe box forgotten and tucked away? Why not make it for your next gathering or for your dinner one night this week? You can vary the ingredients you add, making it just what you and your family love. I like it, too, because it takes common foods that I usually have on hand. It stays fresh and crispy with the dressing on top. Put it in a clear bowl so each layer will show off its colors!

Seven Layer Salad – Original recipe – Serves 12
1 pound bacon
1 large head iceberg lettuce – rinsed, dried, and chopped
1 red onion, chopped
1 (10 ounce) package frozen green peas, thawed
10 ounces shredded Cheddar cheese
1 cup chopped cauliflower
1 1/4 cups mayonnaise
2 tablespoons white sugar
2/3 cup grated Parmesan cheese
Directions
Place bacon in a large, deep skillet. Cook over medium high heat until evenly brown. Crumble and set aside.
In a large flat bowl, place the chopped lettuce and top with a layer of onion, peas, shredded cheese, cauliflower and bacon.
Prepare the dressing by whisking together the mayonnaise, sugar and Parmesan cheese. Drizzle over salad and refrigerate until chilled.
I did try a new dessert for the picnic…Butterscotch Blondies! I found these in my Cooking Light Baking Cookbook. I seriously don’t miss any of the fat in the “normal” recipe! This is another recipe that has common ingredients .No tofu or agave needed – just less of the normal baking supplies! I love that! These are rich and gooey on the inside and crispy on the outside! All they need is a cold glass of milk!
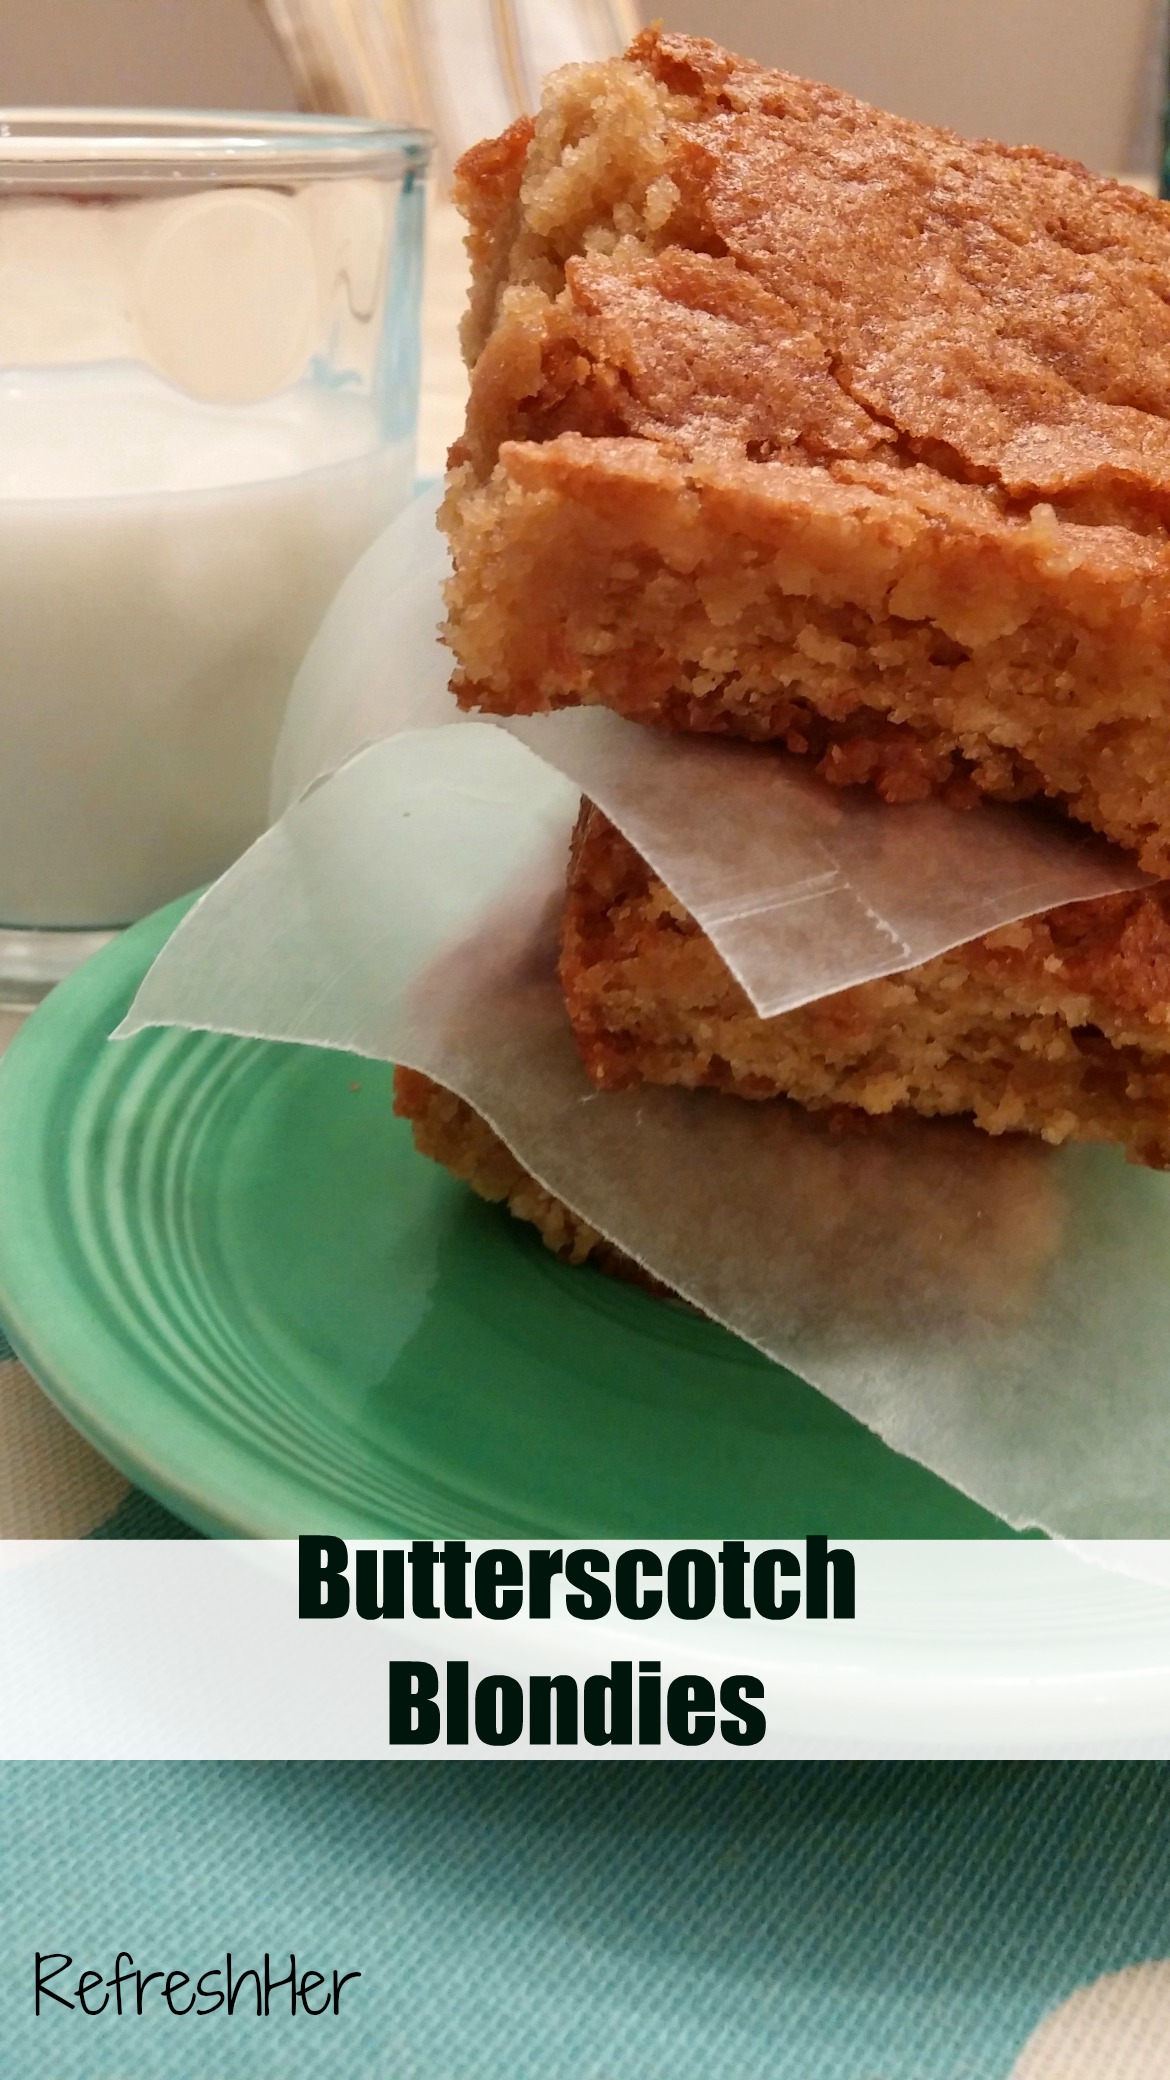
Butterscotch Blondies
Ingredients
2 cups all-purpose flour (about 9 ounces)
2 1/2 cups firmly packed light brown sugar
2 teaspoons baking powder
1/2 teaspoon salt
10 tablespoon unsalted butter
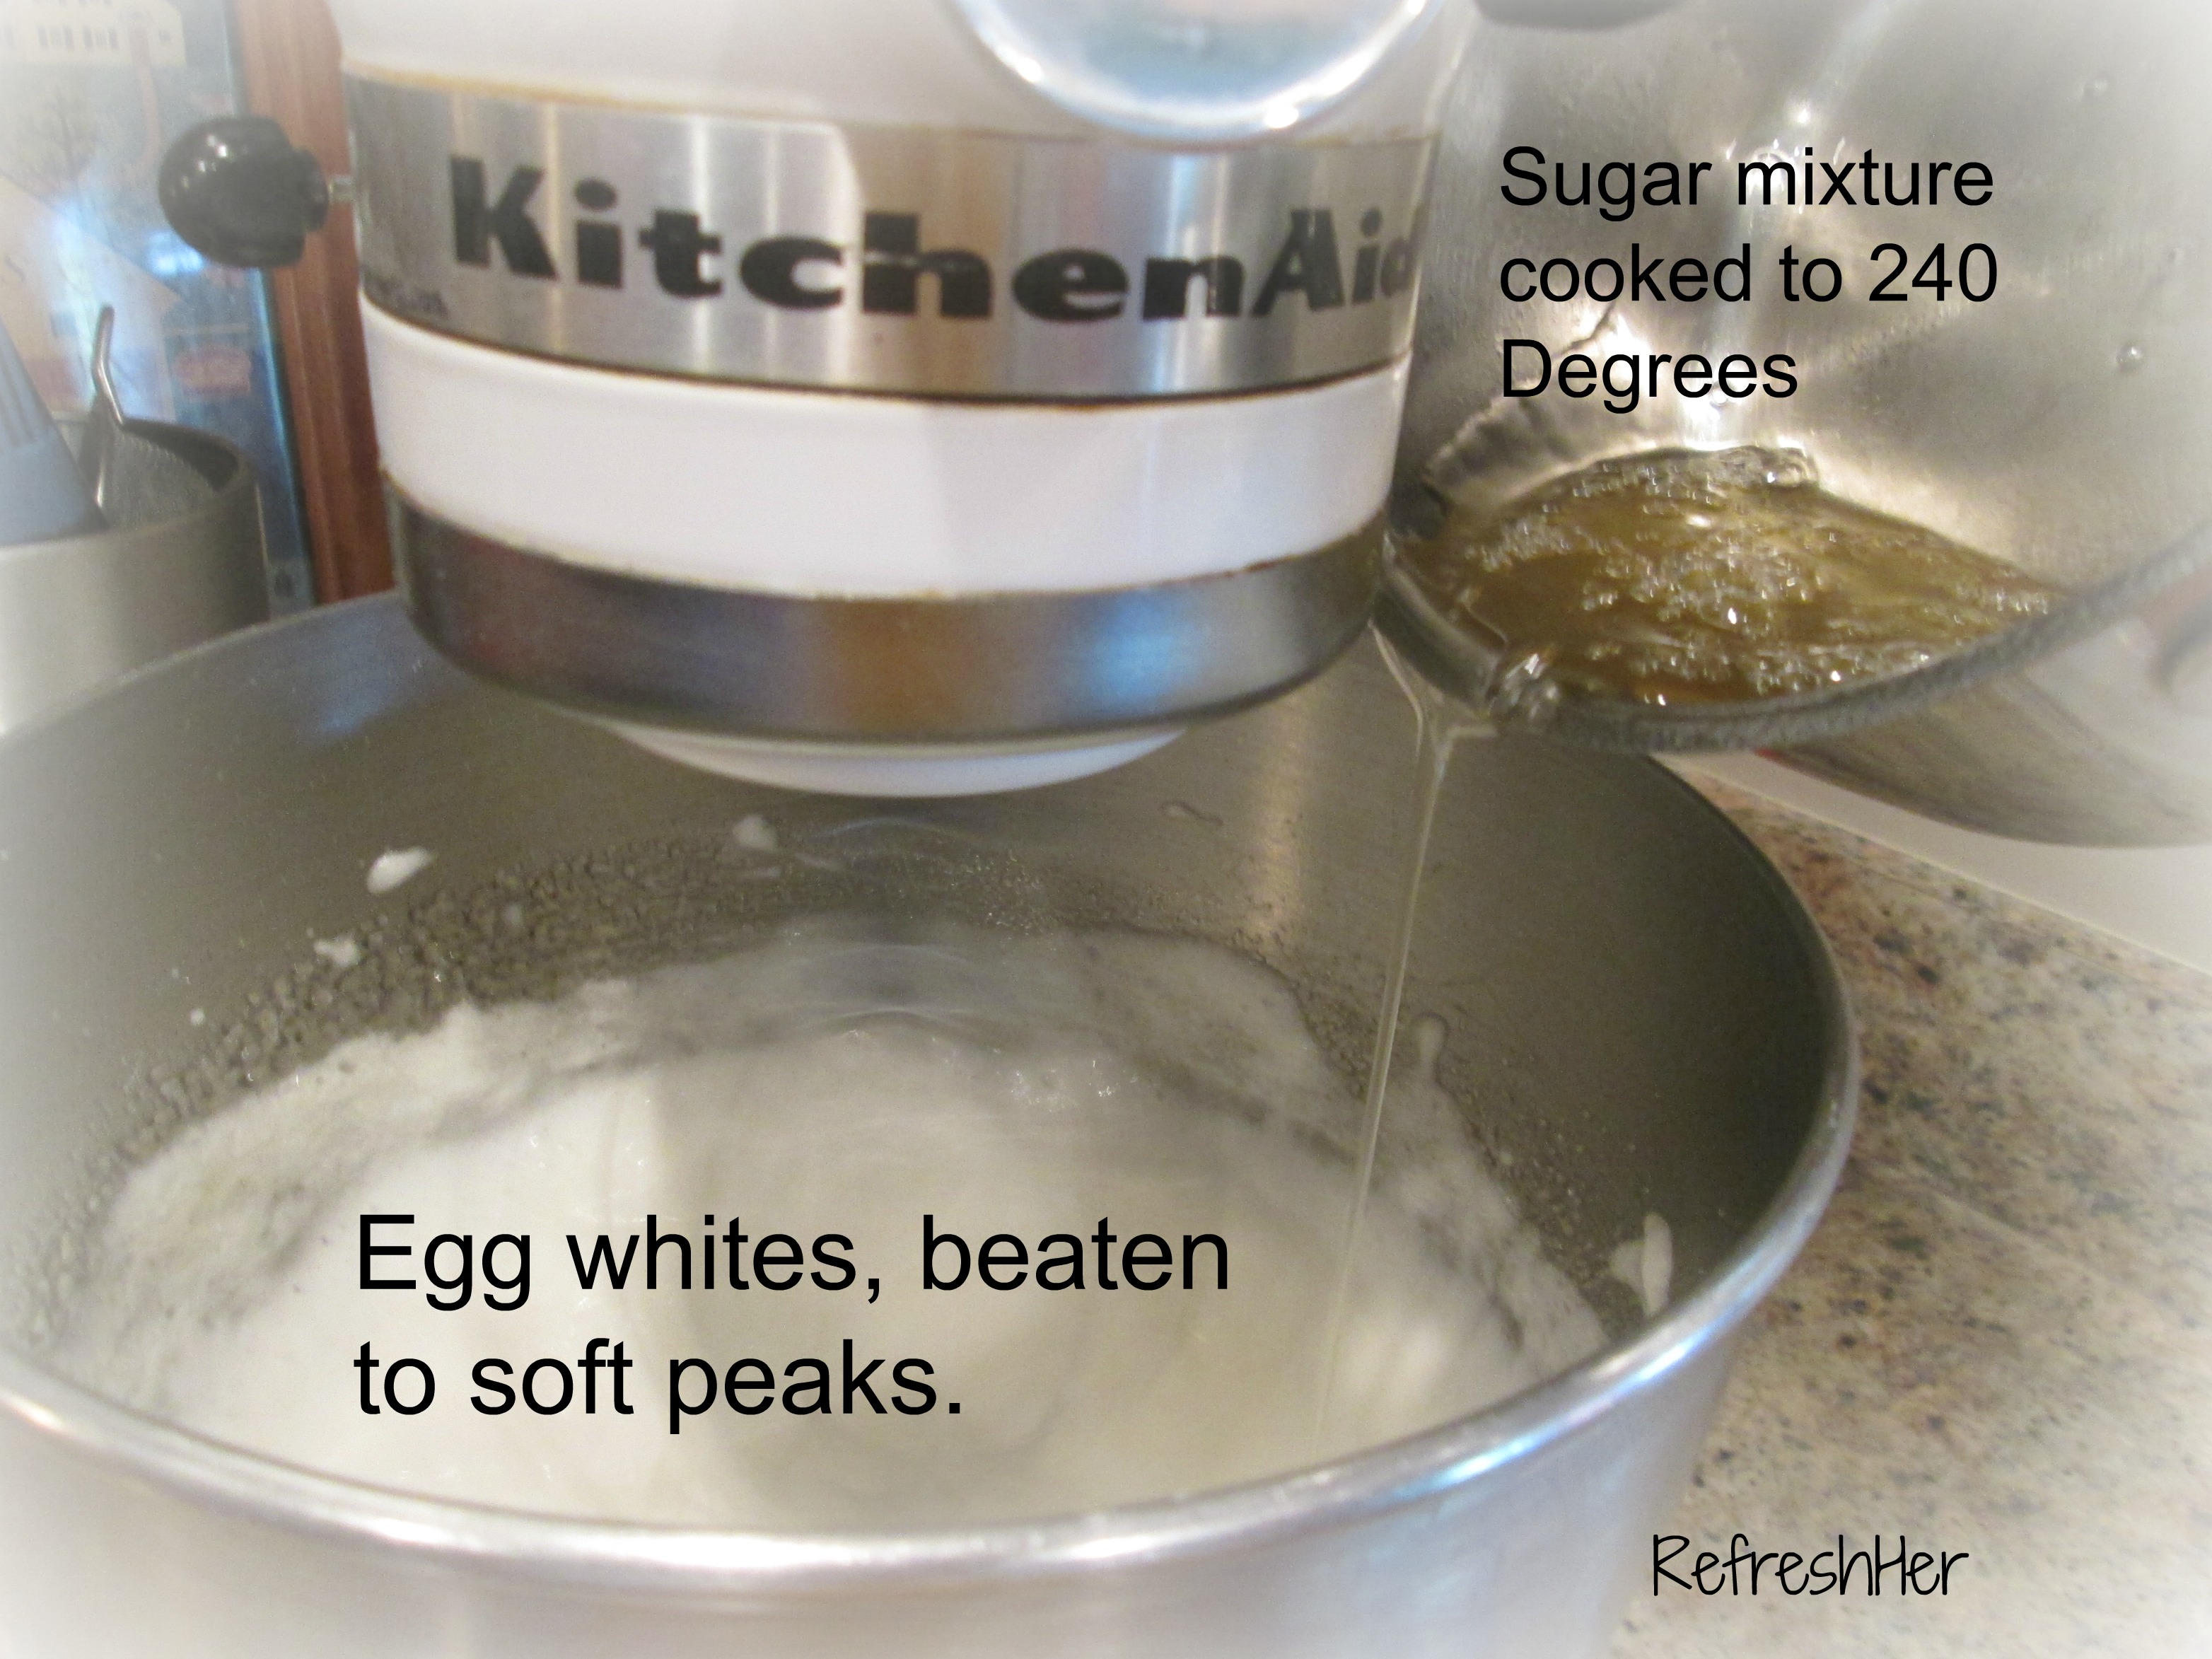
6 Egg whites
Cooking spray
Preparation
Preheat oven to 350°.
Lightly spoon flour into dry measuring cups; level with a knife. Combine flour, firmly packed light brown sugar, baking powder, and salt in a large bowl.
Place butter in a small skillet over medium heat. Cook 6 minutes or until lightly browned, stirring occasionally. Pour into a small bowl, and cool 10 minutes.
Combine butter and egg whites, stirring with a whisk. Pour butter mixture over flour mixture; stir just until moistened. Spoon batter into a 13 x 9-inch baking pan coated with cooking spray; smooth top with spatula. Bake at 350° for 30 minutes or until a wooden pick inserted in center comes out clean. Cool in pan on a wire rack. Cut into 24 squares.
Those blonde brownies are a yummy treat! Don’t wait for a special potluck to make them. You need these this week!
Have you made any of your old recipes recently? What was it?
With love from my country kitchen,