With our grandson’s birthdays approaching, the question in our minds was,
“What can we give them that will be meaningful?”
If we had asked them, their answer would have been another leggo set or some other favorite toy that is on their list, which would have been fun, of course! However, as we considered our choices, we decided we would rather spend time with them. Also, being a twin myself, I also decided that we would have them one at a time, rather than together so we could focus on each boy.
As I prayed about it, I asked the Lord what we could do that each of them would enjoy. The results were a passel full of memories made and such sweet times together!
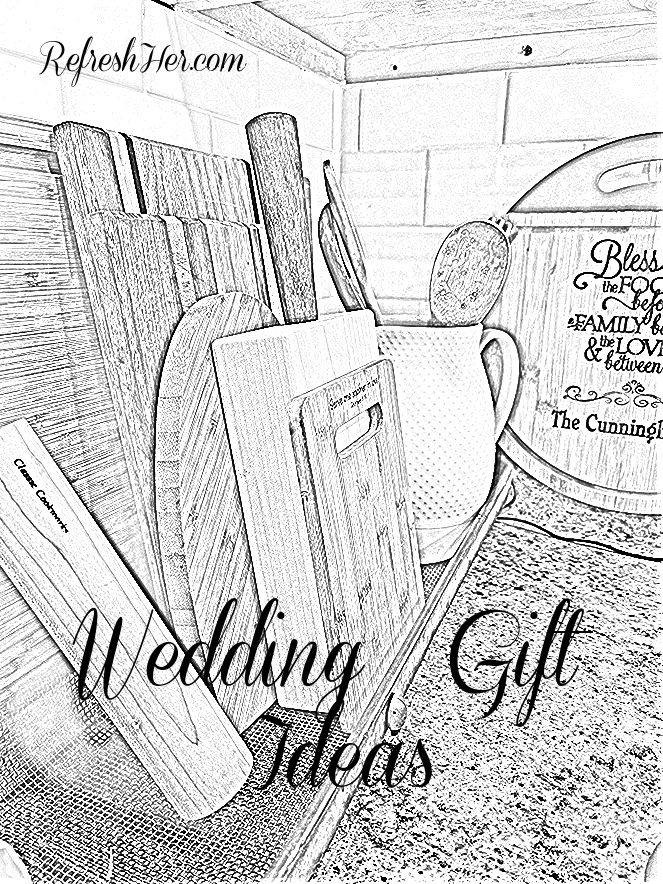
It’s an amazing thing that two sinners can fall in love and stay together for 40+ years, isn’t it?! The next amazing thing about a 40 year marriage is to realize that I still have quite a few of my wedding gifts, received at our June 1981 wedding! These are items that I still love and use regularly. I’m linking up with Whitney at Come Home for Comfort today so we can share our favorite gifts received, and also things we like to give as wedding gifts. I’m anxious to see what she’s going to share!
When I started looking through my kitchen at tools I use all the time, I realized that there was quite a list of items! I’m going to start with my wedding gifts that I still use and work my way to new items I’ve gotten in recent years.
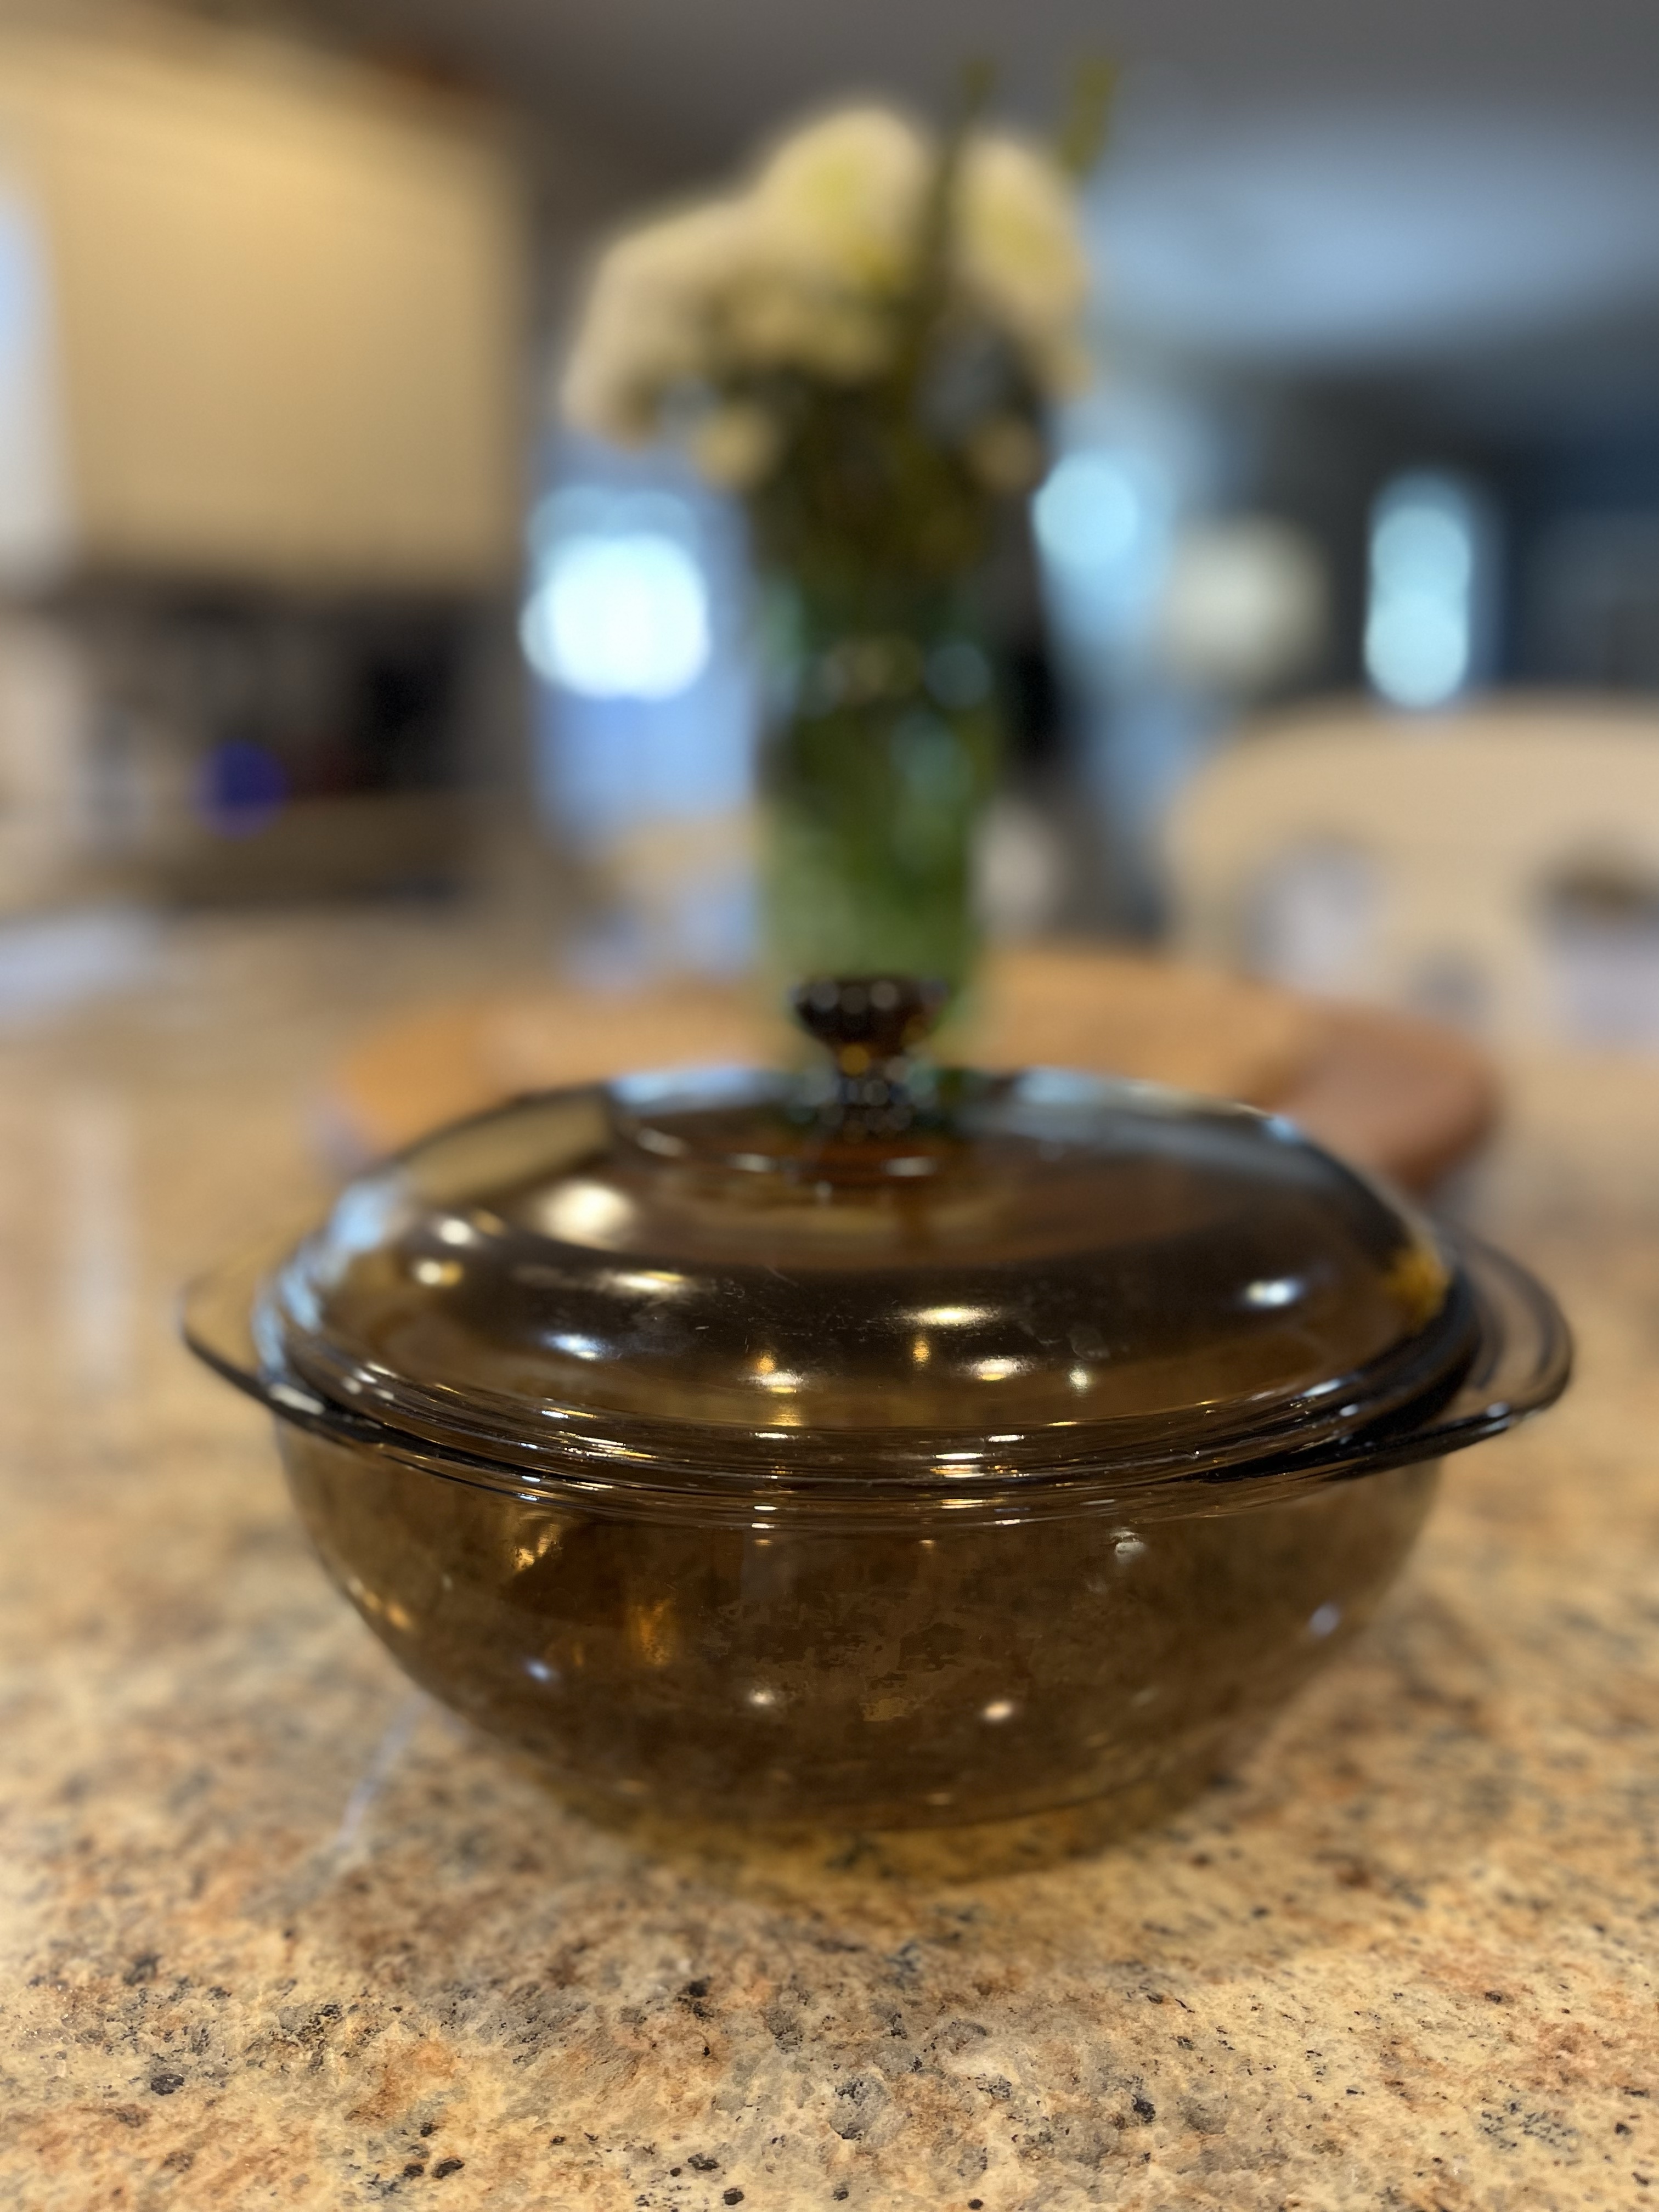
Pyrex Disheswith lids
Pyrex is so great because it can be put in the oven, and the microwave and is also perfect for setting on the table as a serving dish. I love the glass lids, too. I use this bowl LOTS! It’s my bowl I always use to make my microwave popcorn.
Corning Ware– Realizing that this is now considered vintage, I still recommend this type of dish because it can be used on the stove top, the oven and the microwave! The newer dishes have plastic lids, which are nice for storing in the fridge. You can stack them that way, which helps with space.
We’re moving to newer items now that I use frequently...
Good kitchen shears – I use these multiple times a day! From cutting twine to cutting a chicken apart, every kitchen needs a good, sharp pair of kitchen shears. It’s worth the investment! These are from Pampered Chef. I’ll be using the scissors this week to cut my chicken pieces when I make this recipe for Chicken Cutlets with Deconstructed Guacamole. It’s so good!
Knife & Scissor Sharpener – Though my scissors are old (and look it), they are still in good working order because of this sharpener that I got at Lowe’s years ago, thanks to my dad’s recommendation! I couldn’t get along without this sharpener to keep knives really useful, too. A great gift idea would be either a couple of good knives and a sharpener, or kitchen shears and the sharpener. There are lots of nice looking ones on Amazon!
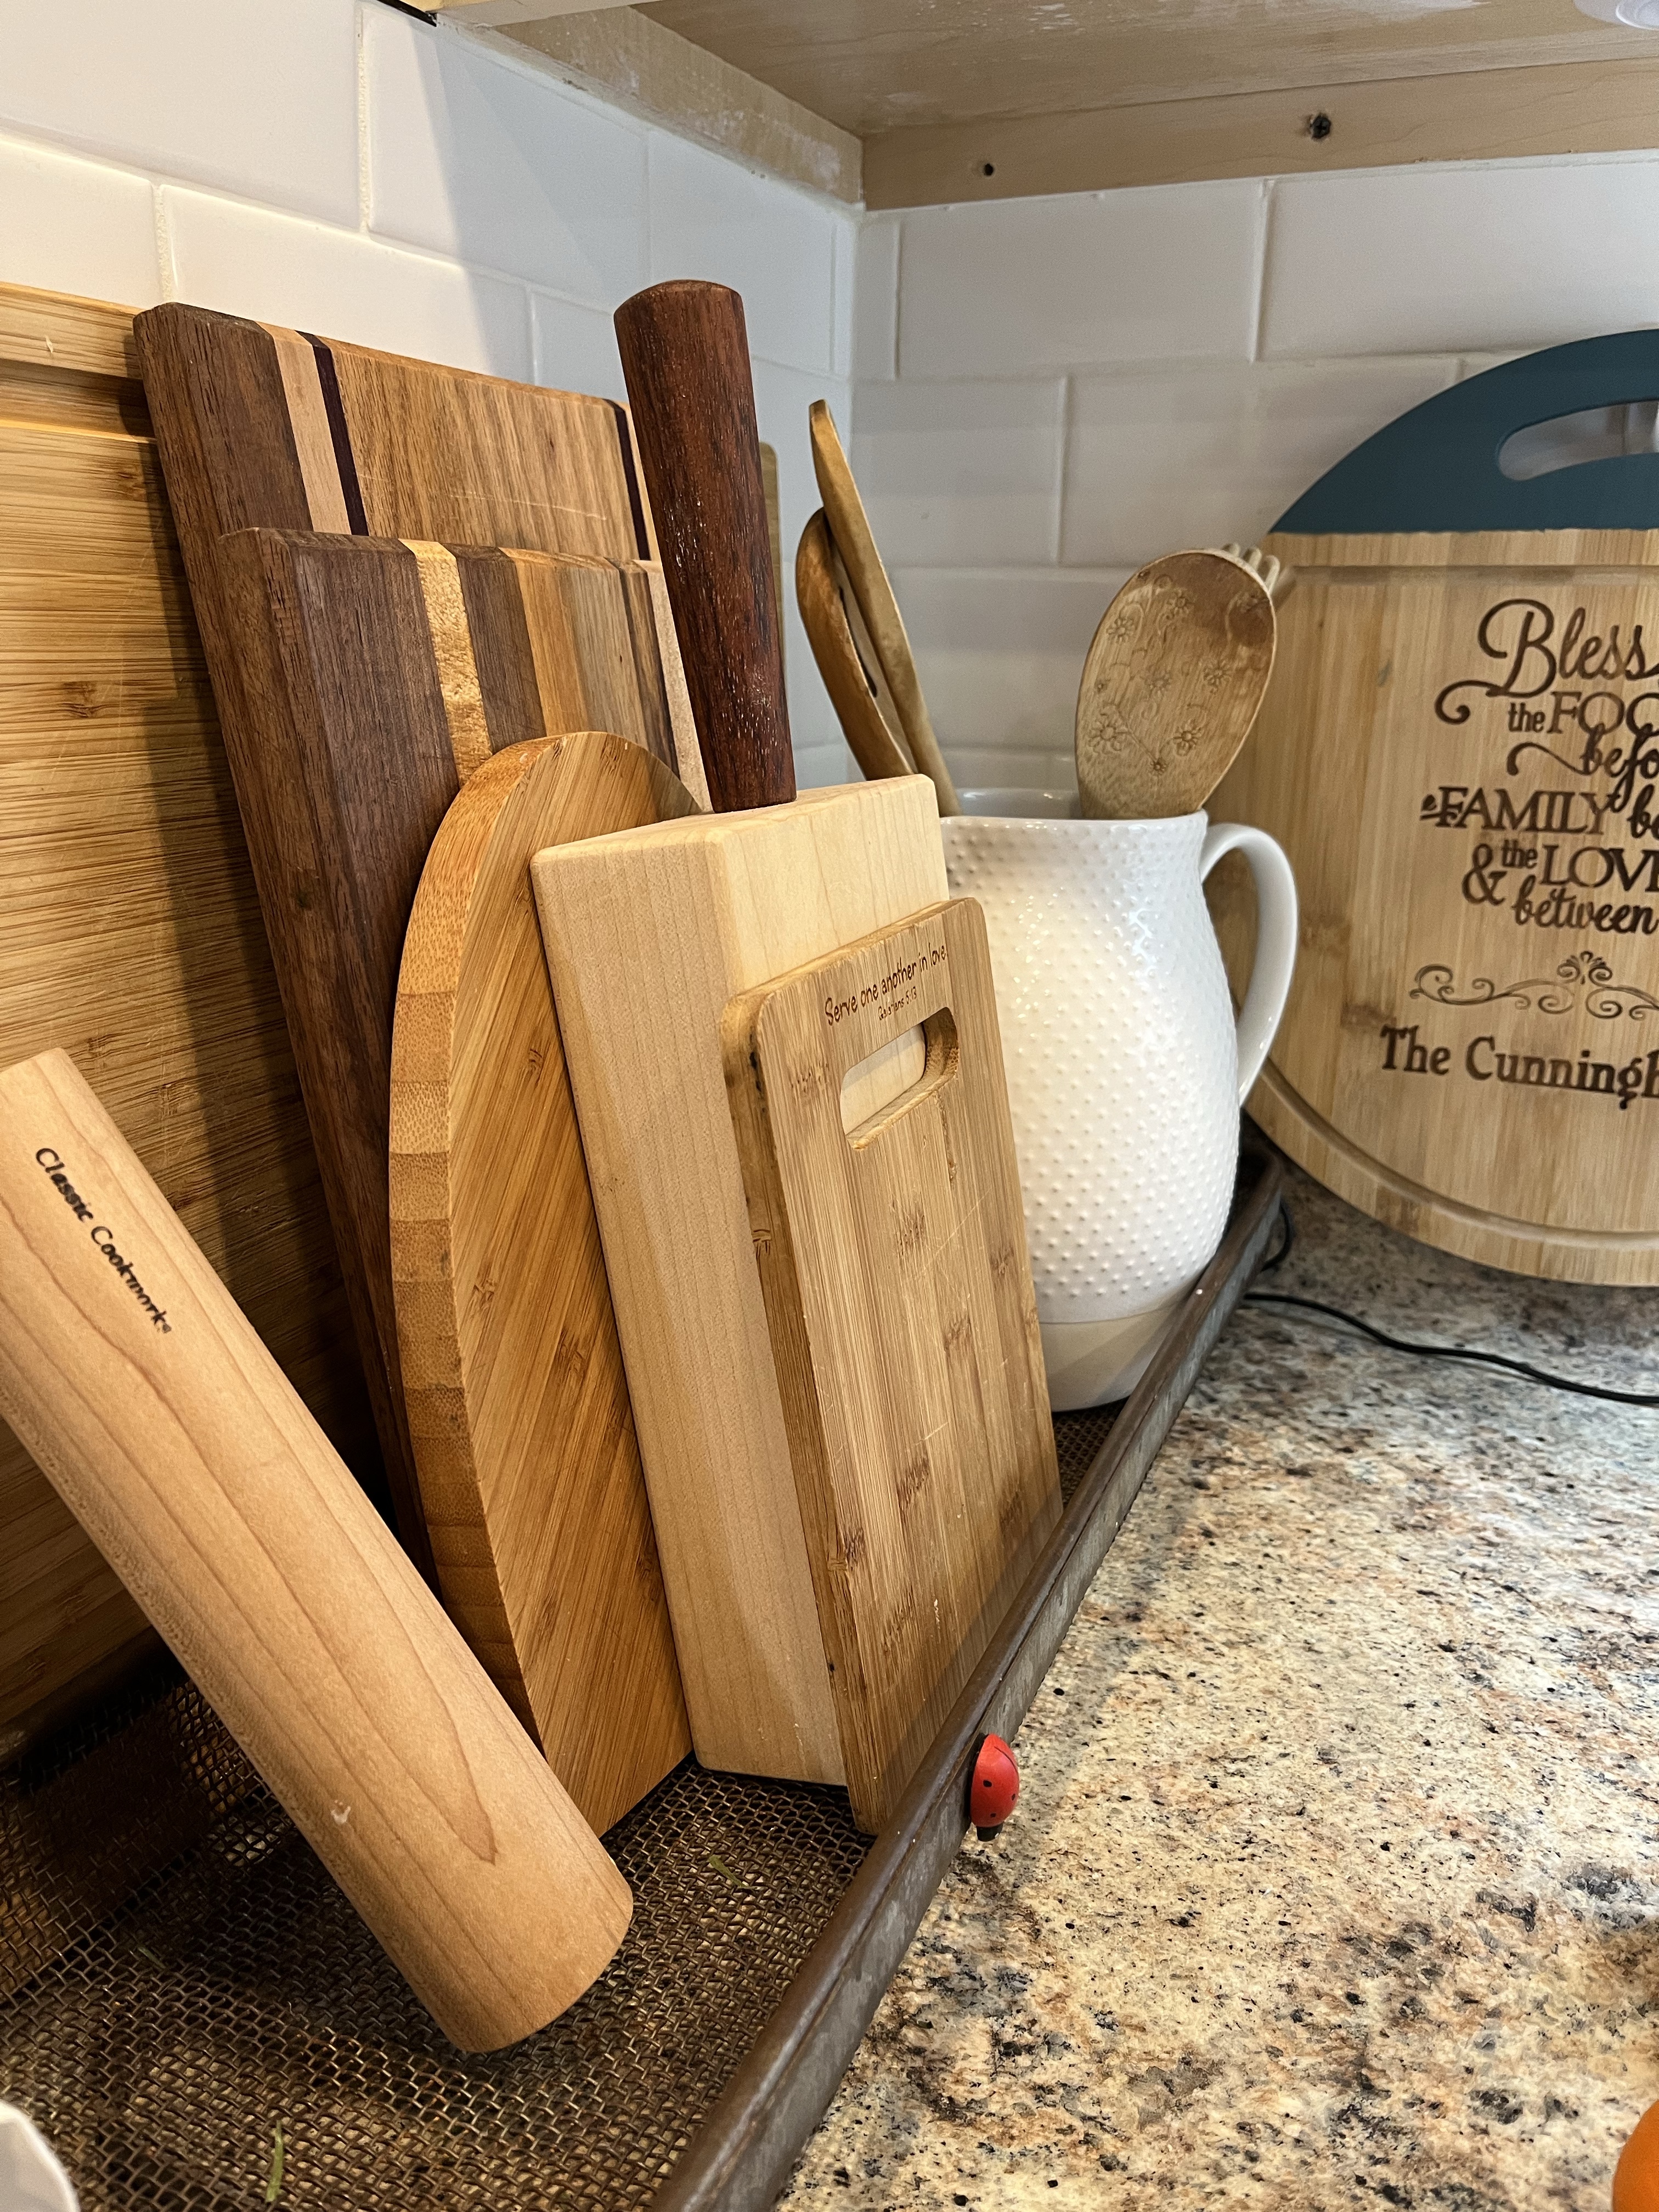
Cutting board/Charcuterie board – With charcuterie boards being all the rage right now, a large cutting board would make a terrific, lasting gift! It’s great to have a large board with the rim. It’s perfect for carving a turkey or chicken. I love my collection of boards and truly use them all! The carved board is so pretty on display. A sweet friend gave that to me for Christmas this year and I love it!
Decorative measuring spoons and dishes – I’ve found that these kind of measuring spoons are more resilient than the plastic ones, or even the aluminum kind. I have two sets of spoons and keep them in two different spots in my kitchen so I always have a set nearby! These ceramic measuring cups are perfect for shortening, peanut butter, coconut oil and stick things like honey or molasses. Perfect gift for someone who loves to bake!
Digital Meat Thermometer – I don’t know how I got along without this tool for so many years! My thermometer has a probe that can go in the oven while the meat is cooking. It beeps when it reaches the temperature that I set. What a life-saver!!
Crock Pot – This list wouldn’t be complete without a crock pot! I like this one that will move to “warm” when the cooking time is complete. I also love that the crock comes out for easy cleaning.
I could also add things like trays and pitchers! There are just so many pretty and useful things for the kitchen! I hope my list AND Whitney’s suggestions will either inspire you for the gift you need to buy, or will help you make your kitchen more functional as you purchase these items for your own use!
With the week of Christmas upon us, maybe you’re still wondering about a few last minute gifts to give? My favorite place to conjure up a gift is in my kitchen! Here are a couple of ideas you could consider! I’m also linking several posts from the past that will give you LOTS of ideas to whip up!
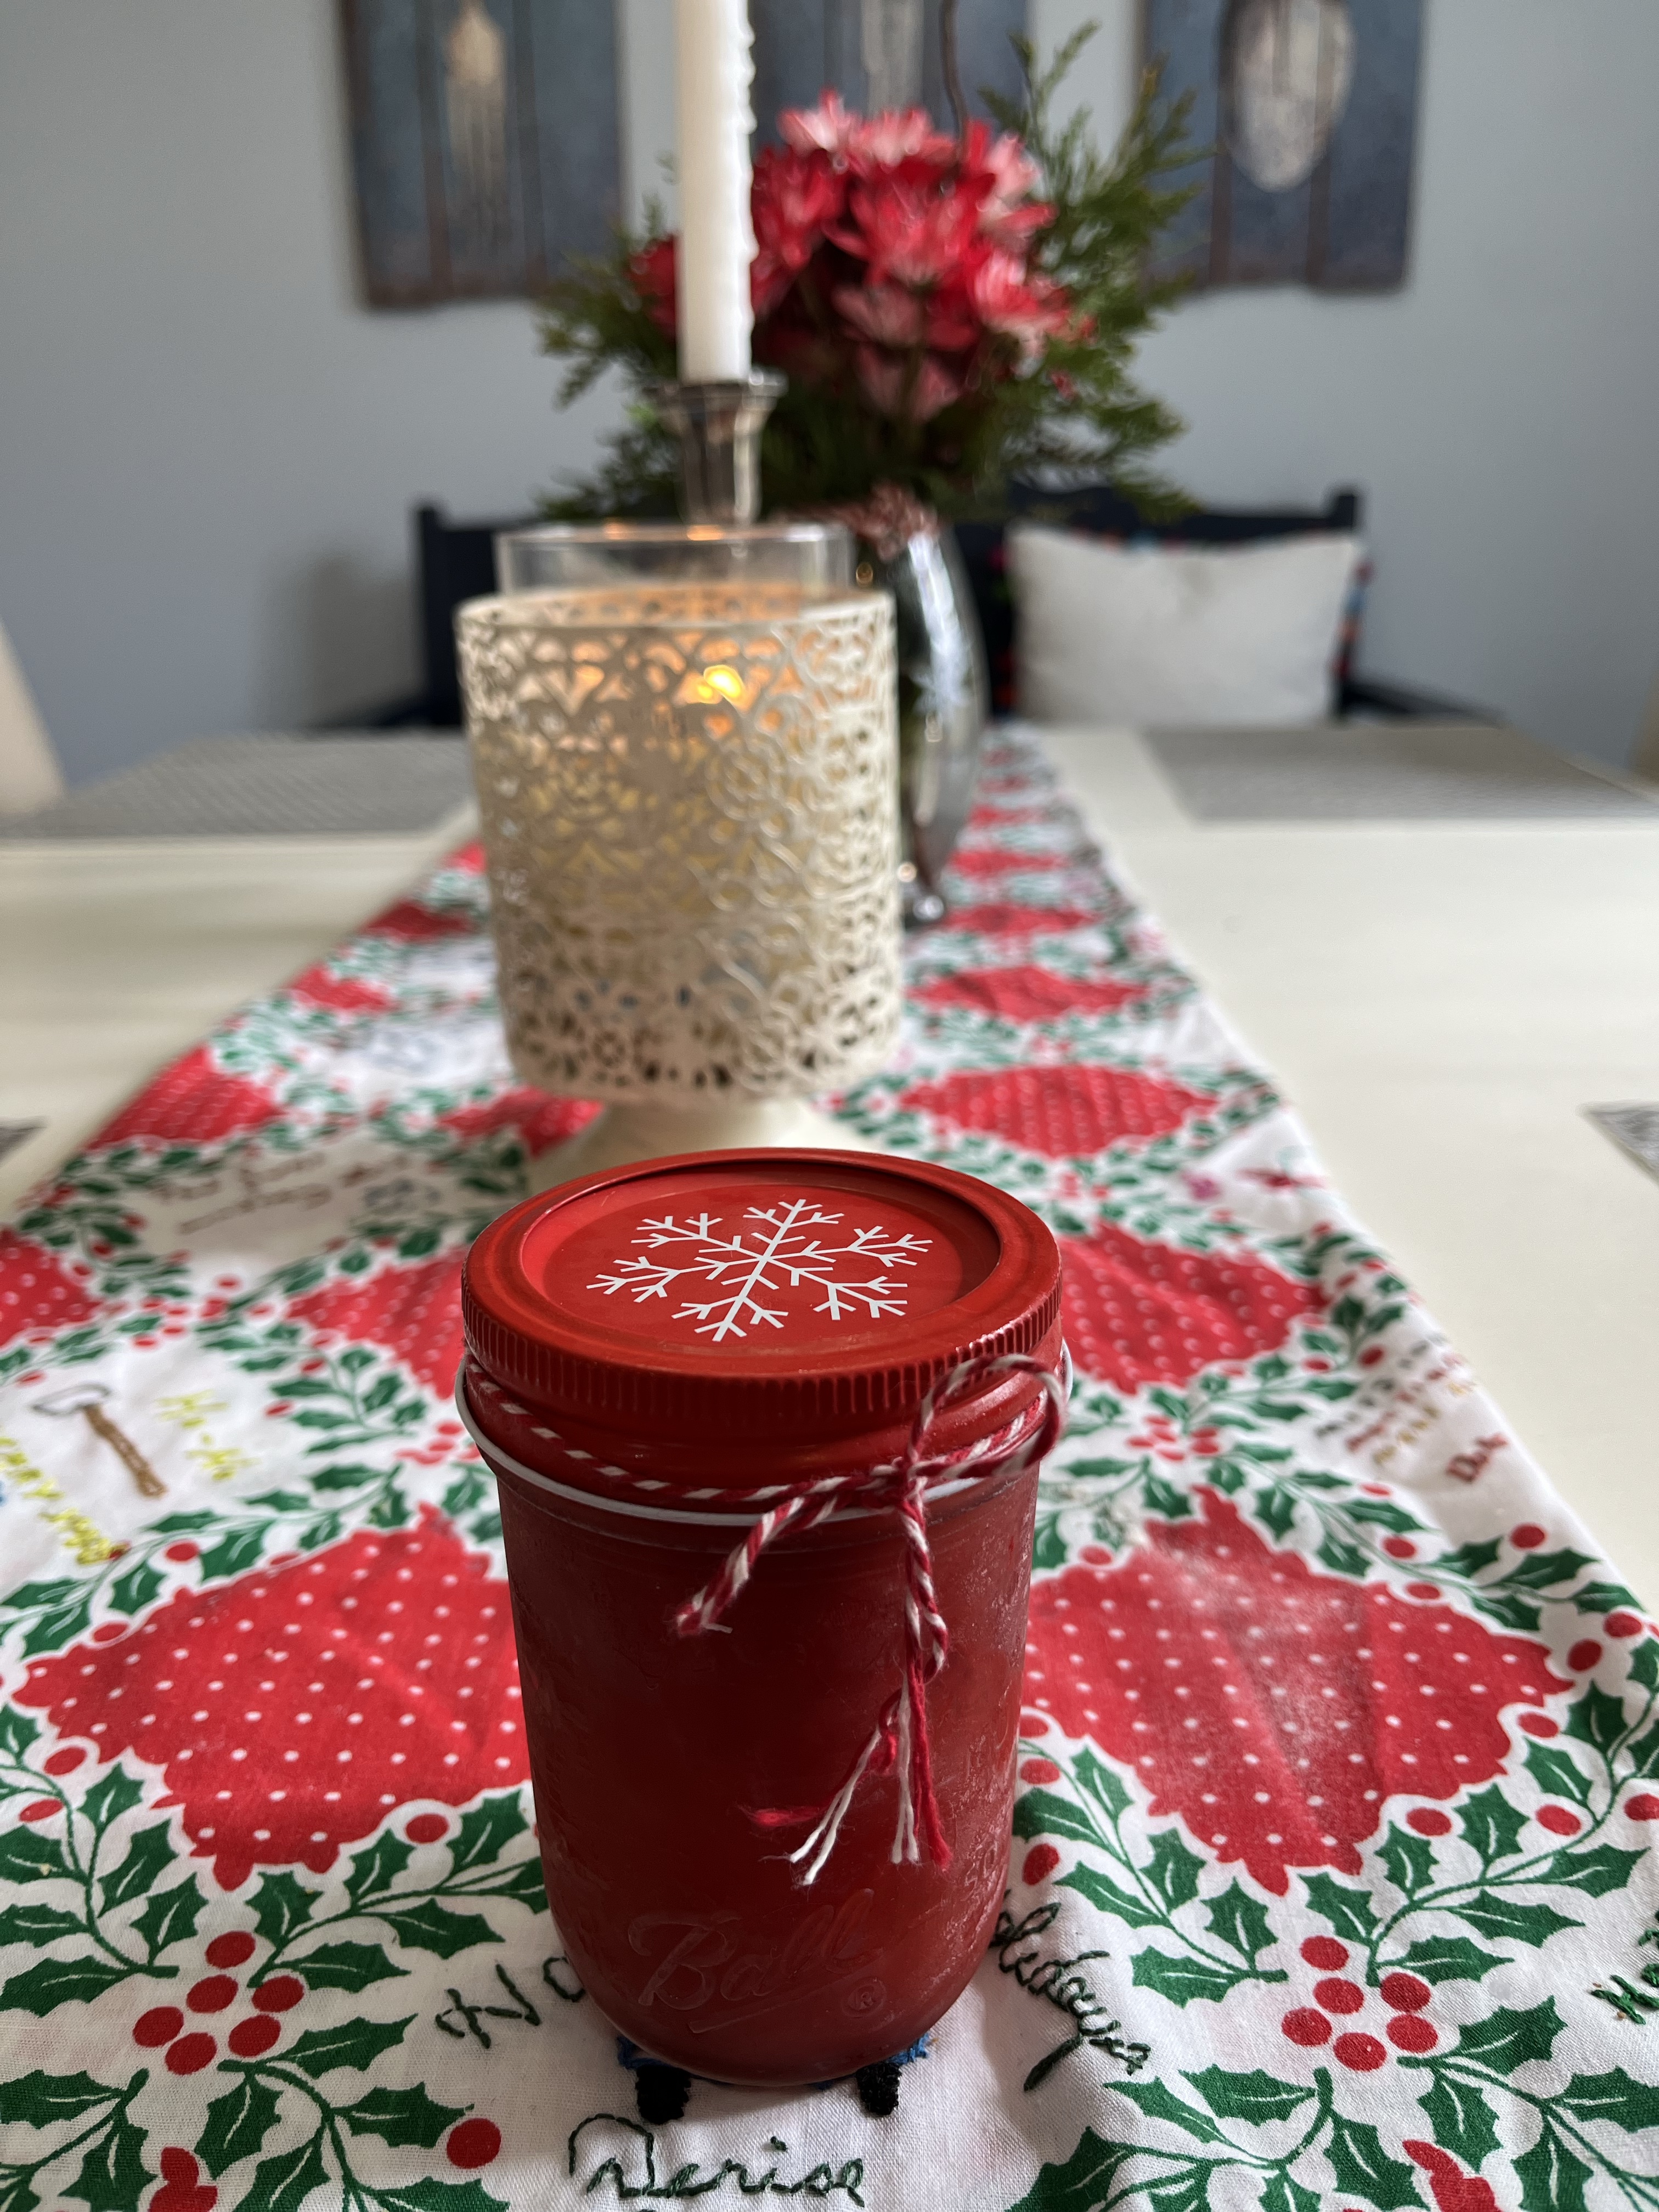
If you have no time, but you have homemade jam, find a holiday lid, pop it on the jar, tie on a ribbon and you are good to go! You could include a loaf of bread, either homemade, or baked from a purchased frozen loaf, like the Rhodes bread loaves.You could also purchase a jar of jam and share it with some bread!
This Healthier Granola can be made up and baked within 30 minutes. Let it cool, then pour it into a holiday cellophane bag. Voila! Gift accomplished!
This granola is so good on Greek yogurt!
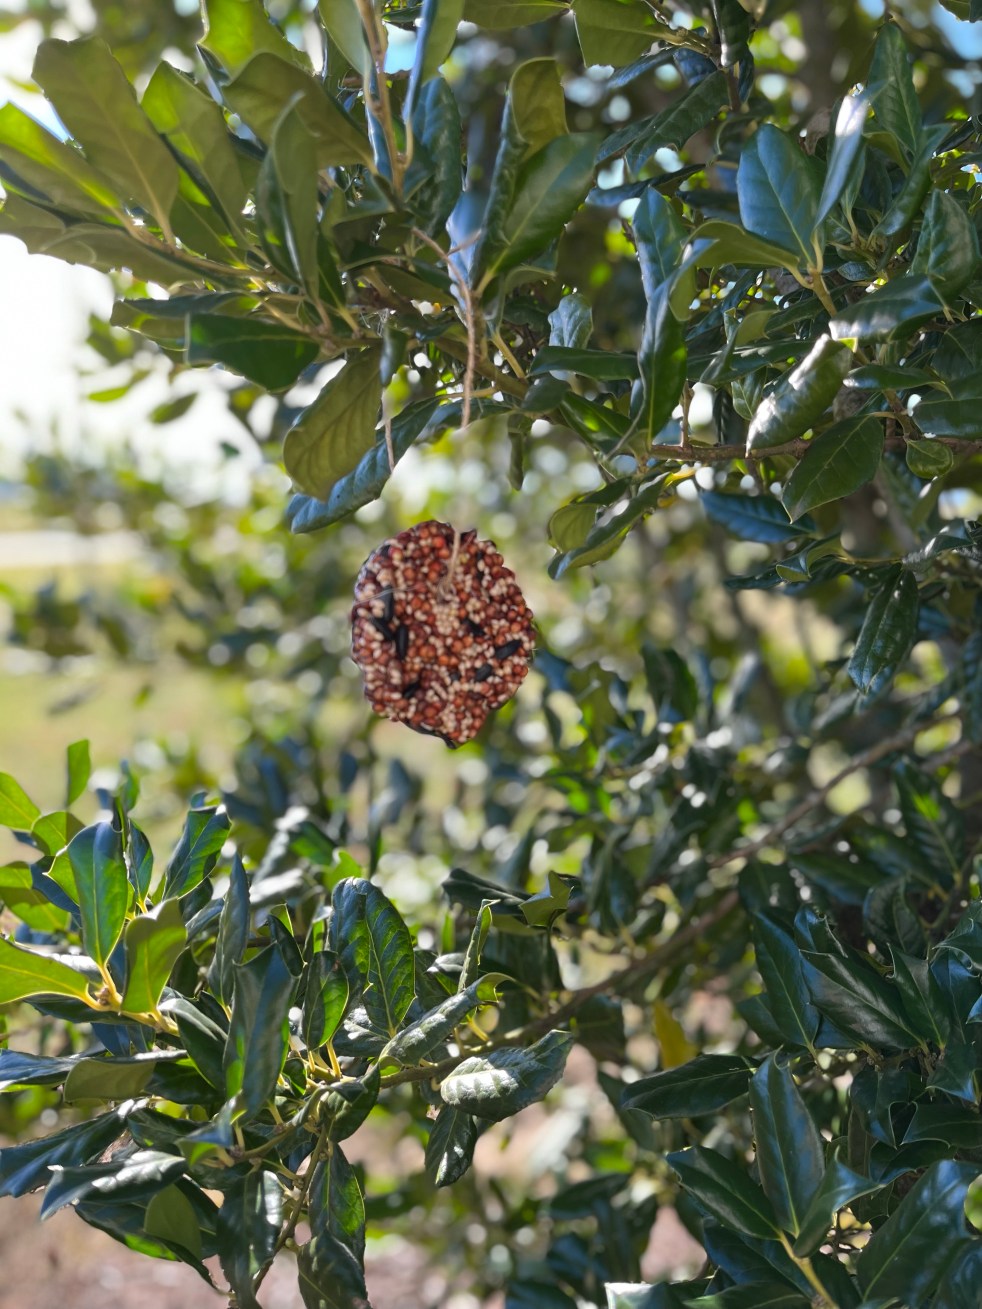
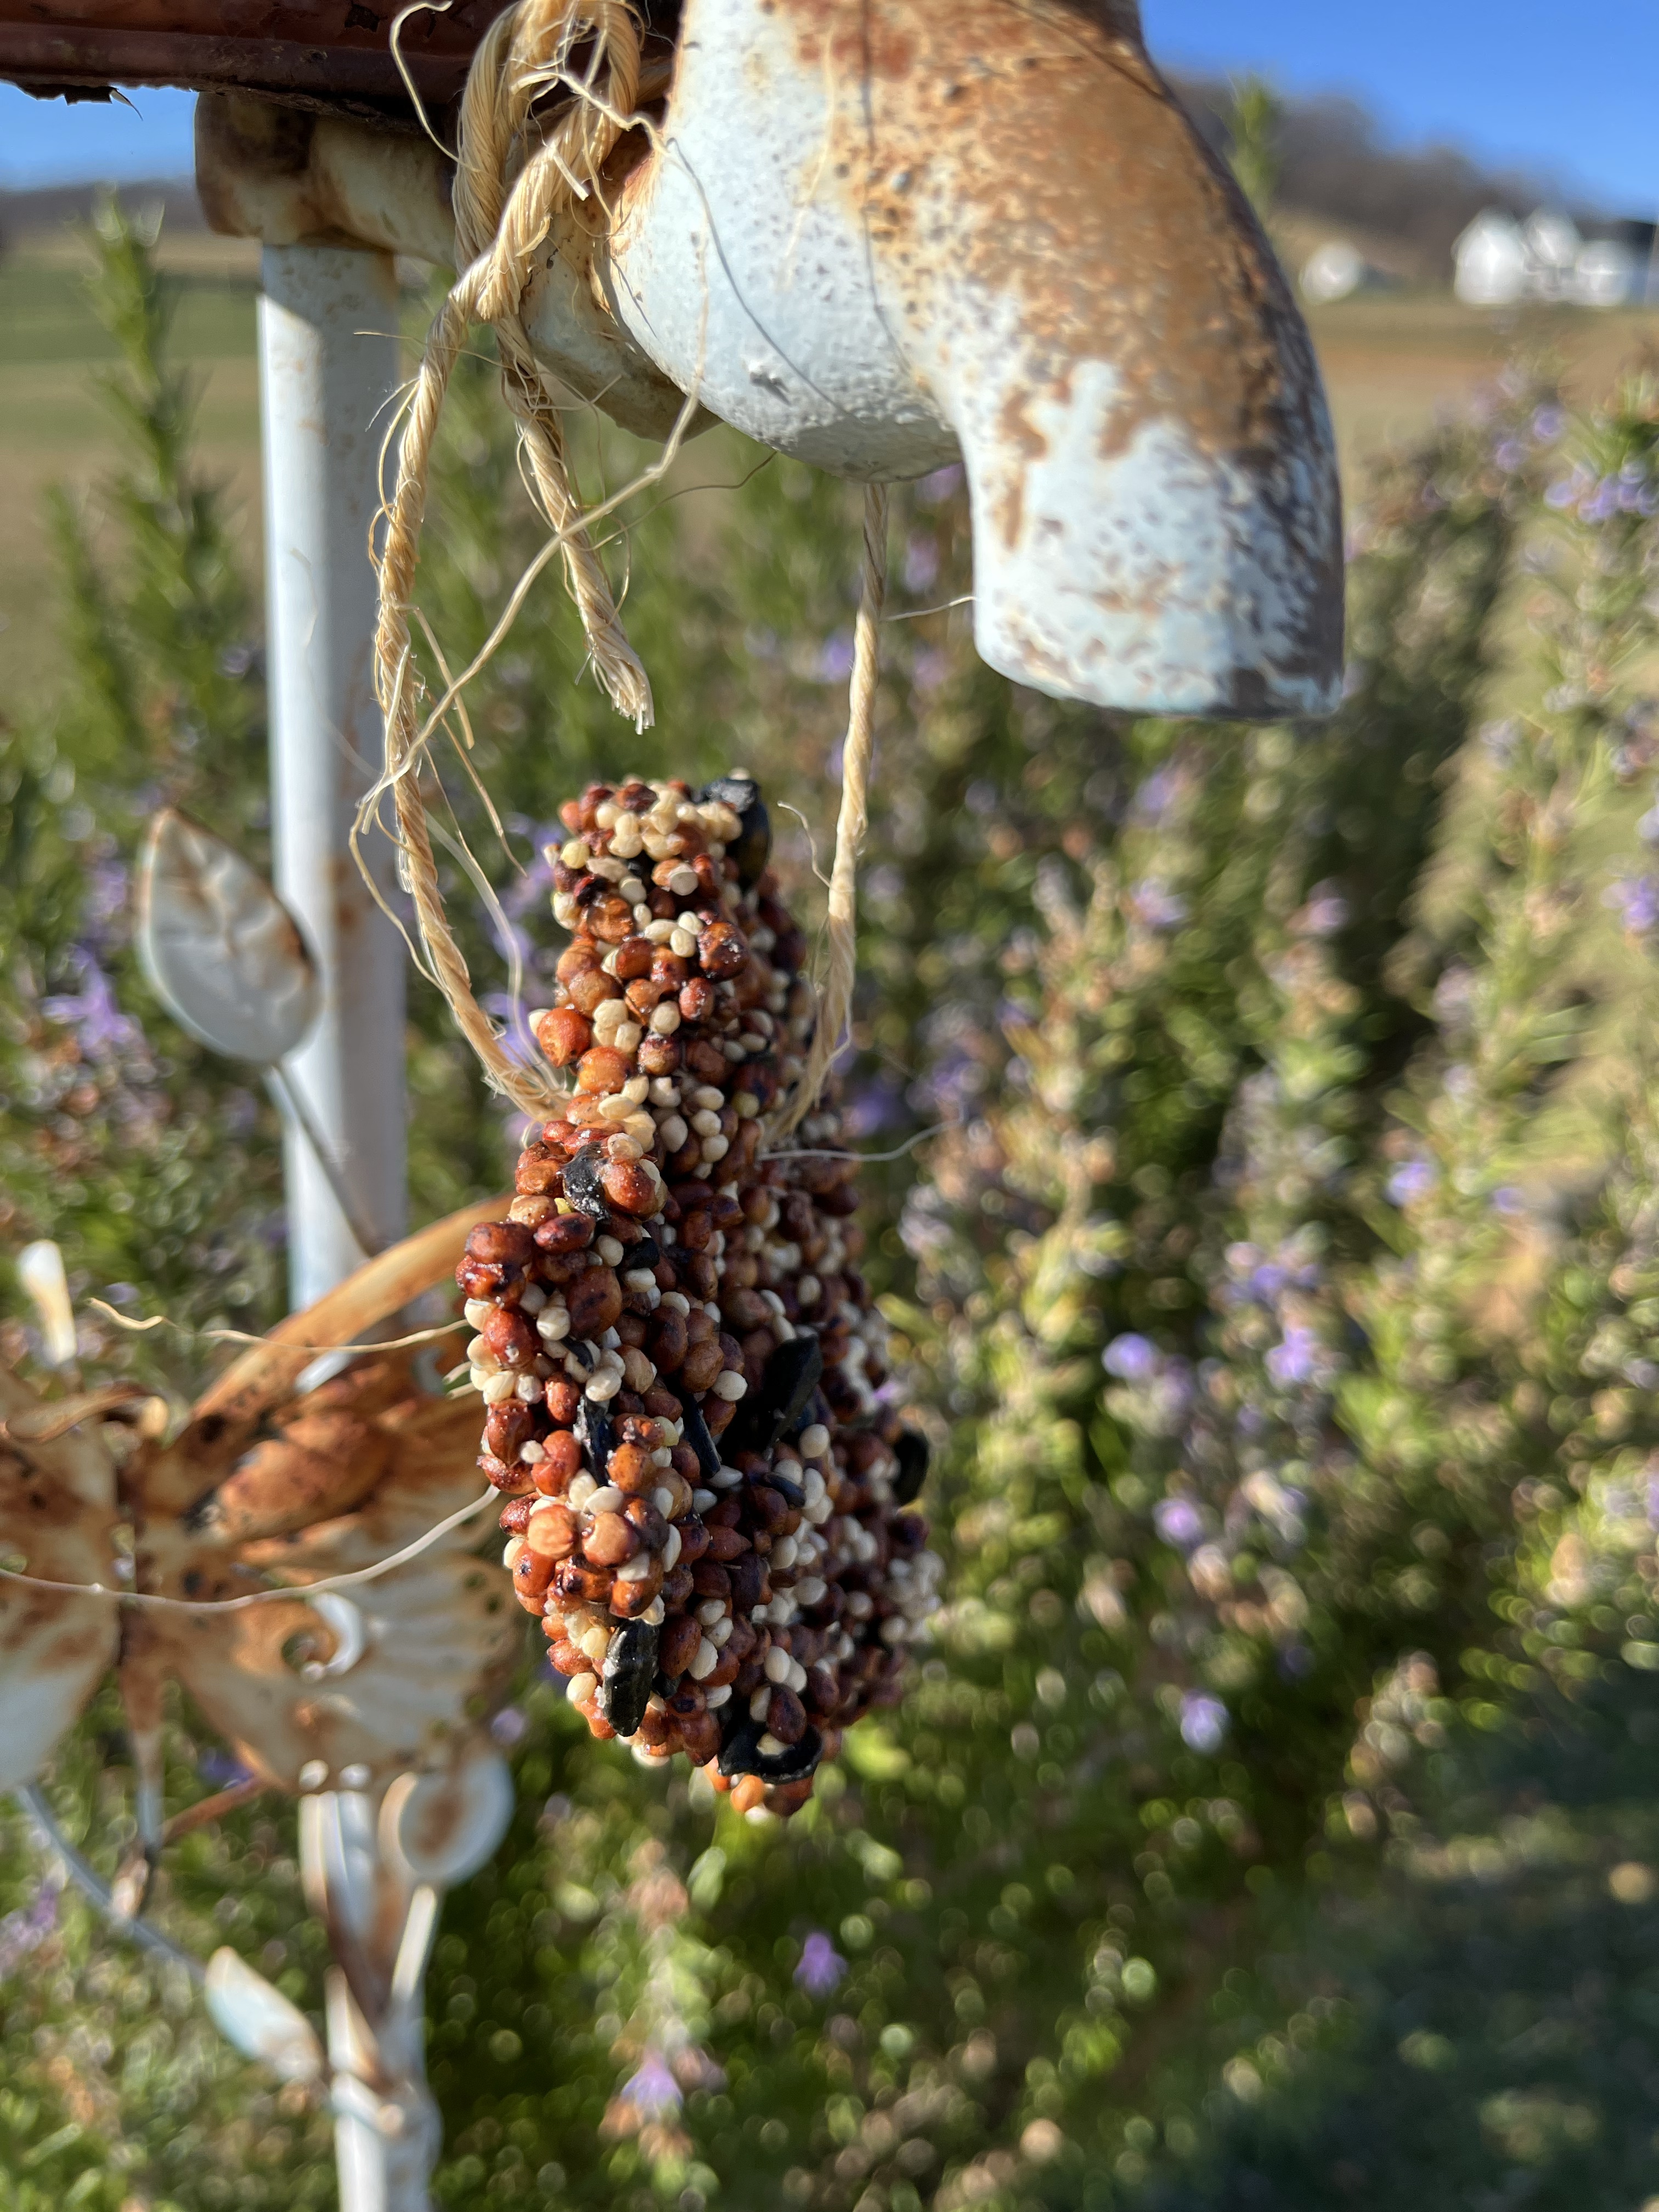
Here’s a sweet gift made in your kitchen, but it’s food for birds – not food for people! Since my husband had Covid and we have been quarantined and not able to shop much, I had a friend purchase some birdseed for me and I made these as a gift for him because he loves to see the birds at our feeders/trees. (I feel like an old person saying that! I guess it’s true!). Anyway, these turned out so cute, and the birds will have a feast this winter.
Here’s the recipe and instructions:
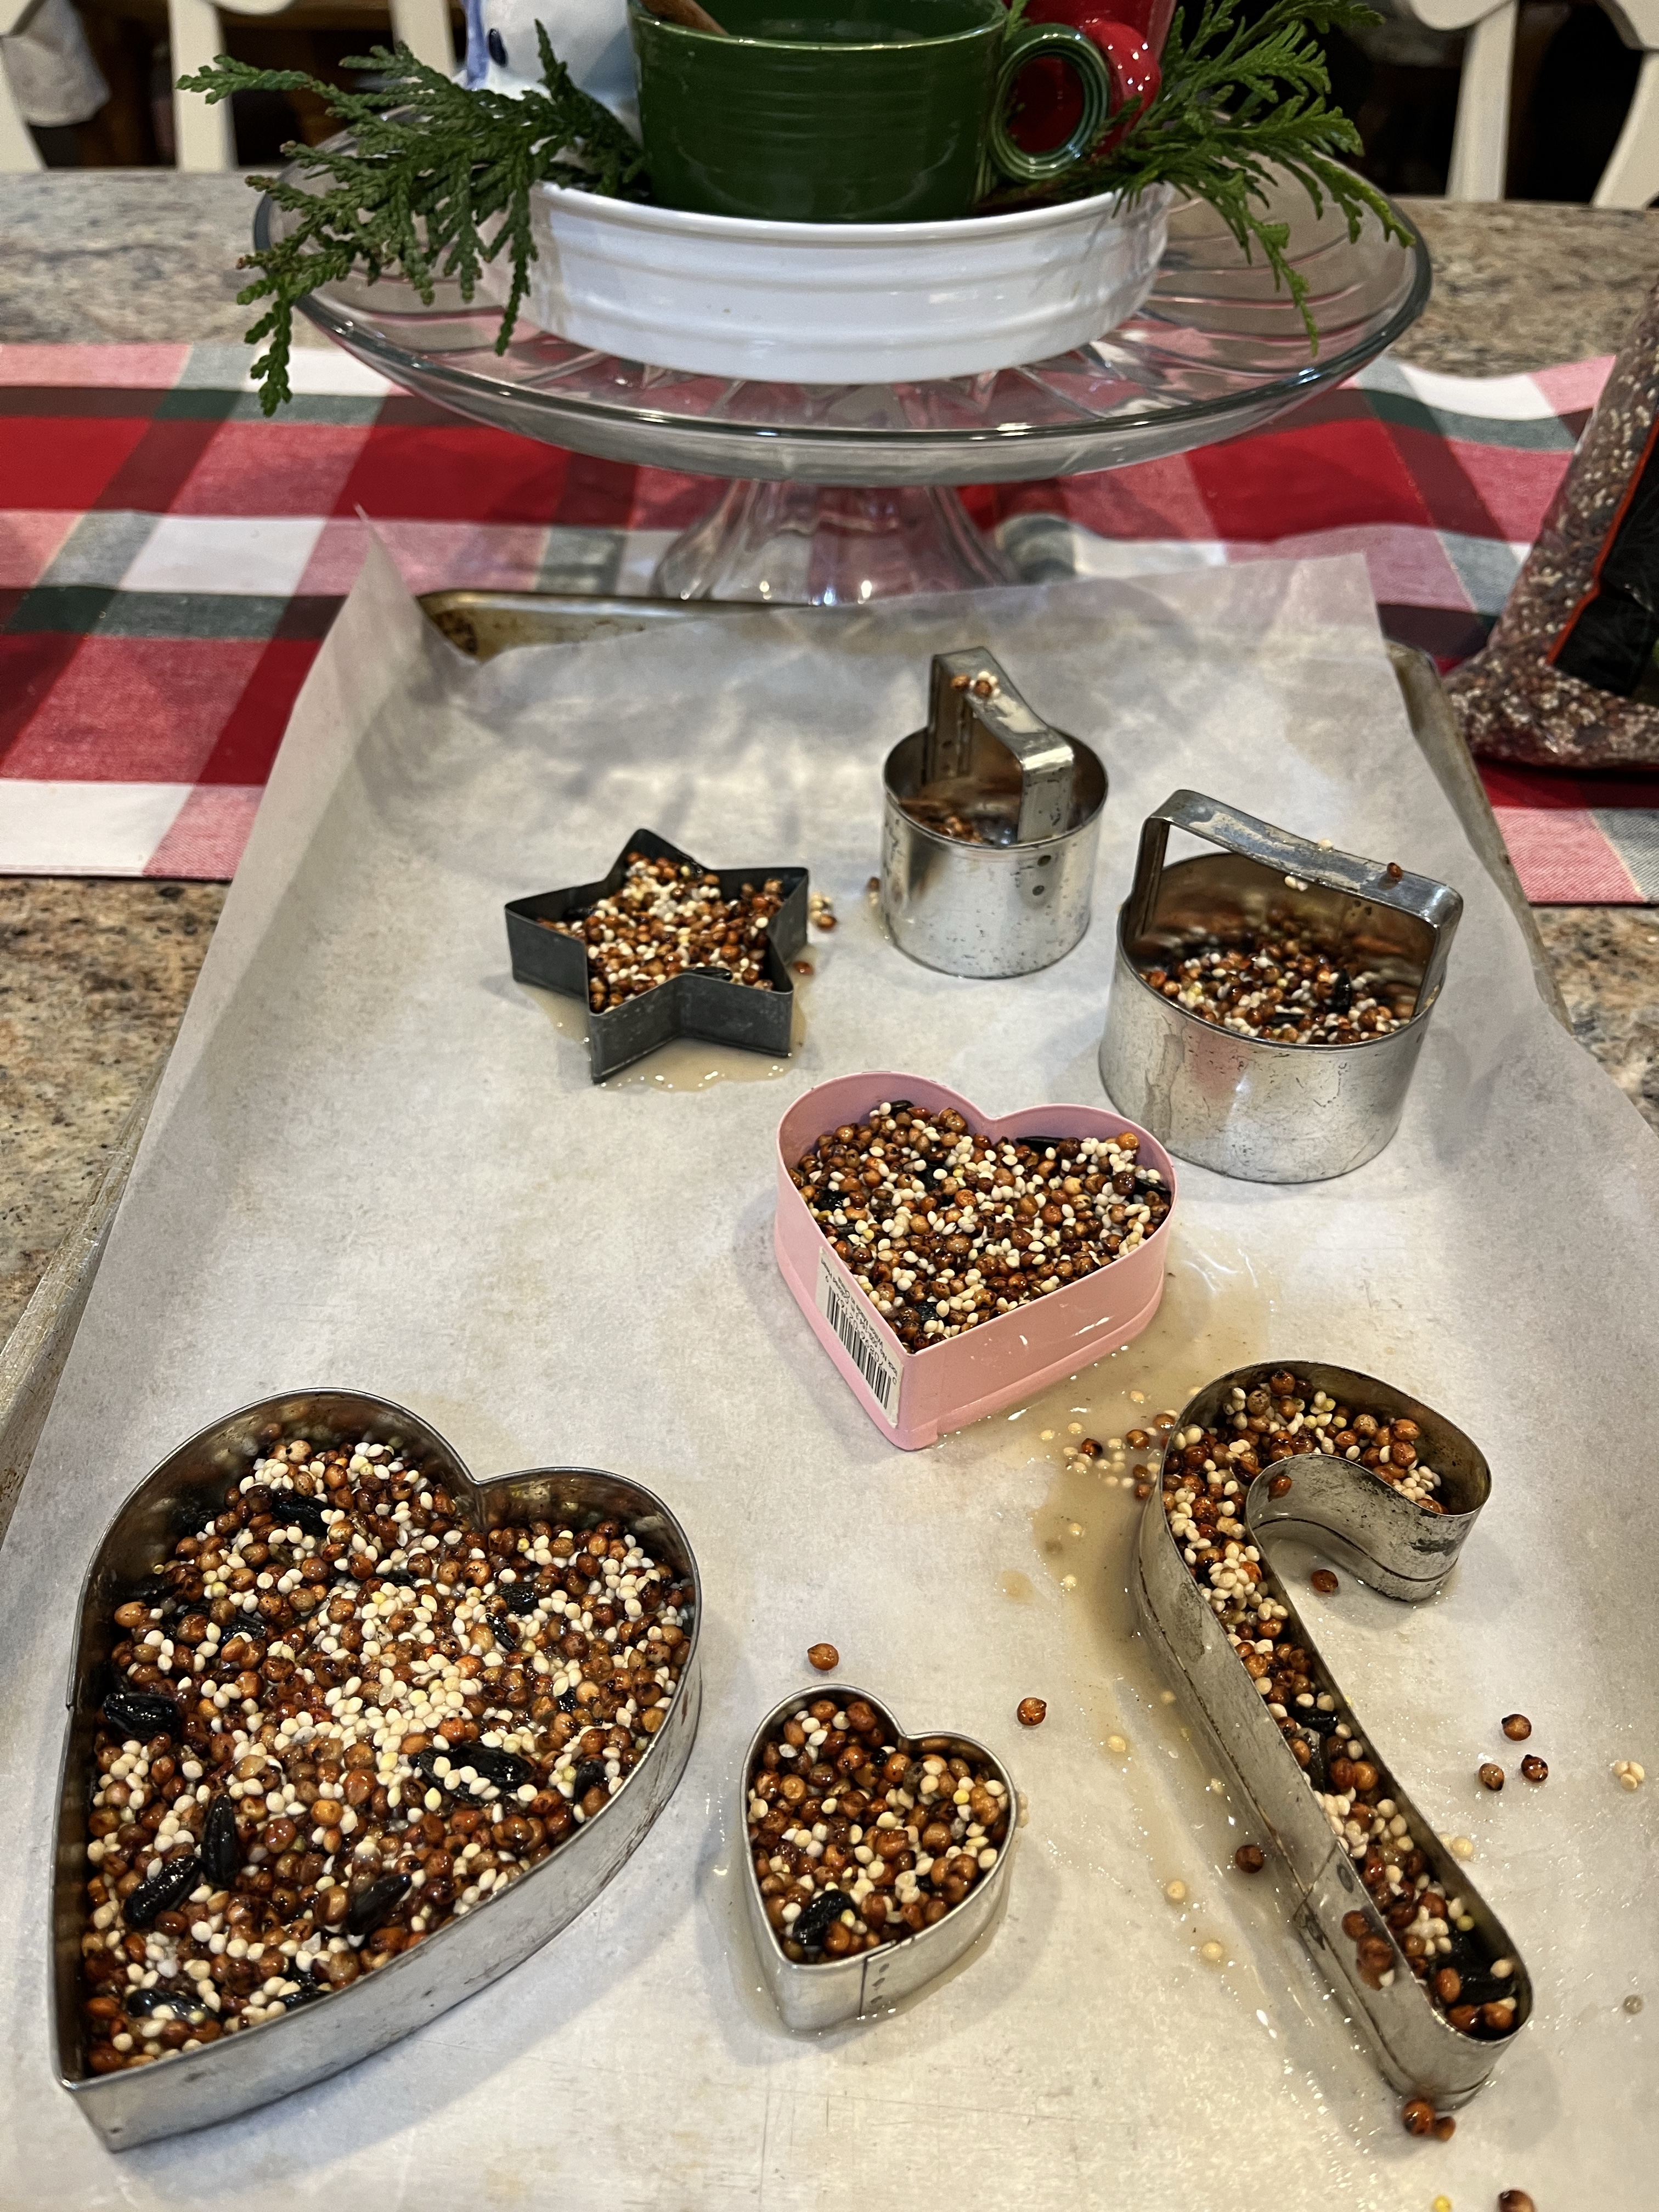
Birdseed Ornaments
1 Cup Birdseed 1/4 Cup flour 1/4 Cup water 2 Tbl. corn syrup
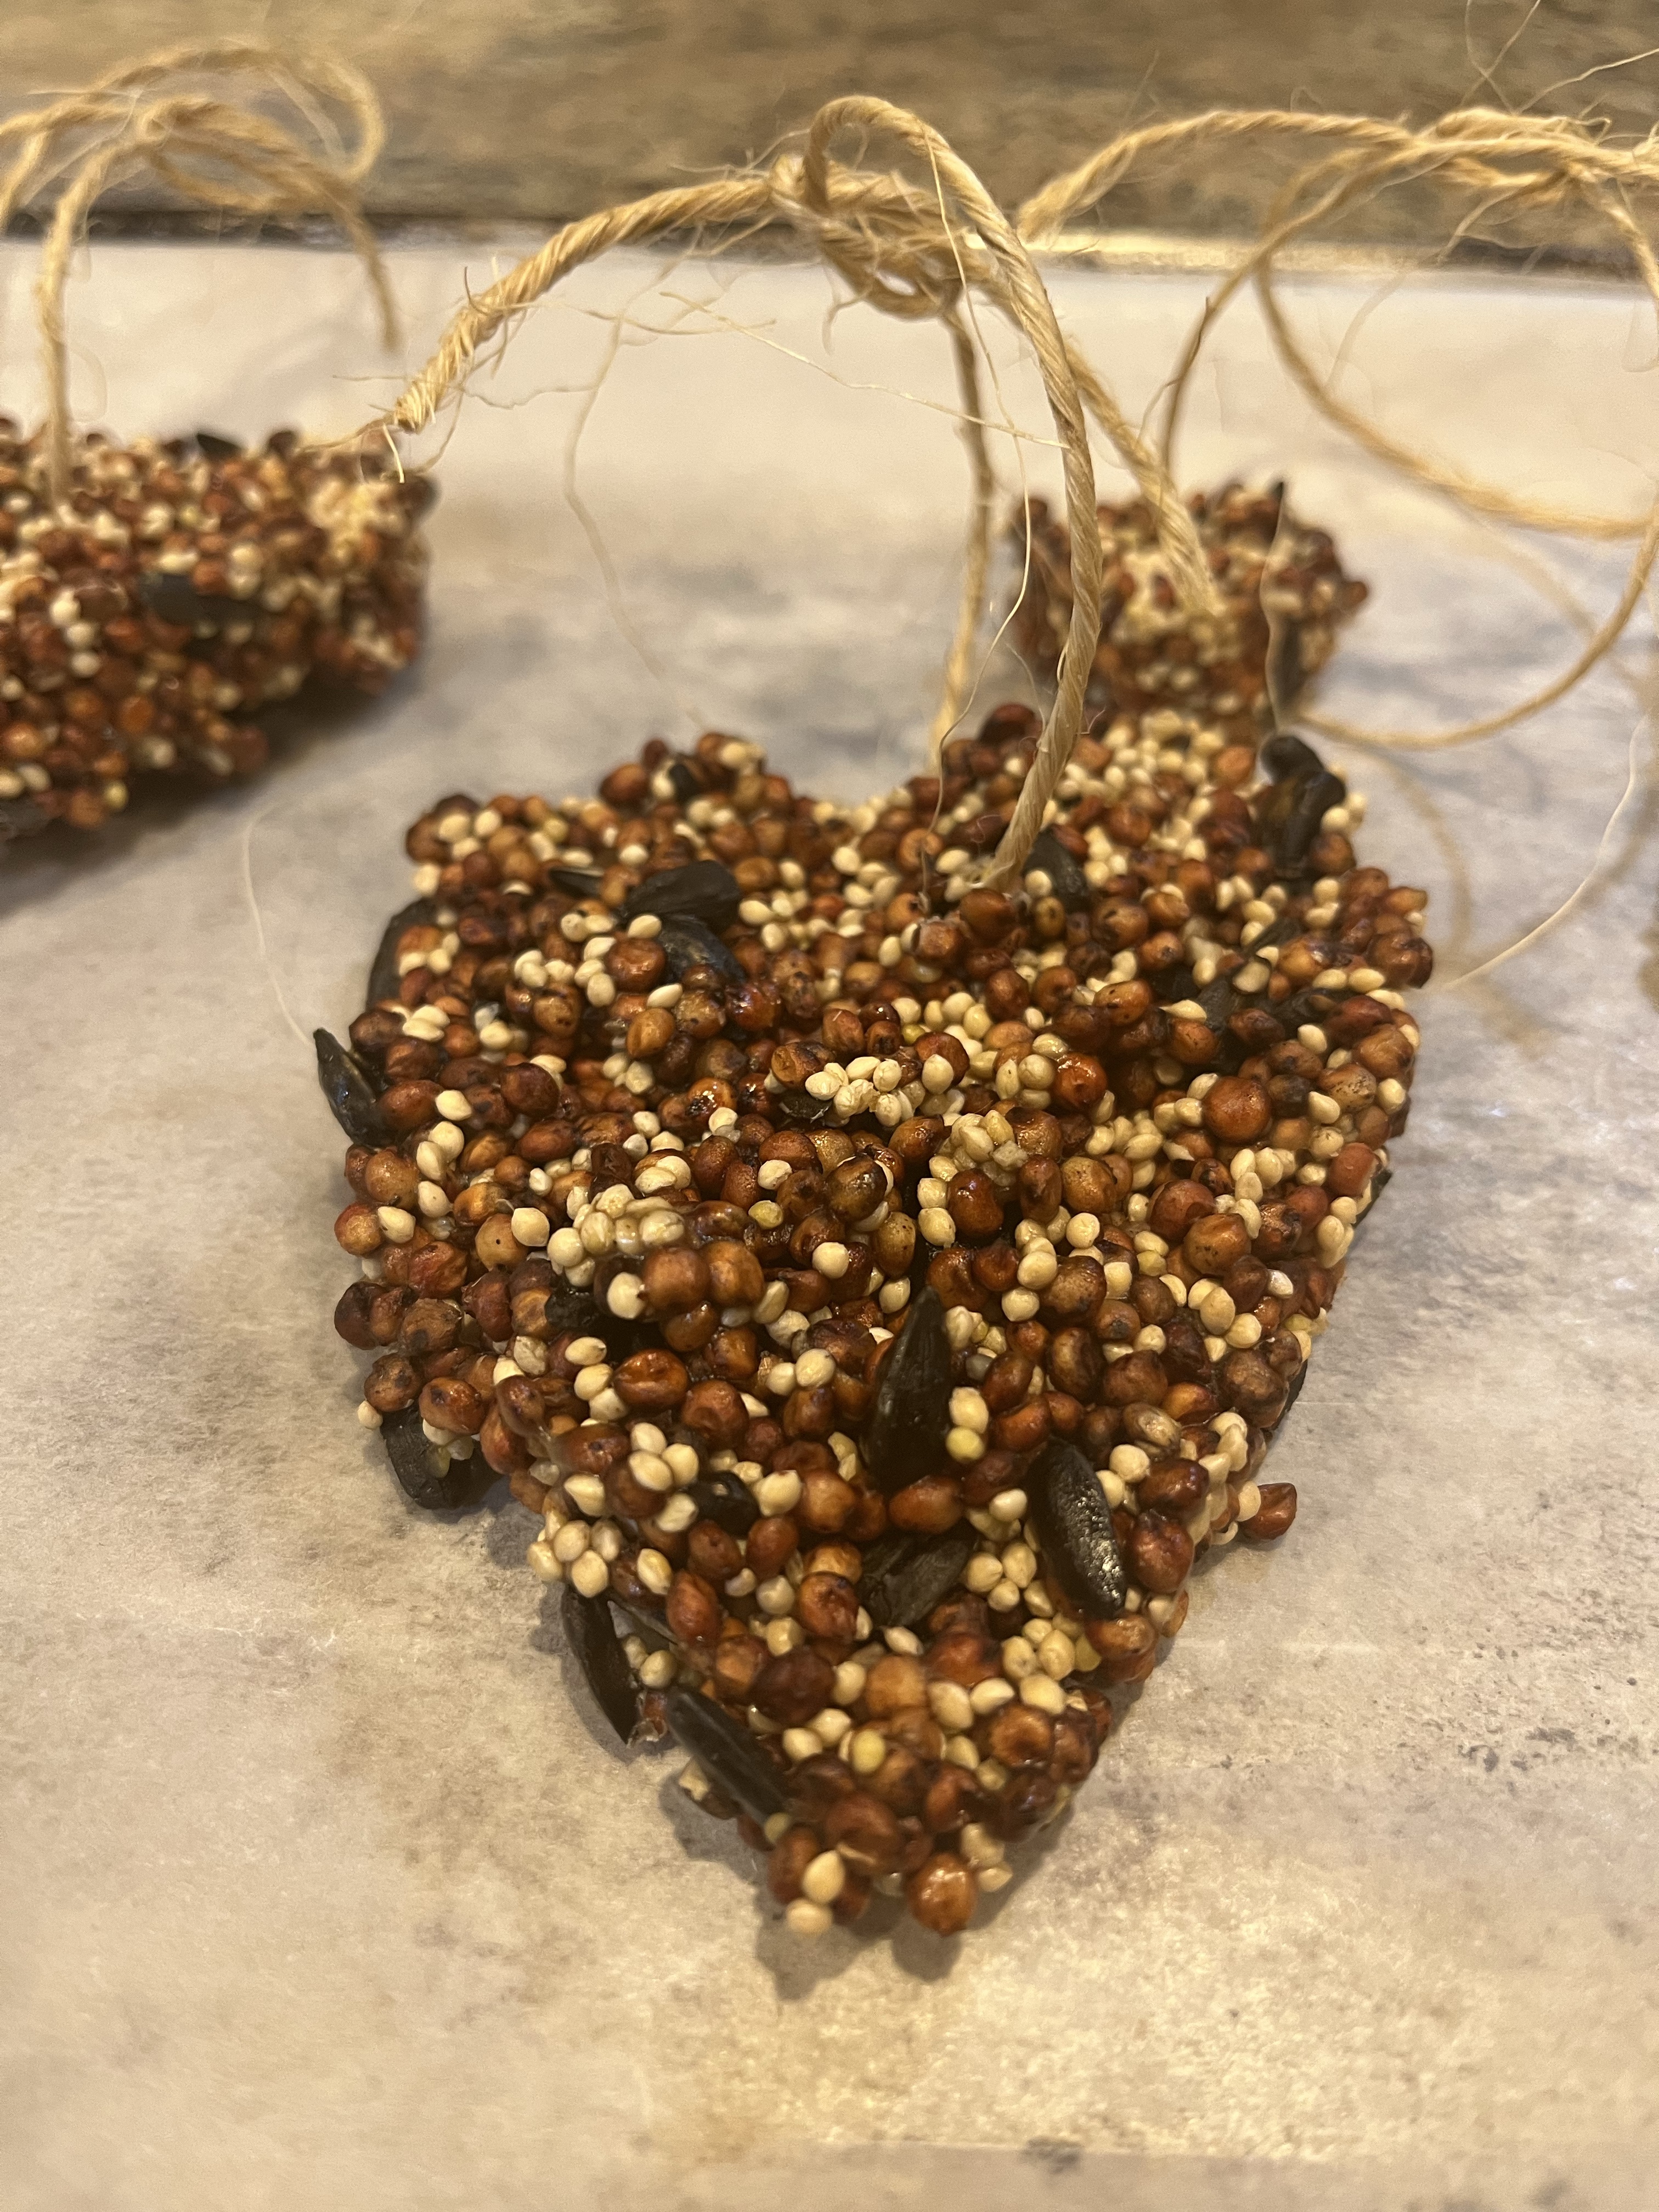
Mix. Line a baking sheet with parchment paper. Spoon birdseed mixture into metal cookie cutters. Let dry 24 hours. Dangle ornaments from twine looped through a hole made with a skewer.
Tip: I put my tray into the oven that was OFF, but still warm after I had baked something else. This sped up the dry time.
I hope I”ve inspired you a little to head into your kitchen and whip up some gifts that are truly unforgettable! Here are some other suggestions:
Here is a biscotti recipe that makes a terrific gift to bag up and share!
Here is another post of food gifts I shared a few years back.
Here is a post of gift basket ideas for the hardest people on your list!
Tell me, are you still finishing up your gifts? Or are you all done?
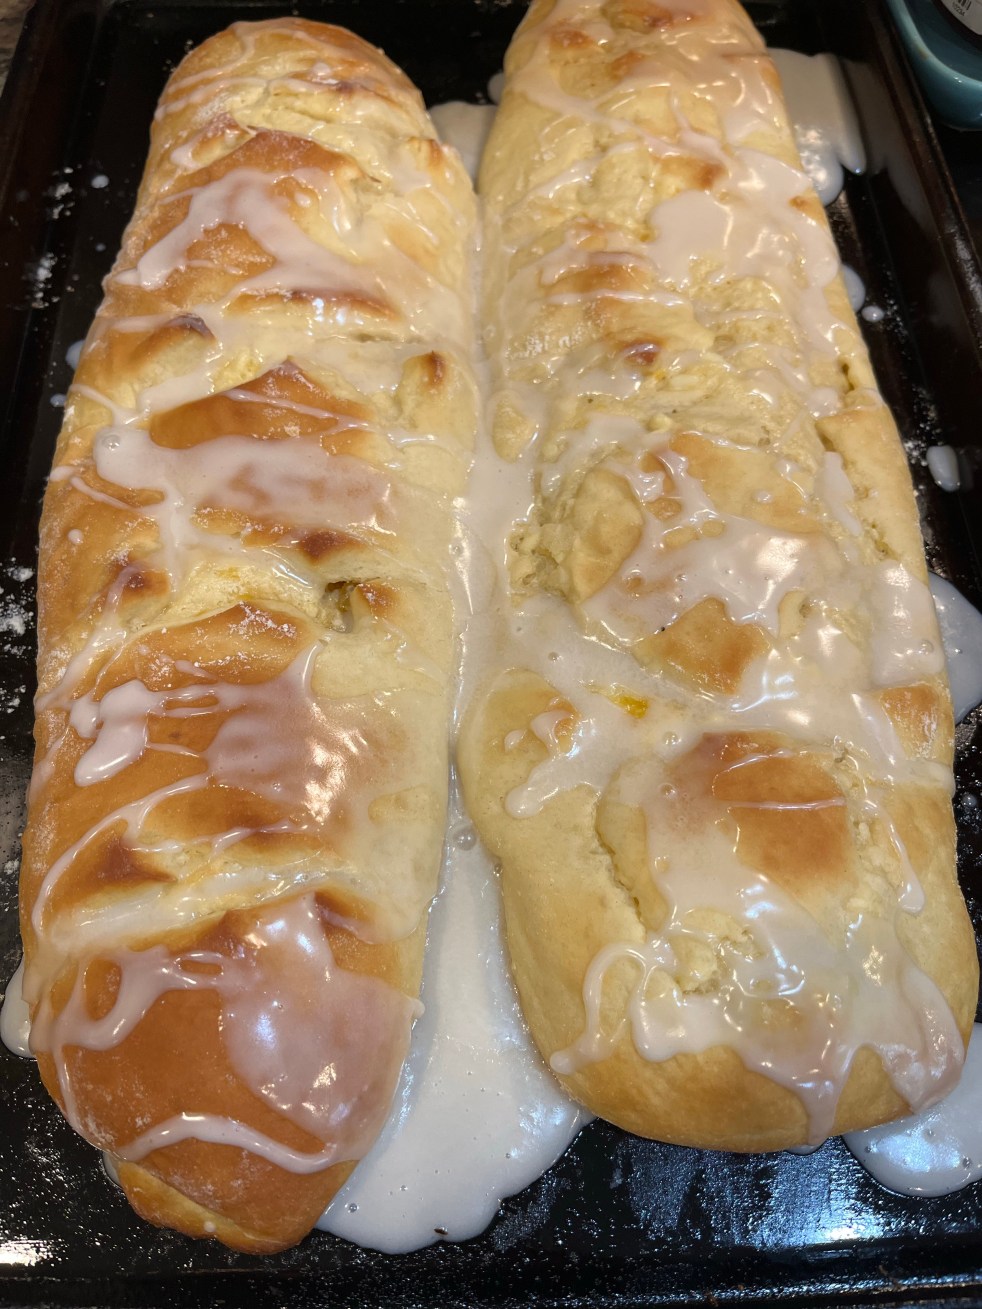
For quite a few years I have been baking these Cream Cheese Danishes because after making them the first time, I was hooked! I usually make them for gifts at Christmas time, but save one for our family’s holiday breakfast!
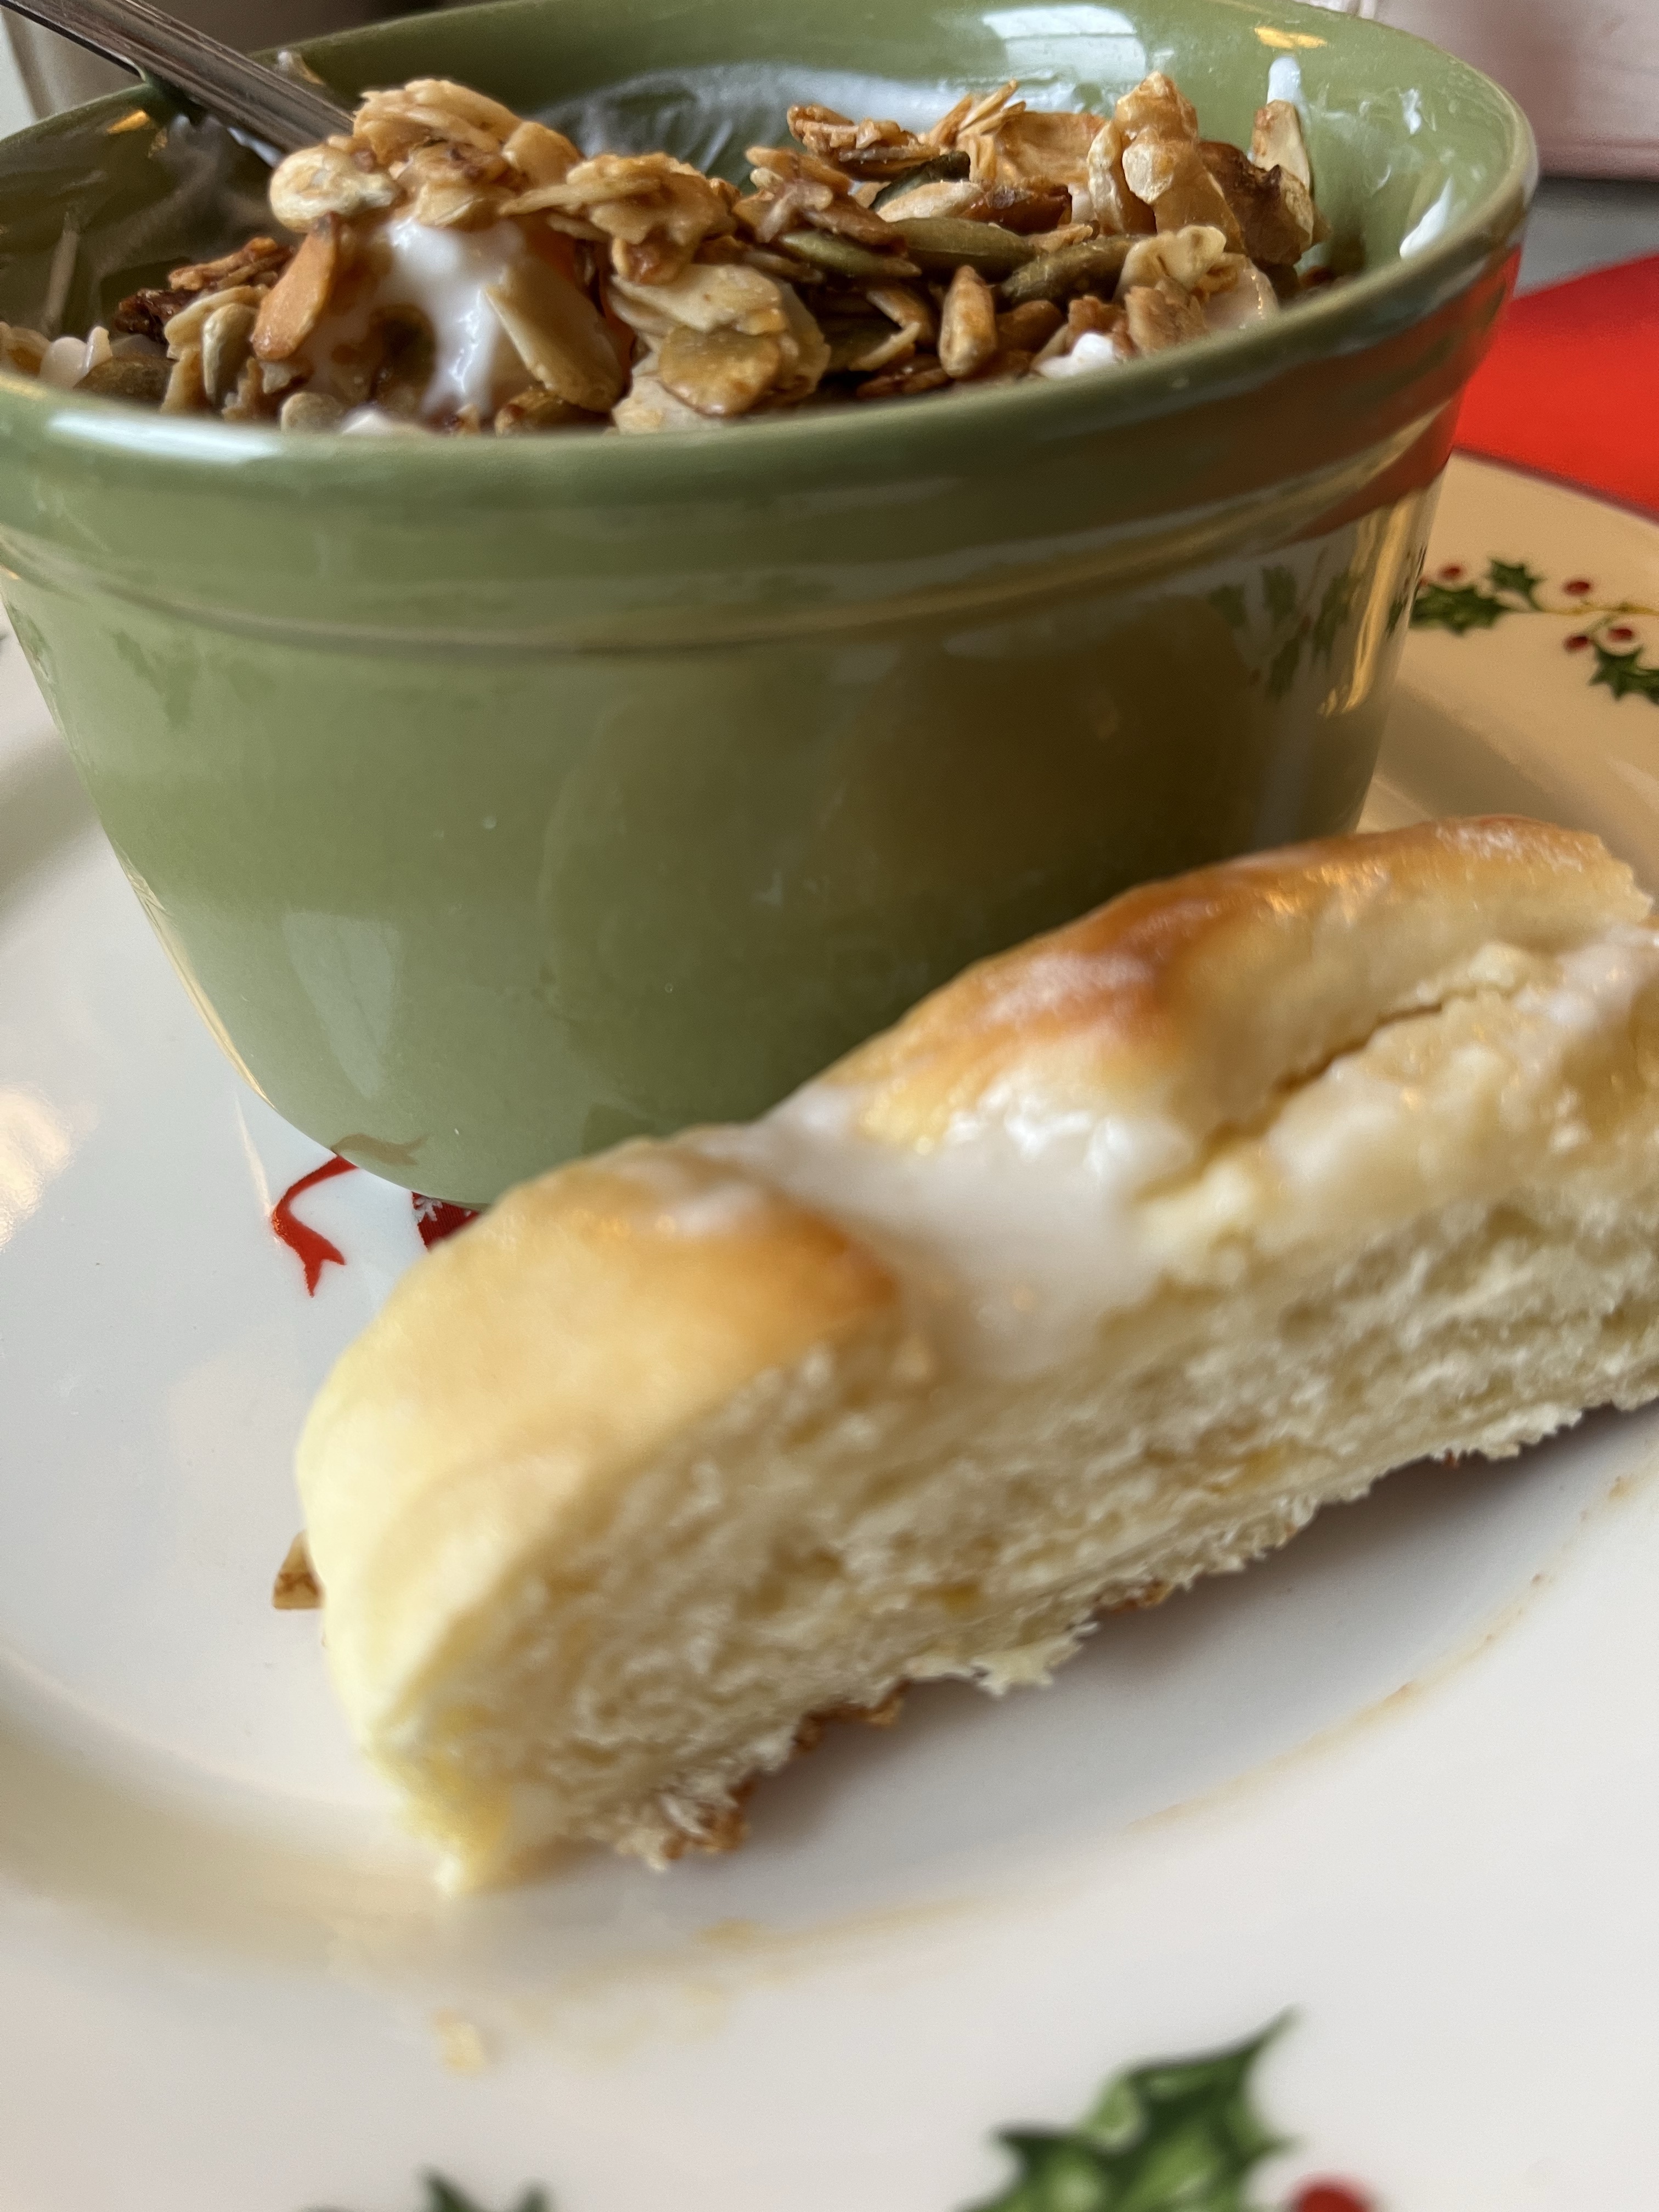
It’s hard to believe these are light, but they are, but they taste every bit as good as any danish you could purchase at a lovely bakery! I made this recipe up last week and have been enjoying a little sliver with my coffee, fruit, yogurt and granola each morning. It’s made this a much anticipated meal! It’s soooo good!
These do take a little time, but I usually make the dough in the evening, stick it in the fridge, and then finish making them the next day. They are so worth the effort! You get four large danishes out of this recipe. Whoever you choose to share this with, will be your humble servant for life! (!) Okay, maybe not life, but they’ll love you for your kindness!
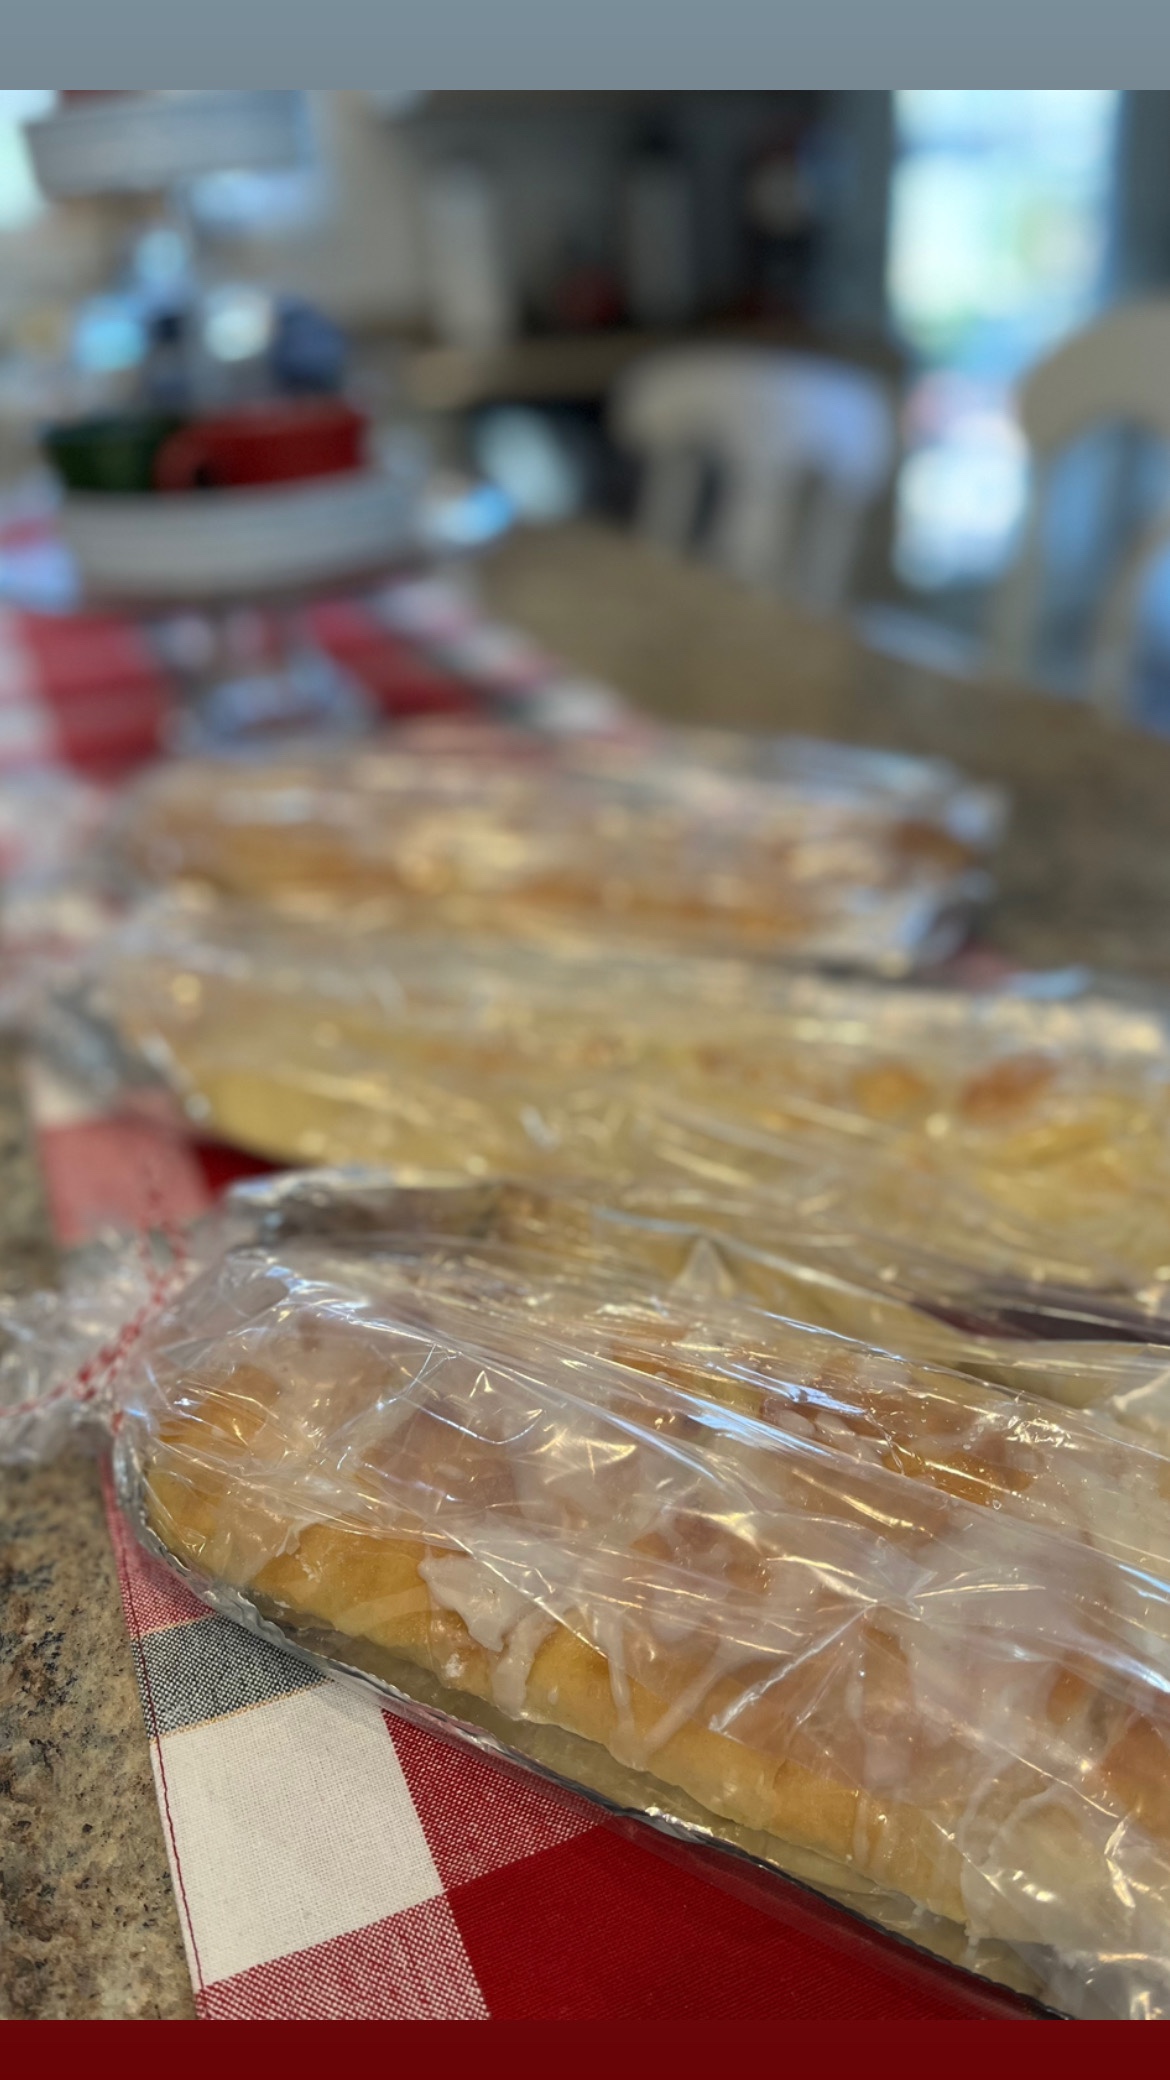
I like to set them on a piece of thin cardboard, covered with foil, then slide them into one of my large bread bags and tie with a ribbon. The cardboard will keep the delicate danish from breaking. You could top these with almonds, if you wish!
Here’s the lightened up recipe from Cooking Light ~
Step 1 To prepare dough, combine first 4 ingredients in a saucepan over medium heat, stirring until sugar dissolves. Remove from heat; cool. Dissolve yeast in warm water in a large bowl; let stand 5 minutes. Stir in sour cream mixture and 2 eggs. Lightly spoon flour into dry measuring cups; level with a knife. Gradually stir flour into sour cream mixture (dough will be soft and sticky). Cover dough; chill 8 hours or overnight (my preference).
Step 2 To prepare filling, combine preserves and next 4 ingredients (preserves through 1 egg) in a medium bowl; beat with a mixer at medium speed until well blended.
Step 3 Divide dough into 4 equal portions. Turn each portion out onto a lightly floured surface; knead lightly 4 or 5 times. Roll each portion into a 12 x 8-inch rectangle. Spread one-fourth of filling over each portion, leaving a 1/2-inch border. Starting at a long side, carefully roll up each portion jelly roll fashion; pinch seam and ends to seal.
Step 4 Place 2 loaves on each of 2 baking sheets coated with cooking spray. Cut 4 (1/4-inch-deep) “X”s in top of each loaf with scissors. Cover and let rise in a warm place (85°), free from drafts, 25 minutes or until doubled in size.
Step 5 Preheat oven to 375°.
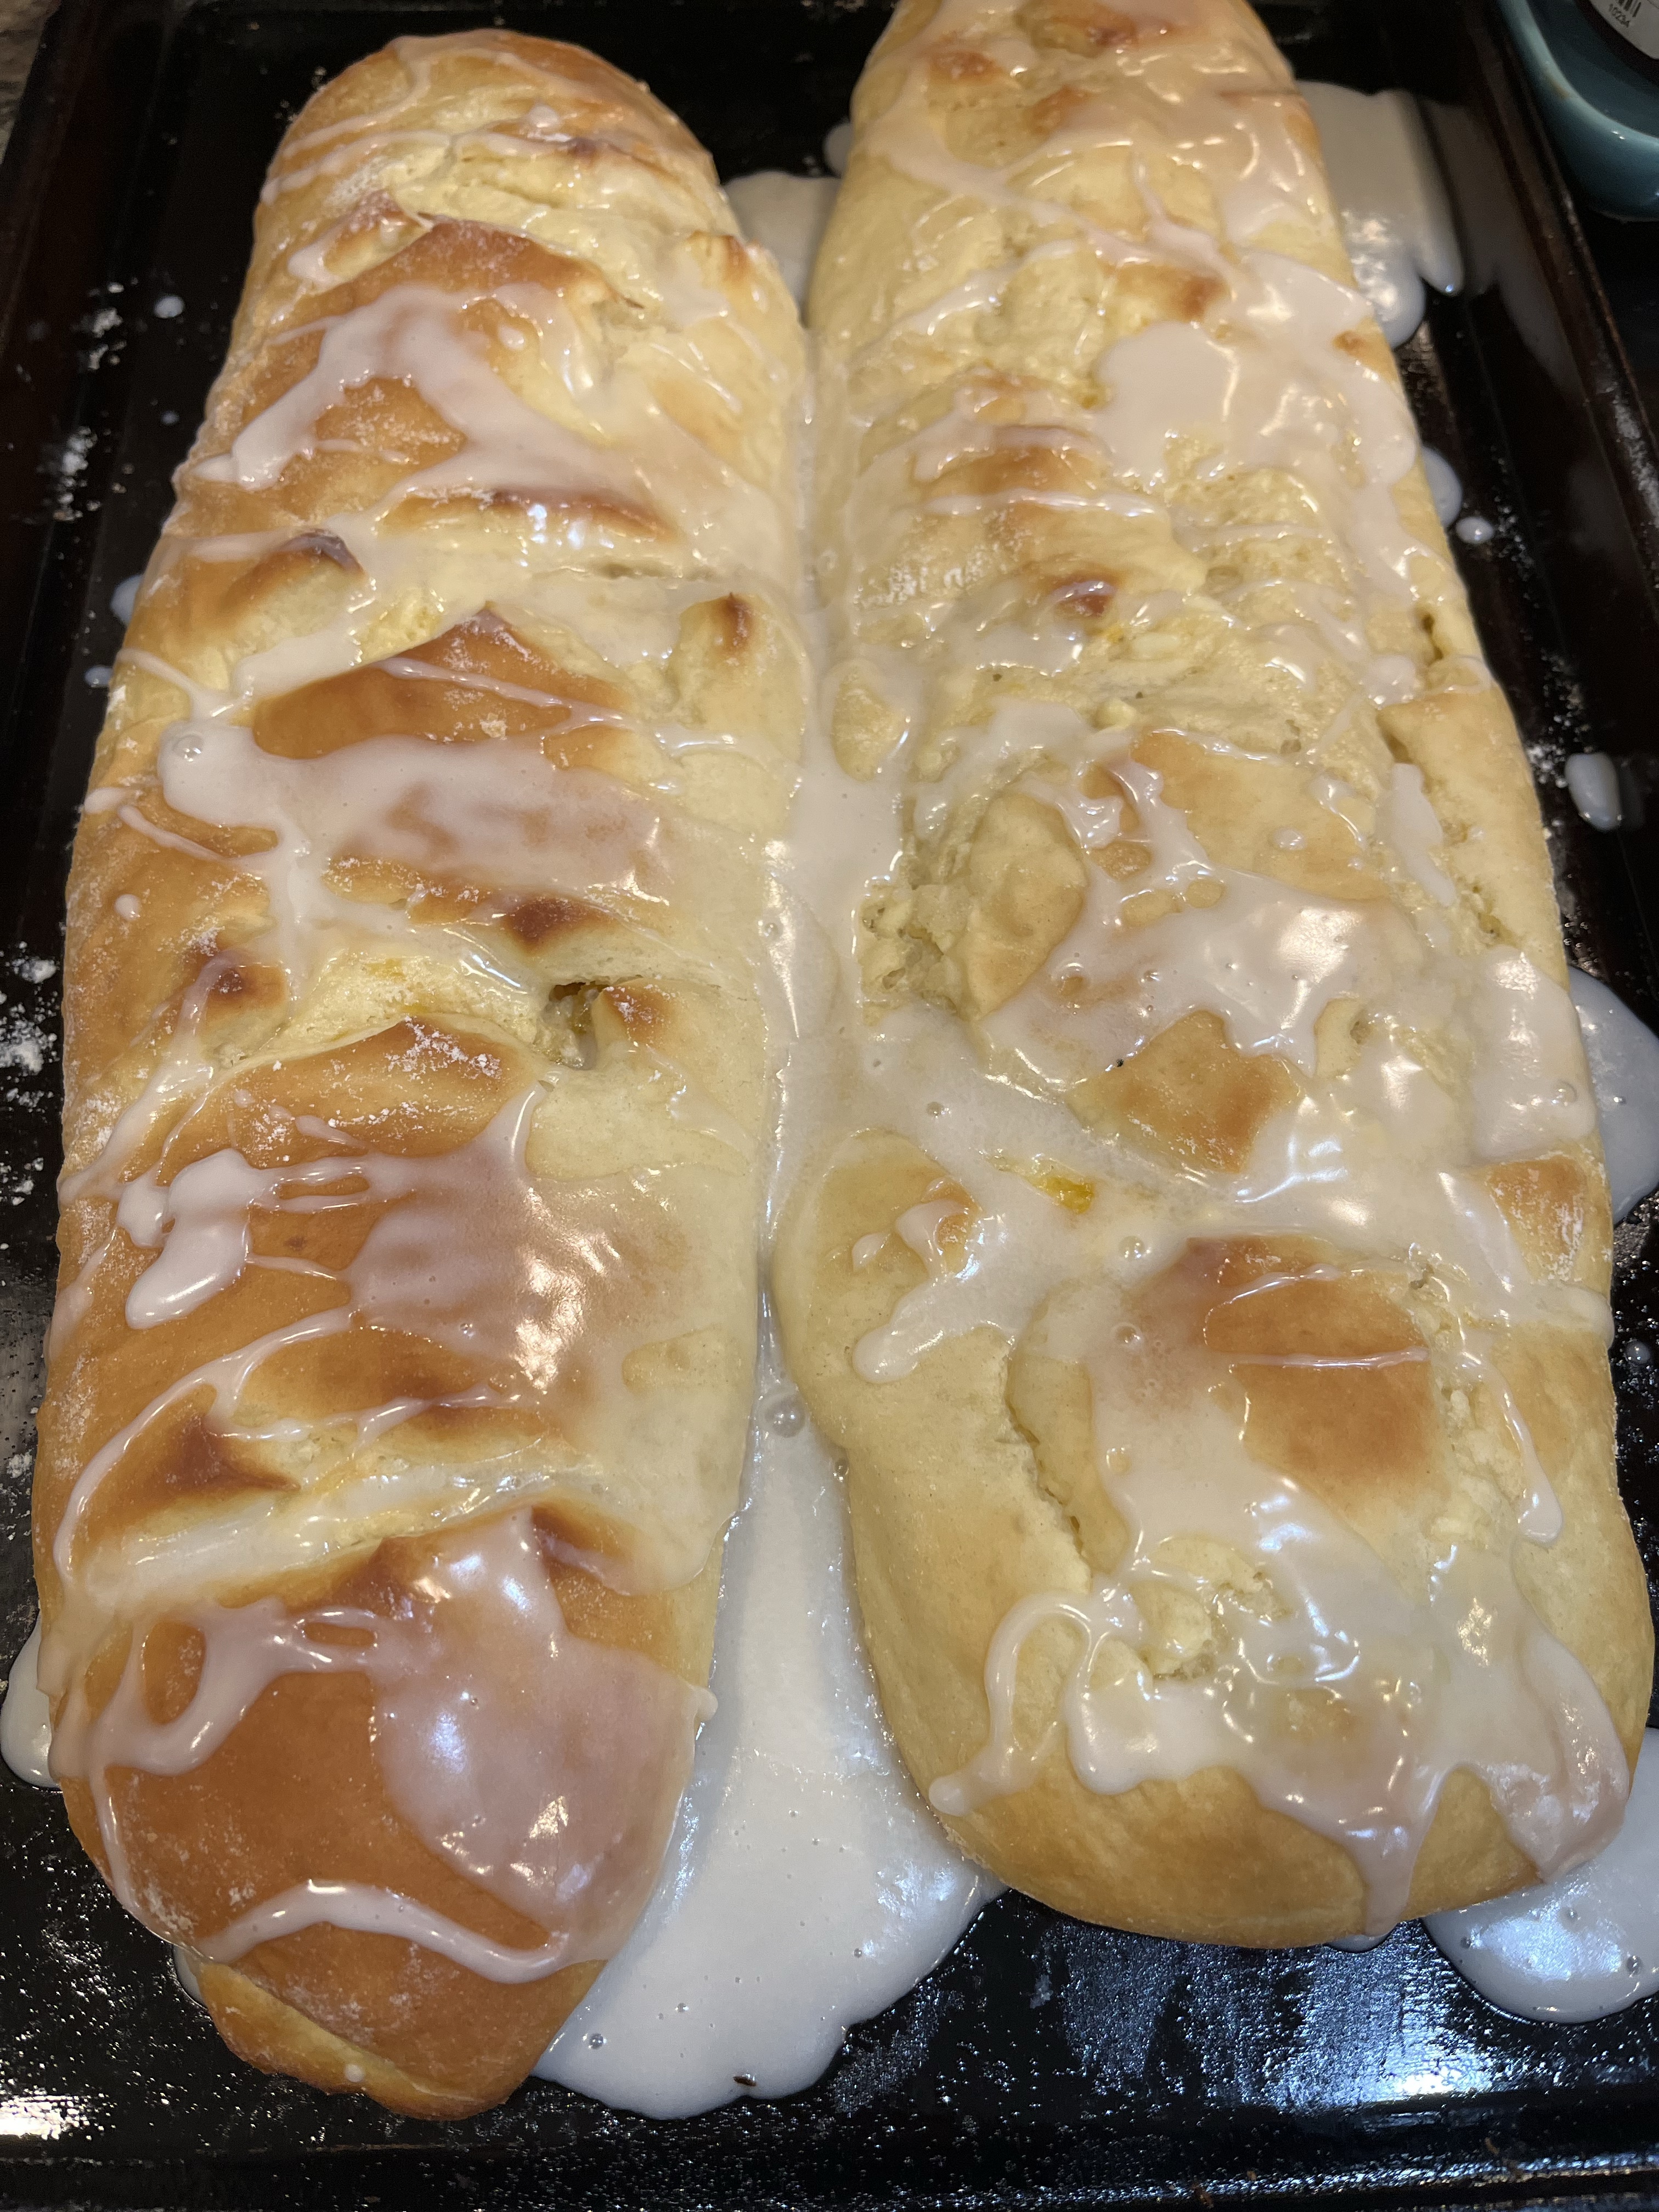
Step 6 Place 1 baking sheet in oven (cover remaining loaves to keep from drying). Bake at 375° for 15 minutes or until lightly browned. Repeat procedure with remaining loaves. Cool loaves slightly.
Step 7 To prepare glaze, combine powdered sugar, milk, and 1 teaspoon vanilla, stirring with a whisk. Drizzle warm loaves with glaze.
These are amazingly easy…really! I hope you’ll try them! You’ll keep making them, like I do. I’m sure!
Could you enjoy a little danish with coffee in the morning? It makes morning even sweeter in my book!