canning · Easy recipe

Homemade Dill Pickles – One Jar At A Time

Andy Griffith fans will know that Aunt Bea gave home-canned Dill Pickles a bad name! There is some fear in going to all the trouble and expense of canning your own pickles, only to have them turn out to be “kerosene cucumbers.”

Thank heaven I found a recipe recently that allows you to make a small batch. These are so simple and best yet – they are delicious!

If you have a small garden patch your cucumber yield is not enough to make a huge batch of pickles. Or if you’re blessed, as I am to have gracious friends who share their fresh produce with you, it’s really nice to have a way to make pickles with just a small amount of cucumbers.

When dear friends brought us some super crispy pickling cukes, I just knew they were perfect for some dill spears and slices! I went searching for a recipe that didn’t require canning and made a small batch.

I loved the flavor of the recipe I found. They’re not too spicy or overpowering. I do believe a huge part of the success of these was using a cucumber that is fresh and crisp.

Here’s the simple process…

Ingredients

  • 2-3 pickling cucumbers, prepared as you wish…sliced, spears or whole
  • 4 sprigs of dill
  • 1/2-1 clove of garlic, sliced
  • 1/2 tsp mustard seed
  • Pickle Brine – see below

Instructions

  1. Wash your pickles well and remove the blossom end.
  2. Slice them as desired – slices or spears.
  3. Add mustard seed, garlic and dill sprigs to your jar, then put your prepared cucumbers in.
  4. Add the brine to fill the jar and cover your cucumbers. If I have some parts of the cucumbers that rise above the brine, snip of a piece of the cuke so that all parts of all cucumbers are submerged below the brine.
  5. Put lids on your jars and refrigerate. Because these are not being canned and instead kept in your refrigerator, you don’t need special jars…just make sure the jars and their lids are clean. I boiled my lids and jars for 10 minutes in a large pot.
  6. If you can let the pickles sit for 2-3 weeks they have more time for the flavor to develop. I’ve read that you should consume them before 3-4 months…we won’t have to worry about that!

Pickle Brine

  • 2 quarts cold water
  • 6 ounces apple cider vinegar
  • 3 ounces pickling salt
  1. Mix all ingredients and stir until salt is dissolved.
  2. Store in a container in your refrigerator.

The first two jars I made are just about gone, but now I have a jar of pickle brine sitting in my fridge just waiting for cucumbers and herbs to be mixed in! It’s so easy and Aunt Bea would agree that these are so much faster than canning 16 jars!!

That crunch little slice added great flavor to my Turkey Burger slider!

If you’re afraid of making a big batch of pickles, give these a try! You may just be tempted to enter them into the county fair!

Have you tried making your own pickles? What do you eat with a them? Oh, and in case the picture above made you hungry for onion rings, here are my two favorite recipes – a non-healthy but fabulous one, and a healthy one!

Refreshment in marriage · The Scenic Route

Memories On the Scenic Route

Why travel the busy interstate, full of traffic, construction zones and high speeds when you can take a gorgeous, slower paced scenic route?

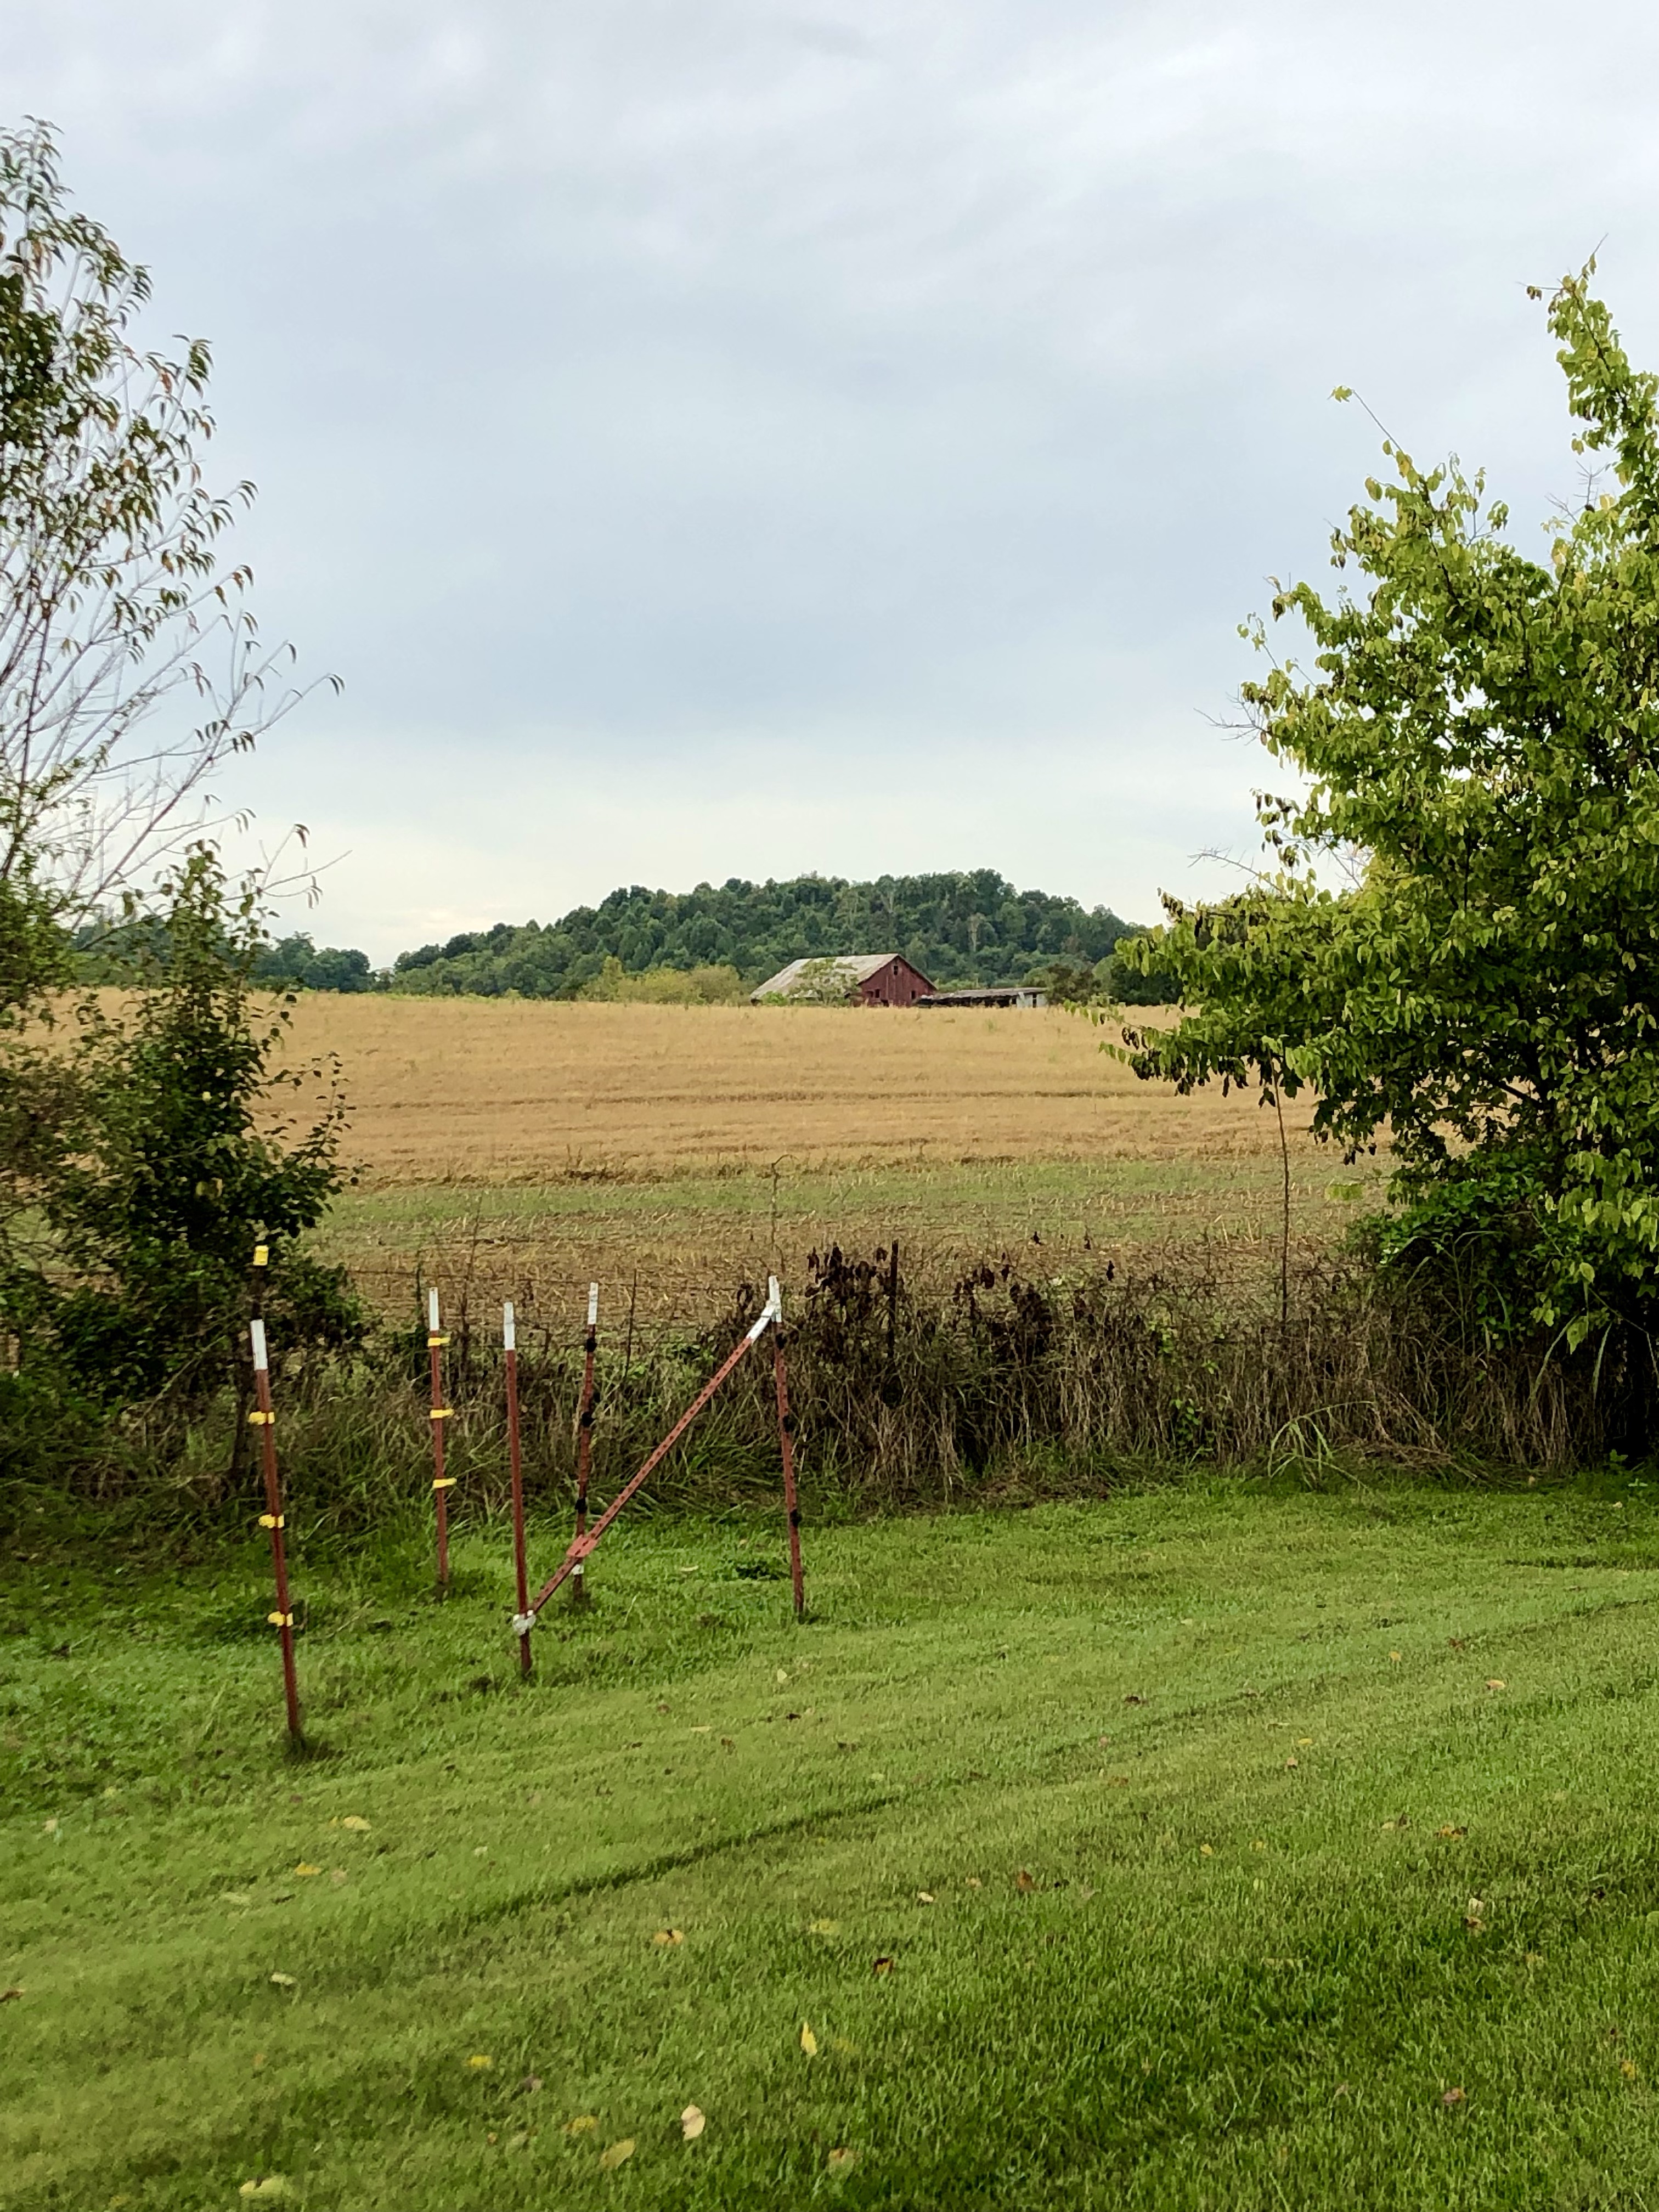
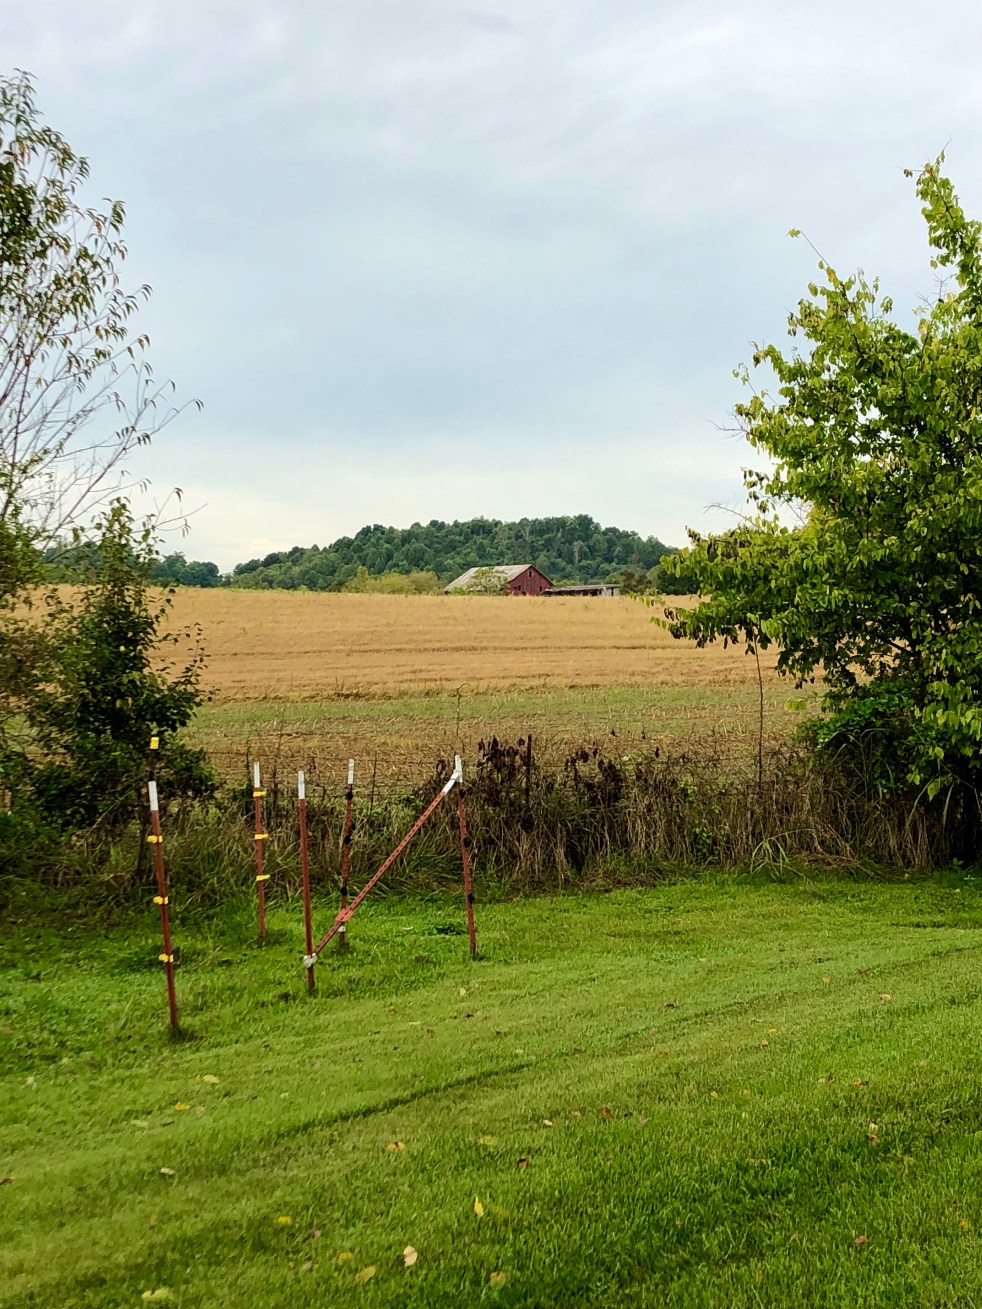
That’s the philosophy my husband and I have taken on! Oh, the gorgeous scenery we have enjoyed on the Scenic Route! Beautiful old barns, kayakers on rushing rivers, rainbows over country churches, and hot air balloons skimming open fields are just a few of the sights we have seen.

Our third week of Sabbatical was not without more scenic routes and beauty! I’ve pictured some of them here in this post.

Travel can really be an illustration of how we approach every day of our married lives! Sadly, I believe too many marriages are daily on the Interstate. Both the husband and wife are each in their own “cars,” driving over the speed limit, hurrying to the next thing on their agenda.

Occasionally they may pass their spouse and give a thumbs up as they keep traveling independently on their journey. Every now and then their lives may merge onto the same road, but not long after, a construction zone interrupts their unity and it’s back to stop-and-go once again.

This is not a fun way to travel, and it’s an even worse way to live out married life!

When you’re on the Interstate, it ‘s necessary to get off at a rest area when you’re weary. Marriages need restful times, too! I’m thankful for the rest our sabbatical allowed us. Not only did it strengthen our ministry, we were also able to pour into our marriage. We did lots of reminiscing – thinking back to the days when the Lord brought us together.

We even had the blessing of spending time in Pigeon Forge and Gatlinburg, because, like many young couples, part of our honeymoon was spent there. We were thankful for time to sit, to talk, to dream about the future, and thank the Lord together for the blessings of the past.

Is your marriage on the high-speed Interstate, or have you taken the time to get off and enjoy the scenic route recently?

You don’t need a sabbatical to travel the scenic route! Find a spot where you and your spouse can watch the sun set. Go to the lake with a picnic supper. Drive together down a country road with the windows down and your old love songs playing on your Amazon app. Make some new memories on your own scenic route.

It’s your choice which route to take – both as your travel and as you live out each day of your marriage.

Interstate or Scenic Route. Which are you on today?

Bread · Dinner · Easy recipe

Popovers ~ the Perfect Dinnertime Bread

I don’t know why I never made popovers before; they’re so good and also easy to make!

It was my daughter who said that to me recently, and I’m wondering who else has not made popovers for dinnertime?

They are whipped up in a matter of about 5 minutes. You simply mix and pour the batter into pans. They are then “POPPED” into the oven where they bake and POP UP in the pan in about 40 minutes. The outsides are crispy and the insides are moist and tender. They’re a great accompaniment to so many different kinds of meals!

Popovers

Ingredients

  • 1 tablespoon shortening or nonstick cooking spray
  • 2 beaten eggs
  • 1 cup milk
  • 1 tablespoon cooking oil
  • 1 cup all-purpose flour
  • ¼ teaspoon salt 

Directions

Instructions Checklist

  • Step 1 Using 1/2 teaspoon shortening for each cup, grease the bottoms and sides of six 6-ounce custard cups or cups of a popover pan. (Or, lightly coat cups with cooking spray.) Place the custard cups on a 15x10x1-inch baking pan; set aside. Note: I use a regular muffin tin and it works great!
  • Step 2 In a medium bowl use a wire whisk or rotary beater to beat eggs, milk, and oil until combined. Add flour and salt; beat until smooth. Don’t overbeat. Just mix until everything is well combined.
  • Step 3 Fill the prepared cups half full with batter. Bake in a 400 degree F oven about 40 minutes or until very firm.
  • Step 4 Immediately after removing from oven, prick each popover to let steam escape. Turn off the oven. For crisper popovers, return popovers to oven for 5 to 10 minutes or until desired crispness is reached. Remove popovers from cups; serve immediately. Makes 6 popovers.

If I have leftovers, I put them into a 400 degree oven to warm them and crisp them back up again. It only takes about 5 – 7 minutes.

Are you one that has never tried popovers? I hope you’ll remedy that this week!

Refreshment · Sabbatical

Sabbatical Fun!

Busy lives don’t lend themselves for time to pursue hobbies. However, our recent sabbatical offered the time to refresh a favorite pasttime.

When I was in high school I took two years of art – not because I was gifted – but because I wanted to learn how to paint. It has been years since I’ve painted anything, but recently I had an itch to try my hand at watercolors. I’ve had so much fun! Here’s my first painting using the cheap watercolors I had on hand from Target! I did purchase watercolor paper so I could blend the colors.

We have so many beautiful barns around us. I decided to snap photos and paint some of them. Here’s the barn that is on my daily walk…

Wow, time painting has been such a blessing. I have a weekly plan to work on my watercolor techniques. I’ve found some great tutorials online that I’m planning on watching. I’m trying to remember that we can each create sabbatical moments! What hobby to do you love that you haven’t taken time for?

We also had the fun of time with my family. We hired a photographer to come and take pictures at my parent’s home. We had never had professional photos taken together. It was a fun and very special evening! I especially love the picture of the back of my parents. Isn’t that sweet?! My mom made the quilt that is in the background (it’s one of MANY she’s made!). Which photo is your favorite?

When we left Kentucky and headed home to Tennessee, we decided to stop for the night in Berea and enjoy the Boone Tavern. I’ve mentioned it before, but this is a super-special place. It is very southern, very elegant, and very restful! Also, their dining room serves amazing meals. If you ever visit, be sure to try their Kentucky Hot Brown! We always leave refreshed and wanting to return! Do you have a special hotel you return to over and over again?

We love sitting outside in the front porch rocking chairs or on the side yard in the shaded garden area. We enjoyed having our morning Quiet Time out there the day we left.

It seems we are always looking for the outdoor spots wherever we are. We love the sunshine and the fresh air!

That’s a wrap for the second week of sabbatical. I hope you’re getting the idea of our time away. Restful, fun, refreshing, and restorative! How we needed it and how thankful we are for that time!

Again, let me remind you that though you many never have a 30-Day sabbatical, we each need to create sabbatical moments. Our minds, hearts and bodies need it so we can press on and serve with strength, energy and a full heart of love for God!

I’d love to hear your answers to the questions I posed in the post!

Refresh your own heart with some fun!

dessert · Weight watchers

Donuts Even On a Diet!

There’s nothing worse than having a craving for something sweet when you’re wanting to watch your sugar intake or lose a couple of pounds! Am I right? However, I love finding recipes that fit into my WW way of life that allow me the pleasure of something sweet without killing the whole day’s points on one treat!

I recently found these Double Choclate Banana donuts on Drizzlemeskinny.com while scouring Pinterest for a baked version of this sweet treat. The addition of the banana gives enough sweetness that they don’t need much sugar. We loved this recipe and found them to be the perfect dessert, or even an addition to breakfast! These aren’t Dunkin Donuts variety, mind you, but they will certainly do just fine when you want to be a little better at watching your calorie intake!

  Double Chocolate Banana Donuts

  • 1 egg
  • 1 Tbl sugar
  • 1 medium mashed banana
  • 1/4 cup milk – I used 2%
  • 1 tsp vanilla
  • 1/3 cup flour
  • 1/4 cup unsweetened cocoa powder
  • 1 tsp baking powder
  • 2 1/2 Tbl. dark chocolate chips

INSTRUCTIONS 

  • Preheat oven to 350F and spray a 6 hole donut pan with some cooking spray.
  • In a bowl whisk the egg and stir in the sugar, mashed banana, milk and vanilla.
  • Stir in flour, baking powder and cocoa powder then fold in chocolate chips.
  • Divide batter into the donut pan; they should be filled to the top.
  • Bake for 16-18 minutes or until baked through, let cool then gently remove from donut pan.
  • Store in sealed container, best in the fridge after a day and the donuts will freeze well.

Her website says these are 2 SP for the blue plan and 3 SP for the green plan. Not bad, huh?!!

These made for a delicious addition to our anniversary breakfast a couple weeks ago!

I hope you’re hungry for donuts now and will give this easy recipe a try! What do you get hungry for when you’re trying to watch your calories?