dessert · Pie

Made From Scratch Lemon Meringue Pie

Last weekend I got to spend Mother’s Day in Kentucky with my mom. I made her Mother’s Day meal, and when planning the menu, I knew immediately what dessert would be – her favorite – Lemon-y. Tart. Mouth watering. Creamy. Fluffy. Sweet.What is it? Lemon Meringue Pie!

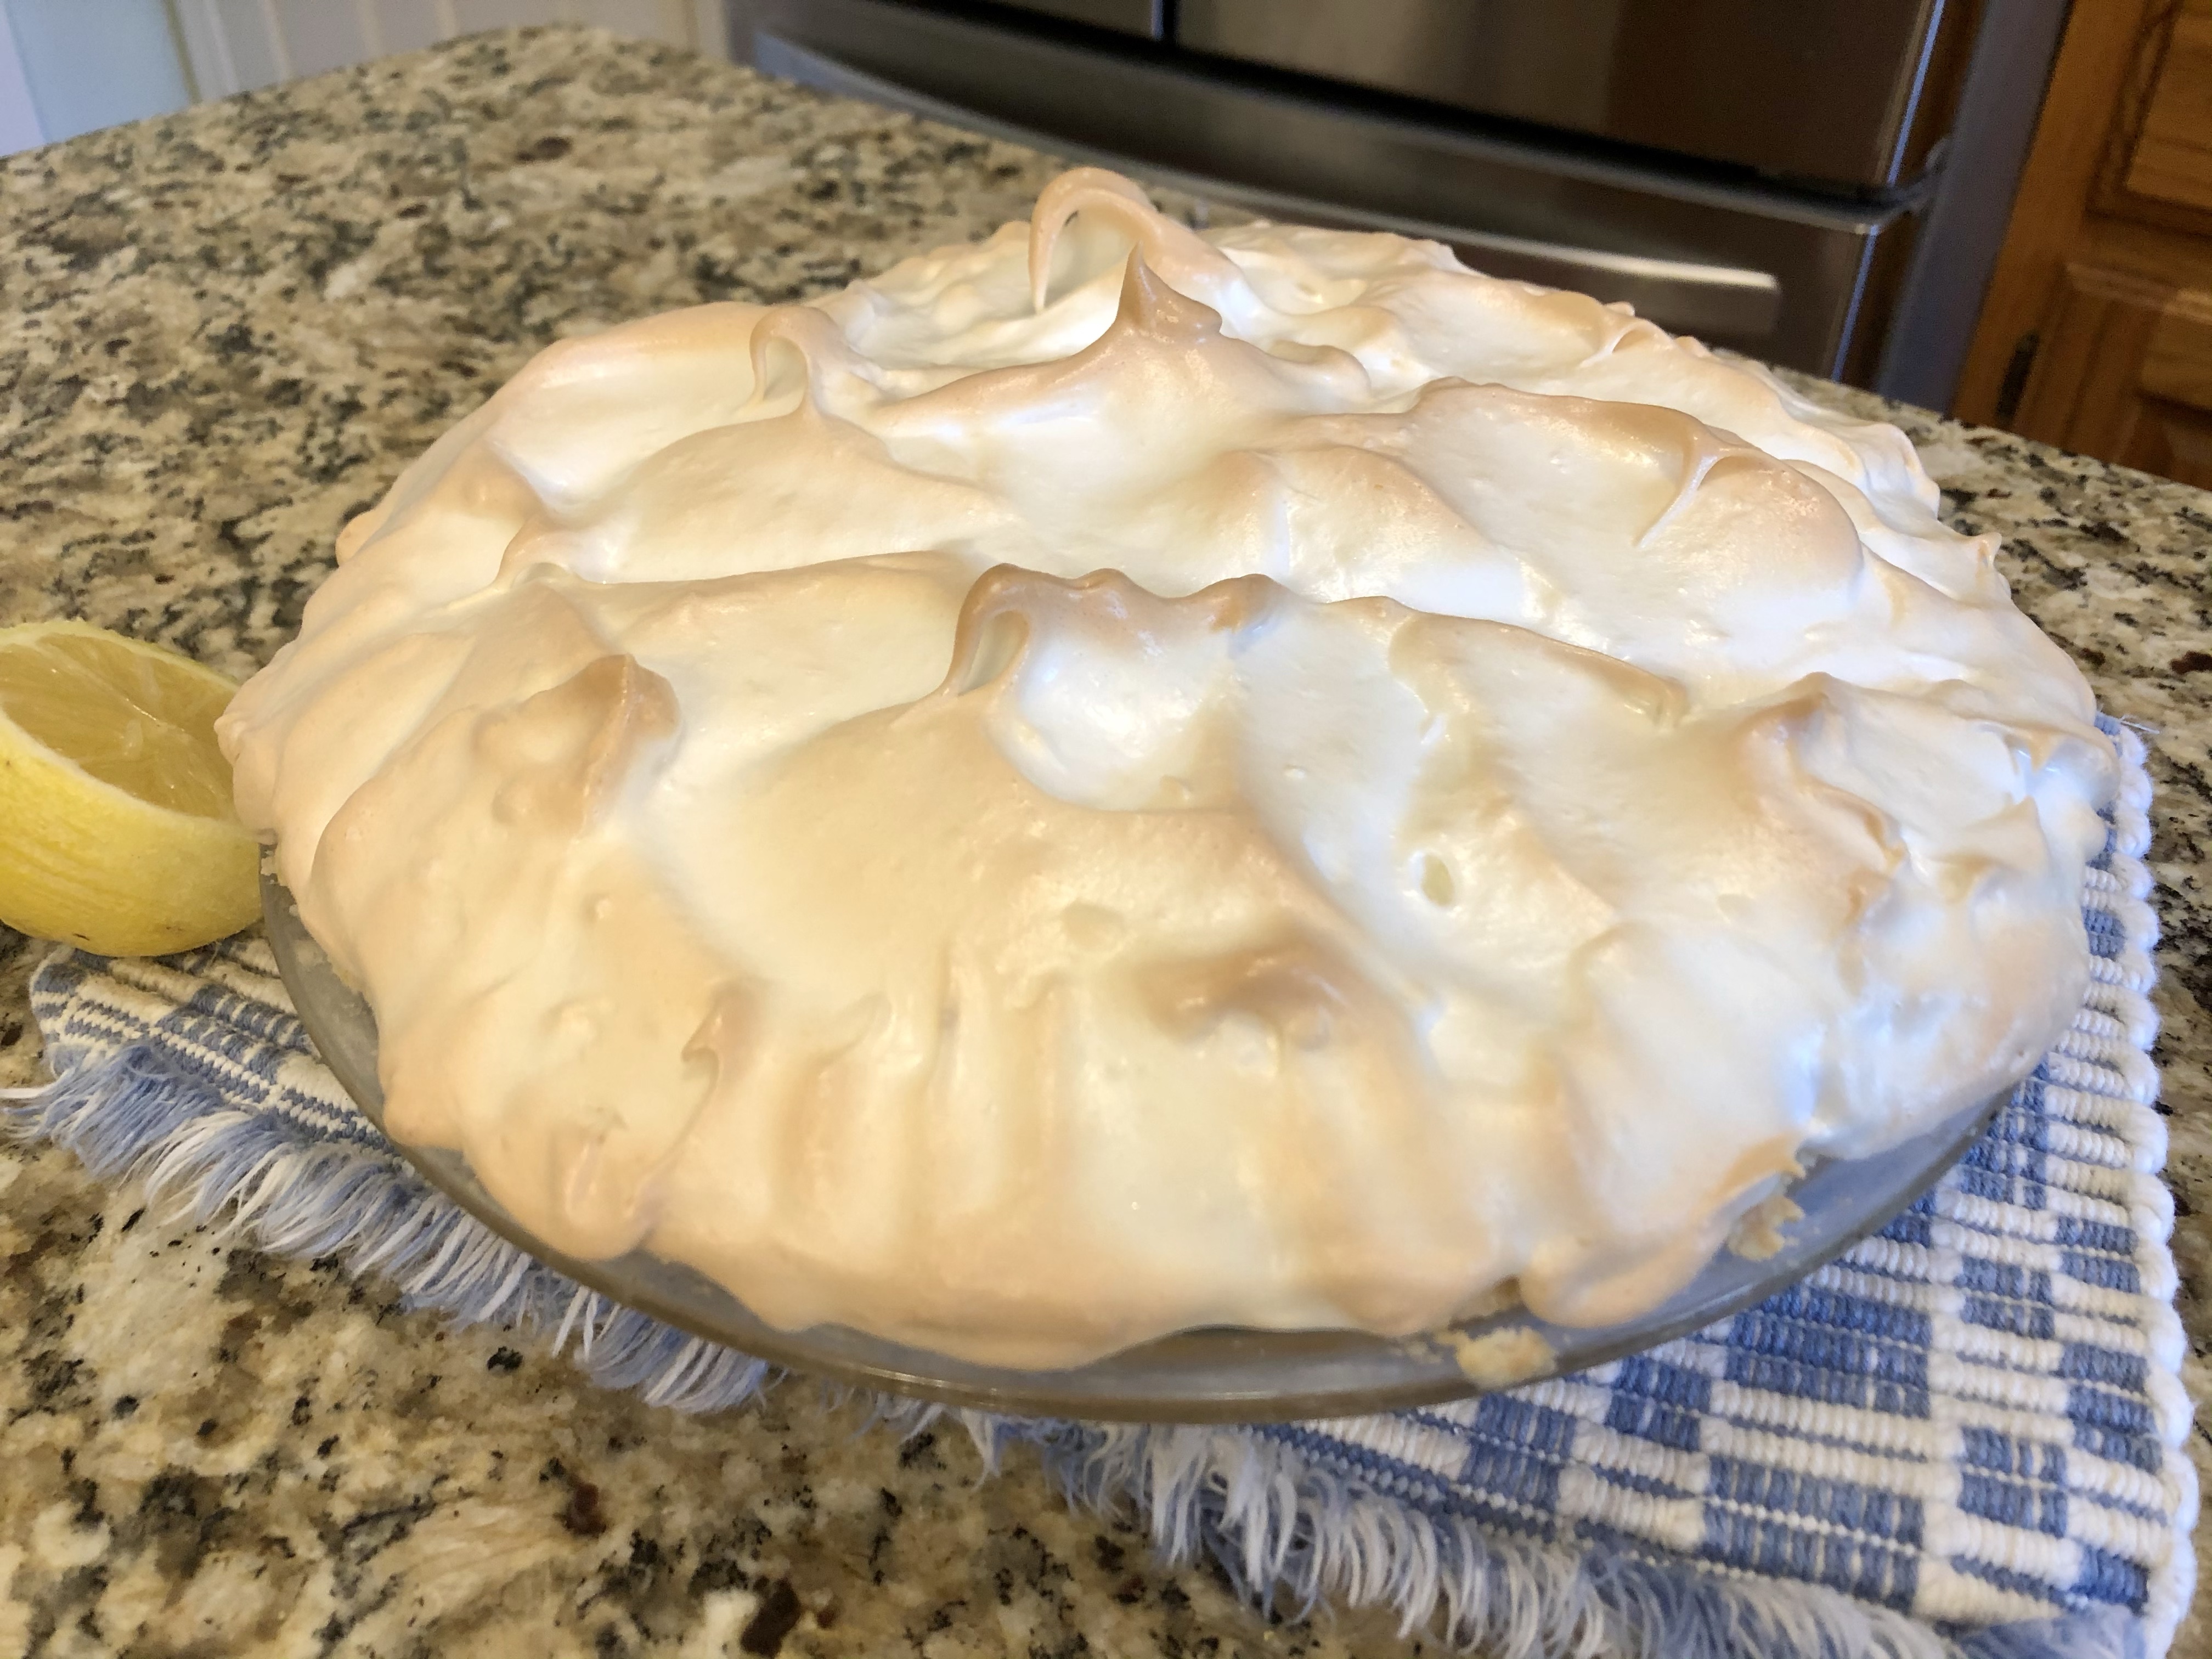
I hadn’t made one in a couple of years, so I was a little nervous about how it would turn out. I have had times that the meringue flopped or crept away from the crust, or wept, leaving little dewy droplets all over, so I could only hope and pray all would go well.

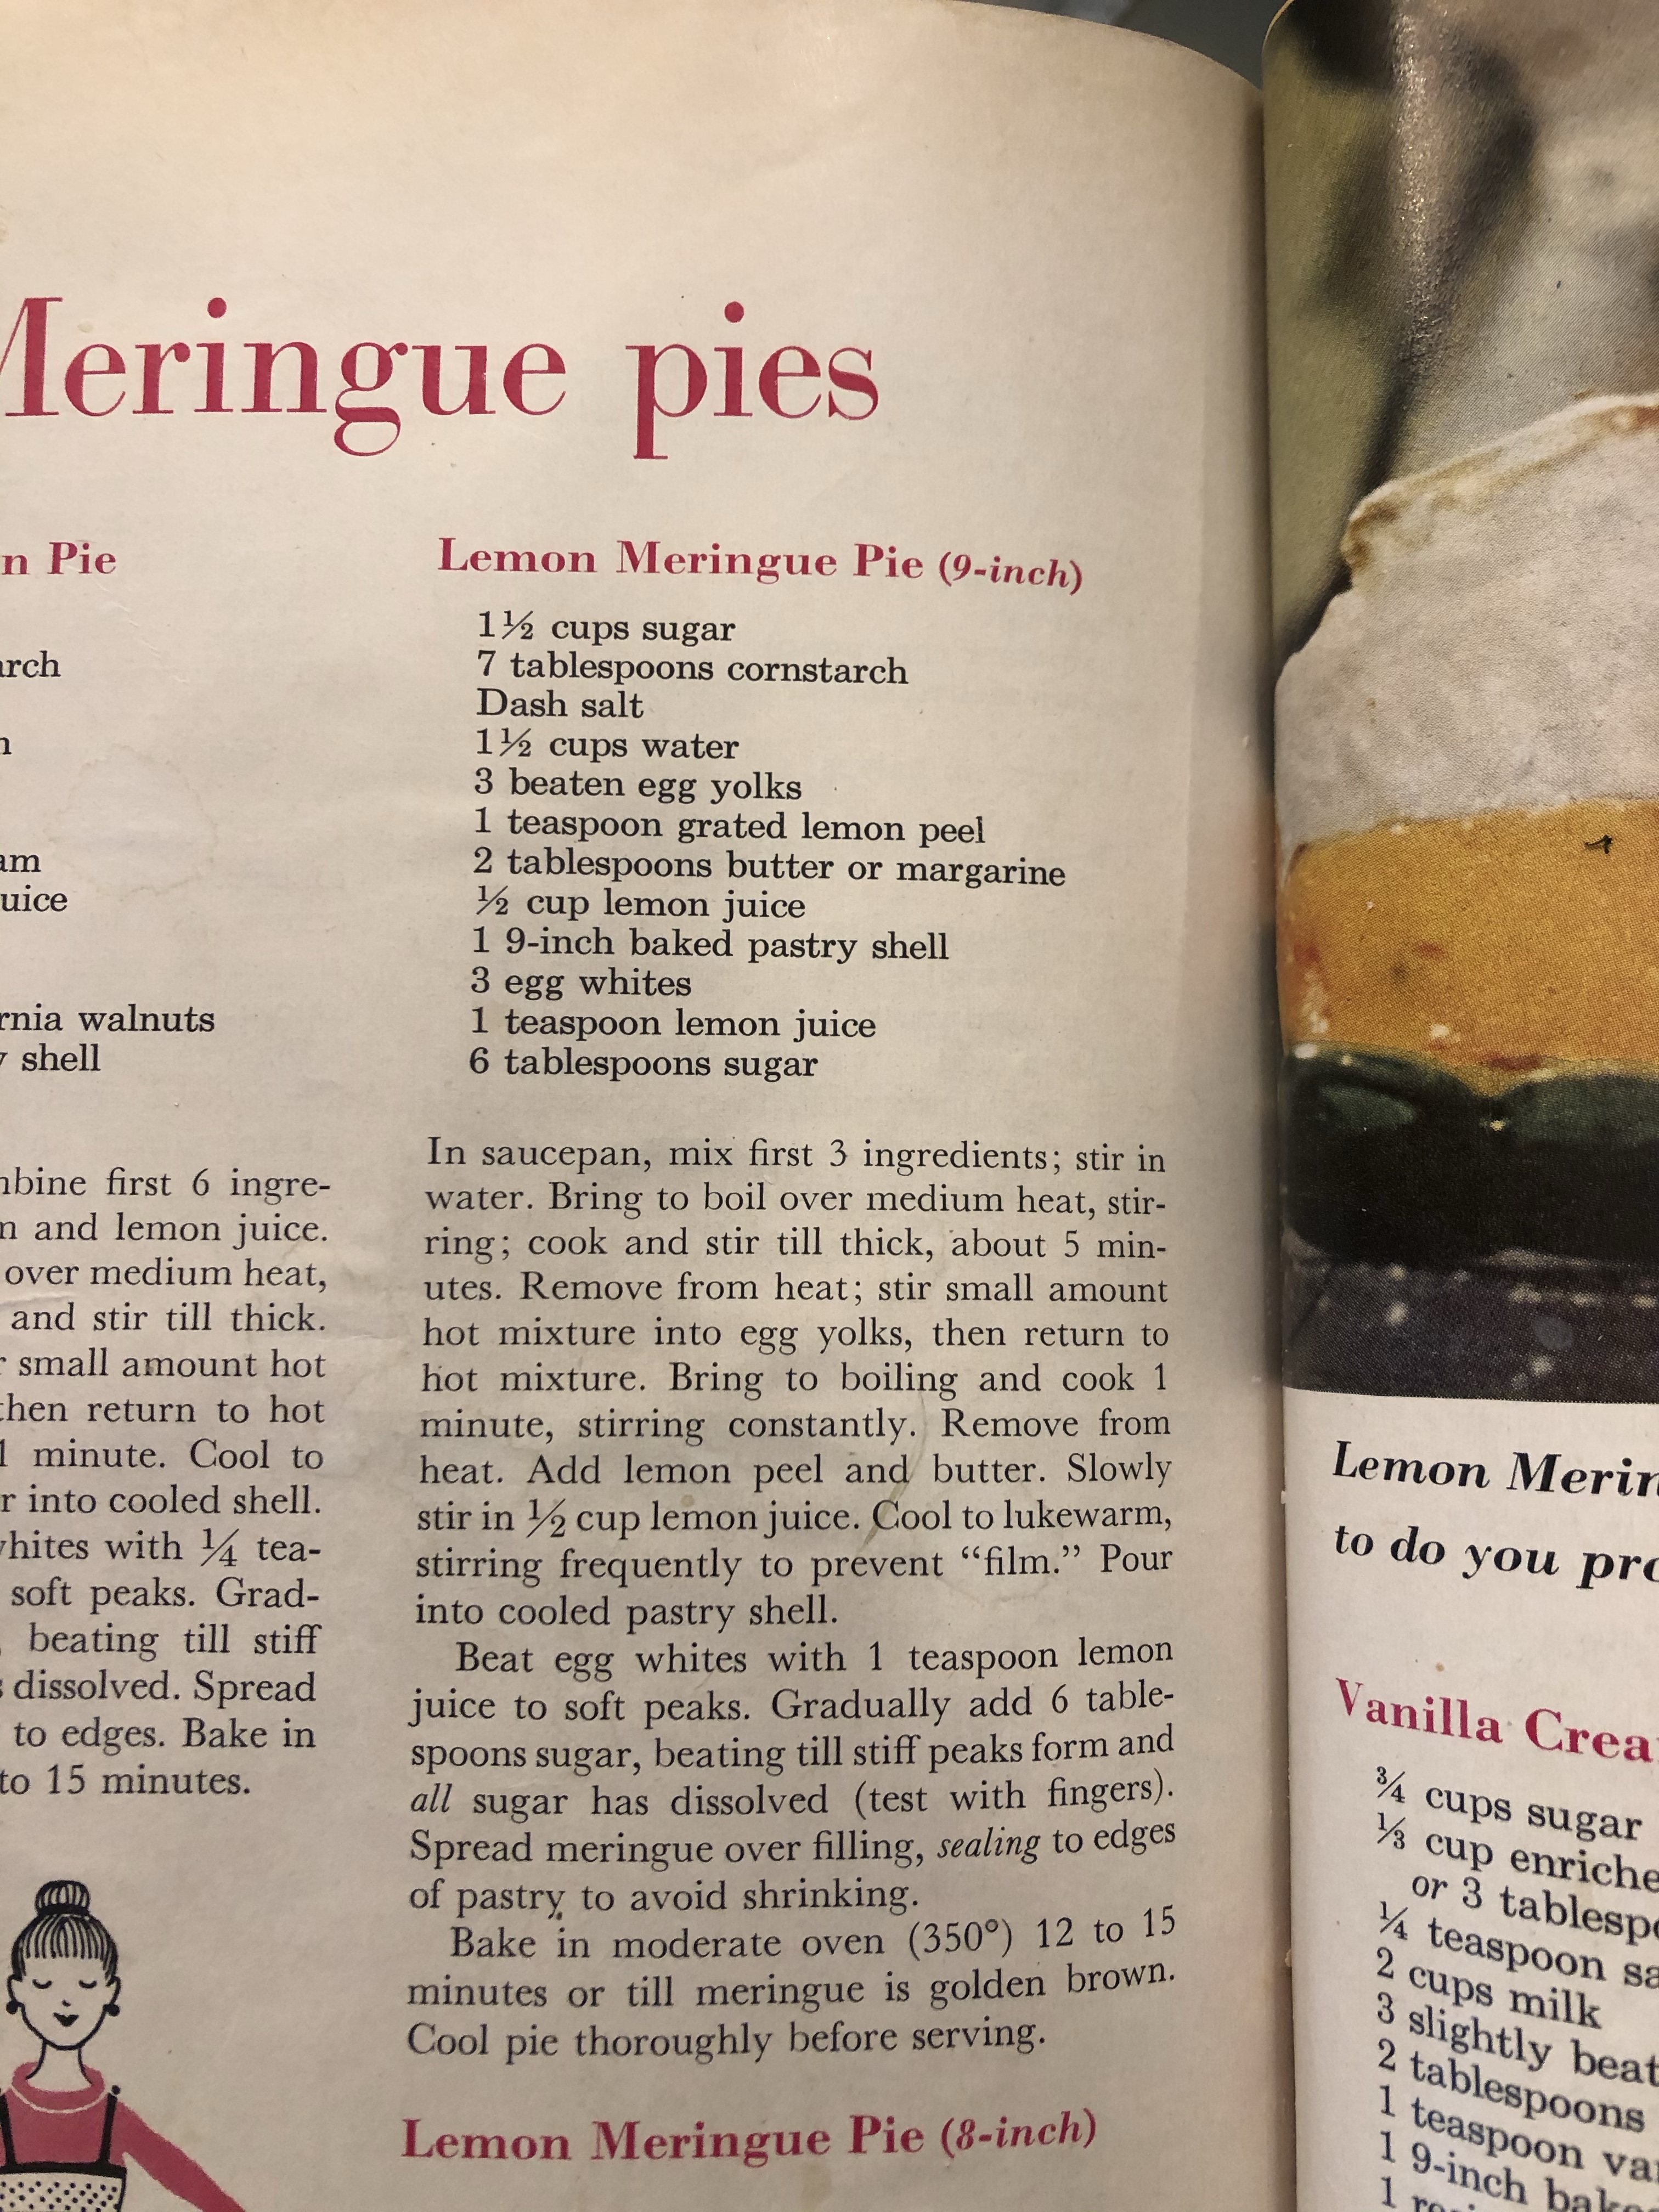
The recipe is from this very old cookbook of my mom’s, printed in the 60’s. I grew up flipping through the pages of this cookbook, ooo-ing and ahhh-ing over the tempting desserts pictured on its pages, this pie being one of them. Now it was time to see if I could make it happen!

Cream pies like this just take patience.

  1. Make the crust
  2. Bake the crust
  3. Make the filling
  4. Let it cool
  5. Make the meringue
  6. Top the pie with the meringue
  7. Bake the meringue until lightly browned

It’s worth every bit of effort to make this delicious pie at home! Just find a day that isn’t rainy and humid, or you might have trouble with the meringue. You’ll be so glad you took the time and effort to make this from scratch. It simply can’t be beat! The meringue in this recipe has a little twist! See if you can catch it.
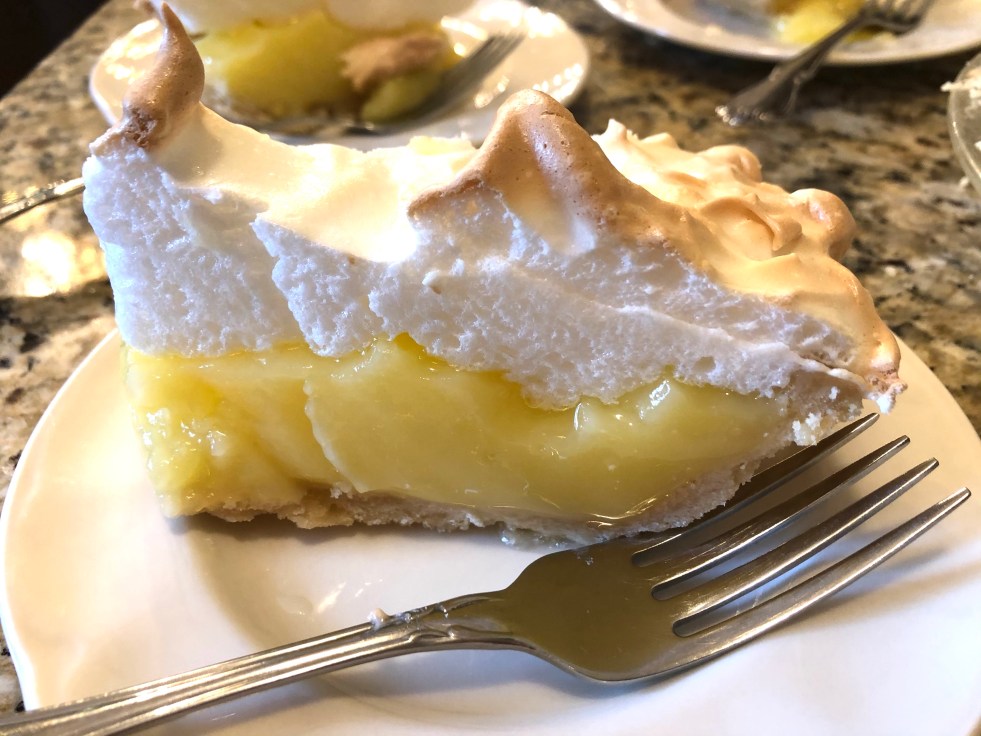
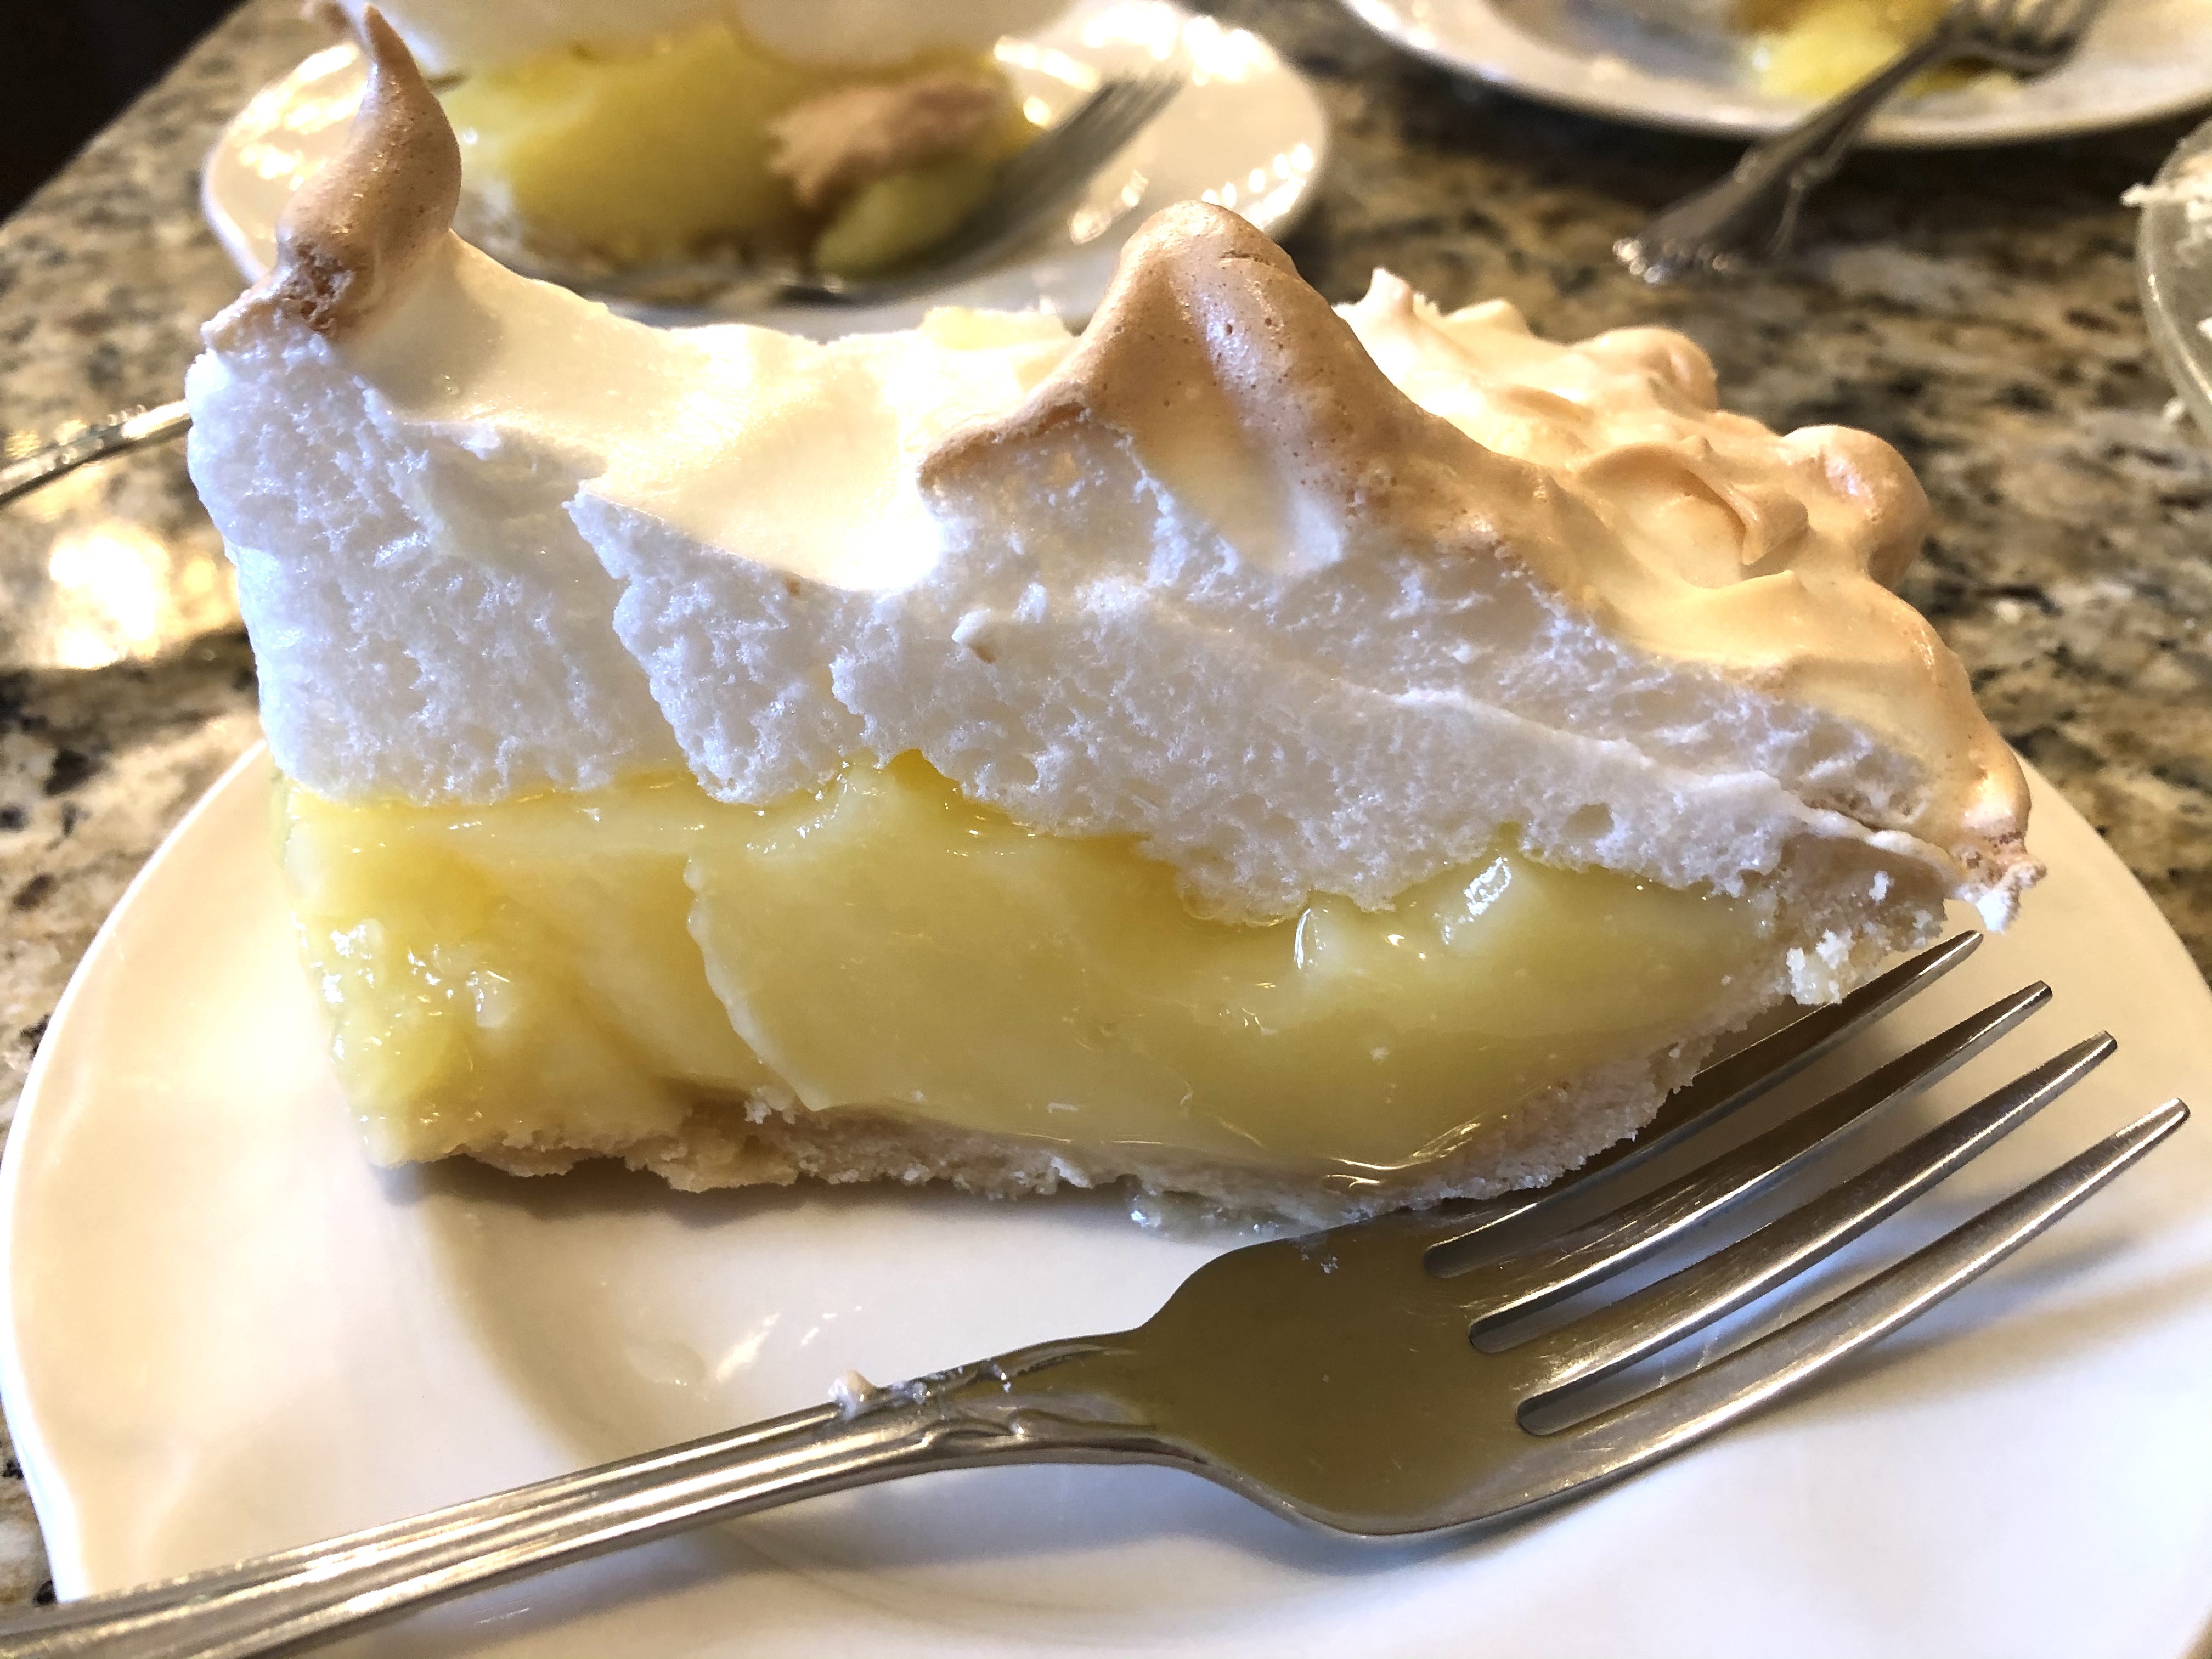
How about a slice?

My sweet mom slicing up her Mother’s day pie.

A few tips:

My homemade crust is made from – 2 C flour, 1 tsp salt, 3/4 C Crisco, ice water.
Combine the flour and salt. Using a pastry blender, cut Crisco into flour. Add ice water a little at a time until it holds together without crumbling or being too wet. Makes 2 crusts.

Use freshly squeezed lemon juice, if possible. It makes it extra fresh and tart.

Be sure to cool the pie to room temperature, then refrigerate it a few hours before you attempt to cut it. The filling needs that time to set up.

Did you catch the twist in the recipe for the meringue?

I hope you’ll make someone’s day (and your own!) and bake a lemon pie!

Cleaning · Home making · refreshment at home

Getting the Most Done Each Day

It was 10:00 in the morning. I was dressed and ready for the day and I had already:

  • Taken care of the cat (If you’re a cat owner, you know that your cat will make sure that happens first!)
  • Swept the floor in the laundry room
  • Thrown in a load of laundry
  • Made the bed
  • Cleaned the bathroom
  • Wiped off the mirrors in the bathroom and bedroom
  • Made baked oatmeal
  • Emptied the dishwasher

I had also had my time in the Word and prayer, and my husband and I had also been guests on a podcast before 10:00! I was thankful that these things were done, because the rest of the day was also full of responsibilities. Not every day is as busy or productive and “My life is not about checking off boxes!” (I say to myself each day!).

My life is driven by my relationship with the Lord. I desire He direct my steps each day so that I can live my life for His glory. But God is a god of order and beauty, so that motivates me to live out each day in the same way. I don’t want to be driven by the constant demand of household chores and duties, but I desire to be the Keeper of my home so that it runs smoothly and efficiently.

In my years of homemaking, I have learned that the most adequate way to keep that happening is by having a daily routine. Most every bullet at the top of this post is done every single day of the week. I could do most of those things half asleep simply because it’s part of my daily routine.

Getting my day organized by doing the same things every day keeps my meals prepped, my laundry clean and the house in order. Here are some of the other things that I do every single day:

  • Put away my clothes when changing.
  • Clean up the kitchen after each meal.
  • Clear off any clutter from the kitchen counter.
  • Wipe down the stove top after cooking.
  • Spray the fridge, microwave and kitchen trash can with window spray.
  • Empty the trash.
  • Do one load of laundry.
  • Fold and put away the laundry as soon as possible after it’s dried.
  • Empty the litter box.
  • Sweep the floor.
  • Clean the main bathroom.
  • Straighten up the living areas (family room, living room).

The picture of my family room at the top of this post is my view while I’m writing. I did nothing to this room when I came in here today, and we use this room every day. It stays neat and clean, thanks to my daily routines. Without that, things would be a mess!

What do you need to add to your daily routine in order to be more effective as the keeper of your home? Make an evaluation of your “problem areas” then make a routine that will keep things in check. I’ve heard Whitney say many times that she has a routine for each day of the week – a day for laundry, a day for watering the plants, etc. That’s also helpful!

If I can give you suggestions or help, don’t hesitate to ask in the comments, or feel free to email me. My email address is in my contact page.

Here are some other cleaning posts (done in our previous home) that might spur you on to do some deep cleaning.

Refresh your home with routine!

Bread · breakfast · muffin · Quick Bread

French Breakfast Puffs

French Breakfast Puffs

While visiting my parents recently, I wanted to make a muffin for breakfast that wouldn’t require any “special” ingredients. I thought for a minute, then these beauties came to my mind…French Breakfast Puffs. They require the basics – flour, butter, eggs, milk and spices. The muffin is so fluffy and delicious and it is encased in a crunchy, buttery, cinnamon/sugar coating.
These have been a favorite in our family for years! Here’s the simple recipe:

French Breakfast Puffs

1 1/2 C flour
3/4 C sugar
2 tsp baking powder
1/4 tsp salt
1/4 tsp nutmeg
1/2 C milk
1 egg, beaten
1/3 C butter, melted


Topping
1 tsp cinnamon
1/2 C sugar
1/3 C butter, melted

Mix flour, sugar, baking powder, salt, and nutmeg.  Add milk, beaten egg, and 1/3 cup melted butter.  Mix well.  Fill greased muffin tins 2/3 full and bake at 400 degrees for 20 minutes. 
While the puffs are baking, mix the cinnamon, sugar in a shallow dish. Place the melted butter in another shallow dish.
Remove the muffins from the pan while still hot; dip in melted butter, then mixture of sugar and cinnamon.  Makes 1 dozen

These are heaven! What a delicious way to start the day!

Do you have a “go-to” muffin you make? If not, these are a great choice!

organization · refreshment at home · Tips and Tools

Tips You Need to Know!

I love to pick up a book or magazine that has some really good helpful ideas in it that simplify my life. I thought I’d share some of my recent finds with you here. Feel free to share your good ideas; I’d love to hear your helpful hints!

  • Use an embroidery box or a tackle box for your small pieces of jewelry. If you don’t use it at home, this is a great way to pack jewelry for vacation!
  • Place all your shoes in clear shoe boxes rather than shoe racks. They’re shorter and trimmer than standard shoe boxes and stack nicely on the closet shelf. Because they’re in clear boxes they’re easy to find.
  • Put Clear plastic drawers in your closet to store socks and belts.
  • Use a magnetic clip to hold your recipe while you’re cooking. Stick the clip to the stove hood and you’ll be able to see the recipe easily.
  • Wrap a rubber band or two around the ends of a hanger to keep your camisoles and sleeveless tops from sliding off the hanger and into the floor.
  • Pop your medication into a contact case for a handy pill box. This tip is especially good for men who don’t want a “cute” little pill box! My husband keeps a contact case in his pants pocket with his Veritgo meds and a couple Advil.
  • When you get to the bottom of your favorite tube of lipstick, dig out the remains with a Popsicle stick and put it into a clean contact case. Presto! Lip gloss is now at your finger tips!
  • When you’re in the middle of a painting project and it’s time to quit, instead of washing all the paint off your brushes and rollers, simply wrap them in plastic wrap ’til you’re ready to paint later that day or even the next day. This way you’ll only have to clean up the messy brushes once!
  • Keep cilantro fresh by cutting off the bottom of the stems and placing the cilantro in a cup with enough water to cover the stems. Place the cup in the fridge. The cilantro will stay fresh for a couple of weeks.
  • Magic Erasers are great for more than just crayons on the wall! They clean the outside of appliances super well! That grimy covering that can make toasters or microwaves “sticky” is wiped away easily!
  • Lastly, this simple idea came to me recently when I was cooking hot dogs for lunch on the stove top. Spray the hot dog buns with cooking spray, then gently open them just enough to hang them on the sides of a rounded skillet. Brown on one side, then turn them and brown the other side while the hot dogs cook! Nice, crispy buns will be ready when your hot dog is!

Okay, your turn! Tell me your favorite tip!

Refresh your life with simplicity!

cakes · Celebrations

Celebration Cake!

Strawberry Layer Cake

Last week I mentioned our wonderful 40 anniversary celebration our daughters gave us. Our family celebrations usually always include some GREAT food. This party was no exception! After lunch we went to our daughter’s home for cake! This was a Strawberry Layer Cake from Taste of the South. I’m sharing the recipe with you today because it was fabulous, and because strawberry season is upon us! If you need a reason, this is the perfect one to buy strawberries!

Strawberry Layer Cake

  • 1 cup unsalted butter, softened
  • 2 cups granulated sugar
  • 3 large eggs
  • 3 cups cake flour
  • 1 tablespoon baking powder
  • 1 teaspoon salt
  • 1 cup whole milk
  • 4 cups sliced fresh strawberries, divided
  • ½ cup strawberry preserves
  • 1 teaspoon vanilla extract
  • Strawberry Frosting (recipe follows)
  • 4 tablespoons confectioners’ sugar, divided
  • Garnish: fresh strawberries

Instructions

  1. Preheat oven to 350°. Spray 2 (8-inch) round, tall-sided cake pans with baking spray with flour; line bottom of pans with parchment paper.
  2. In a large bowl, beat butter and granulated sugar with a mixer at medium speed until fluffy, 3 to 4 minutes, stopping to scrape sides of bowl. Add eggs, one at a time, beating well after each addition.
  3. In a medium bowl, whisk together flour, baking powder, and salt. With mixer on low speed, gradually add flour mixture to butter mixture alternately with milk, beginning and ending with flour mixture, beating just until combined after each addition. Beat in 2 cups strawberries, preserves, and vanilla. Divide batter between prepared pans.
  4. Bake until a wooden pick inserted in center comes out clean, 35 to 40 minutes. Let cool in pans for 10 minutes. Remove from pans, and let cool completely on wire racks. Spread about 1½ cups Strawberry Frosting onto one cake layer. Place about 1 cup Strawberry Frosting in a piping bag, and cut tip to create a dime-size opening. Pipe a border around edge of cake layer. Sprinkle frosting with 2 tablespoons confectioners’ sugar. Layer remaining 2 cups strawberries slices in center of frosting; sprinkle again with remaining 2 tablespoons confectioners’ sugar. Top with second cake layer. Spread remaining Strawberry Frosting on top and sides of cake. Garnish with strawberries, if desired.

Strawberry Frosting 
Makes about 4 cups
Ingredients

  • 1 cup unsalted butter, softened
  • 2 pounds confectioners’ sugar
  • 5 tablespoons heavy whipping cream
  • ½ cup strawberry preserves or jam

Instructions

  1. In a large bowl, beat butter with a mixer at medium speed until creamy. Gradually add confectioners’ sugar alternately with cream, beating until combined. Increase mixer speed to high. Add preserves, and beat for 1 minute.

This made a wonderful celebration cake, but you don’t need to wait for a special occasion to make it – especially if you love strawberries!

Are you a strawberry fan like I am?