baking · Cooking · Cooking for Two

Tips For Cooking For One Or Two

tortillas a

Recently a reader wrote and asked a good question regarding making meals.  She wrote:

I was wondering how you manage nutrition, food, leftovers, etc. as an empty nester. Do you reduce the recipes to make less, do you eat a small portion of the finished item and freeze leftovers for another meal, do you split the meal and pass one on to another or is a combination of things the solution?

When my husband and I were first married, I had been single and living on my own for a couple of years, so I easily cooked for just the two of us. As our family grew, I increased the meals to feed four on a regular basis.  But as the girls got married and we became empty nester’s, I found out quickly that something had to change.  We would either have to learn to love eating leftovers for more than one day, or I would need to adjust my cooking methods.

Here’s how I have learned to manage our meals for two without eating leftovers for an eternity!

  1. Cut the recipe in half.  This is an obvious one, right?  But sometimes we get stumped with ingredients like,
    1. “1 can of mushroom soup.” I simply put in half a can, then put the other half into a freezer bag, label it, and pop it into the freezer!
    2. “1 egg” – go ahead and use one egg.
  2. Make a whole recipe and freeze portions and put them into the freezer, again, with good labels.  You might think you’ll remember what it is, but when it gets into a frozen state, it’s really hard to tell meatloaf from goulash!  So many things freeze well – just take a look on the freezer aisle at your store the next time for some ideas of what you could store in there! This is truly cooking once and eating two or three times from that little effort!  This is one of my favorite ways to prep ahead for busy days!
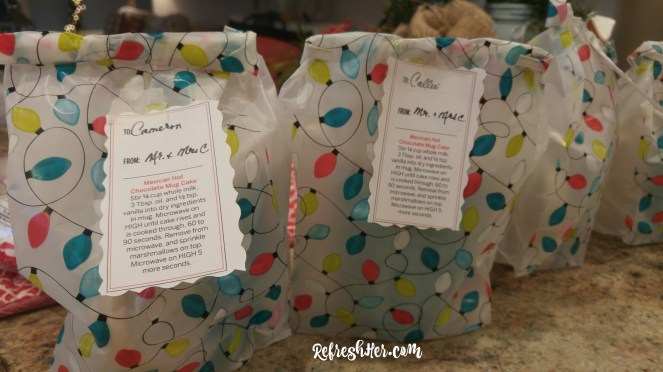
  3. Make a whole recipe and share the other half with someone who needs a meal – a shut-in, new mother or a family with sickness.
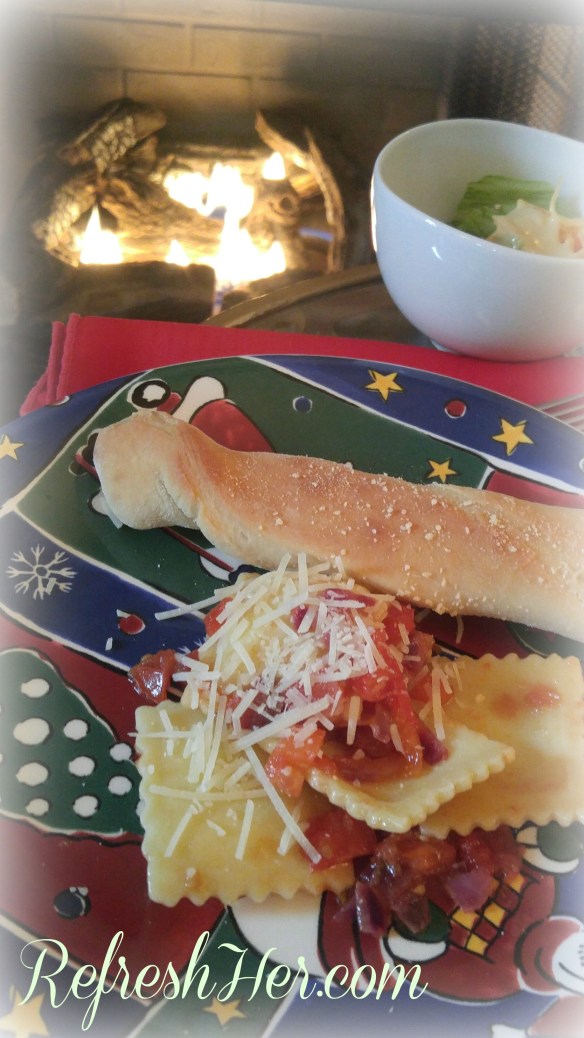
  4. Make meats where you can use portion control – 2 chicken breasts,  1turkey kielbasa or 2 pieces of fresh salmon.  Then I just add fresh vegetables and salads.  This doesn’t’ have to be boring.  Don’t just cook the meat the same way.  You could make one-pan dishes with cut up pieces of chicken, with fresh veggies roasted in the oven.  Make a baked potato with chicken sautéed in herbs and olive oil.  The possibilities are endless.
  5. Make individual servings – pot pies, pizzas, or meatloaves, etc.
  6. Make soup and freeze it in muffin pans as I described here.
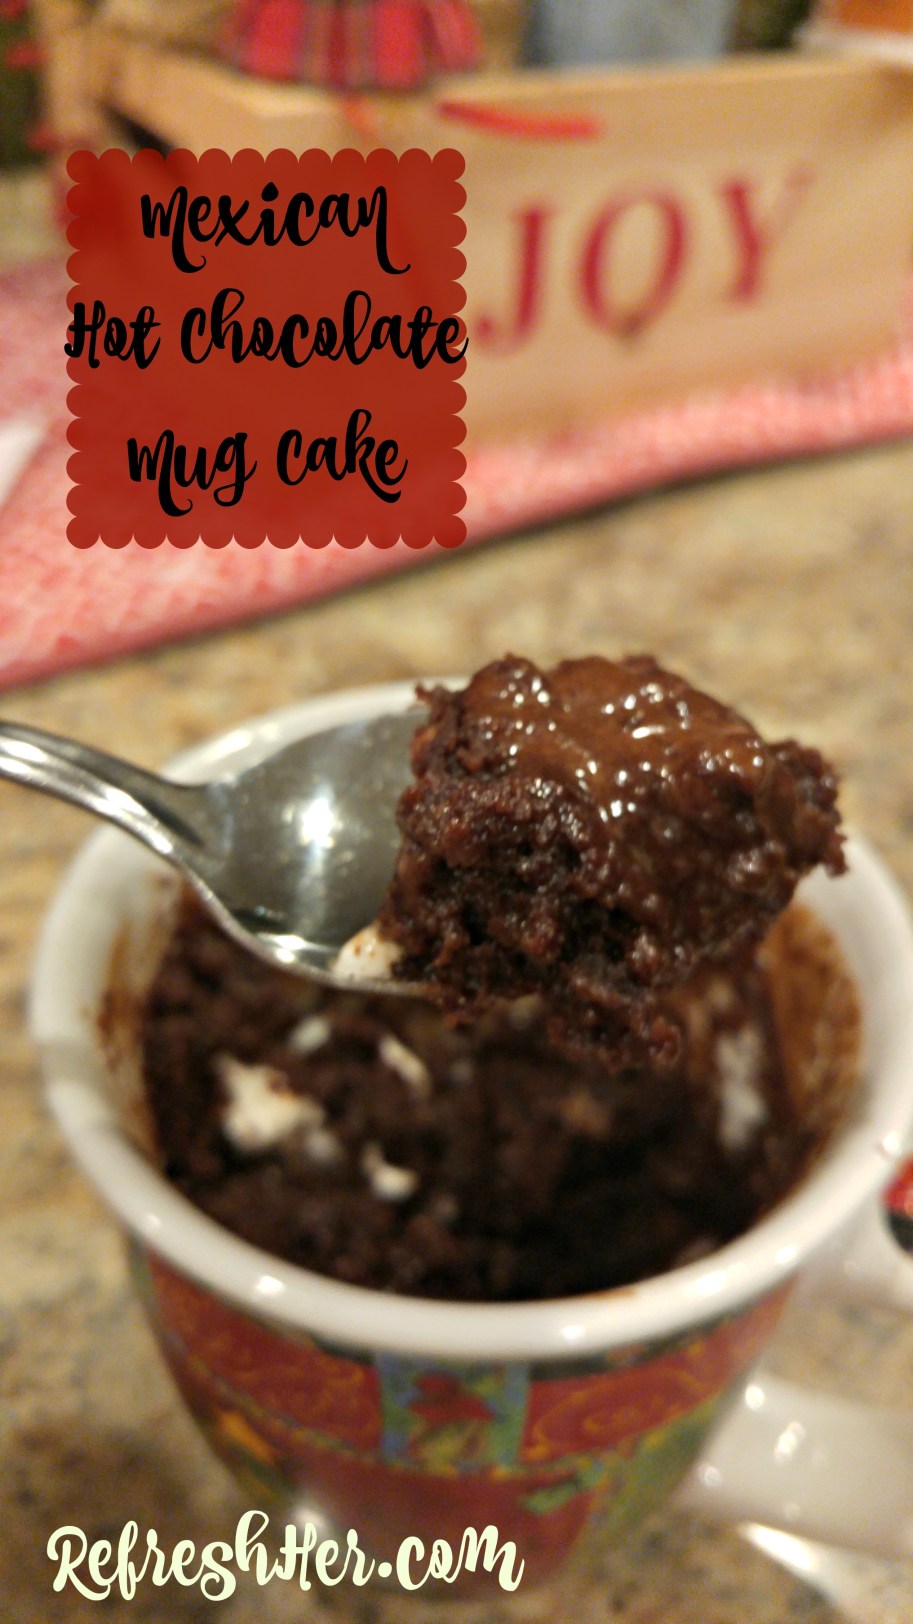
  7. Bake small cakes and use only one layer.

There’s also a great web site on Taste of Home for recipes for Cooking for two.  This site has cakes and muffins as well as the standard fare for main dishes for breakfast, lunch and dinner.  I enjoy checking here if I want a special recipe without having too much remaining when the meal is over. Too much of a good thing doesn’t end up tasting like a good thing!

banana-cake

As far as nutrition is concerned,

  • I rarely ever fry anything.
  • We eat low-fat meals, with the exception of special meals or times guests are here!
  • Sweets are limited.  I love to bake, but I send most of it away to others so we won’t be tempted by it.  Then on those occasions we do have it, it’s really special!! (I see chocolate in my future come Valentine’s Day!)

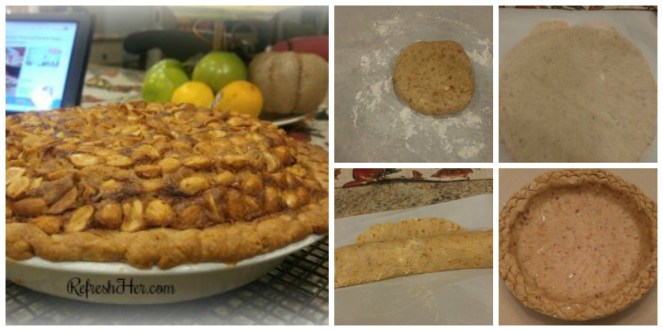
But you know what?  We eat really good food every single day.  Fresh fruit.  Fresh veggies.  Homemade breads – I’ve found some great lighter versions like these biscuits.

If you cook for just one or two, what are your tips?  How do you maintain a healthy diet?

If you have questions about meal planning, cooking or baking, feel free to email me (address is in the contact info) or leave a comment here.  I’ll do my best to answer it!

With love from my country kitchen,

Denise Signature 150 px

baking · Bread · Quick Bread

Wonderful, Quick Breadsticks

Bread.  It is the sustenance of life.  Winter soups need breadsticks for dipping.  Pasta needs a breadstick for sopping up sauce, and Sunday roasts need one to mop up gravy.  Am I right?

Breadsticks 2b


I’m always on the search for a better roll, fluffier biscuit or quicker breadstick.  One day this winter when I was making my Cheese Ravioli with Tomatoes, I found this recipe on Pinterest, at Genius Kitchen and had to give it a try because the reviews were fabulous.  I halved the recipe and it was perfect for a couple of meals.  Oh, these are good.  These are fast.  These need to be in your recipe file!

breadsticks 1


Soft, Quick Breadsticks

INGREDIENTS

DIRECTIONS

  1. Make dough using your favorite method- bread machine, mixer or by hand.
  2. Roll out into a 10×12 inch rectangle.
  3. Cut into strips about 3/4 inch wide.
  4. Give each strip a twist and place on a greased cookie sheet.
  5. Let rise for at least 20 minutes or more if you have time.
  6. Bake at 375 for 10-15 minutes.
  7. Brush with butter and sprinkle with garlic salt and Parmesan cheese.

The next time you make anything that has sauce of any kind, you need to whip this recipe up.  I’m ditching every other breadstick recipe and keeping this one.  You should too!

Breadsticks 4

What kind of meal would you make these breadsticks to accompany?  Are you a “dipper?”

Denise Signature 150 px

baking · Christmas · Gifts · Uncategorized

Hot Chocolate Mug Cake

How does this sound – Hot, gooey, fudgy cake ready in 90 seconds?! Not only is it really delicious cake, it can also be assembled to give as a special gift for the chocolate lover in your life!  Can you think of anyone who would appreciate a hot little cake that is ready except for three little ingredients?  Mix it up, pop it into the microwave, and in 90 seconds the cake is ready to eat!

1212171817 a.jpg

I found this recipe for Mexican Hot Chocolate Mug Cake in the recent edition of Southern Living Magazine.  I whipped up four of these for my neighbors this week and they were super easy and cute as well!  Each mug makes a really generous portion – so you could even share, but hey, it’s Christmas, right?  You might want to enjoy the whole mug yourself!

Here are the ingredients:

Mexican Hot Chocolate Mug Cake

Ingredients

DRY MIX

  • 1/4 cup all-purpose flour
  • 3 tablespoons granulated sugar
  • 1/8 teaspoon kosher salt
  • 2 tablespoons unsweetened cocoa
  • 2 tablespoons chopped toasted pecans
  • 2 tablespoons bittersweet chocolate chips
  • 1/4 teaspoon baking powder
  • 1/4 teaspoon cinnamon
  • 3 tablespoons mini marshmallow


How to Make It

Step 1

For each cake, combine all-purpose flour, granulated sugar, kosher salt, unsweetened cocoa, chopped toasted pecans, bittersweet chocolate chips, baking powder, and cinnamon in a small food-safe gift bag. Place mini marshmallows in a separate bag. Place both bags inside a 12-oz. microwavable mug.

Step 2

To prepare each cake, stir whole milk, canola oil, and vanilla extract into the dry ingredients in mug. Microwave on HIGH until cake rises and is cooked through, 60 to 90 seconds. Remove from microwave; sprinkle marshmallows on top. Microwave on HIGH 5 more seconds. Serve immediately.

Here’s how I wrapped mine up to give away:


1212171654 a.jpg


You might not be able to have everyone you love over for chocolate cake, but with this simple recipe, you might be able to give them all a cake of their own!

You can watch a video of the process here:

Happy baking/Gift-giving!

Denise Signature 150 px

baking · dessert · Pie

First Runner-Up Peanut Pie

Peanut Pie 1a

If you love peanuts, I mean,  if you adore them, then you will love the new recipe I tried from Southern Living’s November issue!  I mentioned last week that I was scouring recipes for a pie fellowship we were having at church.  I finally settled on the Georgia Peanut Pie with Peanut Butter filling and Brown Sugar Whipped Cream.  That’s a mouthful, but just wait until you taste the pie!  It’s a rich, peanut pie that will leave you smacking your lips and glad that you ate only a little slice!  It is quite rich, but hey, isn’t that what dessert is for?

This recipe is easy when it’s done in a couple days.  Do the crust.  Go have lunch with friends, wash up the Thanksgiving linens, take a walk, then come back the next day and make the filling.  Later in the day make the whipped cream.  It’s easy when taken step by step.  Here are some pics of the process for the crust:

peanut crust
Click on picture to enlarge.  To make the scalloped edge, I used the tip of a spoon!


Georgia Peanut Pie with Peanut Butter Crust

PEANUT BUTTER CRUST

  • 1 1/4 cups all-purpose flour
  • 1/4 cup cocktail peanuts or dry-roasted salted peanuts
  • 2 teaspoons light brown sugar
  • 1/2 teaspoon kosher salt
  • 5 tablespoons cold unsalted butter, cubed
  • 2 tablespoons creamy peanut butter
  • 1 tablespoon cold shortening, cubed
  • 4 to 6 tablespoons ice water

PEANUT BUTTER FILLING

  • 1 1/4 cups packed light or dark brown sugar
  • 1 tablespoon all-purpose flour
  • 1/4 teaspoon kosher salt
  • 1/2 cup unsalted butter, melted
  • 3 large eggs
  • 1/3 cup evaporated milk or half-and-half
  • 1/3 cup sorghum syrup, pure cane syrup, or dark corn syrup
  • 1/2 teaspoon vanilla extract
  • 1/2 cup creamy peanut butter
  • 1 1/2 cups cocktail peanuts or dry-roasted salted peanuts

BROWN SUGAR WHIPPED CREAM

  • 1 cup cold whipping cream or heavy cream
  • 2 tablespoons light brown sugar
  • 1/2 teaspoon vanilla extract

How to Make It

Step 1

Prepare the Peanut Butter Crust: Combine flour, peanuts, brown sugar, and salt in bowl of a food processor; process until peanuts are ground and mixture is combined. Add butter, peanut butter, and shortening, and pulse until mixture resembles small peas, 10 to 12 times. Sprinkle 4 tablespoons ice water over top of mixture. Pulse 4 times. Add up to 2 more tablespoons of water, 1 tablespoon at a time, pulsing after each addition until dough just begins to clump together. Remove dough from processor; shape and flatten into a disk. Wrap disk in plastic wrap, and chill 2 hours or up to 2 days.

Step 2

Preheat oven to 375°F. Place chilled dough disk on a lightly floured piece of parchment paper. Sprinkle dough with flour. Top with another piece of parchment paper. Roll dough into a 13-inch circle. Remove and discard top sheet of parchment. Starting at 1 edge of dough, wrap dough around rolling pin, separating dough from bottom sheet of parchment as you roll. Discard bottom sheet of parchment. Place rolling pin wrapped with dough over a 9-inch (1 1/2-inch-deep) glass pie plate. Unroll dough, and gently press it into pie plate. Trim dough, leaving 1/2-inch overhang; fold edges under, and crimp.

Step 3

Prepare Peanut Butter Filling: Stir together brown sugar, flour, and kosher salt in a large bowl. Stir in melted butter. Whisk eggs well in a medium bowl; whisk in milk, sorghum, and vanilla. Add peanut butter; whisk until blended. Spoon filling into prepared piecrust. Sprinkle peanuts over top, and place pie on a rimmed baking sheet.

Step 4

Bake in preheated oven 10 minutes. Reduce oven temperature to 350°F, and bake until puffed and golden brown and until center is set, 45 to 55 minutes, shielding edges with aluminum foil to prevent over-browning, if necessary. Transfer pie to a wire rack, and cool completely, about 2 hours.
Step 5
Prepare the Brown Sugar Whipped Cream: Using chilled beaters and a large chilled bowl, beat whipping cream with an electric mixer on high speed until thickened, about 2 minutes. Add sugar, and beat until stiff peaks form, about 2 minutes. Add vanilla, and beat until well combined. Cover and chill until ready to serve.

Peanut Pie 1
I wish I had taken a picture of the sliced pie. The inside is creamy and smooth!! It’s a perfect balance with the crunchy peanuts on top!

This is a great pie!  As a matter of fact, it landed the First Runner-Up award at our pie contest at church!  A yummy Apple Crumb pie came in first and deserved it!!

peanut pie 8.jpg

Make this for the peanut lover in your life!!

Did you make any new recipes over Thanksgiving that were “Award-winning” with your family?  They’re the ones who count!!

With love from my country kitchen,

Denise Signature 150 px

baking · cakes · dessert · entertaining

Best-Ever German Chocolate Cupcakes

Last week I shared with you about the Fall Bridal shower I had the joy of hosting.  However, I left you hanging about the most important component of the day – DESSERT! I had asked the bride-to-be what her favorite cake was and learned that she loves German Chocolate.  I set out looking for what looked like the best Cupcake recipe.

German Chocolate Cupcakes a.jpg

I found it via Pinterest – it is Ina Garten’s recipe – always a winner in my book!  These were the most moist little cakes – even before the decadent icing was added!  The buttermilk and sour cream do the trick!  Even if you don’t love German chocolate icing, you need this chocolate cake recipe!  But if you’re a German Cake lover, too, I bet you’ll love them as much as we did!!


The recipe says it Makes 14 cupcakes – I got more like 21!

Ingredients:

12 tablespoons (1 1/2 sticks) unsalted butter at room temperature
2/3 cup granulated sugar
2/3 cup light brown sugar, lightly packed
2 extra-large eggs at room temperature
2 teaspoons pure vanilla extract
1 cup buttermilk at room temperature
1/2 cup sour cream at room temperature
2 tablespoons freshly brewed coffee
1 3/4 cups all-purpose flour
1 cup unsweetened cocoa powder
1 1/2 teaspoons baking soda
1/2 teaspoon kosher salt

Directions:

1. Preheat the oven to 350 degrees. Line cupcake pans with 14 paper liners.

2. In the bowl of an electric mixer fitted with a paddle attachment, cream the butter and both sugars on high speed until light and fluffy, approximately 5 minutes. Lower the speed to medium, add the eggs one at a time, then add the vanilla and mix well. In a separate bowl, whisk together the buttermilk, sour cream, and coffee. In another bowl, sift together the flour, cocoa powder, baking soda, and salt. On low speed, add the buttermilk mixture and the flour mixture alternately in thirds, beginning with the buttermilk mixture and ending with the flour mixture. Mix only until blended. Fold the batter with a rubber spatula to be sure it’s completely blended.

3. Divide the batter between the cupcake pans (I use one rounded 2 1/4-inch ice cream scoop per cupcake). Bake on the middle rack of the oven for 20 to 25 minutes, or until a toothpick comes out clean. Cool for 10 minutes, remove from the pans, and allow to cool completely before frosting.

GERMAN CHOCOLATE FROSTING
For 14 cupcakes

Ingredients:

12 tablespoons (1 1/2 sticks) unsalted butter
1 12-ounce can evaporated milk
1 1/4 cups sugar
5 extra-large egg yolks, lightly beaten
1 teaspoon pure almond extract
1 teaspoon pure vanilla extract
1/2 teaspoon kosher salt
2 cups sweetened flaked coconut
1 cup sliced blanched almonds, toasted
1 cup chopped pecans

Directions:

1. Melt the butter in a large saucepan over medium heat. Stir in the milk, sugar, egg yolks, almond extract, vanilla extract, and salt with a wooden spoon. Bring the mixture to a simmer over medium heat, stirring constantly with a wooden spoon. Lower the heat to low and simmer for about 5 minutes until the mixture thickens a little and coats the back of the spoon. Don’t allow it to boil! If the mixture gets lumpy, turn off the heat and beat it vigorously with a whisk. **My personal note on this would be to cook it a little longer than five minutes, or at least be sure you can refrigerate it overnight so it has time to get nice and thick!  My icing did drip a little, but it was spreadable the next morning and delicious!

2. Off the heat, add the coconut, almonds, and pecans and allow to cool about 1 hour. Frost the cupcakes with a dinner knife or metal spatula

Whatever your need for cake is in the near future, these little chocolate cupcakes will make your guests smile!  I plan on making these again this week for a whole different celebration and a new icing!  I’ll share in an upcoming post!

Happy baking!

With love from my country kitchen,

Denise Signature 150 px