baking · Easy recipe · Fall

Cider Donuts

When I was a child, we would make trips to a cider mill near us. The highlight for me was getting to enjoy a doughnut and a little cup of cider while there. Maybe this is where my love for a cake doughnuts began. Oh my! It was such a treat! I recently made a Cider Donut recipe that took me back to that childhood memory!

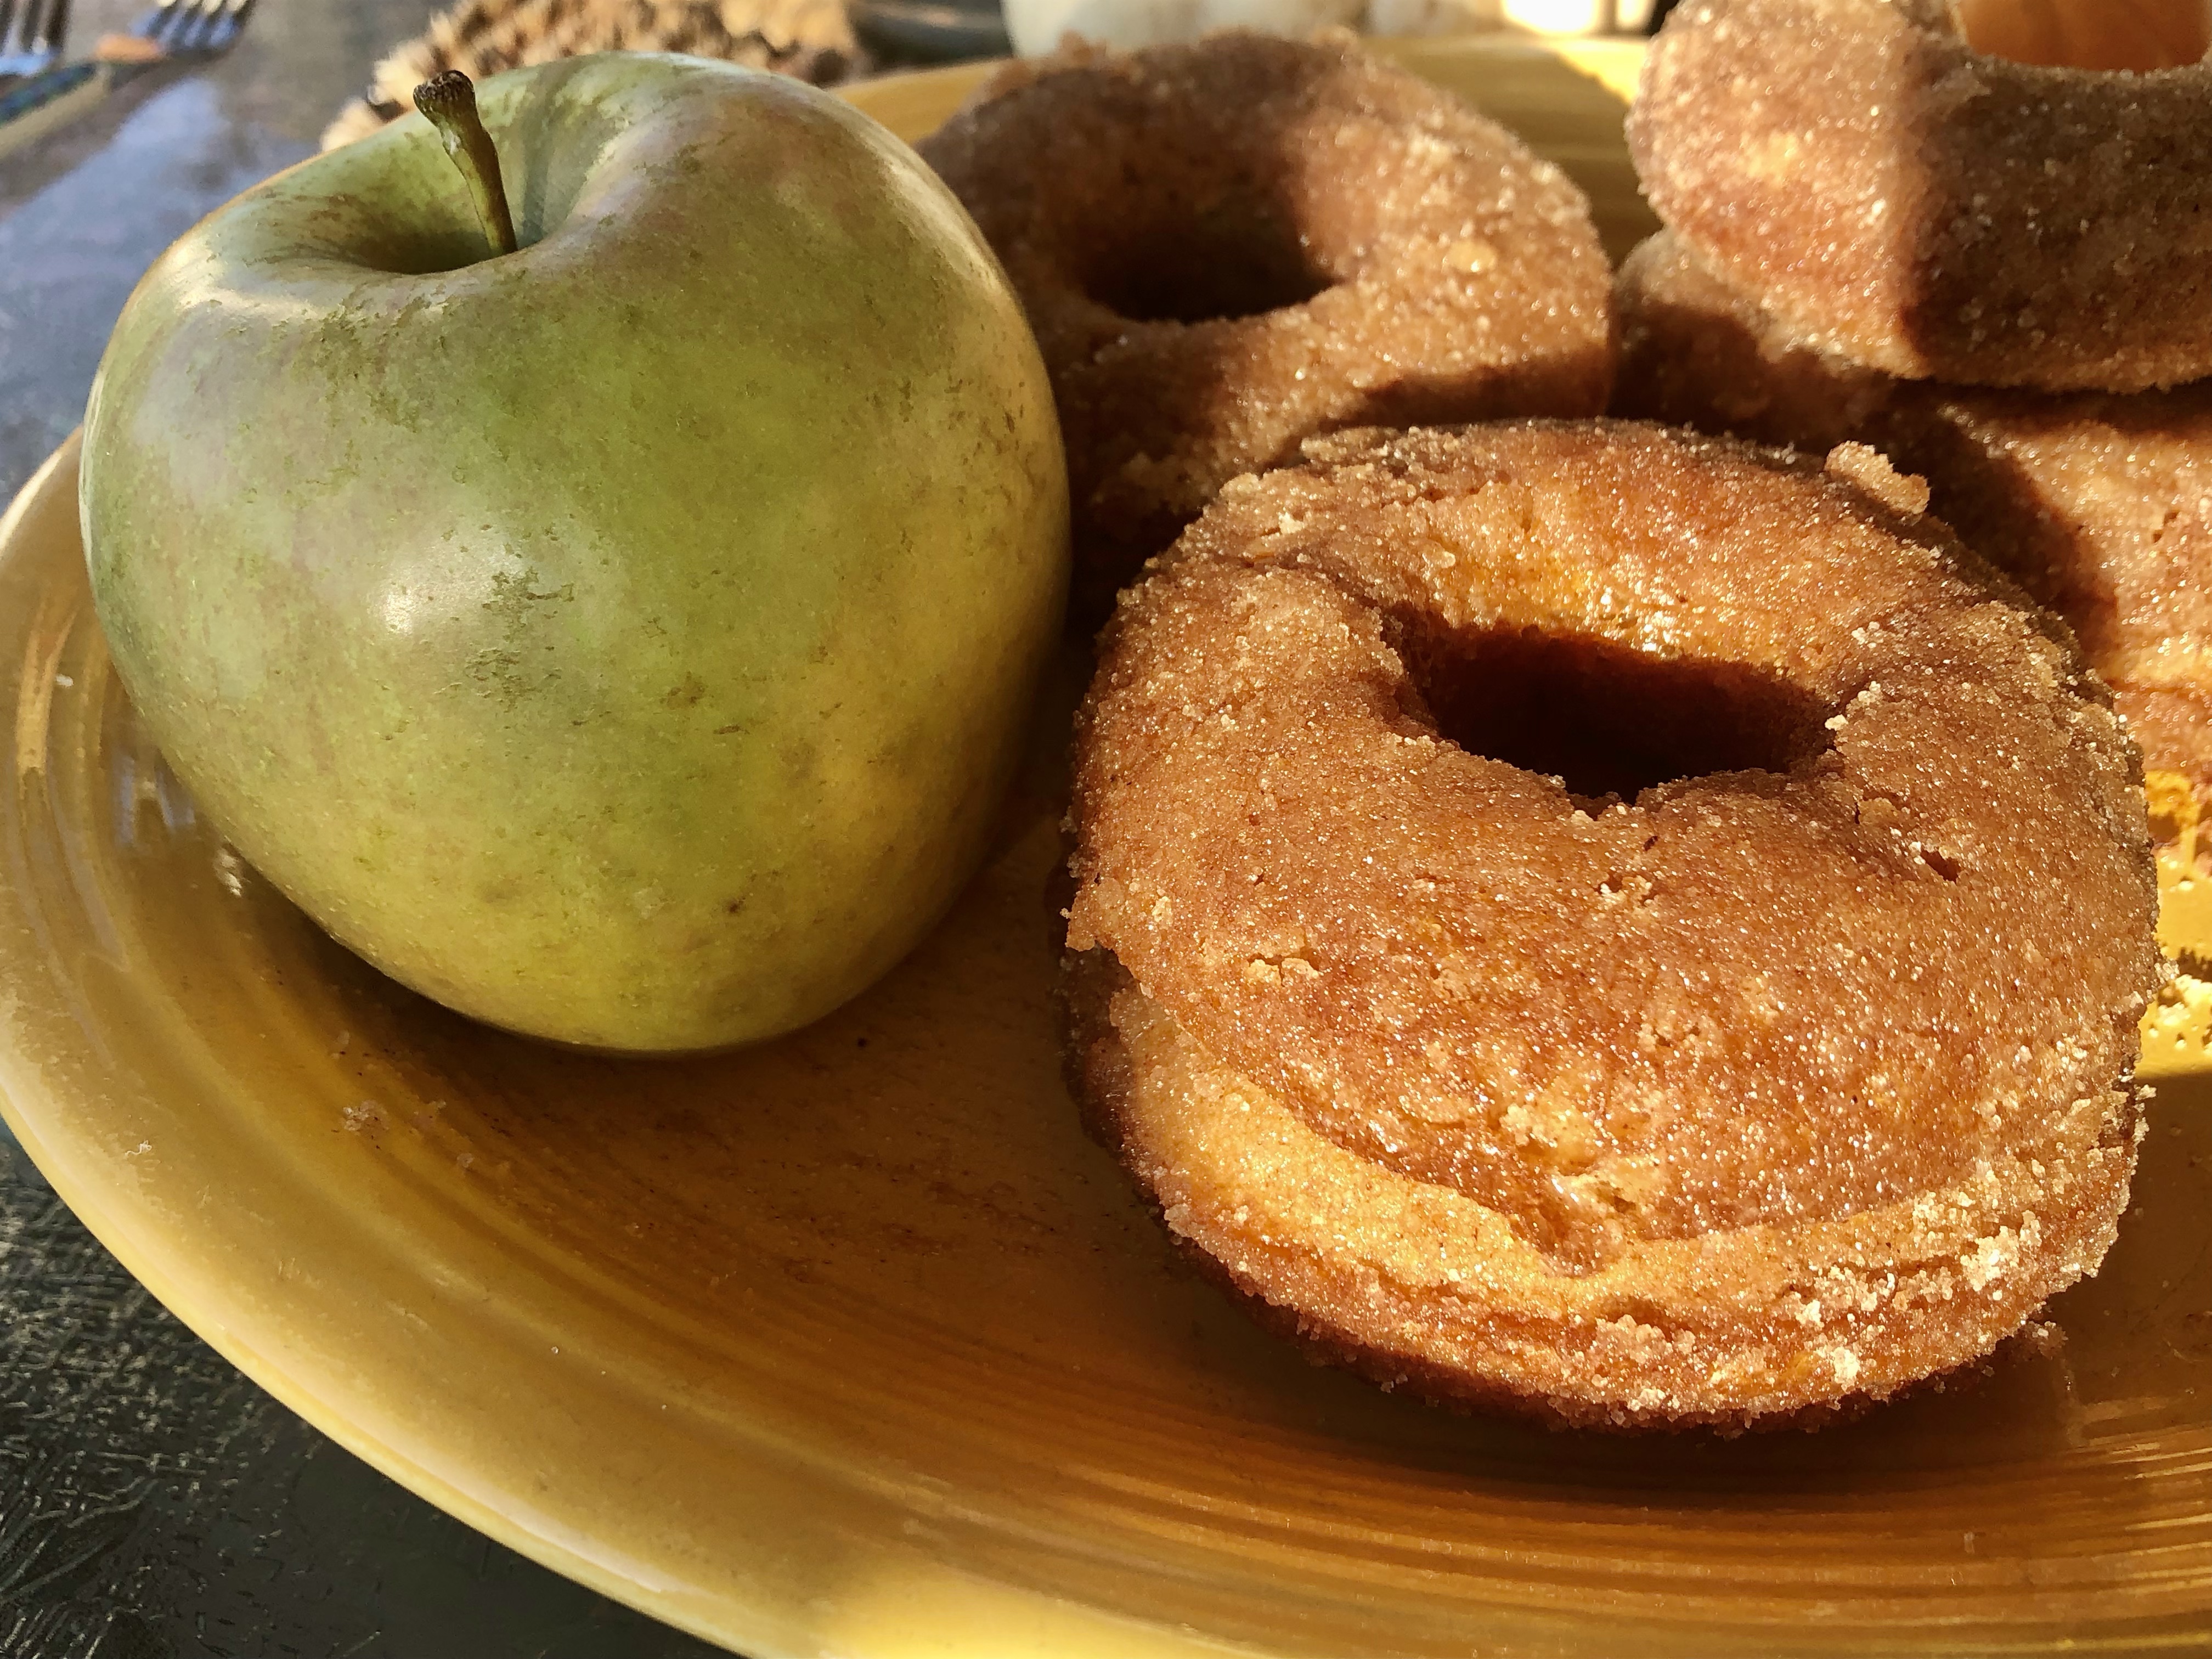
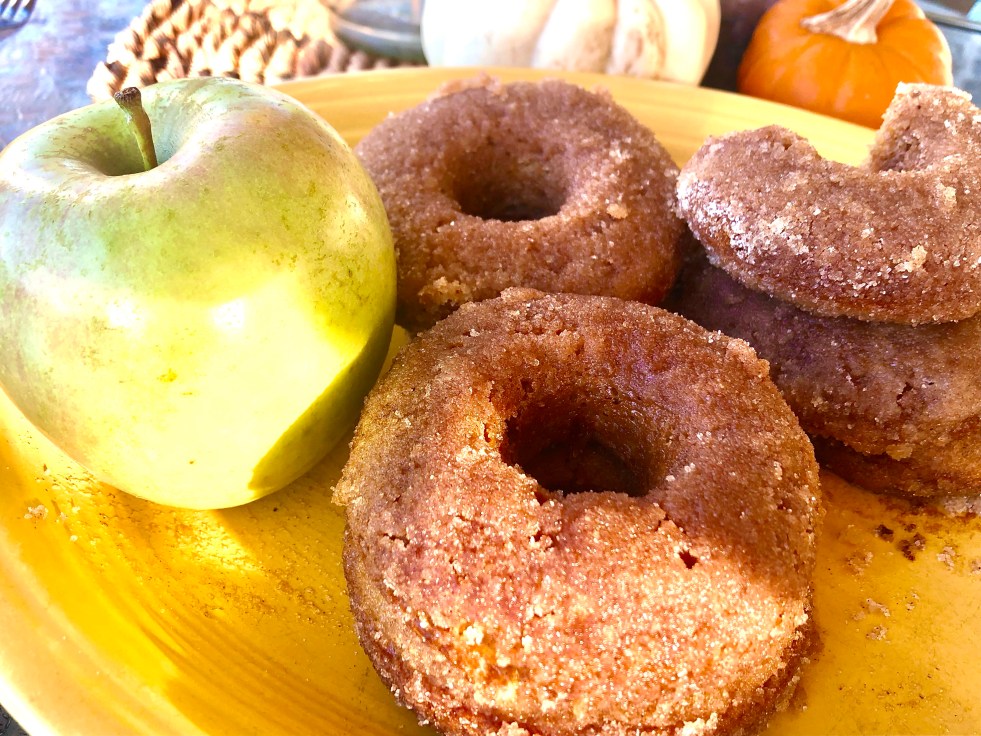
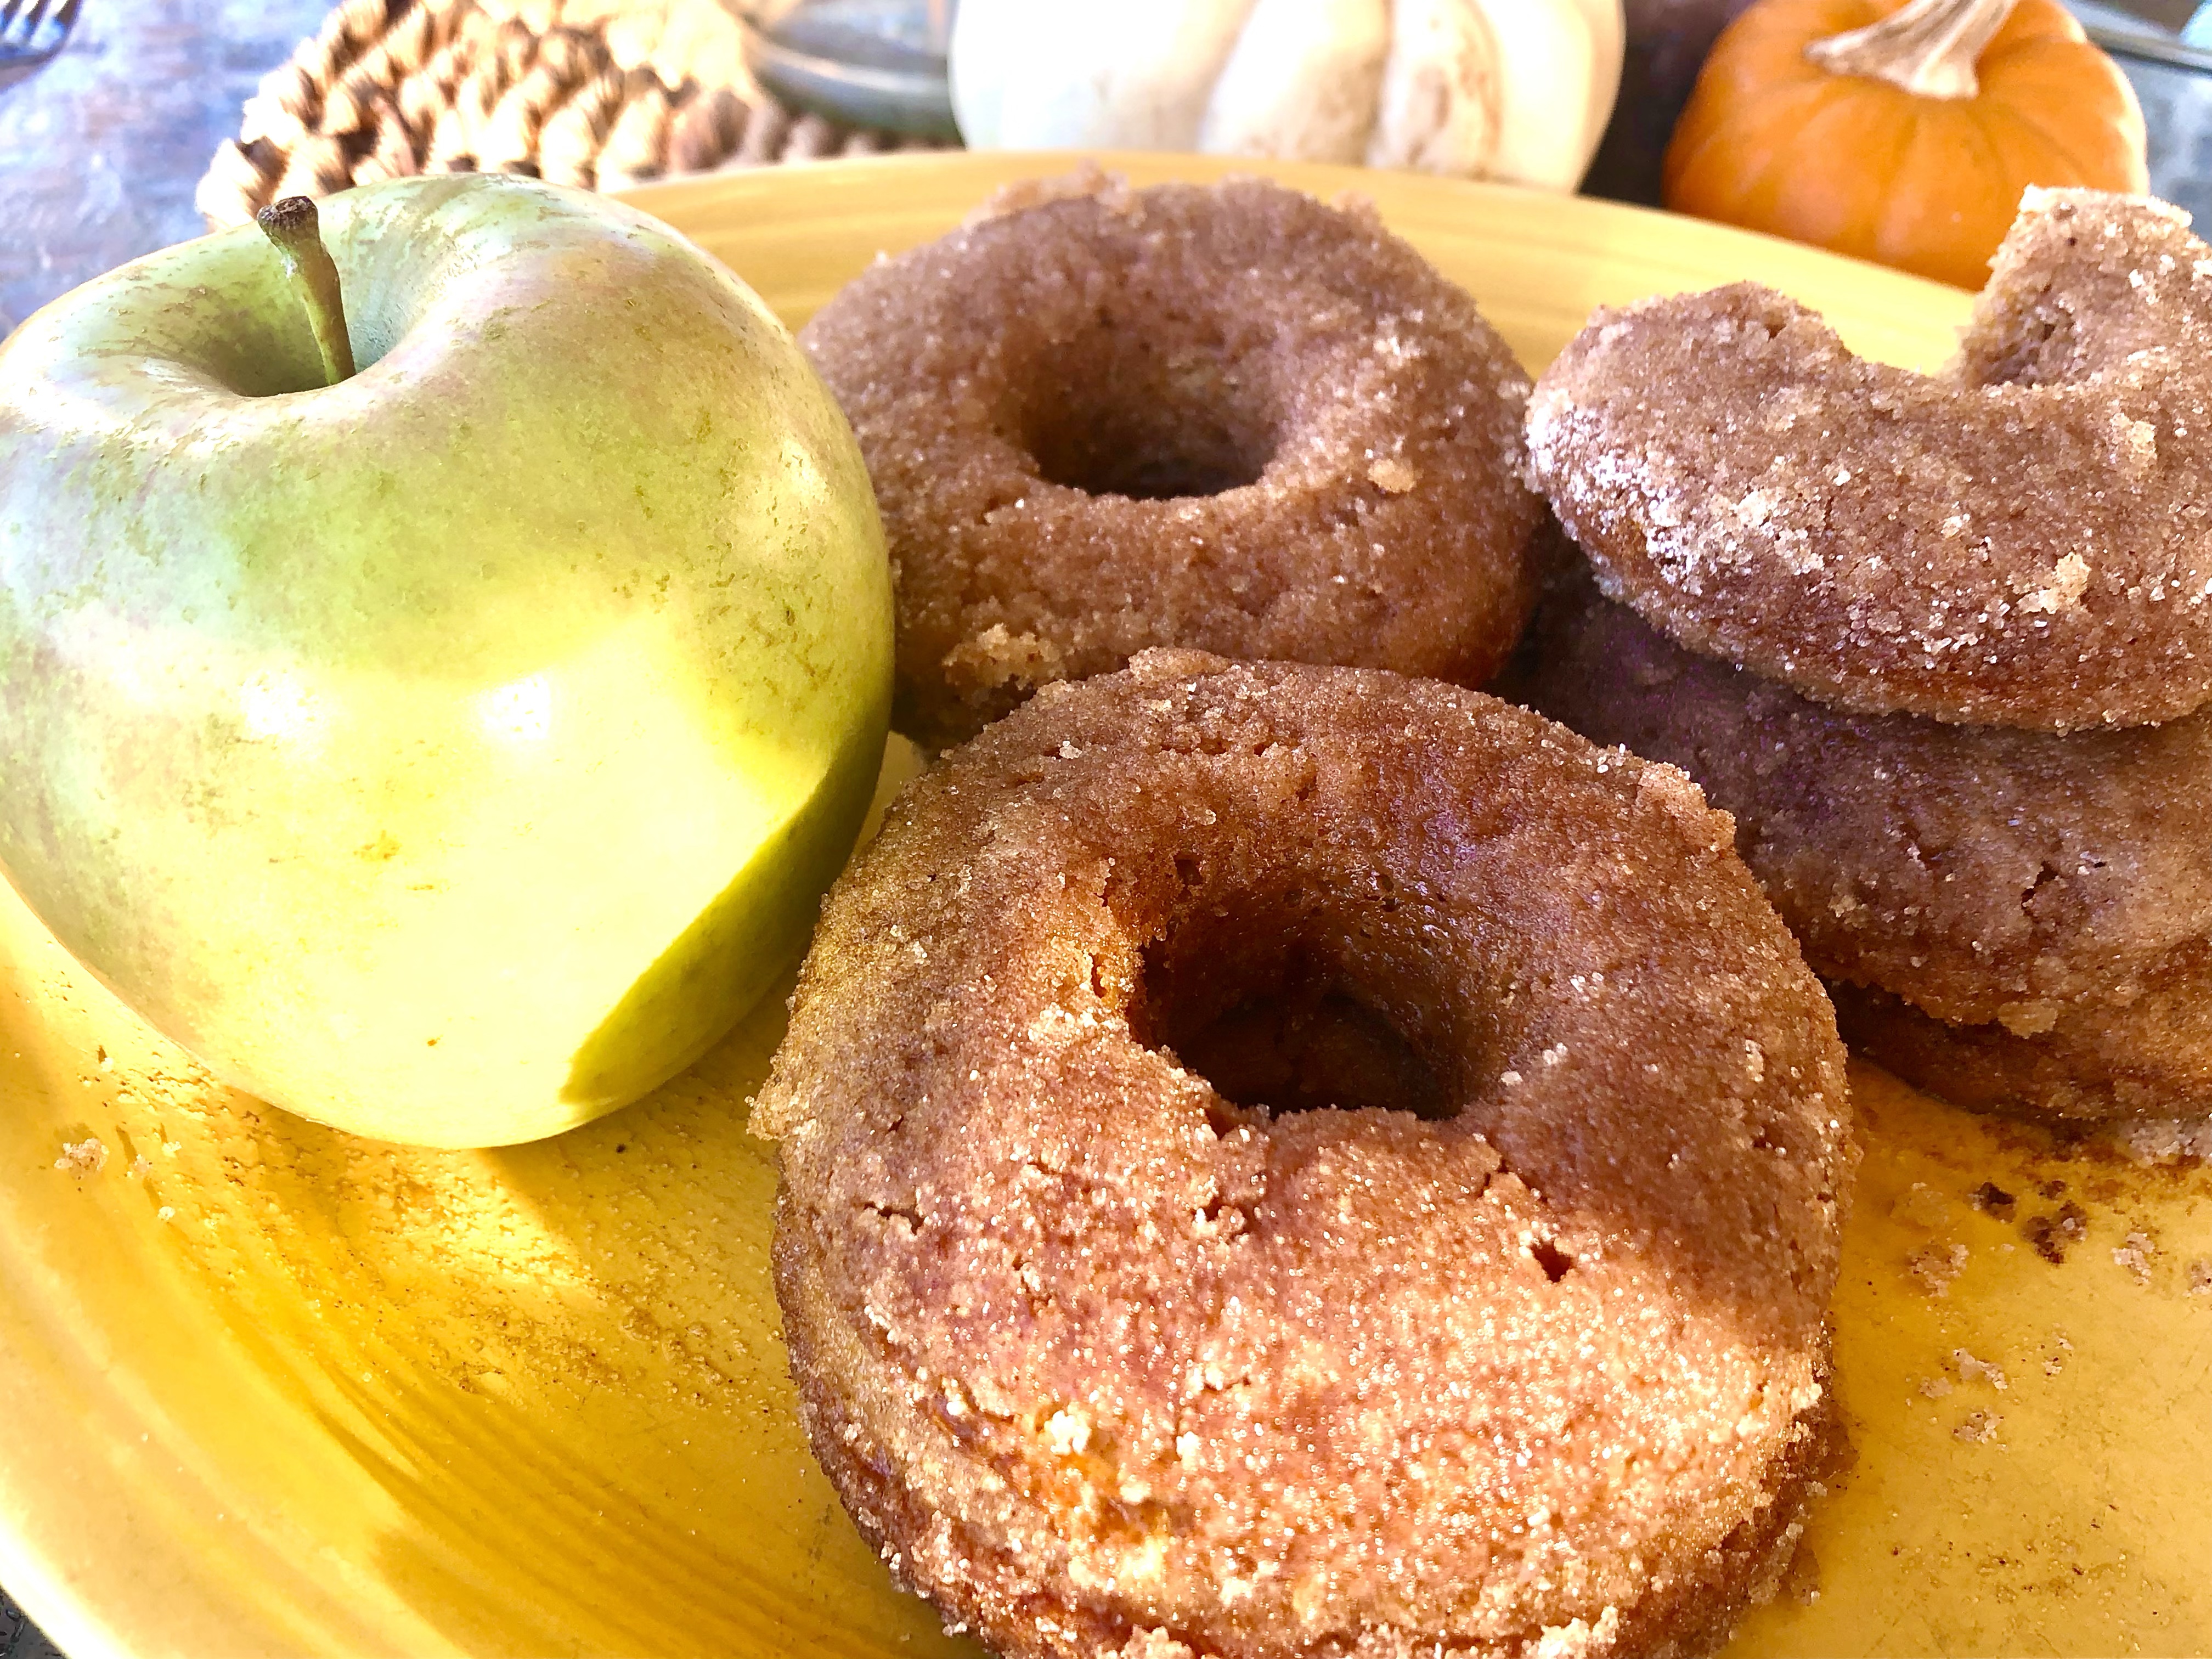
These Cider Donuts from Sally’s Baking Addiction have a lovely apple flavor that is enhanced by the addition of the cider, of course, but also the apple pie spices in the dough and in the sugar topping. These are baked, so they’re more healthy than the fried versions. Okay, the butter they’re dipped in might add some calories and fat, but every fall needs an occasional treat, right?!

Here’s the simple recipe with my additional notes and improvisions.

Apple Cider Donuts – These make about 18

  • 1 and 1/2 cups apple cider
  • 2 cups all-purpose flour 
  • 1 teaspoon baking soda
  • 3/4 teaspoon baking powder
  • 1 teaspoon ground cinnamon
  • 1 teaspoon apple pie spice*
  • 1/4 teaspoon salt
  • 2 Tablespoons unsalted butter, melted
  • 1 large egg, at room temperature
  • 1/2 cup packed light or dark brown sugar
  • 1/2 cup  granulated sugar
  • 1/2 cup milk, at room temperature
  • 1 teaspoon pure vanilla extract

Topping

  • 1 cup granulated sugar
  • 3/4 teaspoon ground cinnamon
  • 3/4 teaspoon apple pie spice*
  • 6 Tablespoons unsalted butter, melted

Instructions

  1. Reduce the apple cider: Stirring occasionally, simmer the apple cider in a small saucepan over low heat until you’re left with about 1/2 cup. Start checking at every five minutes, etc until you have 1/2 cup. (Mine took about 30 minutes.) If there are any spices or solids on top of your reduced apple cider, leave them. Set aside to cool for 10 minutes.
  2. Preheat oven to 350°F. Spray donut pan with non-stick spray. Set aside.
  3. Make the donuts: Whisk the flour, baking soda, baking powder, cinnamon, apple pie spice, and salt together in a large bowl. Set aside.
  4. Whisk the melted butter, egg, brown sugar, granulated sugar, milk, and vanilla extract together. Pour into the dry ingredients, add the reduced apple cider, and whisk everything together until smooth and combined. Batter will be slightly thick.
  5. Spoon the batter into the donut pan—I highly used a large zipped-top bag and cut a corner off the bottom of the bag and piped the batter into each donut cup, filling about halfway.
  6. Bake for 10-11 minutes or until the edges and tops are lightly browned. To test, poke your finger into the top of the donut. If the donut bounces back, they’re done. Cool donuts for 2 minutes then transfer to a wire rack. Re-grease the pan and bake the remaining donut batter.
  7. Coat the donuts: Combine the granulated sugar, cinnamon, and apple pie spice together in a medium bowl. Once cool enough to handle, dunk both sides of each donut in the melted butter, then generously in the apple spice topping.
  8. Donuts are best served immediately. Leftovers keep well covered tightly at room temperature for up to 2 days or in the refrigerator for up to 5 days. I only baked up one dozen, then put the bag with the batter into the fridge overnight. The next day I baked off the next pan of six, and they did great! Then I froze them uncoated. A couple days later I pulled them out and dipped them in the butter and sugar coating. Yum! This was a great way to have a homemade donut at a moment’s notice!

If you don’t have apple pie spice (like me!), you can mix up your own using this recipe:

  • 4 tablespoons ground cinnamon
  • 1 1/2 teaspoons ground nutmeg
  • 1/2 teaspoon ground allspice
  • 1 teaspoon ground ginger
  • 1 1/2 teaspoons ground cardamom – I didn’t have this and left it out. It was still great!

All these need is a cold glass of milk, a cup of coffee…or of course a glass of cider to make the perfect fall treat!

If you’re a cake donut fan, you’re going to love these!

Some other donut suggestions – Have you tried these light donuts I posted a while back? Also if you don’t have a donut pan, you could bake up these muffins that have a very similar taste as the Cider donuts!

Discipleship · Memorizing Scripture · Uncategorized

Checking In

In mid September I began memorizing the third chapter of Colossians. Oh, what a joy this chapter of Scripture has been to my heart! I have mediated on it over and over as I’ve put this chapter in my heart. There are so many wonderful truths about my position in Christ, and then the reminder of the things that should be a part of my life because I am in Him!

When I shared my desire to memorize this chapter last month, I promised to give an update. My goal was to learn one verse per day, but it was a bit too challenging. My struggle isn’t each learning individual verse, but saying them in order! The Lord is giving me understanding as I keep rehearsing the chapter each day. I am really enjoying using the Bible Memory App. It really makes it easy to review my verses anywhere. I am now up to…

Verse 21. It’s exciting to me that I only have four more verses to go in this chapter!

There have been many nights that I awake in the middle of the night, wide awake. It’s been my practice this month to begin repeating Colossians 3 in my mind. Before I know it, I’ve gone back to sleep! I dream peacefully and get good rest.

Psalm 119:52

 I remembered thy judgments of old, O Lord; and have comforted myself.

This is no boast…I’m very slow and I don’t have nearly the amount of Scripture memorized that I should have at this age. I only share this to keep myself accountable. I also pray it challenges you to be memorizing God’s Word! What a treasure it is.

Have a lovely weekend, friends.

Meal planning · organization · Thanksgiving

Early Preparations For Thanksgiving

Slow and steady wins the race, right? What are we racing towards?

Thanksgiving!

Yes, it’s true. Five weeks from tomorrow is Thanksgiving Day! (Didn’t we just celebrate Labor Day?!) Well, maybe so, but it’s true – we have five weeks to plan and prepare for this special holiday! That may sound like a lot of time, but considering how much there is to do if you’re hosting, the weeks will fly by! If you want to enjoy, rather than endure the holiday, planning and working ahead of time is your best friend!

I’ll be hosting this year, so I am trying to get my ducks turkeys in a row! No, I don’t have an outside job, but my life stays very busy. It would be easy to push things back and let the holiday slip up on me, but I am praying that the Lord will give me wisdom to prepare in such a way that I will be able to smile and embrace the day and each of my guests when Thanksgiving arrives!

So, what am I doing? Well, first of all, I’m doing what works best for me, and that’s making lists! I am using my phone for some jobs that need attention before my guests arrive. Here’s a peek at the list I’m adding to each day…

o

I made that on “Reminders.” I like having that on my phone, because if I’m out and I need to remember what I needed to buy for the table, it’s right there at my fingertips. I will make a detailed list of the menu and food prep in my Happy Planner.

It’s amazing what tasks can be accomplished in short spans of time! Yesterday when I had 15 minutes while supper was finishing in the oven, I grabbed my large tablecloth and got my Thanksgiving Tablecloth ironed!

When I was finished, I hung it on a hanger and hung it in the front closet.

That’s one task completed!

Little time spans are useful to accomplish small tasks. Look for those five or ten minute windows when you’re on hold on the phone, when you’re ready to leave for work or church but have a few minutes to spare. Look for ways to use those minutes wisely so you can smile when Thanksgiving arrives, rather than panic!

This week I read in Luke 10 about Mary and Martha and was reminded that I often get my priorities out of whack when I’m having guests over. I am asking the Lord for a worshipful heart like Mary. If some things on my list don’t get accomplished, I don’t want to be in a flurry. I want to be fervent instead – fervent in pointing my family and guests to the Lord, Who so graciously blesses us every single day with an abundance of reasons to celebrate this day…with a smile.

Will you be hosting Thanksgiving this year? What are you doing now to prepare ahead?
If you’re going to be a guest, why not ask your hostess what you can do for her even now?

Refresh Thanksgiving by making early preparations!

Bread · freezer · Make-Ahead

Making Your Own Frozen French Bread Dough

So, I had a little accident last week. I decided to make my French Bread recipe for a meal I was preparing for guests that were coming the next day. We were having a Bible Conference at our church and I thought I had plenty of time to get the bread baked before it was time to leave. Well, I misjudged the time and realized after I’d made the dough and had it rising in the bowl for the first rise that I wouldn’t have time to bake the bread and still be on time for the service. Ahhhh! I was frustrated at myself for not calculating the time correctly!

Then I had a thought…

I wonder if I can freeze the dough after it rises in the bowl?

So often when I wonder if something would freeze well, I simply let my mind wander the aisles of the frozen goods at the grocery store. Then I realized, “Yes! I know they sell frozen frozen loaves that are ready to set out and rise, so surely I could shape these loaves and freeze them before I leave for church!”

I took the bread and shaped it into the French loaves and placed them on a greased baking sheet.

I covered them with Syran Wrap and put them in the freezer and headed out for our Bible conference at church. Then before I went to bed that night, I took the loaves out of the freezer and placed them in the fridge to thaw overnight.

When I was ready to bake them, I set them on the counter where they rose for about 30 minutes. Then I finished as the recipe says, and cut the slits on top and baked them as usual.

They rose beautifully and my husband told me they were better than any other time I’ve made them!

This was a really happy accident! Now I know I can work ahead and get the dough made way ahead of time. It’s nice to know I can just have bread loaves hanging out in the freezer until I need them! Working ahead is my favorite way to prep meals!

So, first of all, let me say that this recipe is super easy! Now you know how to prep the first part and freeze them. Then when you’re ready for a hot loaf of homemade French Break all you’ll need is about 45 minutes total to let them rise and bake them! It doesn’t get fresher than that!

Have you tried freezing bread dough? Here’s a roll recipe that freezes great too, and is our favorite for special meals like Thanksgiving!

I hope you’ll give this freezing method a try!

Charcuterie Boards · Fall · picnic food · The Scenic Route

Charcuterie Board Meets Scenic Route

These fall days will pass quickly and we’ll be experiencing cold weather that will push us indoors faster than garlic burns! Therefore, we are trying to enjoy these gorgeous days by taking some drives on the Scenic Route!

We met some dear friends up on a mountain last weekend and my husband and his buddy Rick decided we’d have a charcuterie snack board! You see, these two hike together and it’s become Rick’s new creation to use his bandanna as his “charcuterie board!” Dale has also become quite a good hand at creating great spreads on a board!

I keep a tablecloth in my picnic basket so when we want to eat a meal out somewhere, I already have a cover for the table.

Dale gathered the items he wanted to take and I helped with the presentation. I brought along one of my cutting boards and some cute napkins. I found those cute autumn favor cups at The Dollar Tree. I was impressed at how sturdy they are! They were perfect for the candy, pretzels and apple slices. The other additions to our board were a couple candy bars and muffins.

I failed to get a picture of Rick’s board, but he brought carrots, almonds, beef jerky, cookies, and cheese and as I said, he spreads his treats on a bandannas. His wise wife has purchased new bandannas strictly to use for his hiking charcuterie boards!

It was so much fun to sit at the picnic table and nibble off of the goods on the boards as we chatted and enjoyed the gorgeous views!

The Scenic Route is full of fun adventures and this kind of picnic was easy to pull together and fun to enjoy! The possibilities are endless. Consider:

  • Grapes
  • Cheeses
  • Chips & Salsa
  • Lunch meats
  • Crusty bread and Olive oil for dipping
  • Veggies
  • Hummus
  • Crackers
  • Olives
  • Nuts

Why not pack up goodies for a Scenic Route picnic and enjoy a charcuterie lunch or snack on the road? Make a special fall memory before the snow flies.

Refresh your picnics with something fun!