baking · Christmas

(L)Oven Monday – Hungarian Nut Rolls

hungarian-nut-rolls

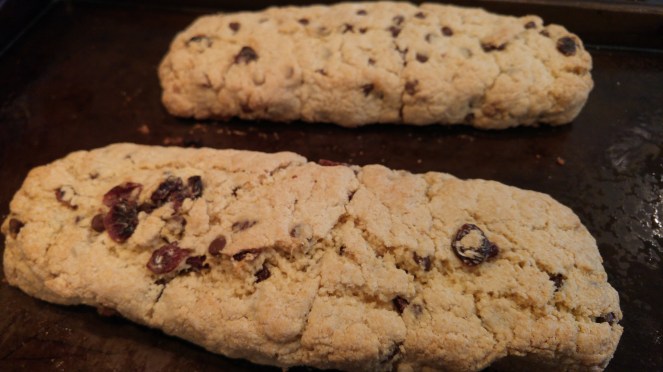
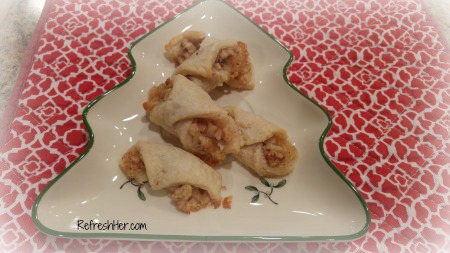
It’s the week of Christmas, Y’all!  Most of our ovens will probably be producing all kinds of yummy treats this week.  I still have a bit of baking to finish up, but let me show you what I made this weekend!  Years ago I made a cookie similar to the one pictured above. You know how it goes – the recipe gets misplaced and then forgotten.  Recently a sweet neighbor brought us a plate of Christmas goodies, and on the plate was this cookie!  We remembered how delicious they were by her kind deed!

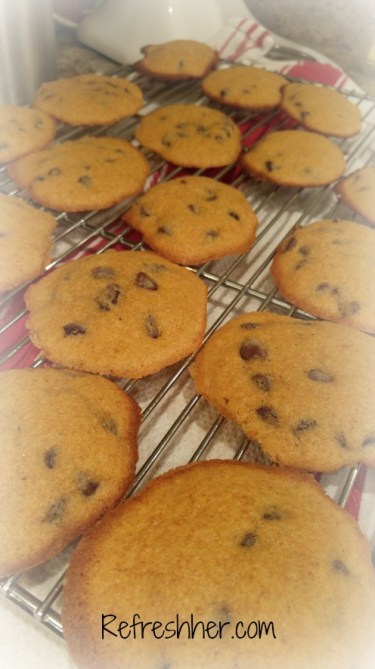
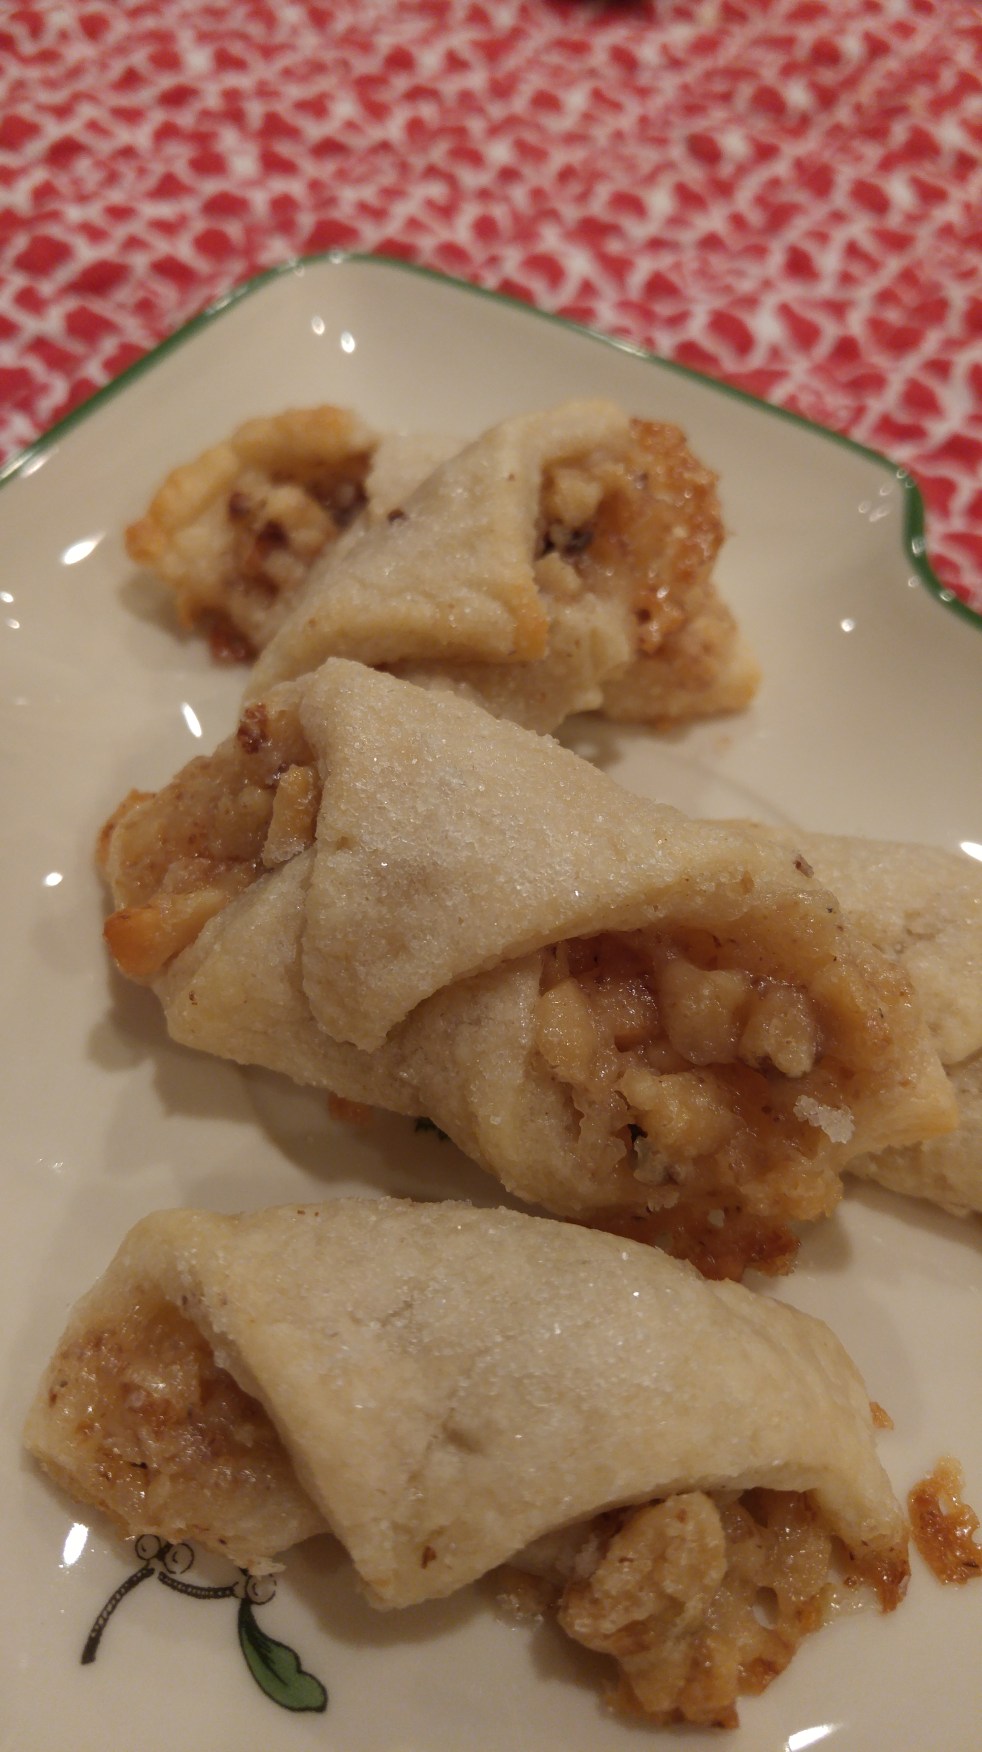
So, my husband requested these to be added to my Christmas baking list.  They are a little time consuming, but hey, it’s Christmas!  Also, they’re totally worth it!  They’re a cute little cookie full of a flaky dough, nuts, and sugar granules that give that extra special crispy crunch.  Yum!
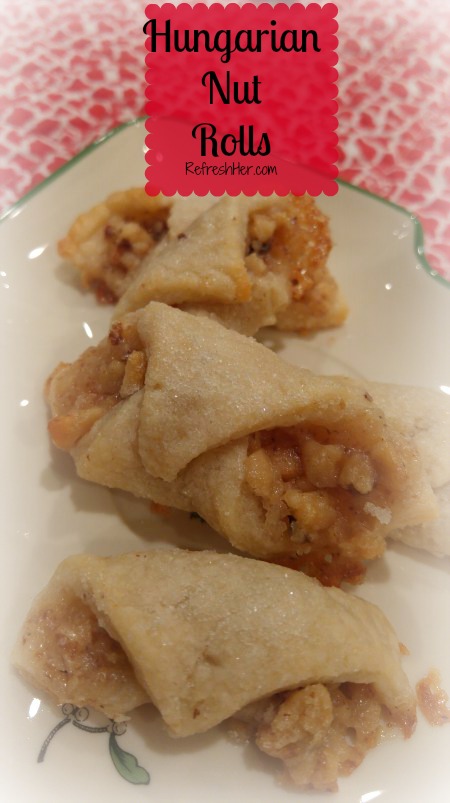
picmonkey-collage


Hungarian Nut Rolls

Ingredients

For the Pastry:
    • 2 ¼ cups all purpose flour
    • ½ teaspoon salt
    • 8 oz cream cheese, room temperature
    • 1 cup unsalted butter, softened
    • ½ cup granulated sugar for rolling
For the Walnut Filling:
  • ½ pound freshly ground walnuts (finely)
  • 1 cup sugar
  • ½ cup of boiled milk
  • 1/8 cup melted butter

Instructions

To make the Walnut Filling:
    1. Mix filling in a medium bowl using only ¼ cup of the boiled milk. The mixture should be thick.
    2. If the filling is not spreadable, use the rest of the milk.
    3. Note: You can make the filling ahead of time and freeze it until you are ready to use it. Just thaw at room temperature when you are ready to use. – I found that I had about half of the filling left over.  It’s in the freezer for another batch!
For the Pastry Dough:  Taking my own advice, I made the dough one day and assembled and baked the cookies another day.
    1. Sift flour and salt together in a medium bowl and set aside.
    2. Beat the cream cheese and butter together with a stand mixer or a hand mixer until completely incorporated and creamy (3-5 minutes).
    3. Reduce the speed of the mixer and slowly add in the flour. I used 5 additions and completely mixed in the flour each time. The dough will be soft but not sticky.
    4. Divide the dough into 4 equal parts and flatten each to ¾” thick. Wrap in plastic wrap and refrigerate until hard, at least 2 hours.
Assembling the Walnut Rolls:
  1. Pre-heat the oven to 375°. Move the oven rack one setting higher than the center.
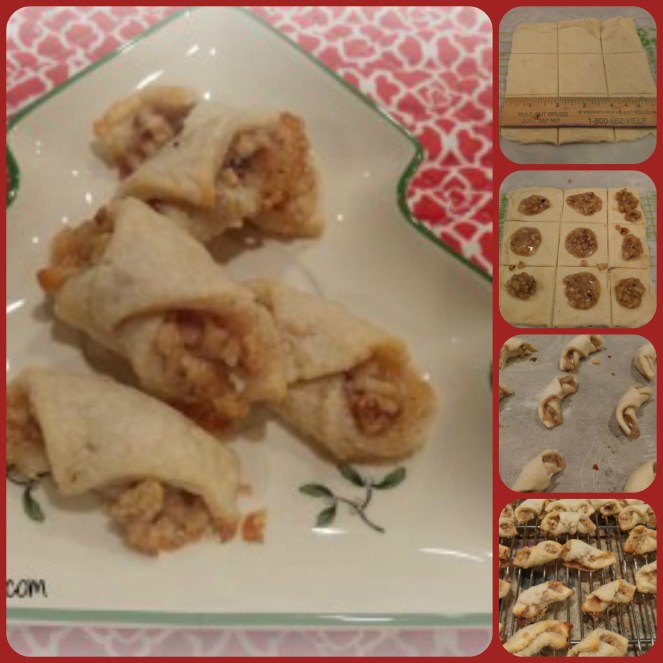
  2. Take one of the disks of dough from the refrigerator and lightly flour both sides. Spread granulated sugar on your pastry board or work surface. Place the dough on top and roll out pastry to 1/16” thick or as thin as possible. Thinner is better. If you roll them too thick, the bottom will burn before the inside has a chance to fully cook and puff up. They still taste good but they taste so much better when properly rolled. I halved the disk, and rolled it into a 6″ square, then divided it into 9 2″ squares (see photo above).
  3. With a pastry wheel or sharp knife, trim the dough into a square and then cut the square into 16 smaller squares. My dough never rolled out into a perfect circle so I would just cut as many 1 1/2 “ squares a possible, saving the scraps for later.
  4. Place a dollop of filling in one corner of each square. I used ½ teaspoon.
  5. Starting in the corner with the filling, roll the dough around the filling from corner to corner, gently pressing down as you roll. Grab the roll on both sides and pinch as you bend the roll to create a crescent shape. Gently move it to a parchment covered baking sheet, placing the Rolls no closer than 1” apart.
  6. Repeat with all remaining squares.
  7. Sprinkle the middles of the Rolls with just a touch of granulated sugar.
  8. Bake 12-14 minutes (I baked mine for 11 minutes) or until the bottom edges are a golden and you can smell them. They should puff up slightly in the middle. Let cool slightly on the pan on a wire rack and then move them gently to a wire rack to cool completely.

nut-rolls

These are so delicious!  I’m so happy to have discovered the recipe for these little gems!

What have you baked (or getting ready to bake) in your oven this week?

With love from my country kitchen,

Denise Signature 150 px

Christmas · dessert · home · refreshment at home

Simplifying Christmas Prep in the Kitchen

christmas-kitchen-1

The kitchen is a busy place in most homes during Christmas. In order to keep it fun and not a drudgery, I’ve come up with six ways to simplify your work, so you can still be (L)oven your kitchen by the time December 25th arrives!

  1. Get dinner in the crock pot first thing in the morning  on a day when you know you’re going to be doing a marathon baking event.   That way you won’t have to stop your progress to fix a meal.  It will also keep your oven free for those cookies!
  2. Get any cookie dough that has to be refrigerated into the fridge on one day, and then bake the cookies the next day.  If you do all the mixing on one day and the rolling and baking on the next you won’t be as worn out!
  3. When you have a few extra minutes, fill a Ziploc bag with the dry ingredients for the cookies, sweet breads, or muffins you’re going to bake in the near future.   Label the bag.  Then on the day when you mix up the dough, you’ll simply have to pour and stir!  You’ve created your own baking mix!!
  4. Keep hot, soapy water in the kitchen sink.  As you work, put your baking utensils in the water.  Wash them up when the dough is complete, or the cookies are in the oven.  The kitchen will be clean when you’re finished and you can turn off the light and go take a hot bath!
  5. Enlist in help!  If you have children, let them put the sprinkles on, crush the candy canes, or chop the nuts (with a hand chopper).
    You could also invite some friends (or your grown daughters/daughters-in-law) over and have each one bring the ingredients for a cookie recipe.  Work together on one recipe at a time.  You won’t believe how fast the work goes!  Divide the spoil between each of you when you’re finished.
  6. Make some treats that require NO BAKING – (like these Chocolate Peanut butter stacks that we LOOOOVE.  Recipe below)
    There are many other No-Bake options –

    1. Peppermint Bark Oreos
    2. Graham Cracker Houses
    3. Santa Hat Cheesecake Bites

If you haven’t had these and you’re a chocolate and peanut butter fan, trust me when I say that you need these in your life!!

1204160803a.jpg

Chocolate Peanut Butter Stacks

Ingredients:
Ritz crackers
Peanut butter
Chocolate bark

Instructions:
Spread crackers with peanut butter, top with another cracker.  Dip crackers into melted chocolate bark.I melt my chocolate in the microwave, stirring every 30 seconds until completely melted.  Set cookies on waxed paper until chocolate hardens.

By simplifying things in the kitchen, you’re also staying refreshed during a busy time of the year!

Happy baking,

Denise Signature 150 px

baking · Uncategorized

Cranberry-Chocolate Chip Biscotti

Are you a dunker?  I not asking if you put people under water when you’re swimming, or if you can put a basketball through the hoops; I’m asking if you like to take a crisp cookie and dunk it in coffee, tea or milk?  If the answer is “yes!”  then you will love this recipe today!

Biscotti means – Twice baked.  This is a simple rolled out type of cookie that gets baked two times.  Let me give you a visual of how to make them, then I’ll share the recipe.

First the dough is mixed together.  It is dry and crumbly!  Press forward.  “Mush” it together.  That’s my not-so-technical word for “do whatever you need to do to make it into a ball of dough.  Then press it into two logs on a baking sheet.  Press down to make one-inch high rolls.

Bake those rolls for 30 minutes.  Let them cool for ten minutes.

wp-1473189145661.jpg

Slice the rolls into 1/2 inch pieces and lay on a baking sheet, flat side down.

wp-1473190126040.jpg

Put them in a lowered temp oven for 10 minutes.  Flip them over and brown the other side for 10 more minutes.

wp-1473190193833.jpg

Cool on baking rack.  They will harden up as they cool.  The crunchiness makes them perfect for dunking in that cup of coffee, because little pieces don’t fall into the cup!

wp-1473191679305.jpg

I’ve made all sorts of different kinds of biscotti and I love them all!  I hope you’ll try making a batch.  They make great gifts! Take some to your hostess, or make some for a coffee-loving friend for Christmas.  Fill a tin with the cookies or fill a cellophane bag and tie it with a ribbon, and you’ll have the perfect gift for the coffee drinkers on your list!

Here’s the recipe:

Cranberry-Chocolate Chip Biscotti

Ingredients

2 3/4 cups all-purpose flour

1 cup sugar

1/2 cup dried cranberries

1/3 cup semisweet chocolate chips

2 teaspoons baking powder

1/8 teaspoon salt

1 tablespoon vegetable oil

1 teaspoon almond extract

1 teaspoon vanilla extract

3 large eggs

Cooking spray

Preparation

Preheat oven to 350°.

Lightly spoon flour into dry measuring cups, and level with a knife. Combine the flour and the next 5 ingredients (flour through salt) in a large bowl. Combine oil, extracts, and eggs; add to flour mixture, stirring until well-blended (dough will be dry and crumbly). Turn the dough out onto a lightly floured surface; knead lightly 7 to 8 times. Divide the dough in half. Shape each portion into an 8-inch-long roll. Place rolls 6 inches apart on a baking sheet coated with cooking spray; flatten each roll to 1-inch thickness.

Bake at 350° for 35 minutes. Remove rolls from baking sheet; cool 10 minutes on a wire rack. Cut each roll diagonally into 15 (1/2-inch) slices. Place the slices, cut sides down, on baking sheet. Reduce oven temperature to 325°, and bake for 10 minutes. Turn cookies over; bake an additional 10 minutes (cookies will be slightly soft in center but will harden as they cool). Remove from baking sheet; cool completely on wire rack.


Enjoy!

With love from my country kitchen,

Denise Signature 150 px

dessert · Side dish · Uncategorized

The Real Reason for Supper

supper table 1

All this week we’re going to talk about a subject dear to my heart – the Supper table.  From the why’s to the who, and the how – we’re going to discuss it all!  If you have any questions or comments about things you’d like to hear about, please let me know in a comment here!  Let’s get started today with the why of supper!

My husband was gone for a few days last week and I missed him greatly!  On the day of his return, I wanted to make a nice supper for him, even though it would be a little later than we normally eat.  I knew he wouldn’t have stopped for anything, and he’d be hungry!  

I could have just warmed up soup or made sandwiches, but I wanted the meal to communicate something to him – I missed him.  I was thinking of him.  He was worth the effort it took to prepare a nice meal.  Supper is more than just filling our family’s bellies.  It’s about letting them know that we care for them.  It’s about taking the time to sit at the table and chat.  It involves reaching across the table for their heart – not just the bowl of mashed potatoes!  So this is why it was important to me to make a nice supper for my husband’s homecoming!  I had a message to share!

Here was my menu:

Short Ribs
Wild Rice Mushroom Bake
Parmesan Roasted Broccoli
Parkerhouse Rolls
Ginger Cookies

I wanted the ribs to be really tender, so I did them in my pressure cooker.  It only took 15 minutes – which is incredible!  Because I was using my oven for the rice dish, it made it easier for me to cook them this way.  I followed these instructions.

We love broccoli, and though I usually just steam it, I thought I’d try roasting it.  I used Ina Garten’s recipe with Parmesan Cheese and garlic.  Roasting it  gives it a different kind of texture – a little crispier than steamed, but it was good!

broccoli.jpg

Parmesan Roasted Broccoli

4 to 5 pounds broccoli
4 garlic cloves, peeled and thinly sliced
Good olive oil
1 1/2 teaspoons kosher salt
1/2 teaspoon freshly ground black pepper
2 teaspoons grated lemon zest
2 tablespoons freshly squeezed lemon juice
3 tablespoons pine nuts, toasted
1/3 cup freshly grated Parmesan cheese
2 tablespoons julienned fresh basil leaves (about 12 leaves)
Preheat the oven to 425 degrees F.

Cut the broccoli florets from the thick stalks, leaving an inch or two of stalk attached to the florets, discarding the rest of the stalks. Cut the larger pieces through the base of the head with a small knife, pulling the florets apart. You should have about 8 cups of florets. Place the broccoli florets on a sheet pan large enough to hold them in a single layer. Toss the garlic on the broccoli and drizzle with 5 tablespoons olive oil. Sprinkle with the salt and pepper. Roast for 20 to 25 minutes, until crisp-tender and the tips of some of the florets are browned.

Remove the broccoli from the oven and immediately toss with 1 1/2 tablespoons olive oil, the lemon zest, lemon juice, pine nuts, Parmesan, and basil. Serve hot.

The Rice & Mushroom Bake was a nice change from potatoes.  This is an old recipe my mom shared with me years ago.  It makes a lot – so I have some in my freezer for another day.  It’s creamy and delicious.  

Rice bake

Wild Rice Mushroom Bake

Saute one onion and cup of celery in a half stick of butter.  Add 2 cups of beef broth, one cup of sliced fresh mushrooms and a box of Uncle Ben’s Rice.  Bake 45 minutes @ 350 degrees in covered dish.  Uncover and bake 15 minutes longer.

We don’t often have dessert on a weeknight, but you have to make something special for a homecoming meal!  The Ginger cookies are his favorite and I’ve shared them here.  I bake the large size for 11 minutes and it makes them just soft enough to be perfect with a glass of milk or cup of coffee!

Ginger cookies.jpg

I encourage you to think about what your meals are communicating to your family.  No matter if it’s you and your children, you and your husband, or a whole table full of people.  Make your supper meal an occasion – not just food.  You’re making memories around that table, so make them delicious and special!

With love from my country kitchen,

baking · Side dish · Uncategorized

Indulgences/No Guilt

I don’t always eat indulgences, but there are cravings for yummy things that hit like the recent winter storm – hard and with little warning!  But I like to eat what I love in a way that doesn’t bring guilt.  How to eat  delicacies and still feel good?  Enter Cooking Light.  You’ve seen their links all over my blog because with their recipes you eat real food, but it’s just lightened up and tastes outstanding!  

I tried a recipe on Cooking Light for Chocolate Chip Cookies that are a cross between cake and cookie.  Excuse me?  That means Delicious in my book. So would they be called Cakies or Cookes?  I think I’ll go with Cakies – Chocolate Chip Cakies. To make them low-fat, they replaced some of the fat with applesauce and you don’t miss anything but the calories! These are SO good!

Cakie a

Chocolate Chip “Cakies”
Ingredients

1 1/4 cups all-purpose flour
1 1/2 teaspoons baking powder
3/4 teaspoon salt
1/2 cup applesauce
1 cup packed brown sugar
1/4 cup butter, softened
1 tablespoon vanilla extract
1 large egg
1 cup semisweet chocolate chips
Cooking spray
Cakie

Preparation

Preheat oven to 375°.

Lightly spoon flour into dry measuring cups; level with a knife. Combine flour, baking powder, and salt in a small bowl; stir well with a whisk.

Spoon applesauce into a fine sieve over a bowl; let stand 15 minutes. Discard liquid. Scrape drained applesauce into a large bowl. Add sugar and butter; beat with a mixer at medium speed until light and fluffy (about 2 minutes). Beat in vanilla and egg. Add flour mixture; beat at low speed until well-blended. Fold in chips.

Drop by level tablespoons 2 inches apart onto baking sheets coated with cooking spray. Bake at 375° for 10 minutes or until almost set. Cool on pan 2 to 3 minutes or until firm. Remove cookies from pan; cool on wire racks.

Now for my next low-fat cooking test…I’ve been playing around with Oven-fried Onion rings, trying to find the perfect combination of crunch and flavor.  It’s a little tricky to do when you’re not deep frying.  My old recipe, which will always be my favorite onion ring on a day when I want to splurge, requires oil and deep oil at that, so in order to live without clogging up my arteries, I thought an oven-fried method would be better!  This recipe was found on Food Network’s sight on the Sandwich King’s recipes.  The mix of flour and Panko breadcrumbs give it the perfect crunch with a fraction of the oil!  

onion rings

These little guys had to be husband-worthy, because they were part of his Birthday dinner!  It would be safe to say, he LOVED them!  I had a few…he had the rest.  End of story!  Here’s the recipe…

Oven Fried Onion Rings

Ingredients
2 cups all-purpose flour
2 teaspoons smoked paprika
4 teaspoons kosher salt
2 cups buttermilk
4 eggs
3 cups panko breadcrumbs
4 tablespoons olive oil
2 large yellow sweet onions, such as Maui, sliced 1/4-to-1/2-inch thick

Directions

Preheat the oven to 450 degrees F. Place parchment paper onto 2 baking sheets and set aside.

In a small bowl, combine the flour, paprika and 2 teaspoons salt. In another bowl or shallow dish, whisk together the buttermilk and eggs. Add half of the flour mixture to the buttermilk and beat until smooth and thickened.

In a separate bowl, combine the panko, olive oil and remaining 2 teaspoons salt.

Lightly dredge the onion rings in the flour mixture and then drop into the buttermilk. Drain the excess batter and then dredge in the panko mixture.

Oven Onion rings.jpg

Arrange on the prepared baking sheets in a single layer. You can place smaller rings inside bigger rings if necessary, just make sure there is space between them. Then place in the oven. Cook until golden brown, 14 to 20 minutes. Halfway through the cooking time, flip over each onion ring to ensure even crisping and browning.

Recipe courtesy of Jeff Mauro

I feel for people who settle for substitutes for real food when they want to cut back.  There’s no need to do that when there are recipes this good!  I hope you’ll try a Chocolate Chip Cakie or an Oven-Fried Onion Ring!

What do you do to enjoy your favorite foods without the guilt?

With love from my country kitchen,

  P.S. Don’t forget to enter a picture on Facebook or Instagram today for #Monday Marriage Matters, then check back tomorrow for a post about my favorite photo(s)!