Cooking · Home decor

Favorite Things

Julie Andrew likes raindrops on roses and whiskers on kittens – I like home decor and utensils that make life easier! Today I thought I’d share two things that I purchased quite some time ago, that have become some of my favorite things!

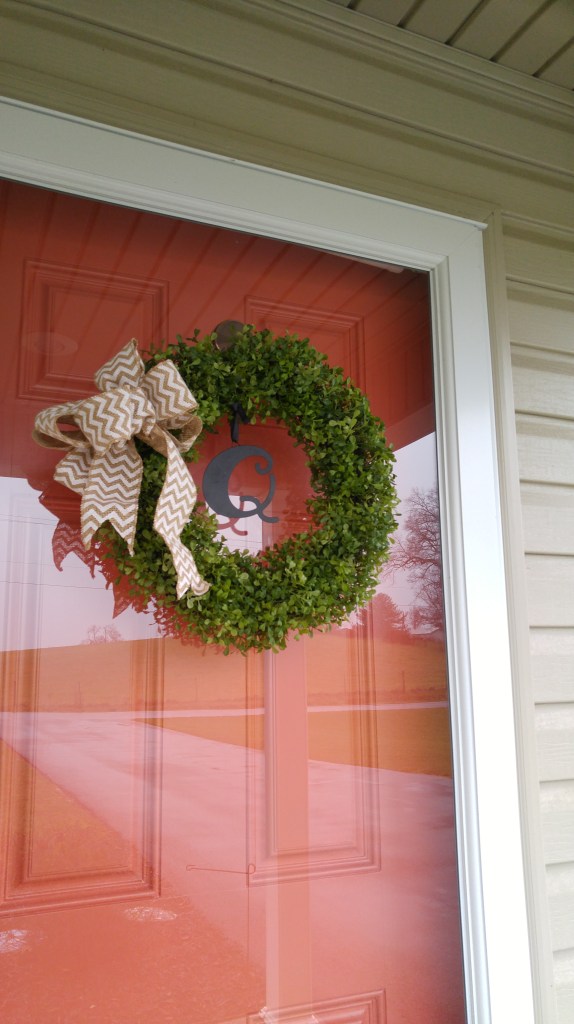
The first is my artificial Boxwood Wreath.
0115161535a.jpg

I love it because it can be hung at any season.  After Christmas it seems hard to know what to hang on the front door – it’s too early for Valentine’s decor or spring-y wreaths, so what to do?  The boxwood is perfect.  I embellished mine with a chevron bow and our monogram for my winter door.

I’ve also used this wreath inside and it looks great, adding just a little touch of green and life in the house.

I found this one at Tuesday Mornings a couple years ago and I paid $20 for it, which is a great price.  Even if you have to pay more, it’s really a super investment!

Another favorite item that’s a kitchen tool is the Pampered Chef Micro Cooker.  It is obviously used in the microwave, and it’s great at warming and cooking things!  I melt butter in mine when I’m baking and the lid keeps it from splattering all over the microwave.  It’s also great for heating up soups or leftovers.

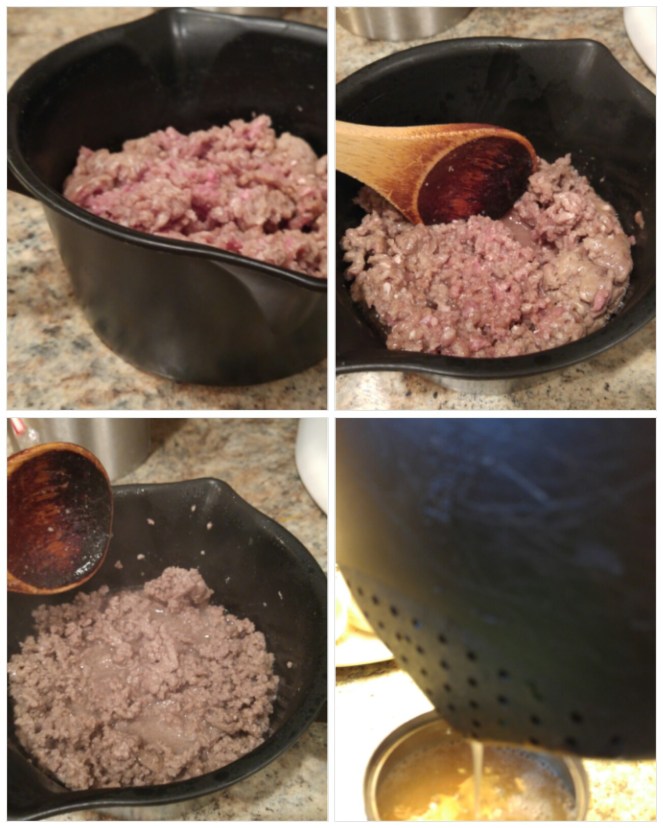
But one really great use for this cooker is browning hamburger.
160121_221754_collage-1.jpg

Put the hamburger in the cooker and break it up with a spoon.  Cook for a minute.  Stir and break up the meat.  Keep doing this at one minute intervals until the meat is cooked.  It only takes about 5 minutes for a pound of hamburger!  Then you simply pour the fat off through the strainer/lid!

I love to use this method to brown meat and have it in the freezer to use for future meals like tacos, pizza toppings or quesadillas.

I hope you’ve been inspired to purchase a boxwood wreath or a Pampered chef cooker!  I don’t think you’ll be sorry!

What item have you purchased that has become a favorite thing?

Stay refreshed,

children · Cooking

Inspiring Young Chefs

Recently while at my parents’ house, I saw that my dad had purchased these …

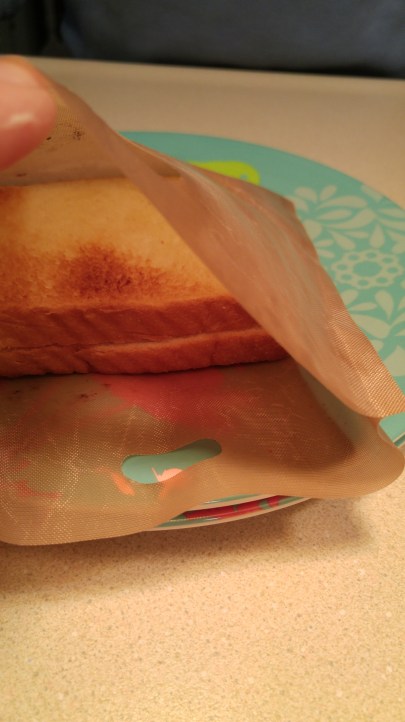
This is a “Toasta Bag” used for toasting grilled cheese sandwiches in the toaster.  What?  I used it one day to make a sandwich at lunch.  It was such a neat little tool that I had to share it with you!  If you have a child who is learning to “cook,” but you can’t unleash them to use the stove yet, this is a perfect starter!

To make the sandwich,

  • Butter a piece of bread
  • Placed cheese on top
  • Put another piece of bread over the cheese
  • Butter both sides of the outside of the sandwich
  • Slip into the Bag
  • Pop into toaster until the sandwich is browned
  • Done!!!

1229151208.jpg

My dad found this at Kroger.  I’m sure Walmart would carry them.  You wash the bag and reuse them over and over.  The box said you could reheat things like french fries in them, too.  We didn’t try that, but why not?  Get creative and do a

  • Toasted Peanut butter sandwich
  • Ham and Cheese
  • Turkey and Tomato
  • Grilled chicken and Cheese

The possibilities are endless.  Let your child get creative and become a chef in their own rights!

Has anyone else used these bags?  They’re genius!

Stay refreshed!

Cooking · organization · Uncategorized

Simplifying Cooking

Coffee station

Here we are at the beginning of Thanksgiving week! Woo Hoo!  I love it!  If you’re hosting company this year, before you get into a panic, let me encourage you to take a look over your kitchen today and make sure that you’re doing this one simple thing that will ease the work of putting any meal together.  Here it is…

Create “stations” in your kitchen.

Let me explain.  Take into account  what you do regularly in your kitchen.  Do you bake?  Are there coffee or hot tea drinkers at your house?  Does your family toast waffles or bagels for breakfast each day?  Each of those activities needs a station for that task.  Let me show you a couple examples.

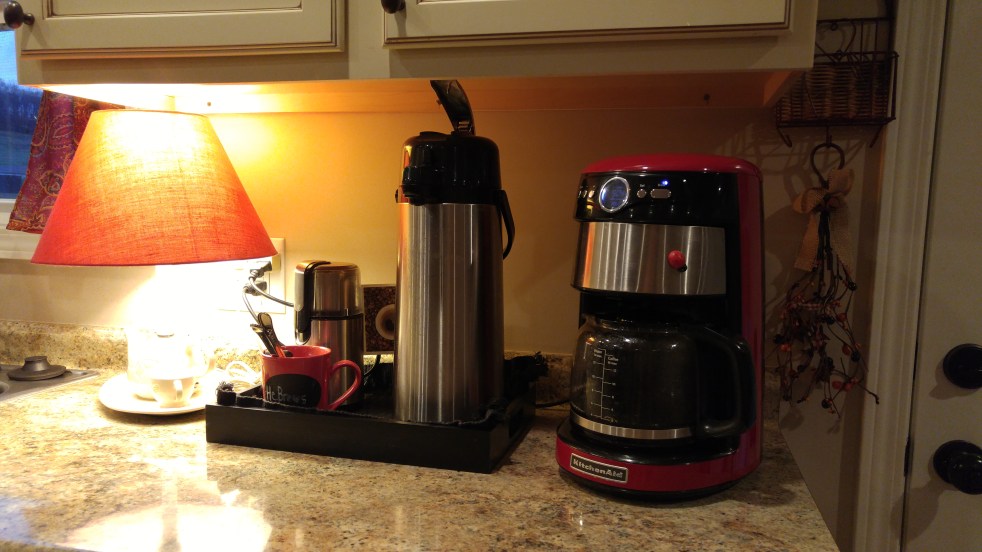
Here’s a peek at my coffee station:

coffee
In the drawer under the coffee maker are the filters, the coffee bags and jars.  On the counter beside it is the grinder, the carafe’ and the coffee scoop.  In the cabinet above, the mugs are ready for action!

My baking station is in one area where the cookbooks are, as well as the utensils needed for baking.

Baking station

In this are are all my measuring cups, biscuit cutters, pastry blender, rolling pin, mixers (hand mixer and Kitchen Aid), ruler for measuring dough length, measuring spoons, whisks, and salt.  In the cabinet above are all my spices, herbs and baking soda and powder. My canisters are on the counter on the other side of my stove – about two steps away.

For your toaster station you’d have the toaster in the cabinet where an outlet is accessible.  Add a small cutting board to slice the bagels or butter the toast. Knives for cutting or buttering should be within reach as well.

Even when you’re doing a special task like making mashed potatoes, do it in an area where you can gather everything together so you won’t have to be going back and forth.

Make sure your trash can is in an area close to your work space, or even keep a garbage bowl on your counter so you don’t have to walk over to the trash can every time you have to dispose of an empty can or egg shells.

Eliminate you steps and create work stations and I bet you’ll enjoy working in your kitchen a whole lot more!

What kind of stations have you created, or what ones will you set up?

With love from my country kitchen,

8E63C63AC0BC189BF1C68B03C74DBB5F


Cooking · How-to Video · Tacos

Video on Making Homemade Tortillas !

wpid-wp-1442488805089.jpeg
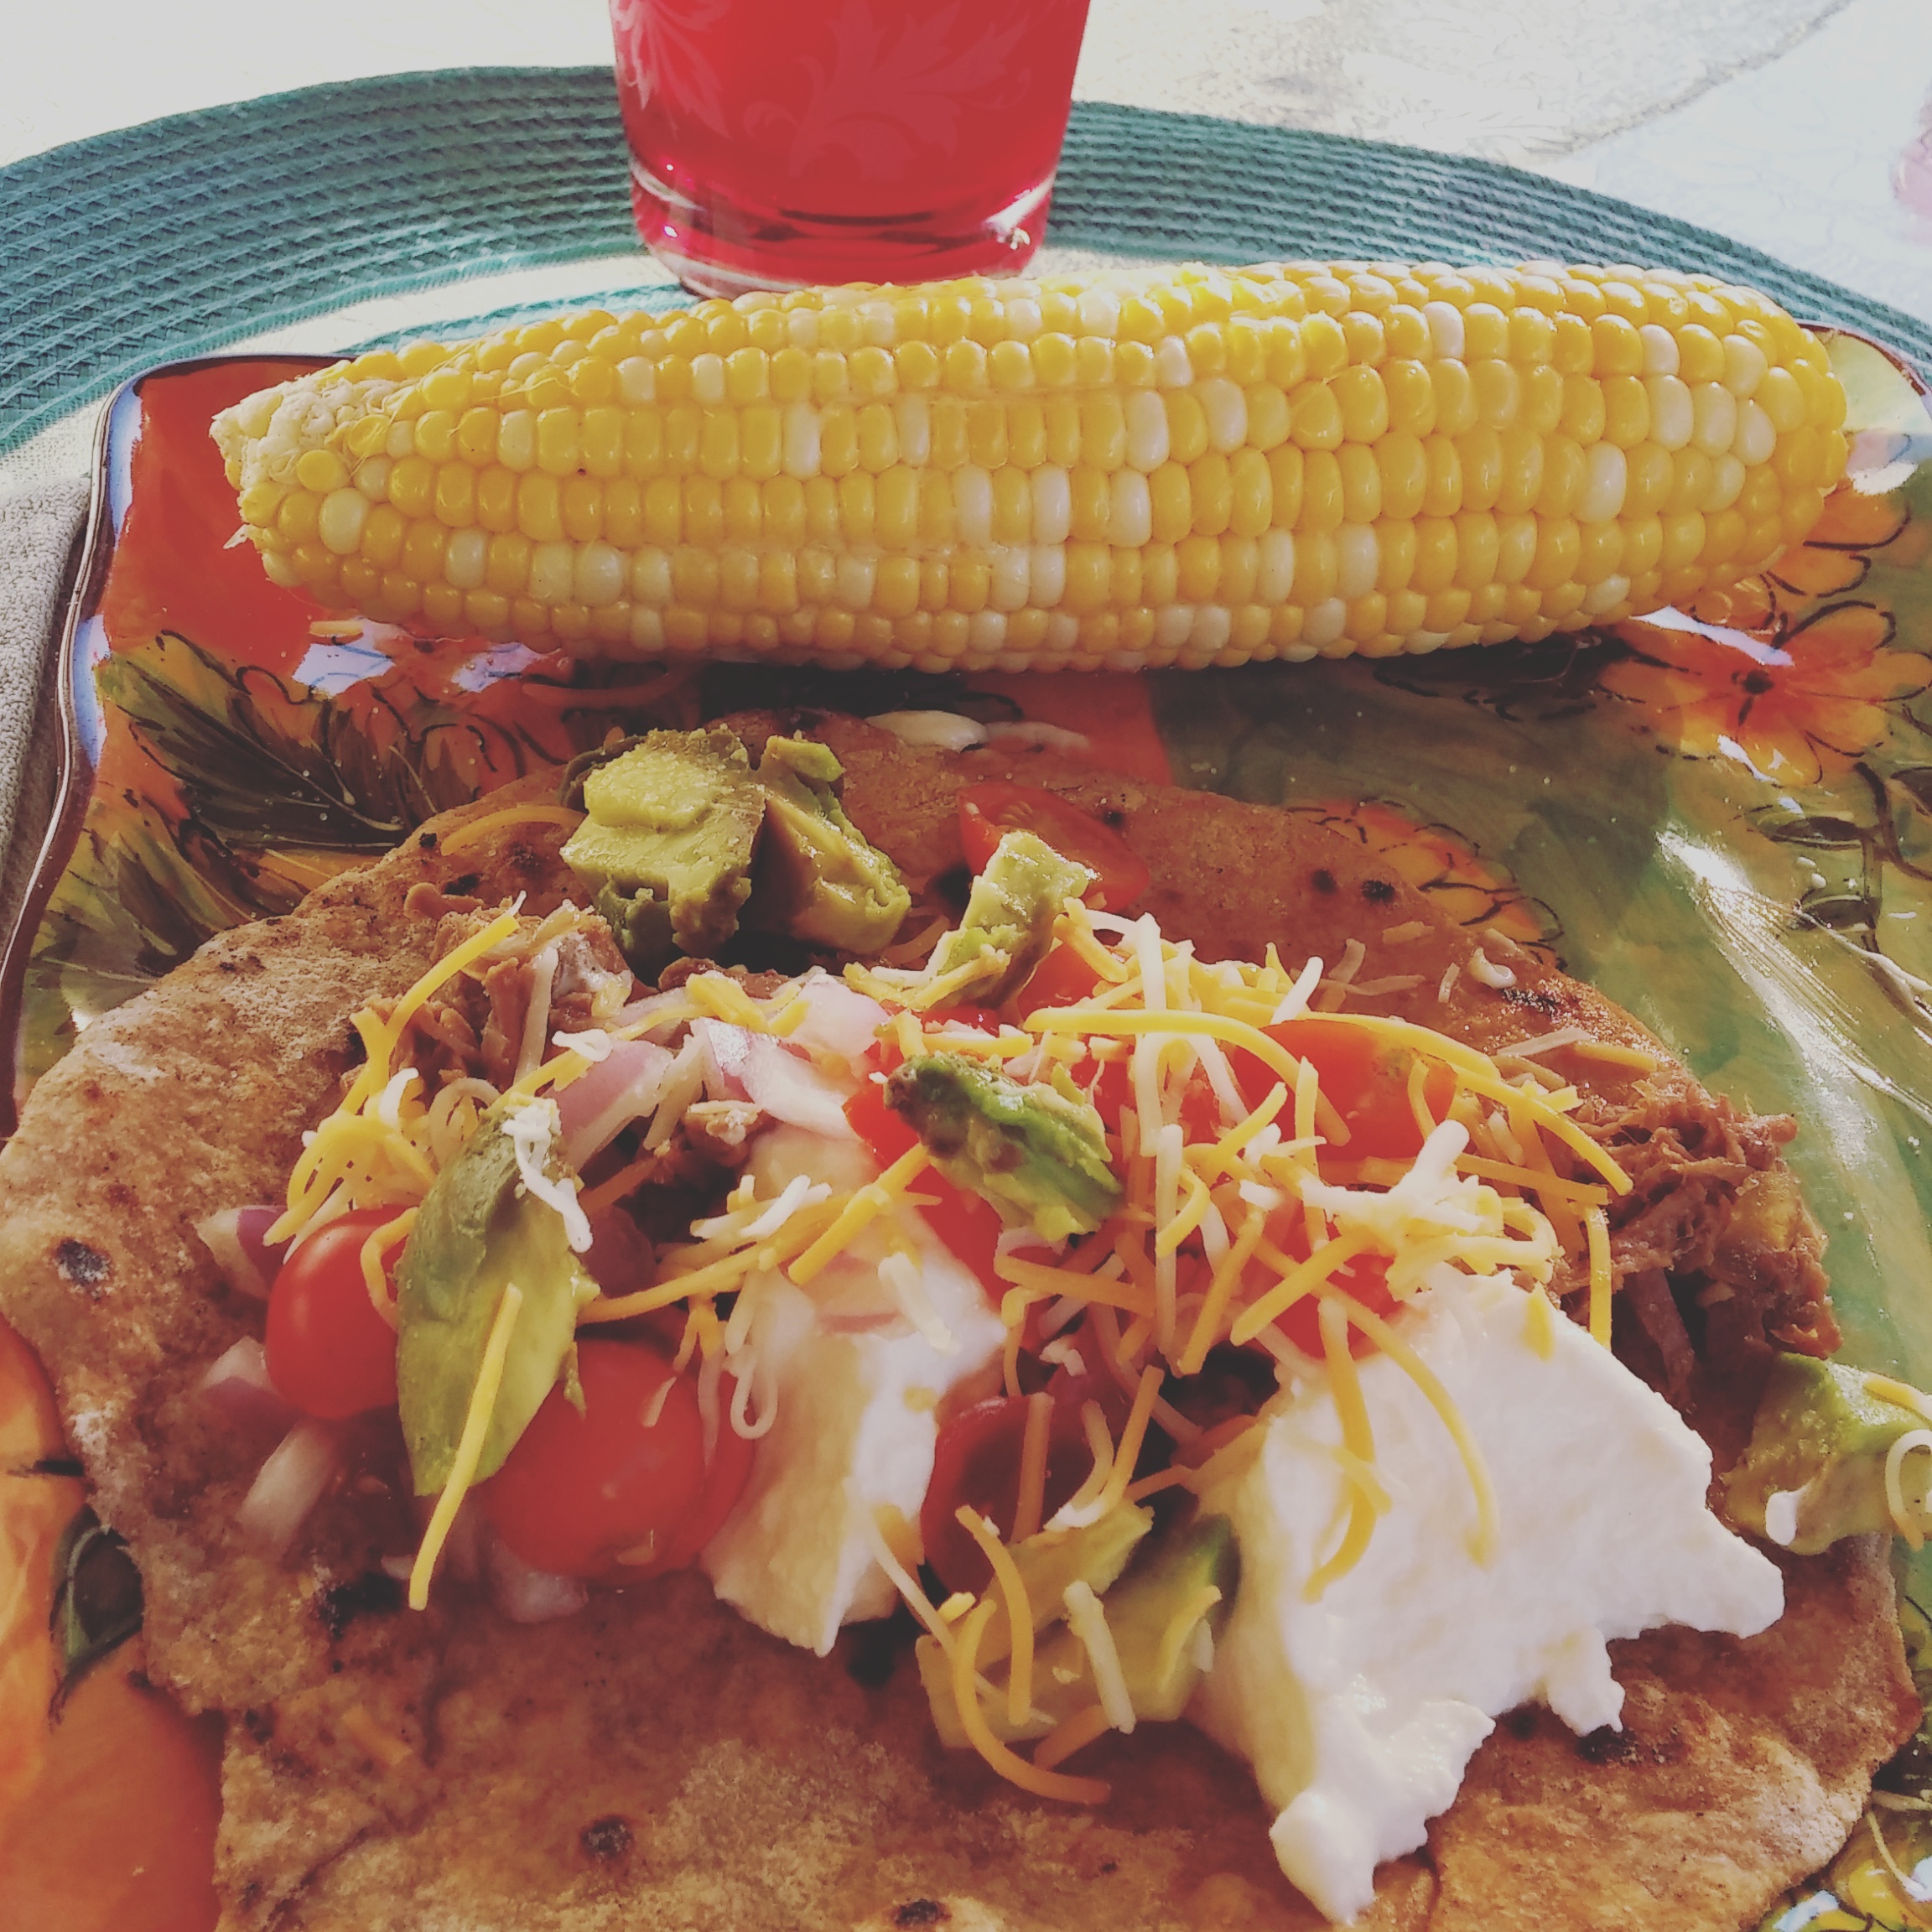
Beef Carnita Tacos

A Pioneer Woman on the screen I am not, but here’s my best shot at making a video of how to make homemade tortillas! it’s not easy to do your own video taping! Sometimes I entertain myself while cooking – watch and see what I mean!

wpid-wp-1442488813040.jpeg
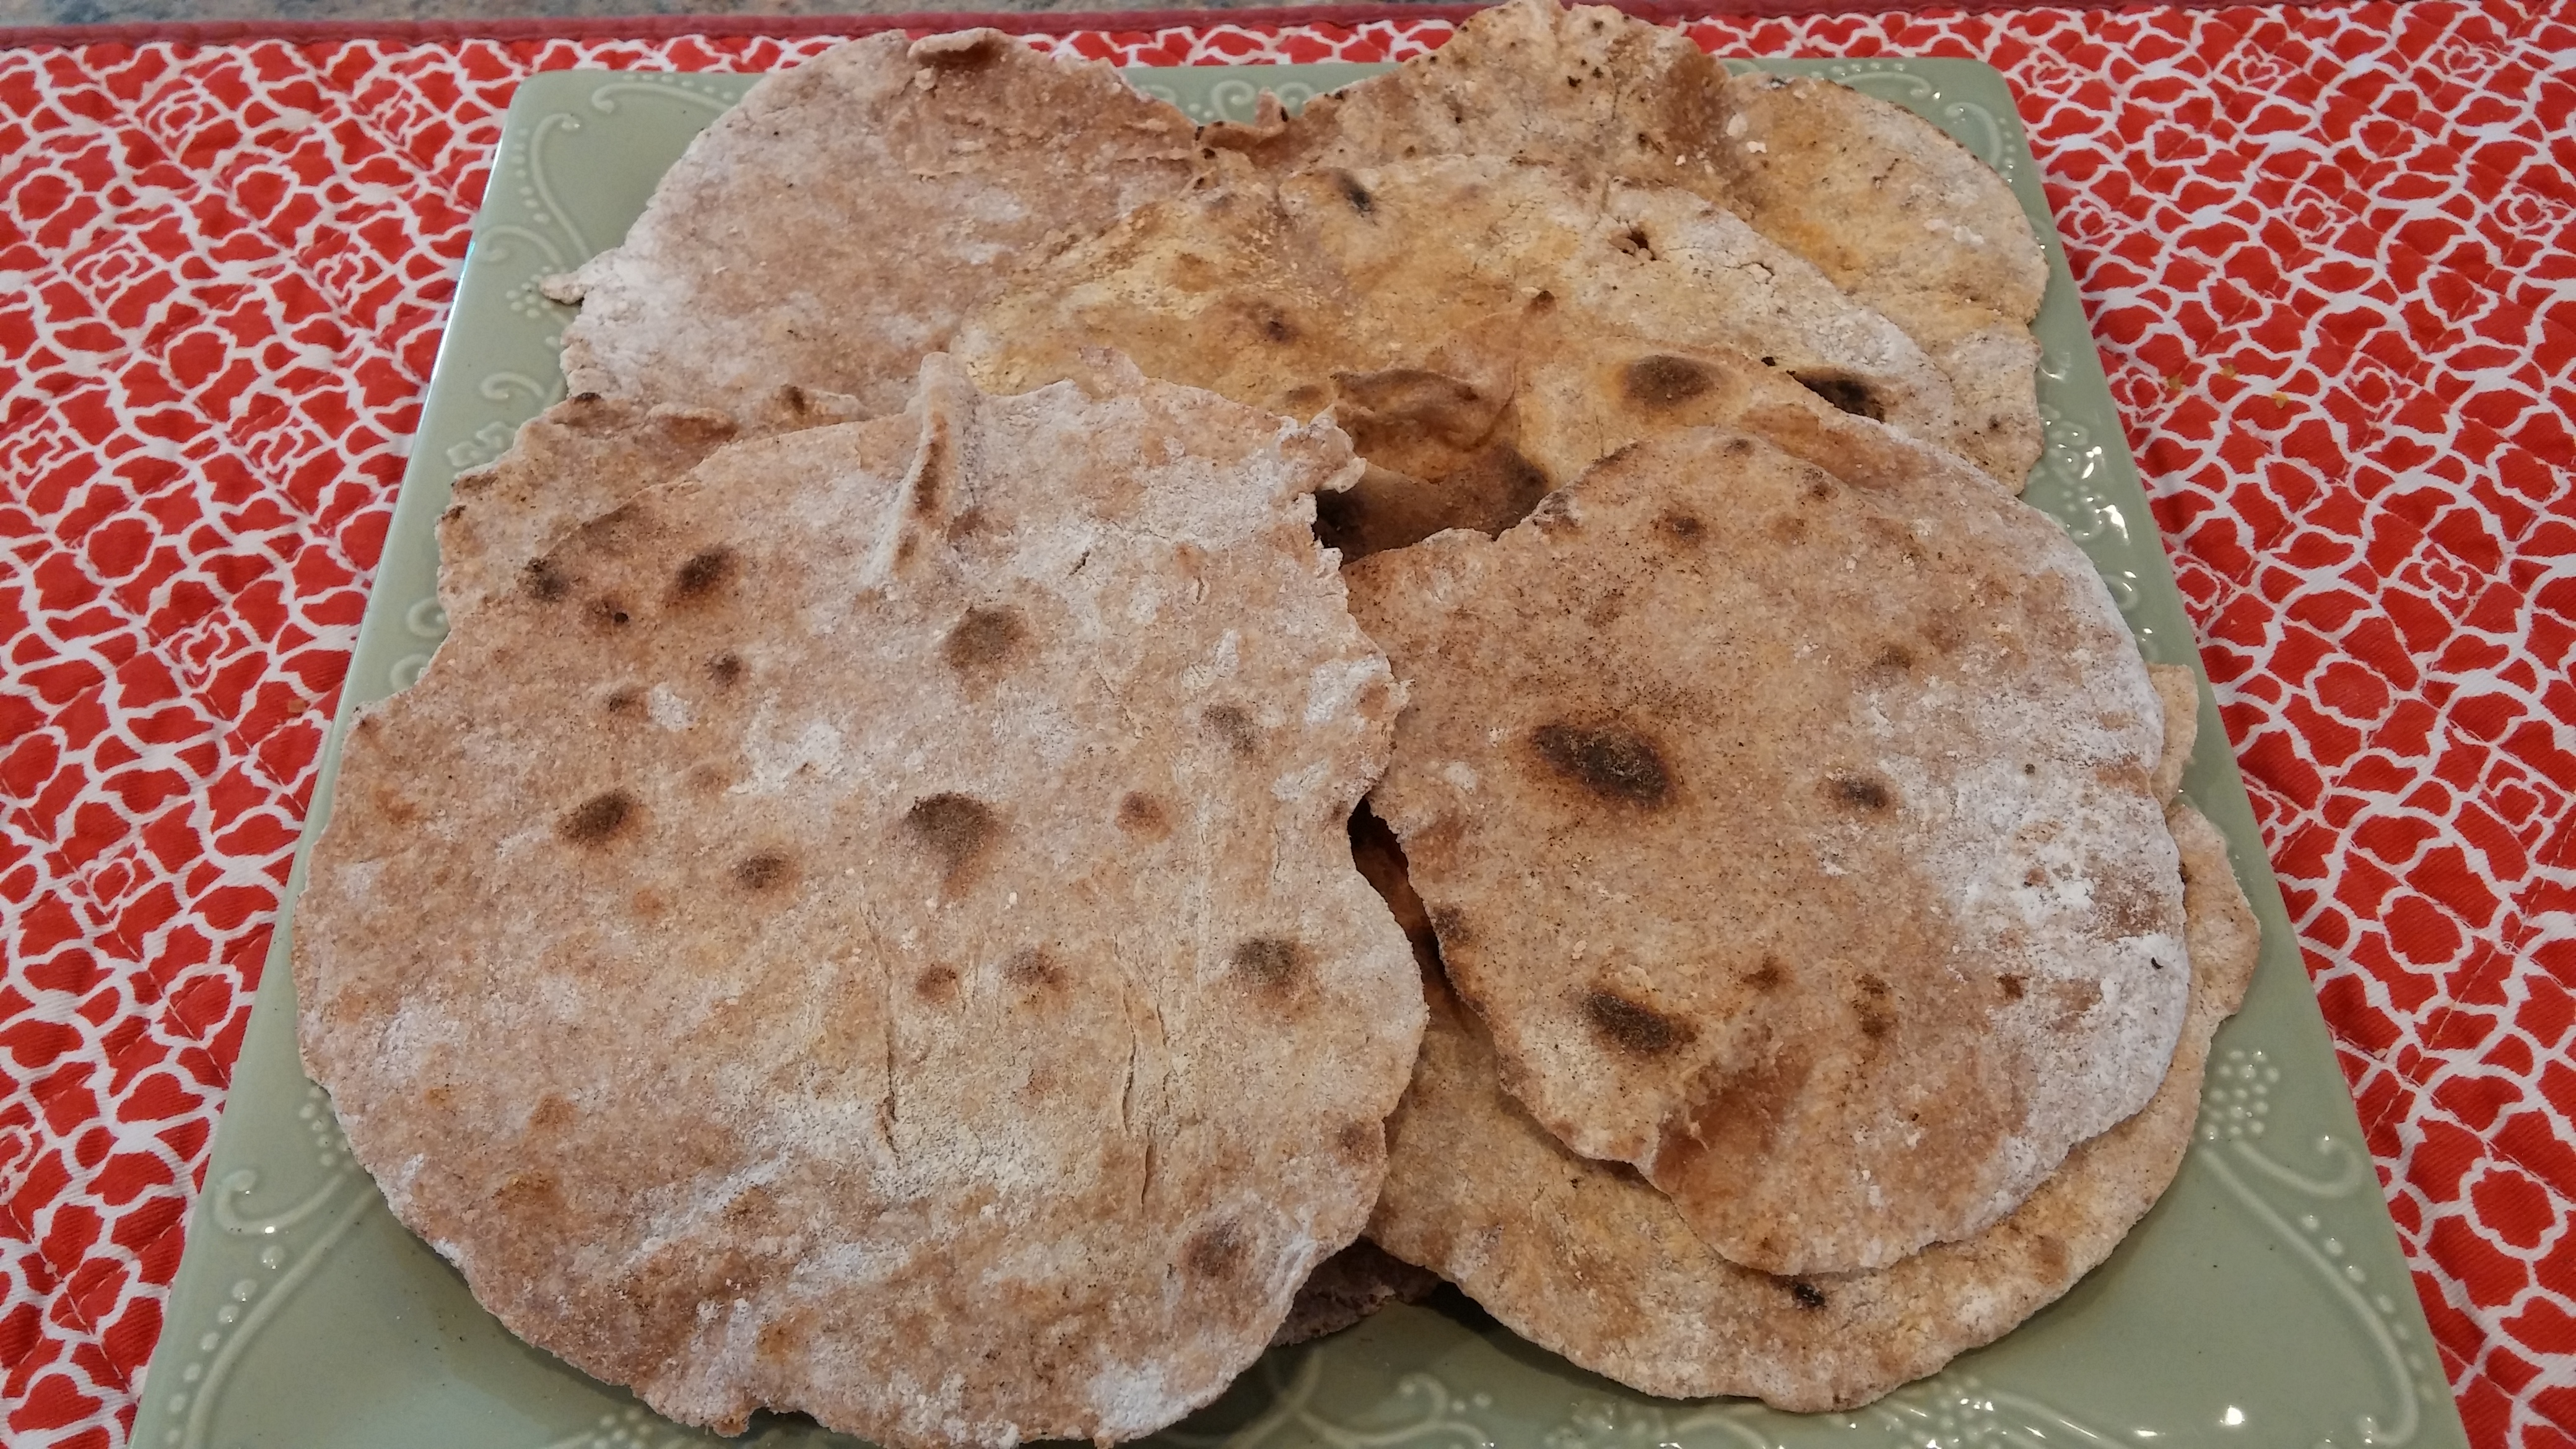
These are yummy!

Here’s the recipe:

Whole Wheat tortillas

4 Cups whole wheat flour – You can use all-purpose, if you prefer!
1 tsp salt
1/4 tsp baking powder
1/4 cup olive oil
1 cup warm water – more if needed

Directions:

Mix dry ingredients together.

Add oil and mix with your hands until it feels a bit like cornmeal.  Add water and mix to make a soft dough that is easy to wlrk with.  Knead a minute or so.  Divide dough into 16 balls and let them sit, covered on counter for about 15 minutes.  Press into tortillas with tortilla press.

Bake on ungreased heavy skillet or a griddle that is on medium-high heat.  Cook them unto brown spots appear and then flip and cook on the other side.

You can find the recipe for the Beef Carnita Tacos here. I love to do these in the crock pot. The meat shreds apart beautifully and the flavors have cooked together all day and are so delicious!

Will you try your hand at Tortillas?  It’s a fun project with kids!

With love from my country kitchen,

Cooking · Dinner

Thirty Minute Meal Guide

One day last week when I was out of town, my daughter sent me a cry for help text.  It said something like this:

When I finish teaching lessons, I’m starving.  What chicken recipe could I fix that’s fast?

I went to my blog and sent her a couple links to recipes that I knew could be made in 30-minutes or less.  She made Chicken Piccata, loved it and thanked me later for rescuing her!.

We’ve all been there, haven’t we?  You’re so hungry you’d eat anything in the pantry, but know you should have a good meal, yet you have no clue what that might be.

Today I am sending you a life boat full of food through some quick recipes!  I’ve made a New Category on my recipe page. Just beneath Appetizers you’ll see “30 Minute Recipes.”  I’m only adding entree recipes.  Some are “lunch-like”, others are more hearty.  There are soups, chicken, and some beef.  I’ll continue to add to this list so that you’ll have a whole arsenal of recipes that are fast, delicious, and ready on the table in 30 Minutes or less!

Do you have a 30-minute meal that’s your go-to recipe when you could eat the wallpaper off the wall?  Tell me about it!

With love from my country kitchen,