Appetizer · Budget friendly meal · Main dish. · Pasta

Cheese Ravioli Appetizer/Side Dish

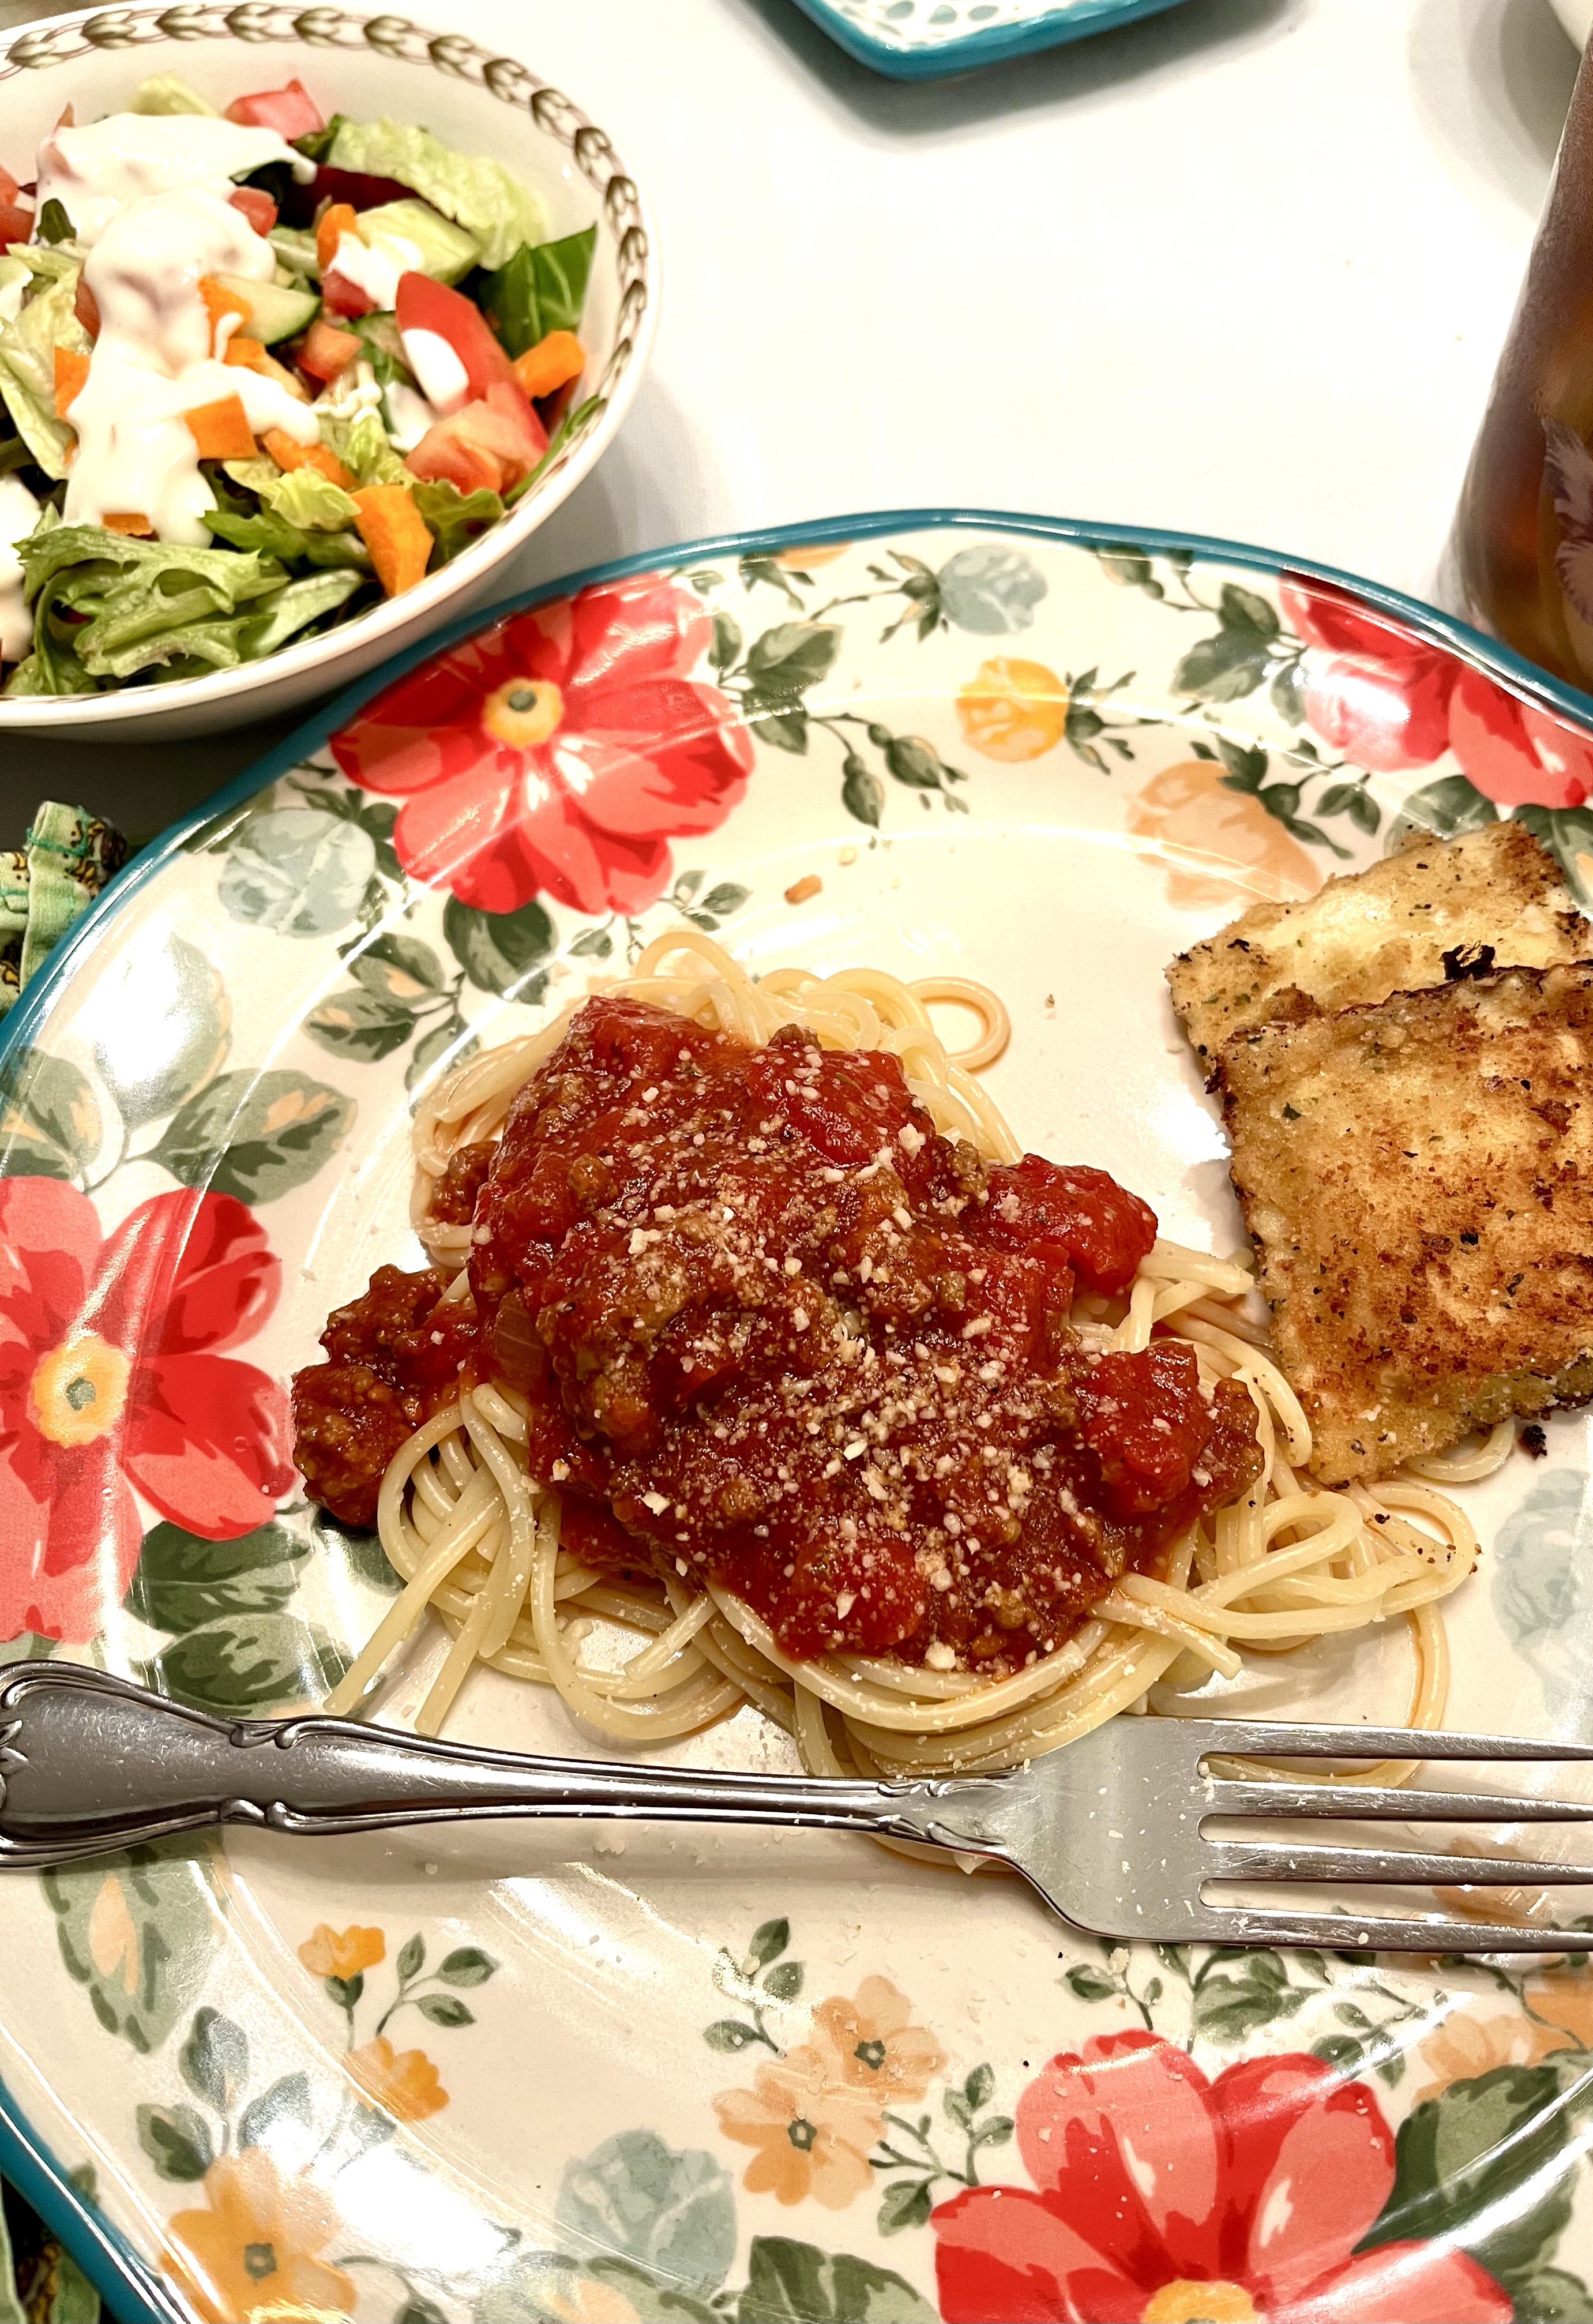
I have an old recipe for you today that can serve as either an appetizer OR a side dish. It can be served any time of the year, but because it’s served with a (red) marinara or spaghetti sauce, it makes a great accompaniment to a Christmas menu! This is also a budget-friendly recipe!

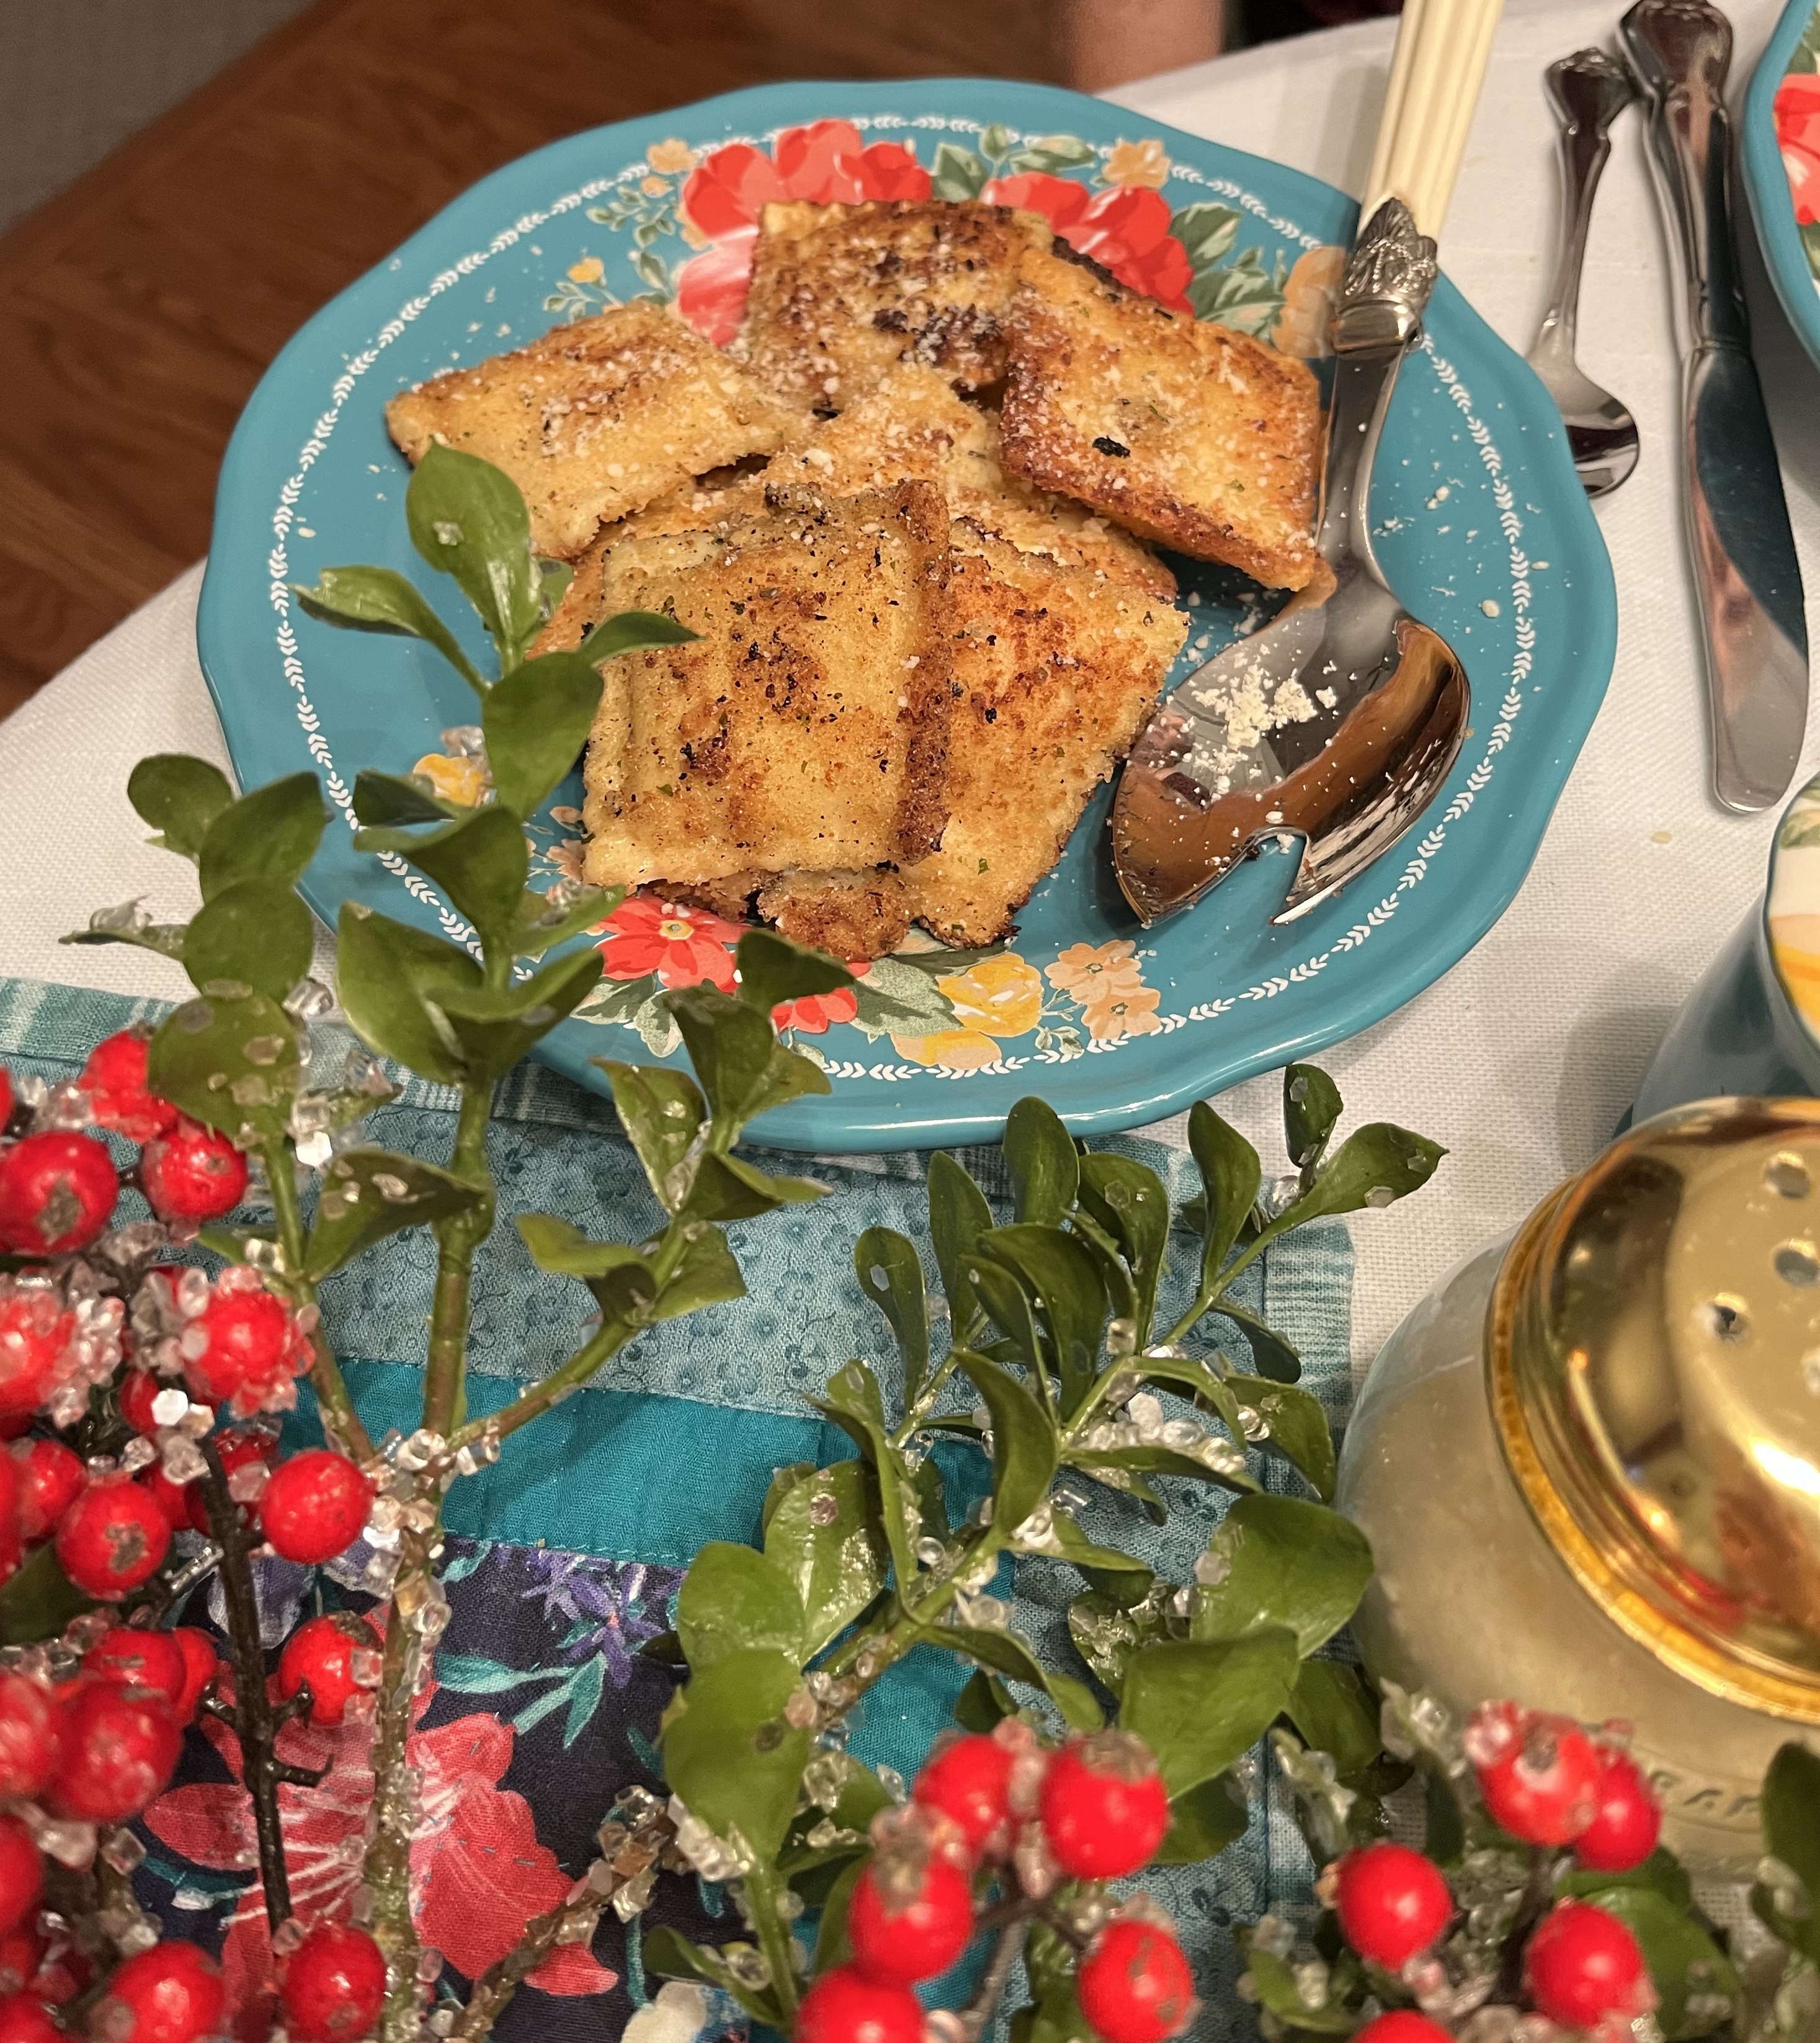
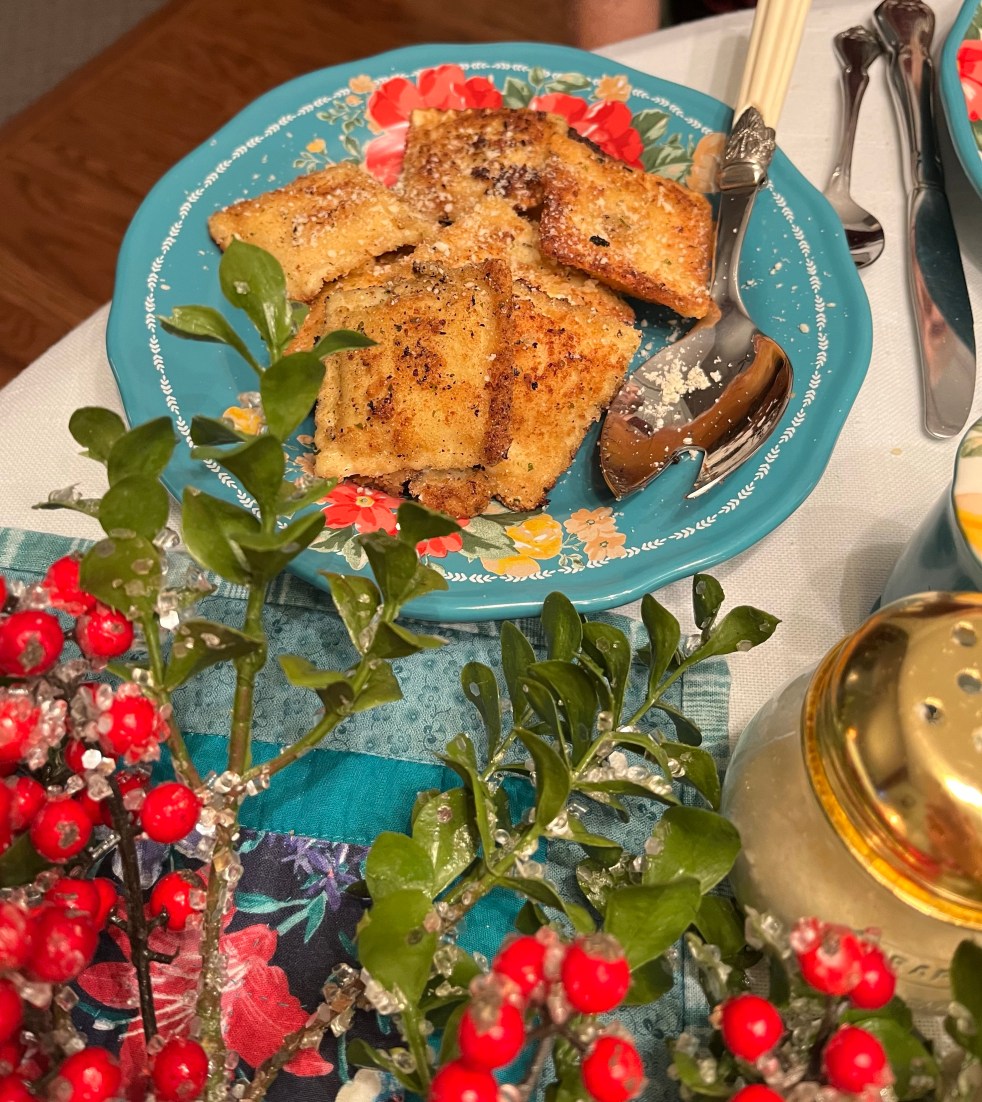
This Toasted Ravioli is super fast and easy, and is a true crowd pleaser. I discovered this recipe years ago in my Southern Living Cookbook. Being crispy on the outside and cheesy on the inside, makes it irresistible! It’s a perfect finger food appetizer, but you can also serve it alongside a meal, as I did recently.

Toasted Ravioli

  • Packaged frozen Cheese Ravioli – Thawed
  • Seasoned bread crumbs
  • Grated Parmesan Cheese
  • 1 egg
  • 1/4 Cup Milk
  • Cooking oil – Canola works well
  • Marinara or Spaghetti Sauce

Instructions:

  1. In a dish, combine seasoned bread crumbs and about half as much Parmesan cheese.
  2. In another dish, combine one egg and milk
  3. Dip ravioli in egg wash, then breadcrumbs.  Place enough oil in the bottom of a medium skillet. After it gets hot, add ravioli, a few at a time,  Toast until golden This will only take a couple of minutes.  Keep warm.  
  4. Serve with a marinara or spaghetti sauce.

I made this French Bread to go along with the meal. I broiled it until it was lightly browned and crisp. This has come to be one of my favorite breads to make because I can have bread in two hours from start to finish.

I hope you’ll add this ravioli recipe to your menu soon, then let me know what you thought about it!

Side dish

Green Beans with Caramelized Onions

I am a Southern green bean girl! That means I like my green beans cooked through so they’re soft with a little of the fat hugging each bean, meaning there’s great flavor with each bite!

When I saw a recipe on Weight Watchers for green beans, I was a little skeptical, but thought it was worth a try. The result? A.Maz.Ing side dish!! The caramelized onions give this dish tremendous flavor! I did cook my green beans a little longer than the recipe says, because I didn’t want them to be crispy-tender – I wanted them cooked through. You can choose your cooking time to suit your liking, of course!

But whatever you do, you need to give these a try! You’ll feel like you pulled out one of your “special event” recipes! We’ve had them several times since I discovered them, and I truly think I could eat them every week and not mind it all!

Green Beans with Caramelized Onions

1 tsp Olive oil

1 Tbl. Sugar

16 oz. Frozen pearl onion(s)

16 oz, or whole green beans Frozen cut green beans

2 Tbsp, fresh, chopped Dill

1/2 tsp able salt

1/4 tsp Black pepper

Instructions

  1. Heat oil and sugar together in a large skillet over medium-high heat. Add onions and sauté until tender and golden brown, stirring frequently, about 10 minutes.
  2. Add green beans and cook until crisp-tender, stirring frequently, about 3 minutes.
  3. Remove from heat and stir in dill, salt and pepper. Yields about 1/2 cup per serving.

These are only 1 point on all WW plans! By the way, I’d encourage you, if you’re seeking to lose some weight, check Weight Watchers out! They offer free starts all the time. It’s such a great plan to follow because it’s a change of eating that becomes a habit and way of life. You eat normal foods and can eat all the good things! It’s been one year now since my husband and I started the plan and we have maintained our weight, even with some indulgences for special celebrations! I get no kick-back – I just want to help you! You can join for as little as just under $4 a month!

I’m curious – are you a Southern green bean girl, too? Or do you like the beans just warmed up a little?

salad · summertime

Summertime Salad

With summertime comes light refreshing meals. I’m going to share a salad recipe that we LOVE. It calls for pears, which are really good in this, but blueberries, blackberries or strawberries are delicious additions; we’ve tried them all!. One great thing is that it only has 6.3 grams of fat. The dressing is so good, but made with only a small amount of oil. Try it and tell me what you think! This recipe came from Cooking Light

Pear, Walnut, and Blue Cheese Salad with Cranberry Vinaigrette
You can make and refrigerate the vinaigrette up to a week ahead.
Vinaigrette:
1/2 cup canned whole-berry cranberry sauce
3/4 cup orange juice (about one orange)
1 tablespoon olive oil
2 tablespoons balsamic vinegar
1 teaspoon sugar
1 teaspoon minced peeled fresh ginger (I didn’t have this and it was still good)
1/4 teaspoon salt
Salad:
Salad greens of your choice (anything but head lettuce is good)
2 Cups sliced peeled pear
1 cup slices red onion, sliced into rings
1/3 cup crumbled blue cheese
6 teaspoons coarsely chopped walnuts, toasted
1. To prepare vinaigrette, place first 7 ingredients in a medium bowl, stir well with a whisk.
2. To prepare salads, divide the lettuce evenly among 6 salad plates. Divide sliced pear and onions evenly among leaves. Top each serving with about 1 tablespoon cheese and 1 teaspoon walnuts. Drizzle each serving with about 2 1/2 tablespoons vinaigrette. Yield: 6 servings
Enjoy!
t
Side dish · snack · zucchini

Crunchy Zucchini Chips

When you love the crunch and salt of chips, but you’re trying to eat healthy, is there anything aside from a bag of Lay’s that will satisfy that hunger? The answer is Yes! Zucchini Chips! If you own a garden, chances are you have an ABUNDANCE of them right now and are wondering how to use them up! If you don’t have a garden, you’re going to want to get the grocery store to purchase a zucchini or two to make this crunchy side dish!

Crispy, salty and the perfect accompaniment to sandwich!

The two most important ingredients for this yummy recipe are:

  1. Zucchini
  2. Time – These take 2 hours at a low heat, so start them early in the afternoon.

When I found this recipe I was a little skeptical, but because I had the two important ingredients, I decided to try them for myself! I am totally won over!

Here’s all you do ~

Zucchini Chips

  1. Slice the Zucchini to the thickness of about that of a quarter. (I used my food processor and used the blade with the thickest slice and they were just right.
  2. Spray a cookie sheet with cooking spray.
  3. Lay the slices in rows on the cookie sheet.
  4. Spray lightly with cooking spray and lightly salt. (They shrink while they dehydrate in the oven and the salt taste will intensify, so don’t use too much.)
  5. Place in a 250 degree oven for one hour. Flip the zucchini over. Rotate pans.
  6. Bake for up to another hour, or until they turn light brown and crispy.

These are best served right away. The recipe says they will turn chewy as after a while. We didn’t get to test that part because I baked up one zucchini and we ate every bite!

Some tips:

  • These shrivel up quite small, so make twice the amount you think you’ll need!
  • It’s probably better to go a little thicker with the slices than too thin. They just might need longer to bake.
  • Keep a watch on them after that first hour. Some of mine got a little too dark.
  • Eat them right away.

I’m not one who loves weird snacks. Don’t even think about giving me a rice cake! I tell you that to emphasize that I thought these were just delicious! I bet sprinkling them with some grated Parmesan cheese would be an extra layer of deliciousness!

I served these alongside a pork tenderloin sandwich and it made a great side dish! They’d also make a great snack. I’m thinking children would never know they’re getting a helping of vegetables! What they don’t know won’t hurt them!

What’s the strangest vegetable you eat or have eaten as a snack or side dish?

Happy crunching!

Lightened Up Recipe · Side dish

Fried Green Tomatoes

Does every part of the country enjoy Fried Green Tomatoes like southerners do? Down here they come on BLT sandwiches, under poached eggs and also deliciously just on their own. Their batter of cornmeal/flour preceded by their bath in buttermilk makes them crispy on the outside, and tangy and soft on the inside. You just can’t beat a fried green tomato fixed this way….or at least that’s what I thought!

Enter this lighter version of the recipe that is browned in a pan without any batter coating its exterior. What? Is this possible? Yep. It’s simply browned in teaspoons of Canola oil and seasoned with salt and pepper. The little twist comes from the creamy Remoulade that is served with it. Oh my goodness! What a delicious combination the sauce and green tomato make! It was enough for me that I didn’t even miss the crispy batter, and I bet you won’t either! Neither did I miss the extra fat and calories! Here’s how to make them:

Pan-Fried Green Tomatoes with Cayenne Remoulade

2 Tbl. light mayo
2 Tbl. Plain fat-free Greek yogurt
1/2 tsp Dijon Mustard
1/2 tsp Creole seasoning (I used a dash of Cayenne pepper)
4 medium green tomatoes, cut into 1/2 -inch slices
1/4 tsp salt
1/4 tsp pepper
4 tsp Canola oil

Instructions:

  1. To make remoulade, stir together mayo, yogurt, mustard, and Creole seasoning in small bowl. Set aside.
  2. Sprinkle tomatoes with salt and pepper.
  3. Heat 2 teaspoons of oil in large heavy nonstick skillet over medium-high heat. Add half of tomatoes and cook, turning once, until lightly browned, about 4 minutes. Transfer to platter and keep warm. Repeat with remaining oil and tomatoes. Serve tomatoes topped with remoulade.

Slice tomatoes
Season and place in skillet with oil
Make remoulade and serve with tomatoes

I served them with grilled chicken and brown rice and it was a wonderful summer meal! If you love green tomatoes, but still want to eat healthy, I urge you to give this recipe a try and see if you’re not converted!