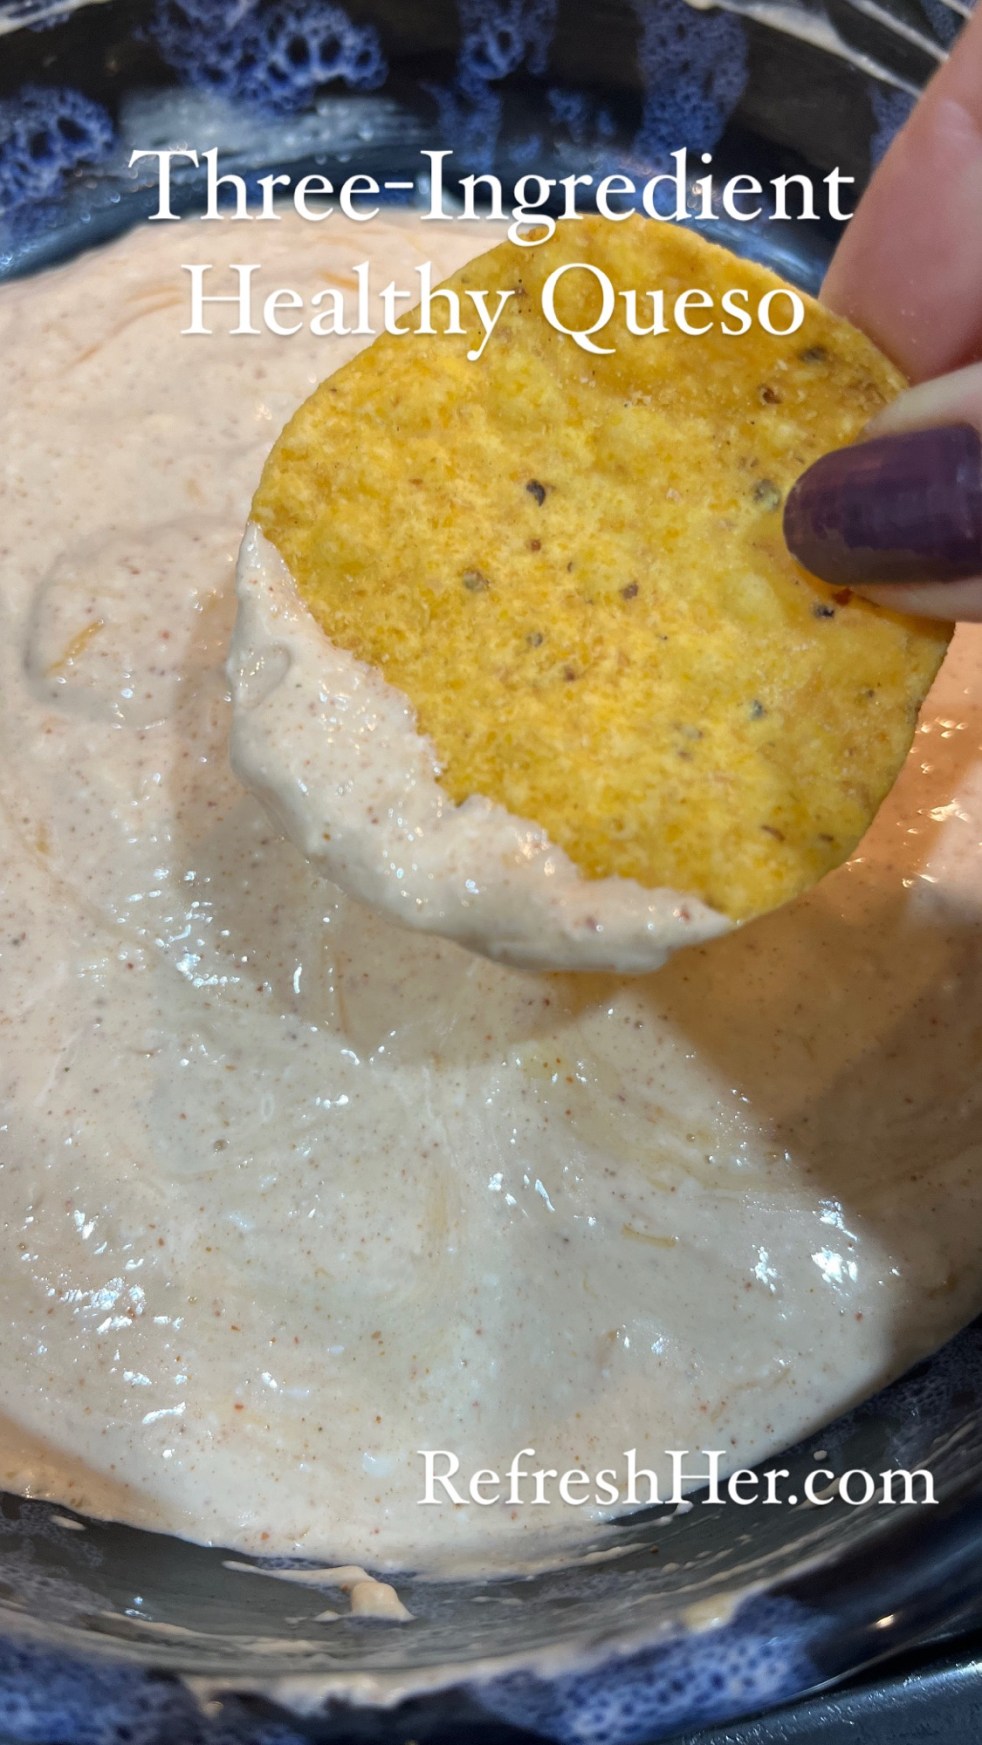
With the holiday season upon us, fattening foods are always lurking, ready to destroy any thought of healthy eating. Am I right? I have a great recipe for you that’s good enough to serve at a party, or for your snack craving tomorrow that will give you a healthy indulgence!
Last summer a friend told me about a “Cottage Cheese Queso” that she said was amazing and so much healthier. I was a little skeptical, but always looking for a way to cut calories and still eat delicious food, I wanted to give it a try. I’m usually slow to jump on the bandwagons of recipes that fly around the Internet, but this recipe has been on my radar ever since my friend’s suggestion. I tried it just a couple weeks ago. I’m sorry I waited so long!
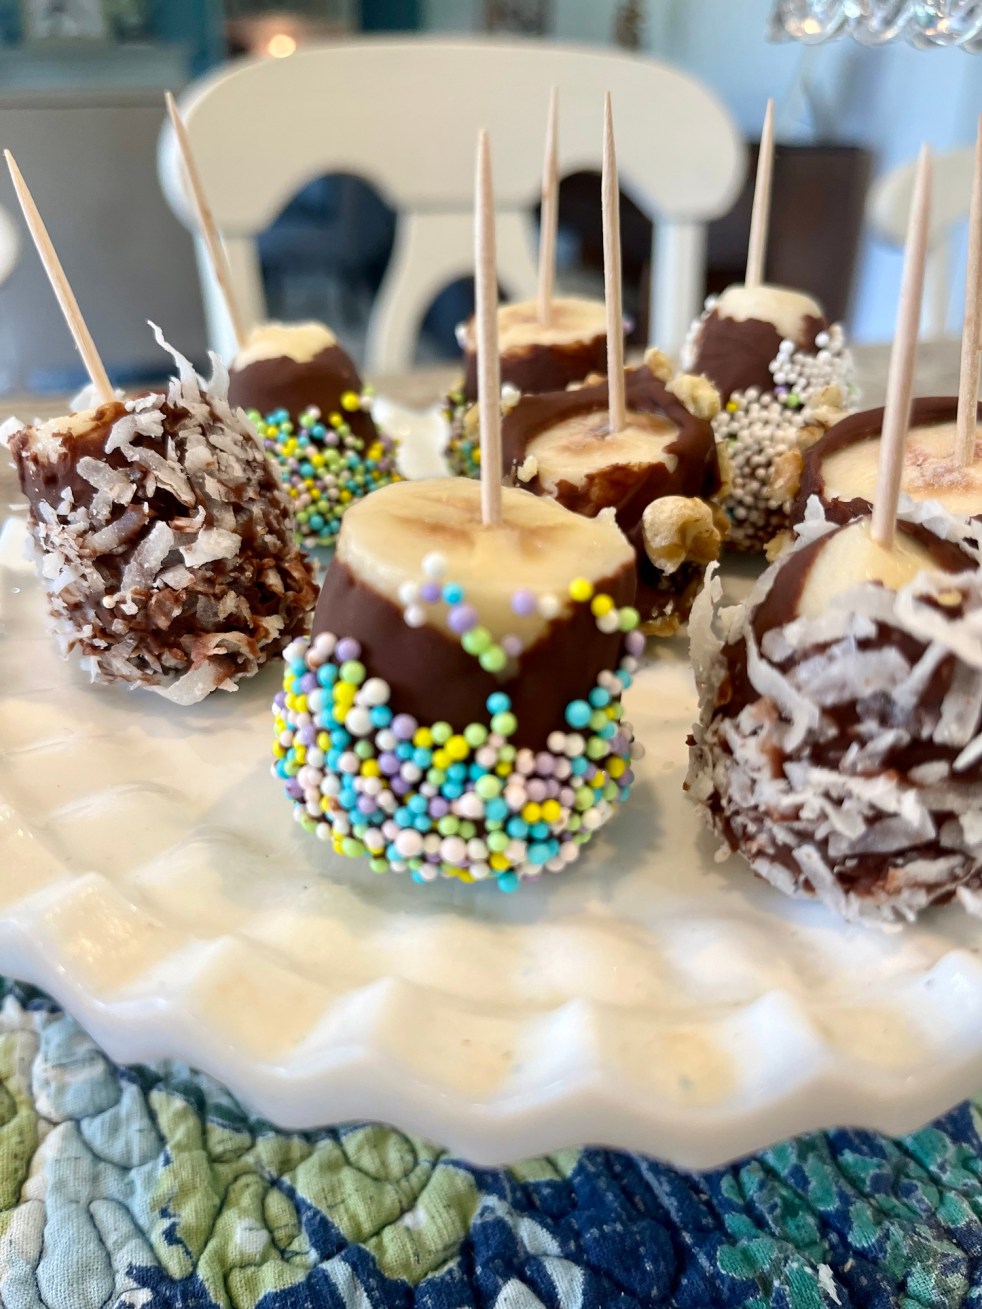
No matter if it happens in a public arena, a private setting or at home, school is hard work, hard play, and lots of energy spent. Those growing bodies need something delicious and nutritious at the end of the school day to re-energize them. Nothing is better than something homemade. I have a super easy and oh, so good snack idea that fits that bill! These are called, Monkey Treats, simply because of the main ingredient…
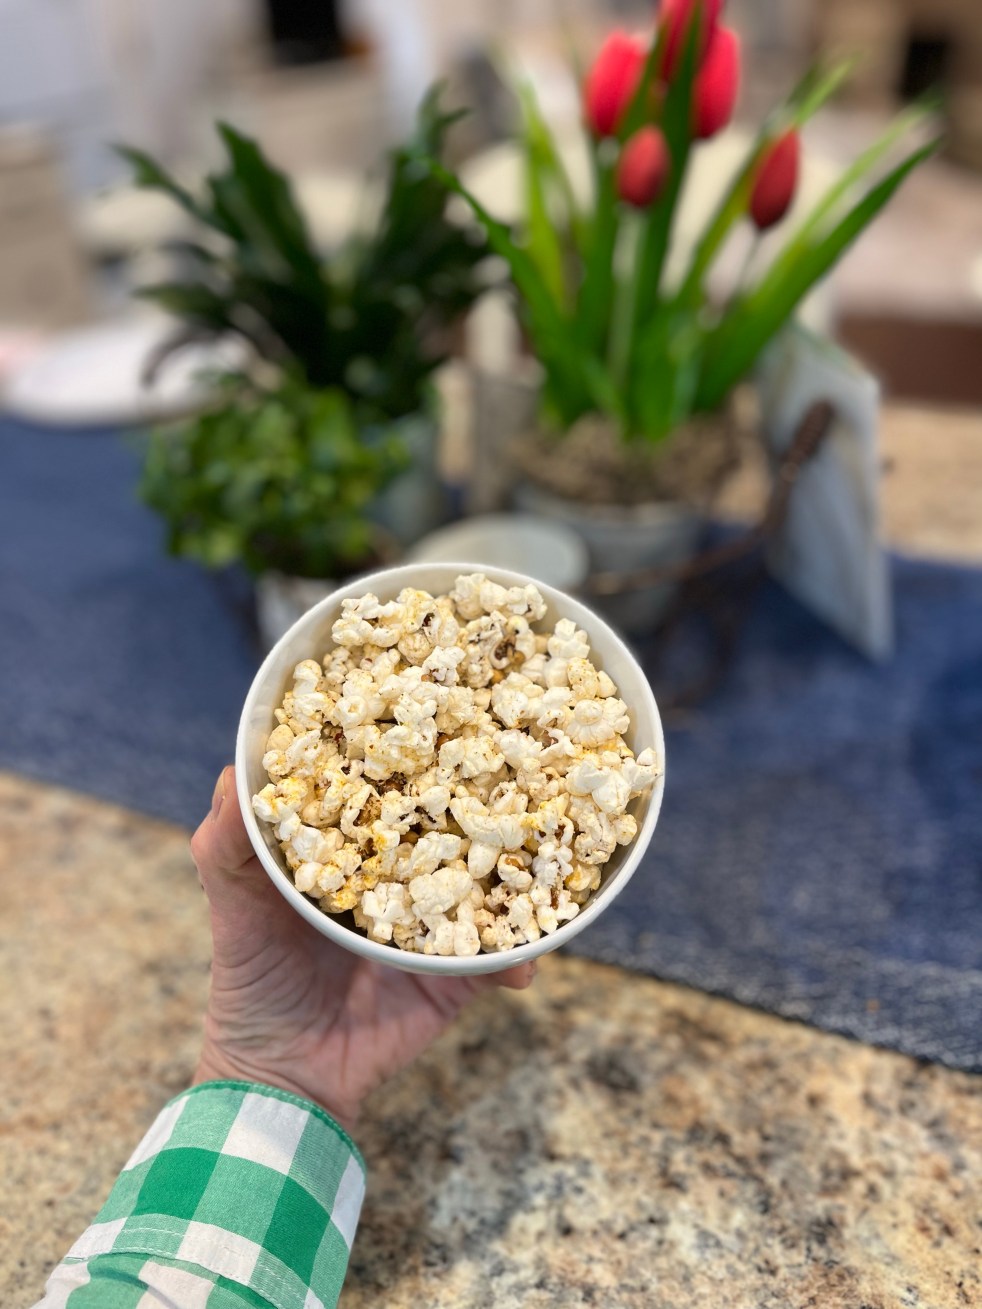
I love good food, but the truth is, I don’t have a problem eating small portions of what I love. In other words, I’ve never eaten a stack of cookies, I rarely eat a whole candy bar in one sitting, and a scoop of ice cream is plenty for me. HOWEVER, when it comes to POPCORN, it’s an entirely different story. Perhaps I should join (or create) Popcorn Antonymous, a group for popcorn lovers like me. I love it slightly buttered, caramelized, or cheesy. I DO NOT like the microwave versions. Give me the kernels and let me do it my own way.
Recently I found another savory flavor to make at home, thanks to my Ina Garten Cookbooks. it was SO delicious and also a cinch to make!
I hope your weekend was a blessing! Let’s start your week off with a great granola for breakfast or snacking!
I love the chocolate granola I buy in the grocery store, but it is very expensive. I was happy to find a recipe and then tweak it a little bit to come up with a recipe that I like even better than the grocery store version!
Sprinkled over Greek yogurt and fresh fruit, this is a favorite breakfast!
Chocolate Strawberry Granola
½ cup coconut oil ¼ cup honey ¼ cup brown sugar 3 Tablespoons cocoa powder 3 cups oats 1 cup chopped walnuts 1 teaspoon vanilla ¼ teaspoon salt 1 cup of freeze dried strawberries, crushed 3 Tablespoons chocolate chips
DIRECTIONS:
1. In a small saucepan, heat sugar, oil and honey until sugar dissolves and mixture starts to bubble. Turn off stove and remove from heat. 2. In a separate bowl add oats, walnuts, cocoa powder and salt. Add sugar and oil mixture and vanilla. 3. Stir to coat and pour onto a baking sheet sprayed with cooking spray. Bake at 275°F for 40-45 minutes, stirring every 10-15 minutes.
4. Set tray on the counter and sprinkle with chocolate chips and stir to melt into the granola. Allow to cool and add strawberries.
Sweet, slightly crunchy, and chocolate-y, this is so good any time of the day! Also, I have occasionally found the freeze dried strawberries at The Dollar Tree!
I store the granola in a large glass jar when it has cooled completely.
I’m working on some glitches with my blog media, but if you want to see a picture of this granola, go to my Instagram account and you’ll find it there! Look for the camera/Instagram icon on this page. Click it and you’ll find the granola picture there!
Have you ever tried Chocolate Granola? I hope you’ll make this simple recipe. My traditional recipe is here and a healthier version is here.
We traveled to the northeast last weekend and saw some beautiful fall colors and scenery.
We stopped at an adorable Amish Bulk Food store where they had rows of adorable little pumpkins and gourds for sale, as well as giant multi-colored varieties.
It got me to thinking about pumpkin flavors, and then I remembered this Pumpkin Pie Crunch recipe. It’s Pumpkin-flavored Chex Mix.
Oh. My. Goodness.
This stuff is irresistible! It has no pumpkin added, only the pumpkin pie spices. It’s just sweet enough to offset the cinnamon and nutmeg and yummy enough to have you dreaming about it when you visit a pumpkin stand!
Here’s the simple recipe you can make in less than 30 minutes!
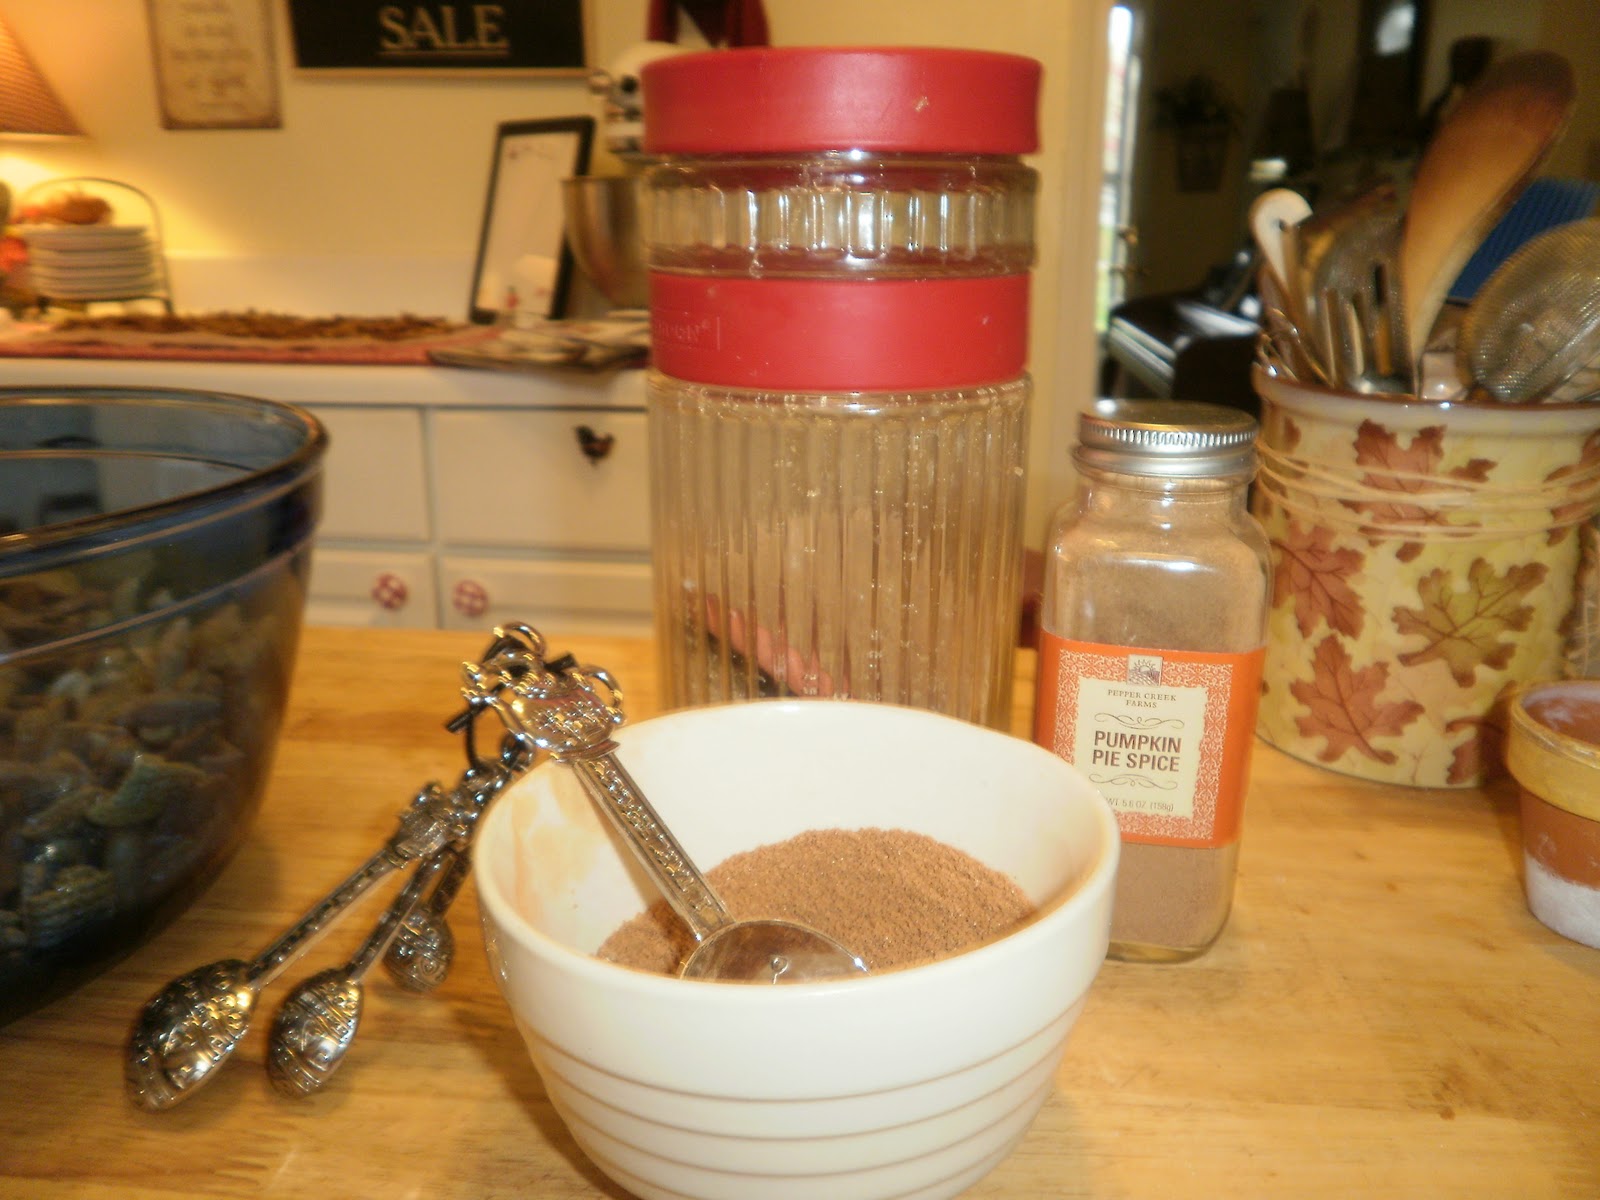
Chex Pumpkin Pie Crunch
1/4 cup brown sugar 1 tablespoon pumpkin pie spice 1/4 cup butter 2 tsp vanilla 2 cups Cinnamon Chex cereal 2 cups wheat Chex cereal 2 cups Honey Nut Chex cereal 8 oz. nuts
1. In small bowl, mix brown sugar and pumpkin pie spice; set aside. In small microwave-safe dish, microwave butter on high about 30 seconds or until melted. Stir in vanilla. In large microwaveable bowl, mix all cereals and nuts. Pour butter mixture over cereal mixture, stirring until evenly distributed. Add sugar and spice mixture and stir until coated.
2. Microwave uncovered on high 5 minutes, or until mixture begins to brown, stirring every minute. Spread on waxed paper or a cookie sheet to cool. Store in airtight container.
Whether you’re having guests over to watch football, are asked to bring a snack to an event, or are taking the family to the local pumpkin patch, why not mix up this Pumpkin Pie Crunch and smack your way through pumpkin heaven?