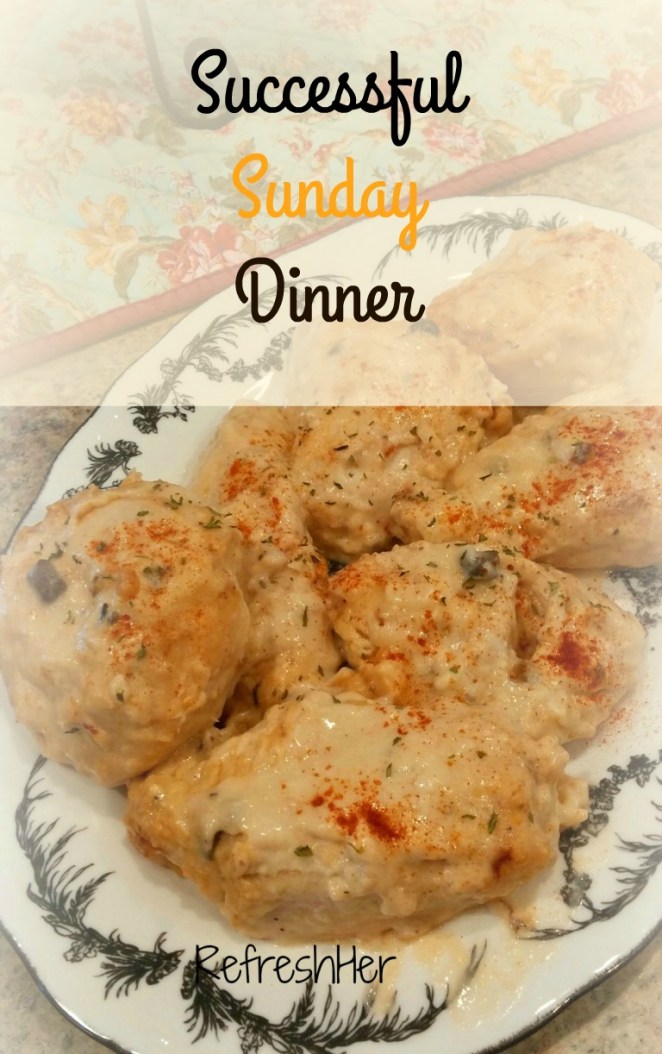
Today is the last post for Successful Sunday dinner. I will continue to share my recipes and what I served at my house, but as far as the 1,2,3’s, we’re going to wrap it up and get you ready to dive into that great Sunday meal for your family!
Remember that if it’s your desire to make Sunday dinner special at your house, it’s going to take some intentional effort and planning. Here were the three crucial steps before getting the meal going:
-
Ponder the needs –
-
Plan the menu
-
Prepare ahead
- Ponder the needs -Consider any allergies or health concerns, like diabetes.
- Plan the menu around those needs, your time and budget. Typically if I’m making a main dish or a bread that requires lots of time, I’ll make another part of the meal easier to prepare.
- Prepare ahead by doing everything you can on Saturday (or before). It will lessen your stress level!
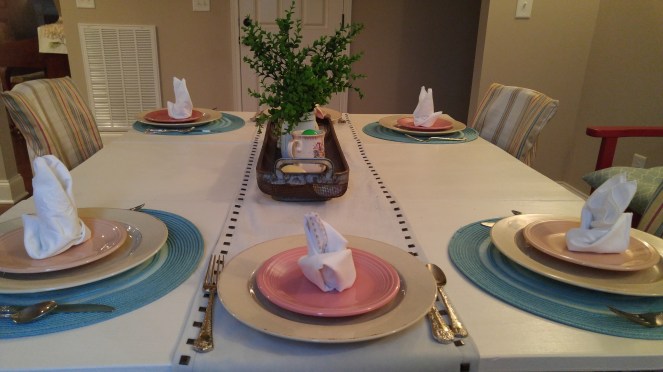
- Set the table
- Chop all veggies
- Marinate meat
- Prepare the salad
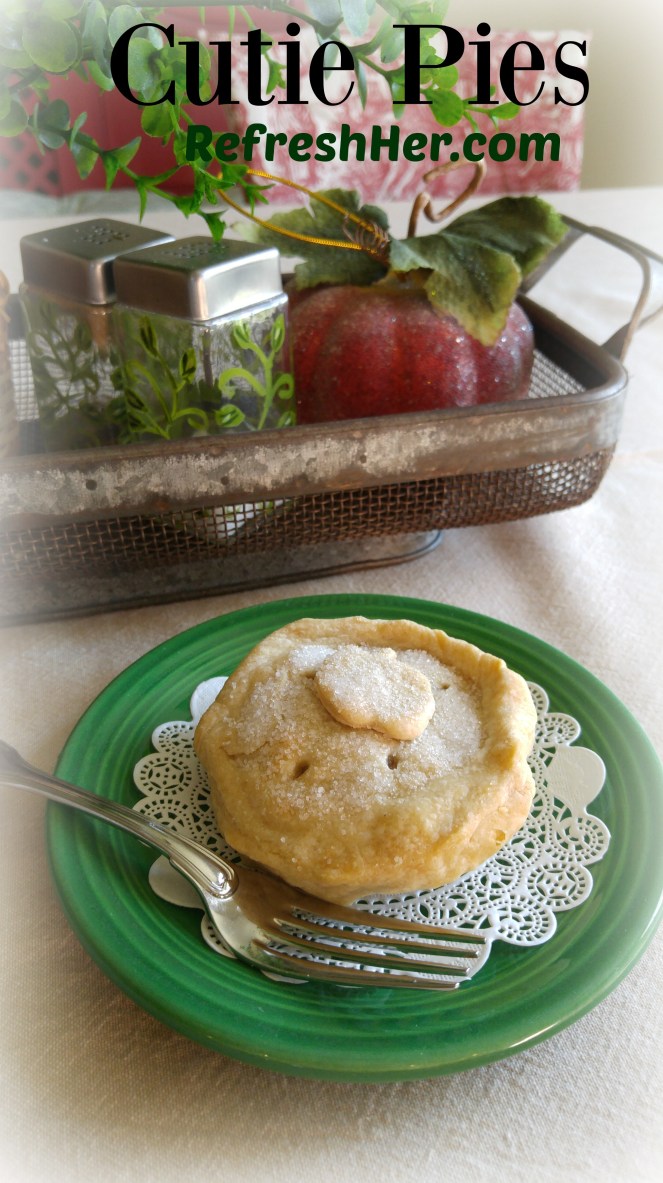
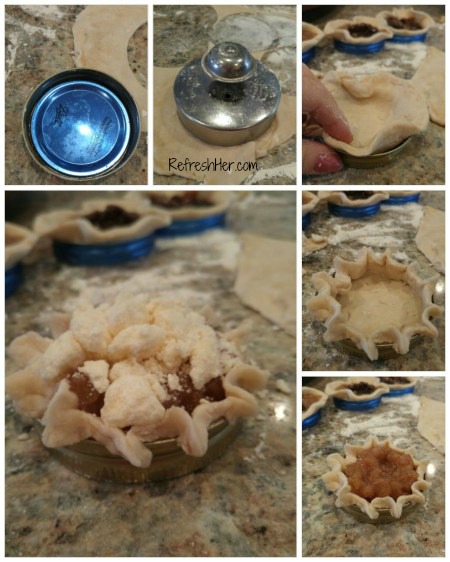
- Prepare the dessert
- Get the side dishes started
Let me give you a little rundown on how my week may look when I’m hosting a typical Sunday dinner…
Early in the week –
- Make the menu for the week – For example:
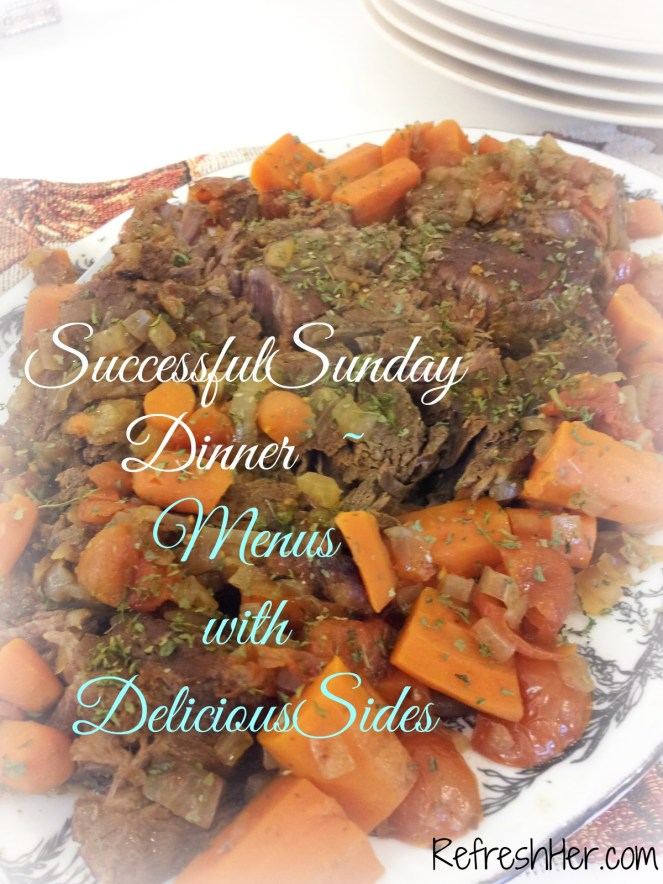
- Sunday dinner –
- Baked Chicken and Gravy
- Mashed Potatoes (cooked in the crock pot)
- Roasted Asparagus
- Homemade crescent rolls
- Greens and Apple Salad
- Ice cream with fresh strawberries
- Sunday dinner –
- Write down grocery items needed
- Go grocery shopping
Wednesday –
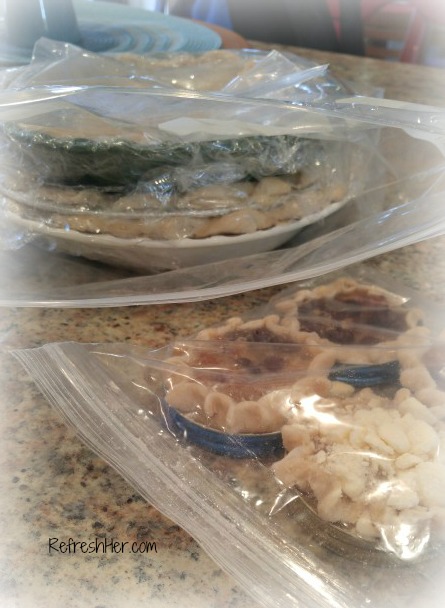
- Make Rolls and freeze
- Check to see if tablecloth or napkins need ironing
Saturday –
- Prep chicken dish and go ahead and bake it. All it needs on Sunday is to be warmed up. I wouldn’t leave this dish in the oven during church – it would dry out.
- Peel potatoes and place in water overnight
- Cut up apples for salad and place in lemon juice/water mixture overnight
- Make Vinaigrette for salad
- Wash and slice strawberries
- Make tea
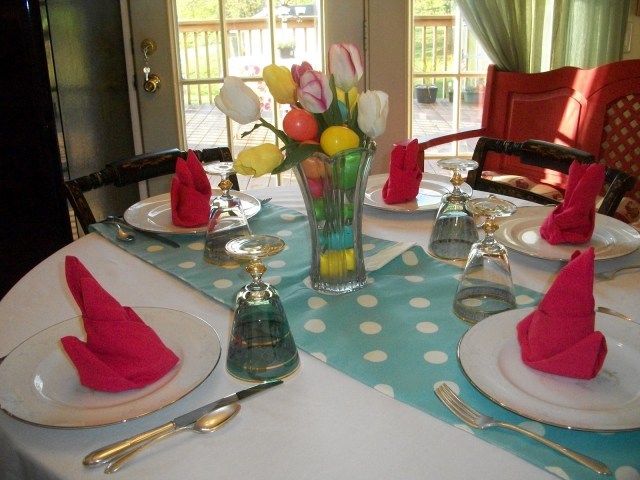
- Set table
- Set out serving dishes
Sunday – Before church
- Mix salad ingredients, except dressing
- Put potatoes in crock pot, turn on high
- Set rolls out to rise
Sunday – After church
- Set out a light snack for guests, if needed
- Warm chicken either in a large pan on the stove or in the microwave on a med setting.
- Prep asparagus for roasting
- Mash potatoes and keep warm
- Bake rolls – Keep warm
- Roast asparagus
- Put into serving dishes
Enjoy the meal!!!
Serve dessert and then pray someone volunteers to help with the dishes!
I hope this series has helped you to see that you CAN make Sunday dinner something special and memorable. Start out small and work your way into more complicated menus. Do what you feel comfortable with and keep trying to improve your game plan.
Remember that the most important ingredient of any meal is THE PEOPLE! Don’t make it about you and your inadequacies. Make them feel welcome and important and they will love their time around your Sunday dinner table!
Is there an unanswered question that you have? I’d be happy to address it! Leave me a comment here and I promise to answer you!
Let’s eat!