
baking · Christmas

(L)Oven Monday – Hungarian Nut Rolls

hungarian-nut-rolls

It’s the week of Christmas, Y’all!  Most of our ovens will probably be producing all kinds of yummy treats this week.  I still have a bit of baking to finish up, but let me show you what I made this weekend!  Years ago I made a cookie similar to the one pictured above. You know how it goes – the recipe gets misplaced and then forgotten.  Recently a sweet neighbor brought us a plate of Christmas goodies, and on the plate was this cookie!  We remembered how delicious they were by her kind deed!

So, my husband requested these to be added to my Christmas baking list.  They are a little time consuming, but hey, it’s Christmas!  Also, they’re totally worth it!  They’re a cute little cookie full of a flaky dough, nuts, and sugar granules that give that extra special crispy crunch.  Yum!
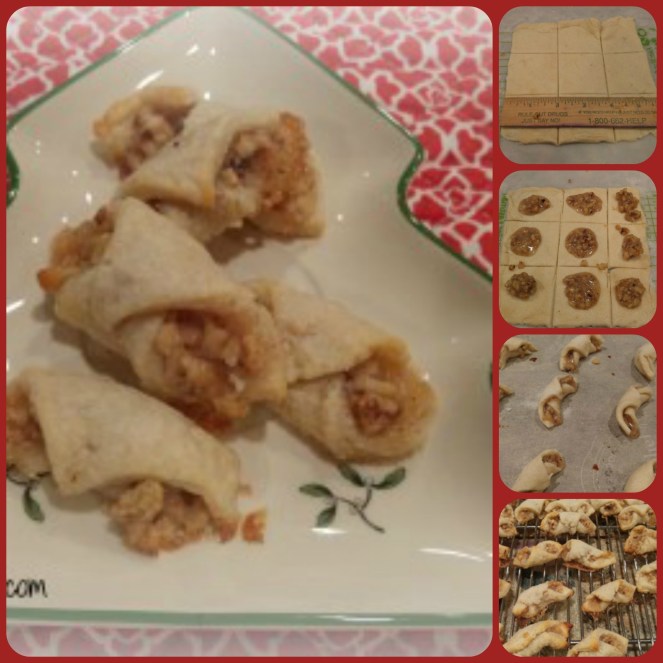
picmonkey-collage


Hungarian Nut Rolls

Ingredients

For the Pastry:
    • 2 ¼ cups all purpose flour
    • ½ teaspoon salt
    • 8 oz cream cheese, room temperature
    • 1 cup unsalted butter, softened
    • ½ cup granulated sugar for rolling
For the Walnut Filling:
  • ½ pound freshly ground walnuts (finely)
  • 1 cup sugar
  • ½ cup of boiled milk
  • 1/8 cup melted butter

Instructions

To make the Walnut Filling:
    1. Mix filling in a medium bowl using only ¼ cup of the boiled milk. The mixture should be thick.
    2. If the filling is not spreadable, use the rest of the milk.
    3. Note: You can make the filling ahead of time and freeze it until you are ready to use it. Just thaw at room temperature when you are ready to use. – I found that I had about half of the filling left over.  It’s in the freezer for another batch!
For the Pastry Dough:  Taking my own advice, I made the dough one day and assembled and baked the cookies another day.
    1. Sift flour and salt together in a medium bowl and set aside.
    2. Beat the cream cheese and butter together with a stand mixer or a hand mixer until completely incorporated and creamy (3-5 minutes).
    3. Reduce the speed of the mixer and slowly add in the flour. I used 5 additions and completely mixed in the flour each time. The dough will be soft but not sticky.
    4. Divide the dough into 4 equal parts and flatten each to ¾” thick. Wrap in plastic wrap and refrigerate until hard, at least 2 hours.
Assembling the Walnut Rolls:
  1. Pre-heat the oven to 375°. Move the oven rack one setting higher than the center.
  2. Take one of the disks of dough from the refrigerator and lightly flour both sides. Spread granulated sugar on your pastry board or work surface. Place the dough on top and roll out pastry to 1/16” thick or as thin as possible. Thinner is better. If you roll them too thick, the bottom will burn before the inside has a chance to fully cook and puff up. They still taste good but they taste so much better when properly rolled. I halved the disk, and rolled it into a 6″ square, then divided it into 9 2″ squares (see photo above).
  3. With a pastry wheel or sharp knife, trim the dough into a square and then cut the square into 16 smaller squares. My dough never rolled out into a perfect circle so I would just cut as many 1 1/2 “ squares a possible, saving the scraps for later.
  4. Place a dollop of filling in one corner of each square. I used ½ teaspoon.
  5. Starting in the corner with the filling, roll the dough around the filling from corner to corner, gently pressing down as you roll. Grab the roll on both sides and pinch as you bend the roll to create a crescent shape. Gently move it to a parchment covered baking sheet, placing the Rolls no closer than 1” apart.
  6. Repeat with all remaining squares.
  7. Sprinkle the middles of the Rolls with just a touch of granulated sugar.
  8. Bake 12-14 minutes (I baked mine for 11 minutes) or until the bottom edges are a golden and you can smell them. They should puff up slightly in the middle. Let cool slightly on the pan on a wire rack and then move them gently to a wire rack to cool completely.
nut-rolls

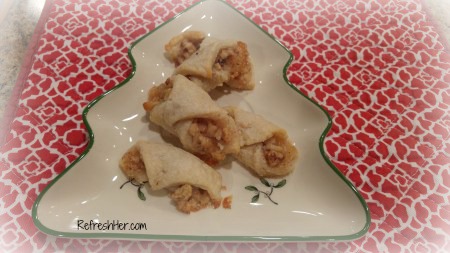
These are so delicious!  I’m so happy to have discovered the recipe for these little gems!

What have you baked (or getting ready to bake) in your oven this week?

With love from my country kitchen,

Denise Signature 150 px

Christian growth · Christmas · Crafting · Gifts · snack

Friday Favorites

What a great week this has been. These days before Christmas are so much fun. Yes, they are full, but full of  blessings! Here are some of my favorites –

What I’m reading:
The Four Streams Bible Reading Plan

I’m almost finished reading through my Bible in a year. What a blessing it’s been to read through the “Four Streams” plan on You Version! It takes you through the New Testament four times, Proverbs four times, the Psalms twice, and the Old testament once. As mentioned here, I’ve been listening to the audio as I follow along in my Bible. That’s been a great addition!

wp-1481821236208.png

Projects I’ve worked on…
A blanket scarf.

I bought shirting flannel for $4.50 a yard. I frayed all four sides and folded it in a triangle and tied it in the front. It’s perfect and perfectly warm! I wore it yesterday when it was in the 20’s and it kept me toasty while I was outside!
I did another scarf in a long rectangle, cutting it in half, lengthwise and putting a seam in the middle.

wp-1481821252632.jpg

These were fun projects that gave me two flannel scarves for under $10!

flannel scarf.jpg

The most surprising thing I’ve seen…
An Elf!

It’s not every day you see an elf walking down the street! If only I could’ve gotten her to come home and help with the rest of my gift wrapping!  =)  This was at Dollywood where we went to see the Christmas lights and the shows.  Dollywood gives the Gospel in every Christmas show!  It’s wonderful!

1215161653
She so sweetly posed for my picture!

What’s been cooking in my kitchen…
Santa Munch

This is a mix of popcorn and pretzels, covered in white chocolate and M&M’s added in! Popcorn is my very favorite snack. This stuff is heaven!

1213161602

wp-1481857067323.jpg

The cutest recent picture of Liza

Helping me wrap gifts…you know, since the elf couldn’t help!

wp-1481857116916.jpg

It’s not the huge things that stand out – it’s the little blessings God allows that make the days and moments special.  A special verse or chapter of Scripture, a laugh, a crafted treasure, a treat, a curious kitty.  They’re all gifts from my loving Father and I thank Him for each one!

It’s also going to be a great weekend and I’m super excited about what’s planned!
What has a highlight in your week been?

Stay refreshed!

Denise Signature 150 px

Christmas decor · Home decor

My Simple Christmas Home Decor

Christmas mantle 1.jpg

Welcome!  Today I’m inviting you to step inside and take a tour of my Christmas decor.  I’ve really taken the “simple” route with this part of my Christmas.  I do have touches of Christmas throughout my home, but it’s definitely not done in “Biltmore Style!”  A little here and a little there is pretty much what you’ll see.

With no further ado, come on inside!

161213_211527_collage-1.jpg

The bench in my foyer is decorated with a fur muff and wool scarf.  The basket beneath is full of gloves and ear muffs.  They’re easy to grab on the way out the door!

1207161129.jpg

Our tree is upstairs in our family room and can be seen from the street as it stands in a front window.

1207160930.jpg

1207160929.jpg

The dining area – The red chargers and napkins along with my $3 Target Dollar Spot runner add all the Christmas I needed!  I drew a Christmas tree on my chalkboard, using the words to a favorite carol.

1207161130.jpg

One guest room –

This room is the perfect color scheme for Christmas decor!

1207160919.jpg

161213_211226_collage-1.jpg

In my sewing/guest room I added old photos and some Christmas greetings on the bulletin board over my work table.

1207160922.jpg

These little Pinterest inspired snow globes add a tiny touch of winter to the guest room. The sweater cover for the vase was also inspired by Pinterest.  Old sweaters are great craft supplies!

1207161102b.jpg

In my laundry room I added a new calendar that I received as a Christmas gift (I love 13 -month calendars!), along with a light-up snowman.  He makes a great night light!

1213160833.jpg

I love adding small touches of Christmas throughout my house.  I enjoy the lights, the softness and the warmth the decorations bring.  Many of the things I’ve added are items that can be left up through January.  When the outside is cold and bare, I can still have the warmth of the lights, throws, textures and candles.

It would be such a waste for us to spend so much time decorating and then never invite friends, neighbors or needy people in.  This is probably the easiest time of the year to entertain because our homes are probably the most decorated and lovely than at any other time of the year!  But isn’t it easy to feel overwhelmed and too tired?  It’s easier to tuck in and forget that others could feel loved and really blessed to be invited into our home.  I’ve had some folks in already, and have a neighborhood party planned in the next week, and honestly, though it can be tiring, it’s such a blessing!  Let’s open our hearts and our homes and share the warmth of not only our decor, but the love of our Savior, whose birth we are celebrating!!

How are you planning to use your decorated home to share the love of Christ?

Thanks for stopping in for a visit!

Denise Signature 150 px

baking · dessert · Dinner · entertaining · main · Side dish

Easy Entertaining Menu

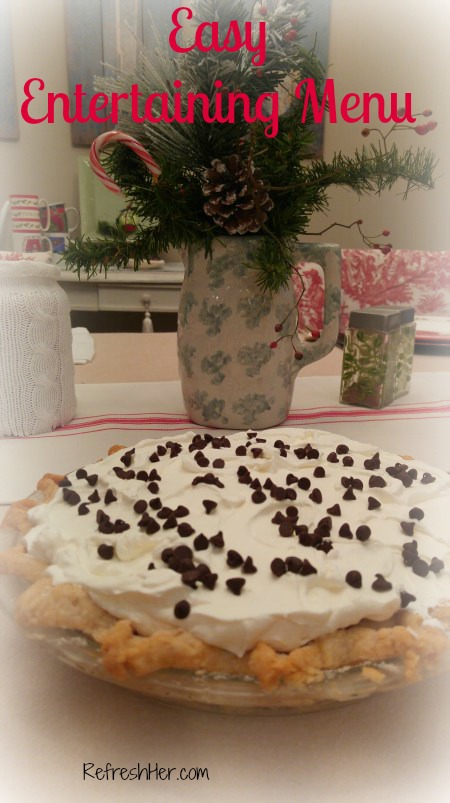
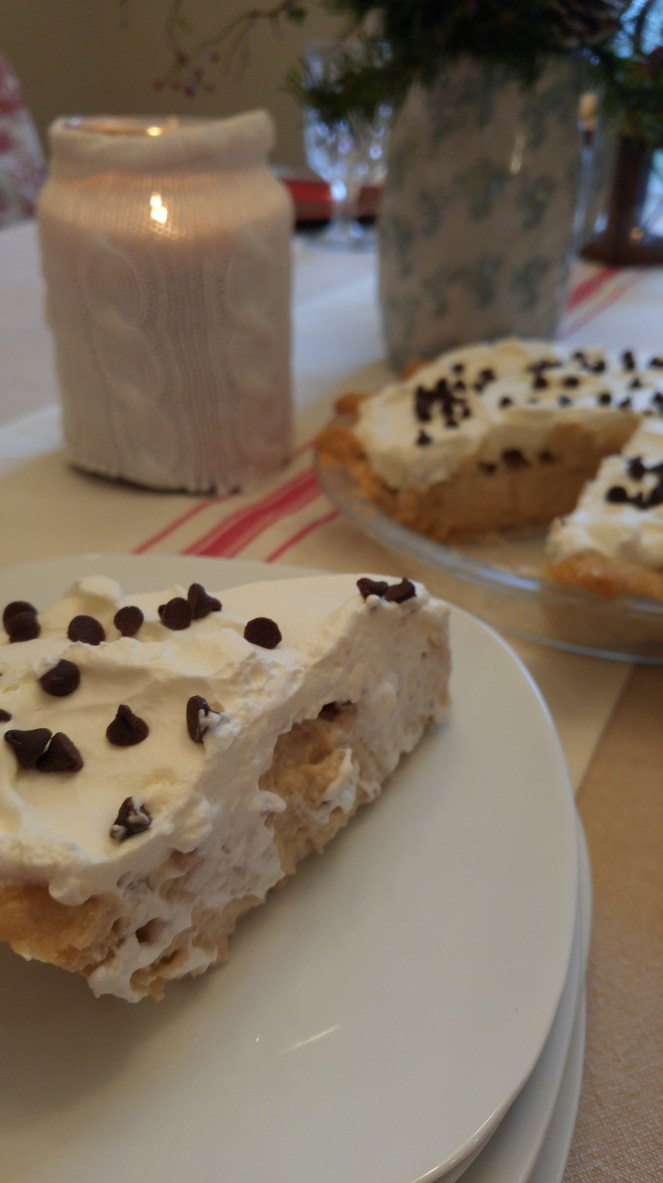
coffee-pie-1

Entertaining at any season can be overwhelming, but especially so at Christmas, right?  I came up with an entertaining menu that can be made completely ahead of time and simply warmed up when ready to serve.  This is a Mexican Food feast that is delicious and stress-free!  Talk about simplifying things – this will do just that when you invite folks over!

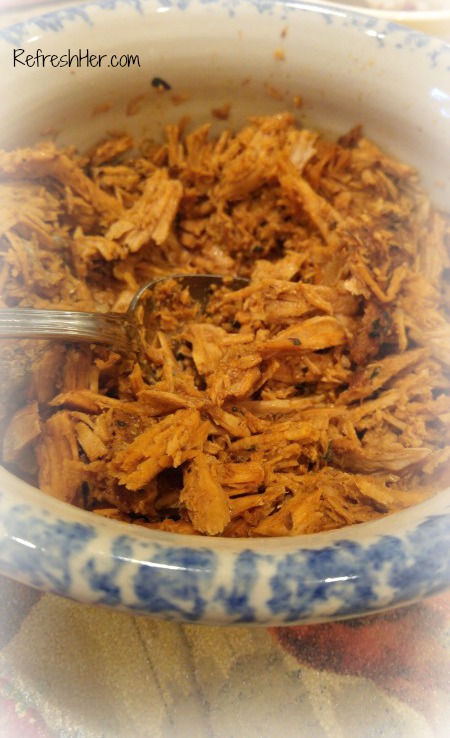
Spiced Pork Tenderloin with Avocado Salsa

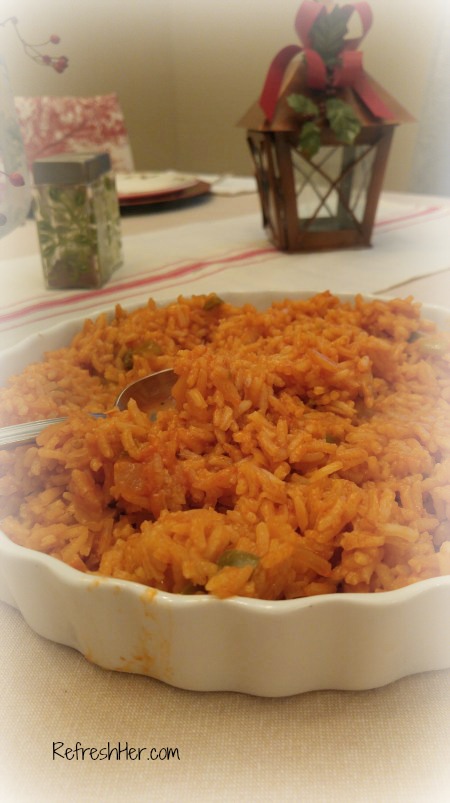
Spanish Rice

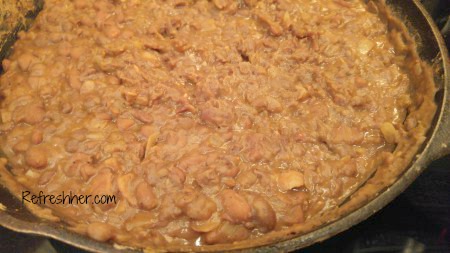
Refried Beans

Coffee Pie

spiced-pork

Spiced Pork Tenderloin Tacos

  • 1 pork tenderloin (about 4 pounds)
  • 2 teaspoons smoked paprika
  • 2 teaspoons ground cumin
  • 1 teaspoon garlic powder
  • 1 teaspoon dried oregano
  • 1/2 teaspoon cinnamon
  • 2 tablespoons extra-virgin olive

Preheat the oven to 375°. Set the tenderloin on a large rimmed baking sheet. In a small bowl, mix the smoked paprika with the cumin, garlic powder, oregano and cinnamon. Rub the pork with the olive oil and season with salt and pepper. Sprinkle the spice mixture all over the pork. Roast the tenderloin until an instant-read thermometer inserted into the centers registers 145°. Transfer the tenderloins to a cutting board and let rest for 10 minutes. Using two forks, shred the tenderloin for tacos.

Salsa Ingredients

  • 1/2 small red onion, cut into 1/4-inch dice
  • 2 tablespoons red wine vinegar
  • 1 medium tomato, cut into 1/2-inch dice
  • 1 Hass avocado, cut into 1/2-inch dice
  • 1 teaspoon minced chipotle in adobo
  • 1/2 teaspoon chopped fresh oregano
  • 3 tablespoons extra-virgin olive oil
  • Kosher salt
  • Freshly ground pepper
  • Warm tortillas, for serving

For Salsa:

In a medium bowl, mix the onion with the red wine vinegar and let stand for 10 minutes. Add the tomato, avocado, chipotle, oregano and olive oil, season with salt and pepper and toss gently. Fill warm tortillas with the sliced pork, top with the salsa and serve.

spanishrice

The Spanish Rice is every bit as easy as a boxed brand but even tastier!  You may already have every ingredient in your pantry for this recipe!

Spanish Rice

Directions:

  1. Heat oil in a large, heavy skillet over medium heat. Stir in onion, and cook until tender, about 5 minutes.
  2. Mix rice into skillet, stirring often. When rice begins to brown, stir in chicken broth and salsa. Reduce heat, cover and simmer 20 minutes, until liquid has been absorbed.

refried-beans

Refried beans are not the most beautiful dish to photograph, but when they’re made from scratch, they are a beautiful thing! This recipe is so delicious.  Here’s how I made mine using the crock pot to simplify the recipe:

Refried Beans
(I halved the recipe and it made plenty for 6-8)

6 cups dried pinto beans
4 slices thick-cut bacon, cut into 1-inch slices (or you can use salt pork, ham hock or diced ham instead)
1 tablespoon chili powder
1 teaspoon salt, plus more if needed
2 teaspoons black pepper, plus more if needed
1/2 stick butter
1 onion, diced
2 cups grated sharp Cheddar
Sliced jarred jalapenos

Put beans in a pot of water and let sit overnight.  In the morning, cook beans at medium-high temp until boiling.  Add 2 tsp baking soda.  Cook for 2 minutes. (This releases the gases in the beans and will keep tummies from feeling like they’ve eaten beans!)  Drain off water, rinse and place beans and bacon in a crock pot with enough water to cover.  Cover and cook on high for 3 hours.  Simmer butter and cook onion until tender.  Add the beans and liquid into a cast iron skillet, along with seasonings.  Cook until the sauce thickens and beans are tender.  Mash with potato masher until some beans still remain whole.  Serve with Cheddar cheese and Jalapenos.

1212161253.jpg

Coffee Pie

1 Cup Water
1 tlb instant coffee granules
30 Large marshmallows
1/2 Cup walnuts
1 cup Whipping Cream
Cool Whip
Chopped Coffee Beans or Mini Chocolate Chips
Baked pie Shell

Bake Pie shell.  Let cool.
In a medium sauce pan, boil water.  Add coffee granules and marshmallows, stirring constantly until melted.  Let cool completely.

Whip the whipping cream.  Fold into cooled coffee mixture.  Pour into bake pie shell.  Cover and refrigerate 8 hours or overnight.

Cover with Cool Whip and Coffee beans or Chocolate chips.  Serve (with coffee!)

Take the stress out of entertaining and make a menu like this one that can all be prepared ahead of time!  My guests enjoyed it, and if you invite people that love Mexican food, they’ll be really glad you invited them over!

Happy entertaining!

Denise Signature 150 px