baking · cakes

Banana Cake

banana-cake

I had an urge to bake recently, so I went to one of my cookbooks that always inspires me – Barefoot Contessa’s How Easy Is that?  I love her recipes!  I found a Banana Cake recipe that uses up those black bananas that are no longer worthy of breakfast offerings.  I regularly pop that over-ripe fruit in the freezer in little sandwich bags and keep them for recipes like these.  The sugar spots on the bananas makes them especially good for baking!  So don’t throw them away…freeze them for this Cake!

Here’s the recipe for the cake:

Banana Cake

Ingredients
3 very ripe bananas, mashed
3/4 cup granulated sugar – I used 1/2 Cup and it was great!
1/2 cup light brown sugar, lightly packed
1/2 cup vegetable oil
2 extra-large eggs, at room temperature
1/2 cup sour cream
1 teaspoon pure vanilla extract
Grated zest of 1 orange
2 cups all-purpose flour
1 teaspoon baking soda
1/2 teaspoon kosher salt
1/2 cup coarsely chopped walnuts (optional)
Walnut halves, for decorating (optional)

Directions:

Preheat the oven to 350 degrees. Grease and flour a 9 by 2-inch round cake pan. Note:  I used a five inch cake pan and a 7 inch pan, and the batter filled both to the perfect depth for a nice, deep cake!
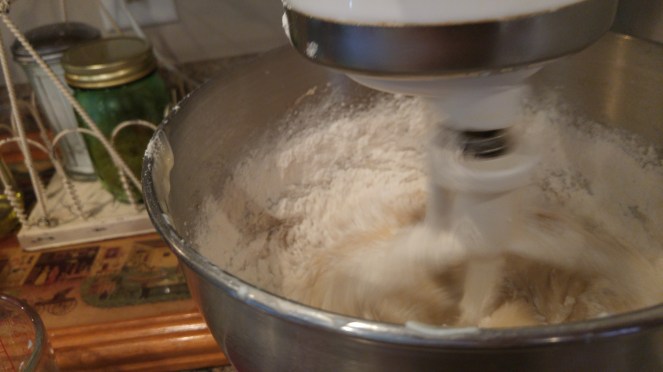
In the bowl of an electric mixer fitted with the paddle attachment, mix the bananas, granulated sugar, and brown sugar on low speed until combined. With the mixer still on low, add the oil, eggs, sour cream, vanilla, and orange zest. Mix until smooth.
In a separate bowl, sift together the flour, baking soda, and salt. With the mixer on low, add the dry ingredients and mix just until combined. Stir in the chopped walnuts, if using. Pour the batter into the prepared pan and bake for 45 to 50 minutes, until a toothpick inserted in the center comes out clean. Cool in the pan for 15 minutes, turn out onto a cooling rack, and cool completely.
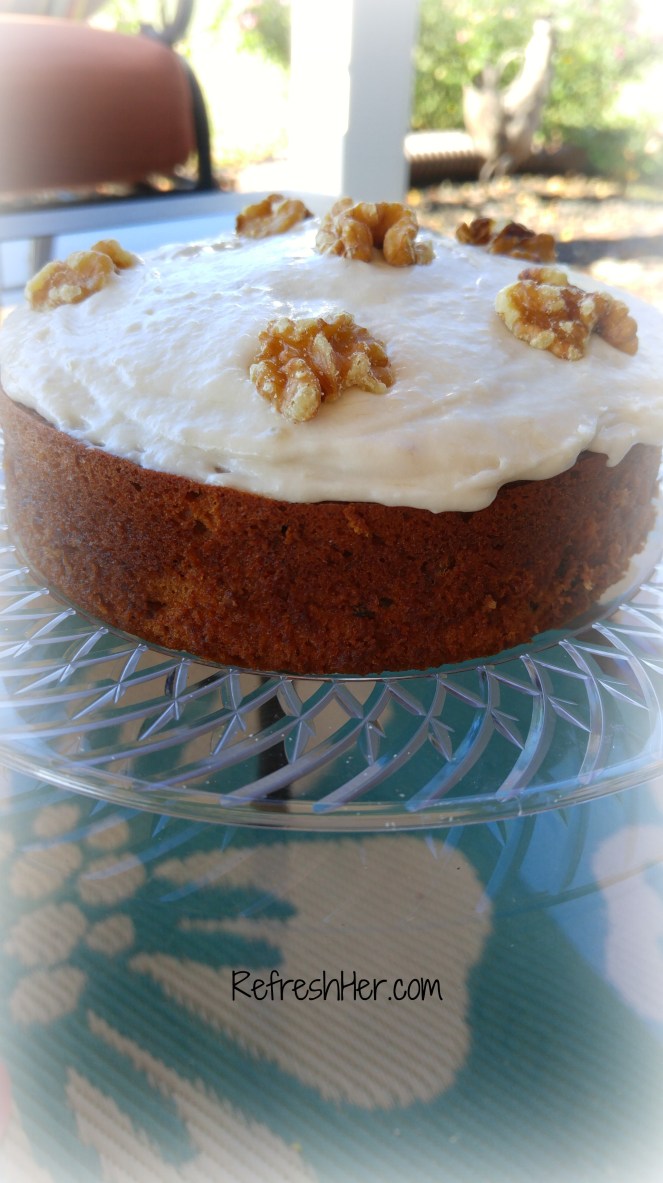
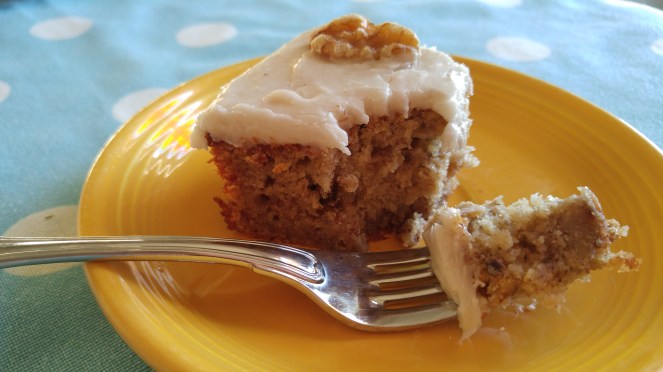
Spread the frosting thickly on the top of the cake and decorate with walnut halves, if using.

0924161413.jpg

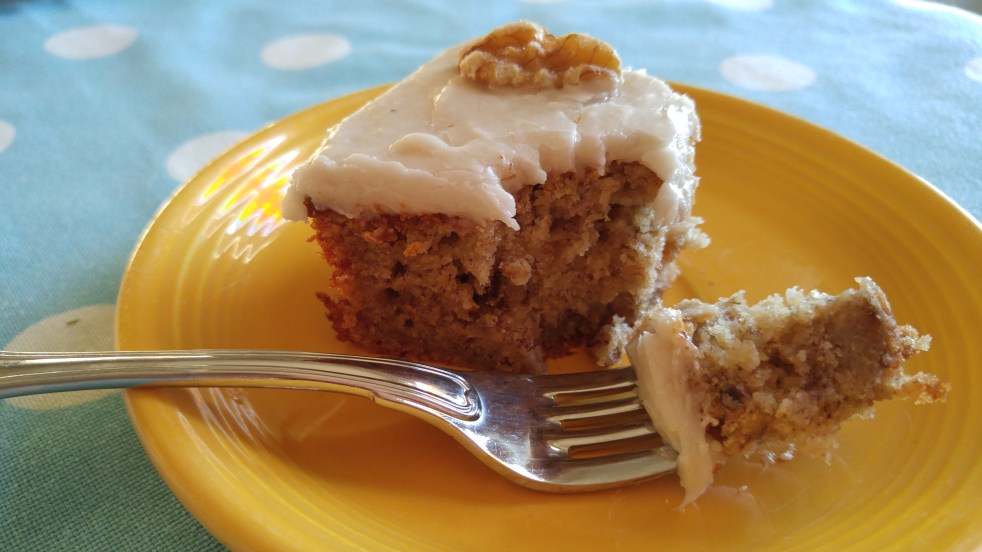
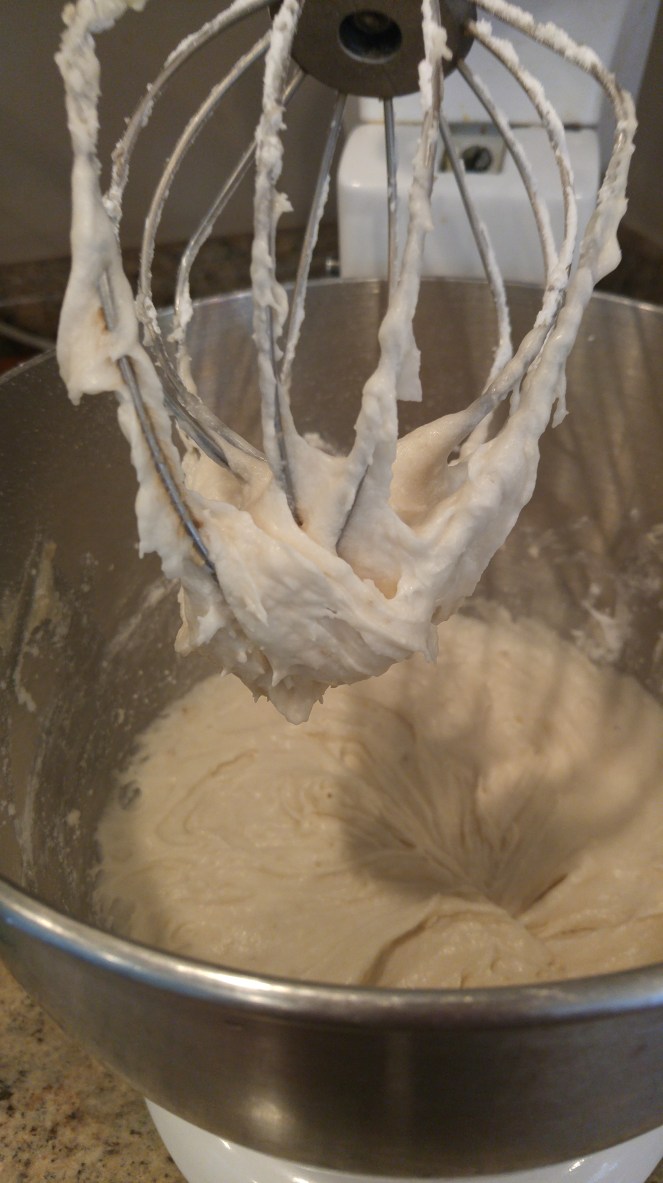
The day I made this I didn’t have any cream cheese for the icing she suggests, so I found another recipe for Banana frosting and adapted it just a wee bit so I wouldn’t have to leave home for an ingredient.  Unlike the cake, the icing is made using a ripe (not over-ripe) banana.  The result is a lightly flavored banana icing that goes perfectly with the cake!

0924161502.jpg

Here’s the icing I chose to add to this super-moist cake:

When you make the icing for this cake, if you find that the butter and bananas look like they’re curdled in your mixing bowl, and you wonder if they’ll really mix and be smooth, don’t lose heart – just keep adding the powdered sugar and it will come together just fine.

Banana Icing

  • 1/4 cup butter, softened
  • 1/2 cup ripe banana (about 1 medium banana)
  • 1 tsp vanilla
  • 1 tsp lemon juice
  • About 3 1/2 cups powdered sugar

In a mixing bowl, cream butter, mashed banana, vanilla and lemon juice.  Add in the powdered sugar, about a cup at a time, until the frosting is light and fluffy but still soft enough to spread.

wp-1474754354927.jpg

This is a cake that begs for a glass of milk or cup of coffee and makes for the perfect ending to a meal, or becomes the best part of having a few friends over because you get to serve this simple cake.

You may just sit around waiting for those bananas to turn black so you can whip this recipe together!  Yes, it’s that good!

Happy baking!

img_8101

baking · grilling · Uncategorized

Grilled Coconut Oil Tortillas

Our favorite ethnic food is Mexican!  Lunchtime is often just a tortilla shell stuffed with tomatoes, fresh veggies and a little sour cream.  If I have roasted chicken I’ll add that, too.  It’s simple.  It’s delicious and it’s fast and we LOVE it!

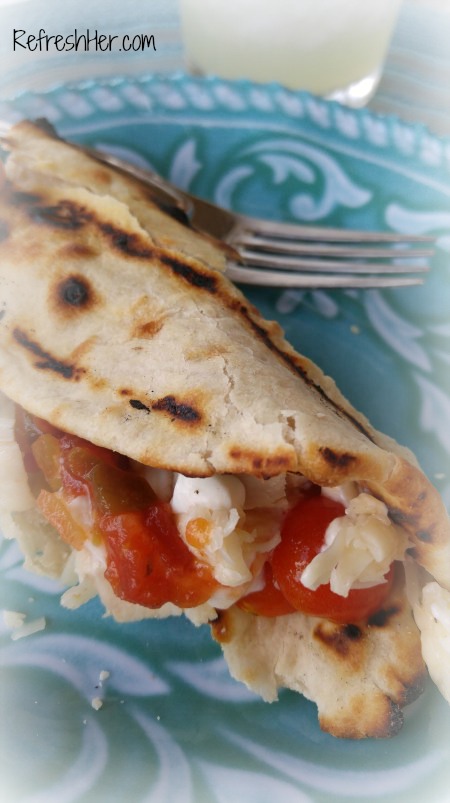
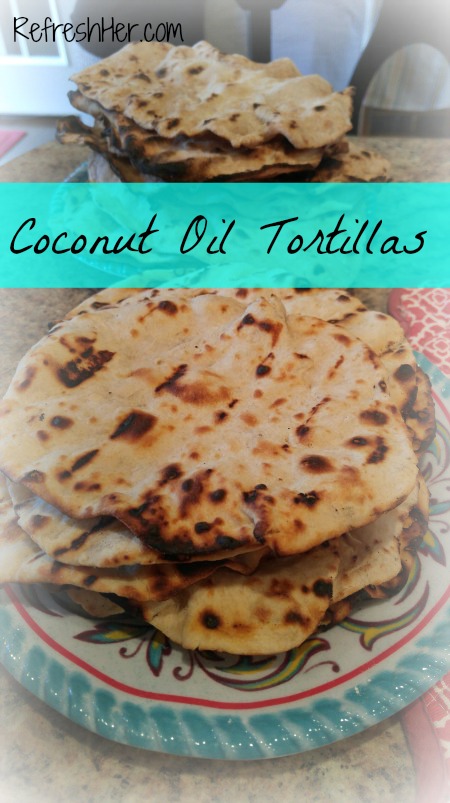
I’ve posted a video here where I showed the technique for making whole wheat tortillas, and they are really good, but I recently tried a new recipe for tortillas and a new technique.  The recipe uses coconut oil.  It made them very soft and added a little sweetness.  I also grilled them on the gas grill, since I don’t have a gas stove.  I loved how the grill charred them a little and gave them that little smokey flavor!


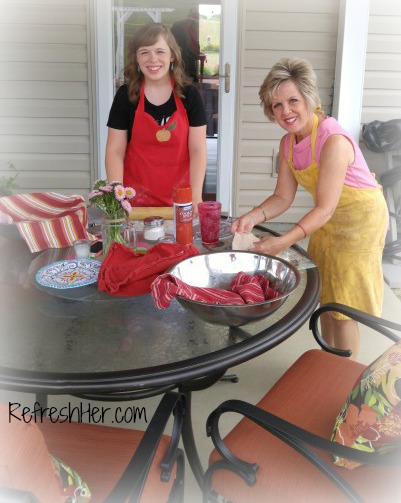
The most time-consuming part is grilling/cooking them, but I had a helper; Alli came over and we made them together.  It made it go quicker, and we had fun working together!

tortilla-making

coconut-oil-tortilla

Soft Homemade Coconut Oil Tortillas

2 Cups Flour

1 tsp Sea salt

4 T. Coconut oil

3/4 Cup warm milk (or even water)

Instructions

  1. Mix flour and salt in a large bowl.
  2. Use fork or hands to mash coconut oil balls into the flour, keeping lumps small.
  3. Slowly add milk until mixture begins to form a ball.
  4. Knead 2 minutes
  5. Cover dough and allow to rest 20 minutes
  6. Divide into 8 balls, and press on tortilla press. Then roll each one as thin as possible in a circular shape using a rolling pin.
  7. Cook tortillas in pre-heated, medium-hot skillet ( or on a gas grill!) about 30 seconds per side-golden brown spots indicate when it’s ready to flip.
  8. Tortillas are best served immediately, but can be stored in fridge and reheated for a few seconds in skillet.

These made our Mexican lunch a fiesta!  They were so good!  I will be firing up the grill again to make another batch soon!

Whether you make these on the grill or the stove top, you need to try this recipe and have your own Mexican celebration!

With love from my country kitchen,

Denise Signature 150 px


baking · Uncategorized

Cranberry-Chocolate Chip Biscotti

Are you a dunker?  I not asking if you put people under water when you’re swimming, or if you can put a basketball through the hoops; I’m asking if you like to take a crisp cookie and dunk it in coffee, tea or milk?  If the answer is “yes!”  then you will love this recipe today!

Biscotti means – Twice baked.  This is a simple rolled out type of cookie that gets baked two times.  Let me give you a visual of how to make them, then I’ll share the recipe.

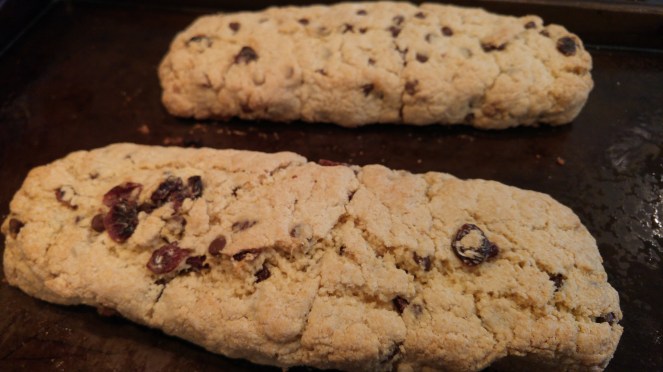
First the dough is mixed together.  It is dry and crumbly!  Press forward.  “Mush” it together.  That’s my not-so-technical word for “do whatever you need to do to make it into a ball of dough.  Then press it into two logs on a baking sheet.  Press down to make one-inch high rolls.

Bake those rolls for 30 minutes.  Let them cool for ten minutes.

wp-1473189145661.jpg

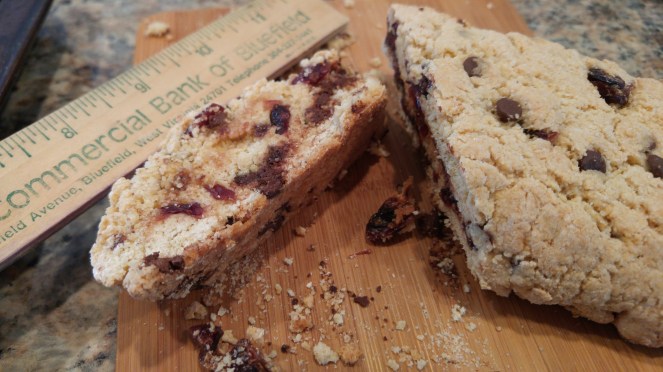
Slice the rolls into 1/2 inch pieces and lay on a baking sheet, flat side down.

wp-1473190126040.jpg

Put them in a lowered temp oven for 10 minutes.  Flip them over and brown the other side for 10 more minutes.

wp-1473190193833.jpg

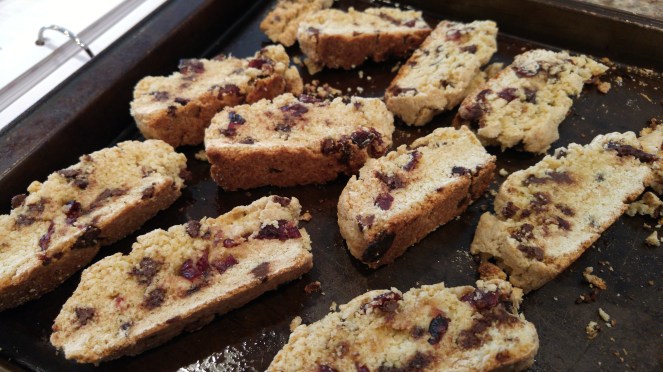
Cool on baking rack.  They will harden up as they cool.  The crunchiness makes them perfect for dunking in that cup of coffee, because little pieces don’t fall into the cup!

wp-1473191679305.jpg

I’ve made all sorts of different kinds of biscotti and I love them all!  I hope you’ll try making a batch.  They make great gifts! Take some to your hostess, or make some for a coffee-loving friend for Christmas.  Fill a tin with the cookies or fill a cellophane bag and tie it with a ribbon, and you’ll have the perfect gift for the coffee drinkers on your list!

Here’s the recipe:

Cranberry-Chocolate Chip Biscotti

Ingredients

2 3/4 cups all-purpose flour

1 cup sugar

1/2 cup dried cranberries

1/3 cup semisweet chocolate chips

2 teaspoons baking powder

1/8 teaspoon salt

1 tablespoon vegetable oil

1 teaspoon almond extract

1 teaspoon vanilla extract

3 large eggs

Cooking spray

Preparation

Preheat oven to 350°.

Lightly spoon flour into dry measuring cups, and level with a knife. Combine the flour and the next 5 ingredients (flour through salt) in a large bowl. Combine oil, extracts, and eggs; add to flour mixture, stirring until well-blended (dough will be dry and crumbly). Turn the dough out onto a lightly floured surface; knead lightly 7 to 8 times. Divide the dough in half. Shape each portion into an 8-inch-long roll. Place rolls 6 inches apart on a baking sheet coated with cooking spray; flatten each roll to 1-inch thickness.

Bake at 350° for 35 minutes. Remove rolls from baking sheet; cool 10 minutes on a wire rack. Cut each roll diagonally into 15 (1/2-inch) slices. Place the slices, cut sides down, on baking sheet. Reduce oven temperature to 325°, and bake for 10 minutes. Turn cookies over; bake an additional 10 minutes (cookies will be slightly soft in center but will harden as they cool). Remove from baking sheet; cool completely on wire rack.


Enjoy!

With love from my country kitchen,

Denise Signature 150 px

baking · breakfast · Uncategorized

Week-Long Muffin Batter

Muffin batter - Copy

Coming up with a great breakfast is difficult to me.  Oh, I know there are lots of options – French Toast, waffles, omelets, etc., but most people don’t have time to be stirring up great recipes first thing in the morning, myself included.  The best way to have a something good is to prepare ahead.

Years ago, I found a Bran muffin recipe that you stir together and put in the fridge.  I call them Morning Glory Muffins because they make the morning glorious!!!!  The batter stays fresh for a week!  During that week, you can heat up the oven, bake up as many as you need without having the work and mess first thing in the morning.  These are healthy and delicious!  This month during Sabbatical, I mixed up the batter and it was a great addition to my yogurt and fruit.  I took some batter with us when we went to Pigeon Forge for a few days, and it was great to have it all ready to bake!

muffin batter1 - Copy


Here’s the simple recipe:

Morning Glory Muffins

Ingredients

  • 1/2 cup boiling water
  • 1/2 cup bran cereal (not flakes, preferably a wheat bran)
  • 1/3 cup (vegetable oil
  • 1 large egg
  • 1 1/4 cups
  • 1/2 cup granulated sugar
  • 1 teaspoon baking soda
  • 1 teaspoon baking powder
  • 1/2 teaspoon salt
  • 3/4 cup raisins
  • 1 1/4 cups buttermilk
  • 1/4 cup brown sugar
  • 1 1/2 cups bran cereal – not flakes. (Though they say “not flakes” that’s what I had on hand and used, and they turned out great!)
  • 1 – 2 tsp Grated Orange peel

Instructions

  1. In a small mixing bowl, pour the boiling water over the half cup of cereal. When cooled, mix in the vegetable oil and egg.
  2. While the water/bran mixture cools, whisk together the flour, sugar, baking soda, baking powder and salt in a large mixing bowl. Stir in the raisins.
  3. In a large measuring cup, combine the buttermilk and brown sugar, and stir into the dry ingredients. Stir in remaining cereal, then the softened bran mixture and orange zest. Cover the batter and refrigerate it overnight.
  4. When you’re ready to bake, preheat the oven to 375°F for 15 minutes. Line a muffin tin with papers, and spray the insides of the papers. Or just grease the muffin cups themselves, if you like a crustier muffin edge.
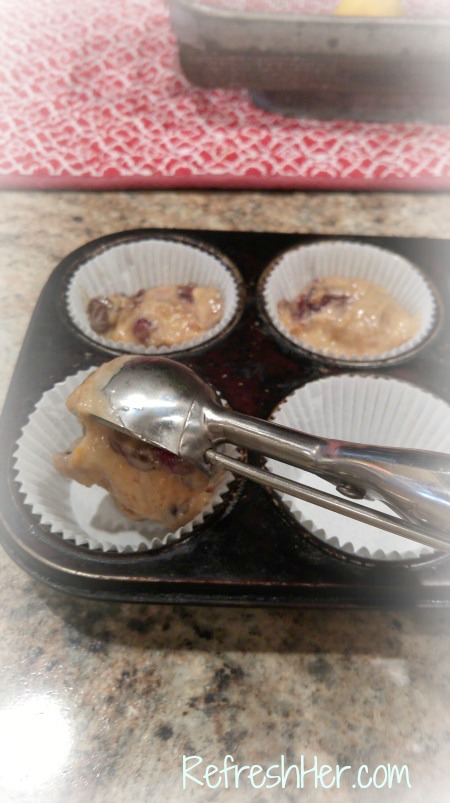
  5. Stir the batter once or twice, then scoop a heaping 1/4-cup of batter into each prepared muffin cup.
  6. Bake for 20 to 25 minutes, until a tester inserted in the center comes out clean.
  7. Remove from the oven, cool in the pan on a rack for 10 minutes before removing the muffins from the pan.

muffins


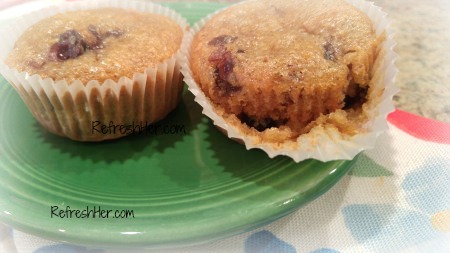
If you want a nice hot muffin without having to be in the kitchen more than a few minutes, this recipe will be your morning glory, too!

With love from my country kitchen,

Denise Signature 150 px

baking · Bread

Perfecting the Biscuit

biscuit 2

I’m a southerner.  I’m a biscuit lover and I’m a baker.  Put those three things together and it means that over the years, I have tried to perfect both my recipe and results of homemade biscuits.  Where else would I turn but to Southern Living?  They are the cream of the crop, or in this case the best of the biscuits! 

I recently gave SL’s Best Buttermilk Biscuits a couple of runs and they turned out really good!  They have those buttery layers that are typified in a perfect biscuit.  They were simple to do and only required three ingredients – Self-rising flour, Buttermilk and Butter. No worries if you don’t have self-rising flour – just add 1 1/2 tsp baking powder and 1/2 tsp salt for each cup of flour.

The secret to the flaky layers is the folding of the dough.  Follow the instructions to fold and turn, fold and turn and you’ll get perfect results!  Here’s the recipe:

Buttermilk Biscuits

Ingredients

1/2 cup butter (1 stick), frozen
2 1/2 cups self-rising flour
1 cup chilled buttermilk
PARCHMENT PAPER
2 tablespoons butter, melted

Preparation

1. Preheat oven to 475°. Grate frozen butter using large holes of a box grater. Toss together grated butter and flour in a medium bowl. Chill 10 minutes.

2. Make a well in center of mixture. Add buttermilk, and stir 15 times. Dough will be sticky.

3. Turn dough out onto a lightly floured surface. Lightly sprinkle flour over top of dough. Using a lightly floured rolling pin, roll dough into a 3/4-inch-thick rectangle (about 9 x 5 inches). Fold dough in half so short ends meet. Repeat rolling and folding process 4 more times.

4. Roll dough to 1/2-inch thickness. Cut with a 2 1/2-inch floured round cutter, reshaping scraps and flouring as needed.

5. Place dough rounds on a parchment paper-lined jelly-roll pan. Bake at 475° for 15 minutes or until lightly browned. Brush with melted butter.

buttermilk biscuits

Add a biscuit to a breakfast of scrambled eggs, bacon and fresh fruit, topped with yogurt and granola and you have a hearty start to your day!

breakfast


Have you mastered biscuit making?  I hope you’ll try this recipe and method if you’re still trying to find the perfect recipe!  It lives up to Southern Living’s reputation!

With love from my country kitchen,