
baking · dessert · home · Home making

(L)Oven Monday – Strawberry Shortcakes & Menu Inspiration

recipes 1

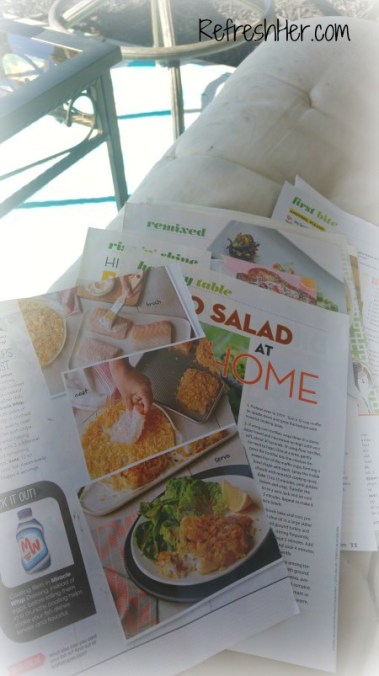
Happy Monday, friends!  I had a great time Friday night sitting out on my back porch with a stack of food magazines and iced coffee.  Most of the periodicals had been given to me by others who had looked through them, then passed them along.  How sweet!  Why do I flip through food magazines?  Or why do I sit with one of my cookbooks and put page markers in the pages? Not just to “Oooo” or “Ahhh” over the pictures (though I do that!). I do it for three reasons:

  1. I get tired of eating the same things
  2. I like to try stirring new things up in my kitchen!
  3. I like to surprise my husband with special recipes I’ve made for him!

I sat there for about a half an hour and ripped out recipes I want to try.
recipes 2

How about you = are you in a menu rut?  Spaghetti, frozen pizza, chicken tenders from the freezer section, steamed veggies in a bag…it just gets old.  I would challenge you to pull out either the magazines that have been delivered to your mailbox or one of your favorite cookbooks.  You can even go to the library and check out a cookbook from there to get some fresh ideas.  The point is, flip through and find recipes of menu items that you maybe already have most of the ingredients for.  If you know you purchased chicken breasts and they’re in the freezer waiting to be cooked, look for a recipe for chicken!  You might only try one new recipe this week, but add something to change up your normal routine.

Here are some of the recipes I found:

  • A supper Entree’ – Chicken breasts with Strawberry Salsa and Feta cheese – I have all the ingredients!
  • A fish recipe – Salt and Vinegar Baked Fish – You use the Salt and Vinegar chips as the coating!  That’s brilliant! Similar to this
  • A weekend breakfast – Sausage and Egg Flatbreads – I’m going to make my own .
  • flatbreads for this.
  • A dessert – Strawberry Icebox Cake – This will be great for company this summer! Similar to this one.

I won’t make all these this week, but I will try at least one!  It’s amazing how much money and time is saved when you make a menu.  It is so helpful to me to know what’s for supper, so I can plan and work ahead.

So, if you’re not in the habit of making a menu, plan at least few nights for starters.  If you’ve been making a menu, but you’re in a rut, go find some new, yummy sounding recipes to add!

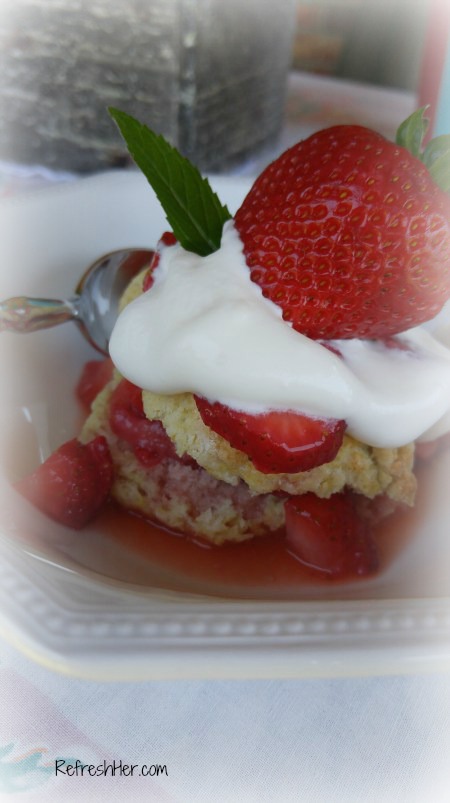
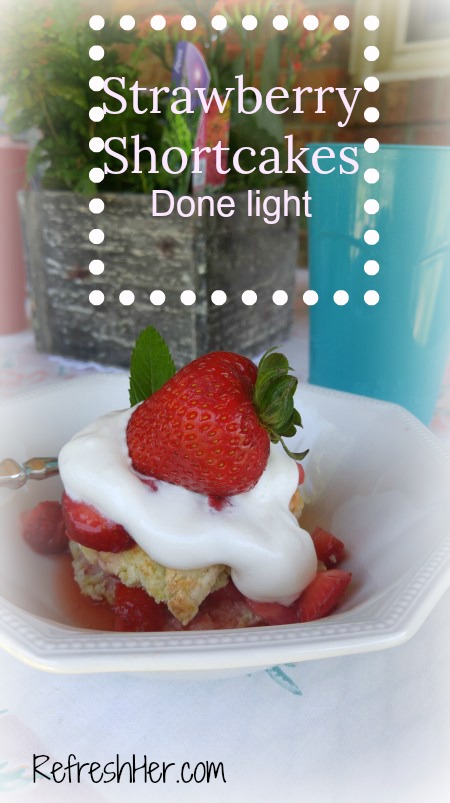
Now let me share a recipe that I love.  This is a quick and delicious Strawberry Shortcake, made a little lighter.  These sweet biscuits are so much better than the store bought sponge cakes!  The addition of the orange juice and vanilla to the fresh berries makes it SO good!
strawberrry shortcake1

Lite Strawberry Shortcakes

Ingredients

  • 3 1/2 cups halved strawberries, divided
  • 1/3 cup sugar
  • 1/3 cup orange juice
  • 2 teaspoons vanilla extract
  • 1 teaspoon lemon juice
  • 1 1/4 cups all-purpose flour
  • 3 tablespoons sugar
  • 1 teaspoon baking powder
  • 1/4 teaspoon baking soda
  • 1/8 teaspoon salt
  • 3 tablespoons chilled stick margarine or butter, cut into small pieces
  • 1/2 cup low-fat buttermilk
  • Cooking spray
  • 6 tablespoons frozen reduced-calorie whipped topping, thawed
  • Whole strawberries (optional)
    1. Combine 1 cup strawberry halves, 1/3 cup sugar, orange juice, vanilla, and lemon juice in a bowl, and mash with a potato masher. Stir in 2 1/2 cups strawberry halves. Cover and chill.

    2. Preheat oven to 425°.

      Lightly spoon flour into dry measuring cups; level with a knife. Combine flour, 3 tablespoons sugar, baking powder, baking soda, and salt in a bowl; cut in margarine with a pastry blender or 2 knives until mixture resembles coarse meal. Add buttermilk, stirring just until moist (dough will be sticky).

    3. Turn dough out onto a lightly floured surface, and knead lightly 4 times with floured hands. Pat dough into a 6 x 4-inch rectangle. Cut dough into 6 squares. Place 1 inch apart on a baking sheet coated with cooking spray. Bake at 425° for 12 minutes. Cool on a wire rack.

      Split shortcakes in half horizontally using a serrated knife; place each bottom half on a dessert plate. Spoon 1/4 cup strawberry mixture over each bottom half. Top with shortcake tops; spoon 1/4 cup strawberry mixture over each top. Top each serving with 1 tablespoon whipped topping; garnish with whole strawberries, if desired.

      strawberry shortcake 2
      This dessert is as delicious as it is pretty!  

I hope you’ll add this to your menu and also find some other great recipes to freshen up mealtime at your house this week!

Refresh your menu!

Denise Signature 150 px


home · Home decor · Home making · organization · refreshment at home

Kitchen Pantry Tour

pantry11a

My pantry is a corner closet in my kitchen.  It holds all my cooking items, so that would mean ~

wp-1496103227464

  • Canned Goods
  • Baking ingredients
  • Dry Goods
    • Pastas
    • Rice
    • Flours
    • Grits
    • Oatmeal
    • Sugars
    • Dried Fruits
    • Nuts
  • Teas
  • Pudding/Jell-O
  • Cereal
  • Jams, Jellies, Honey

It also holds some paper products

  • Paper plates
  • Plastic cups
  • Plastic silverware
  • Straws
  • Holiday napkins and plates
  • Holiday bags
  • Extra Ziploc Bags

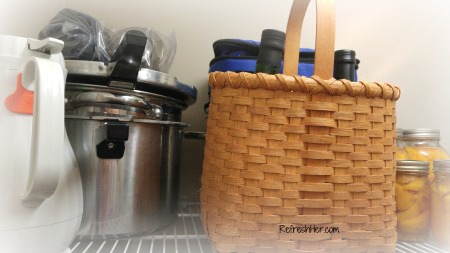
Some seldom used items are stored there.

  • Pressure Cooker
  • Pasta Pot
  • Thermos
  • Small Insulated cooler

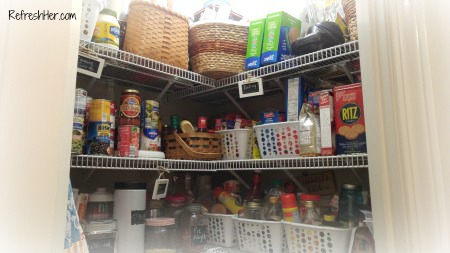
So, as you can see, that pantry has lots in it AND I go in and out of there all day long. I tell you all that so you’ll understand why this “Before” picture looks so messy!  It had just gotten out of hand, even though I had a “system” I thought was working.
Pantry

I took a day and half last week and got it under control!

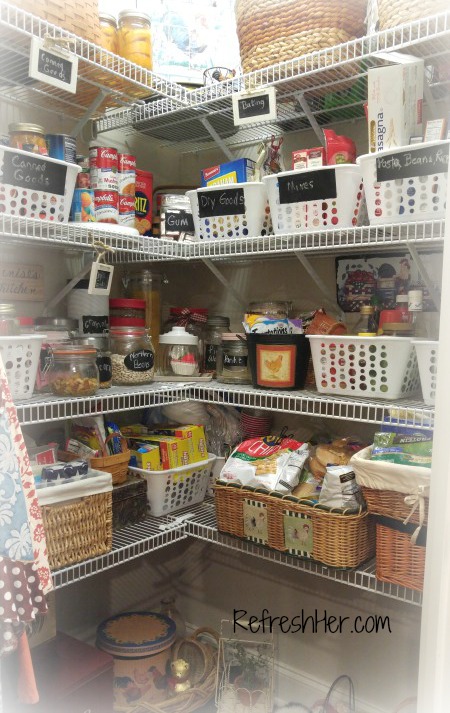
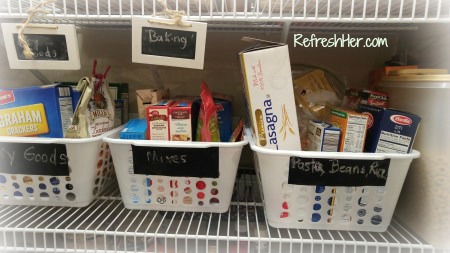
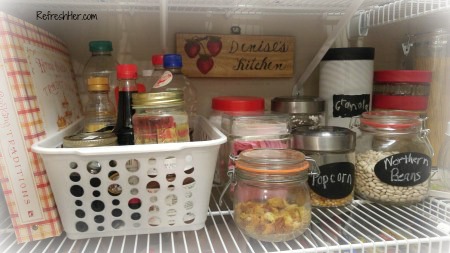
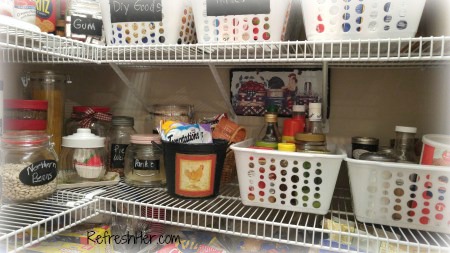
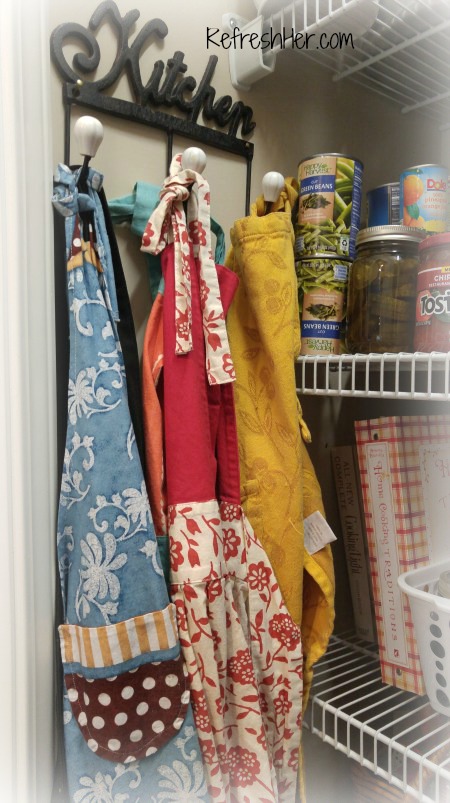
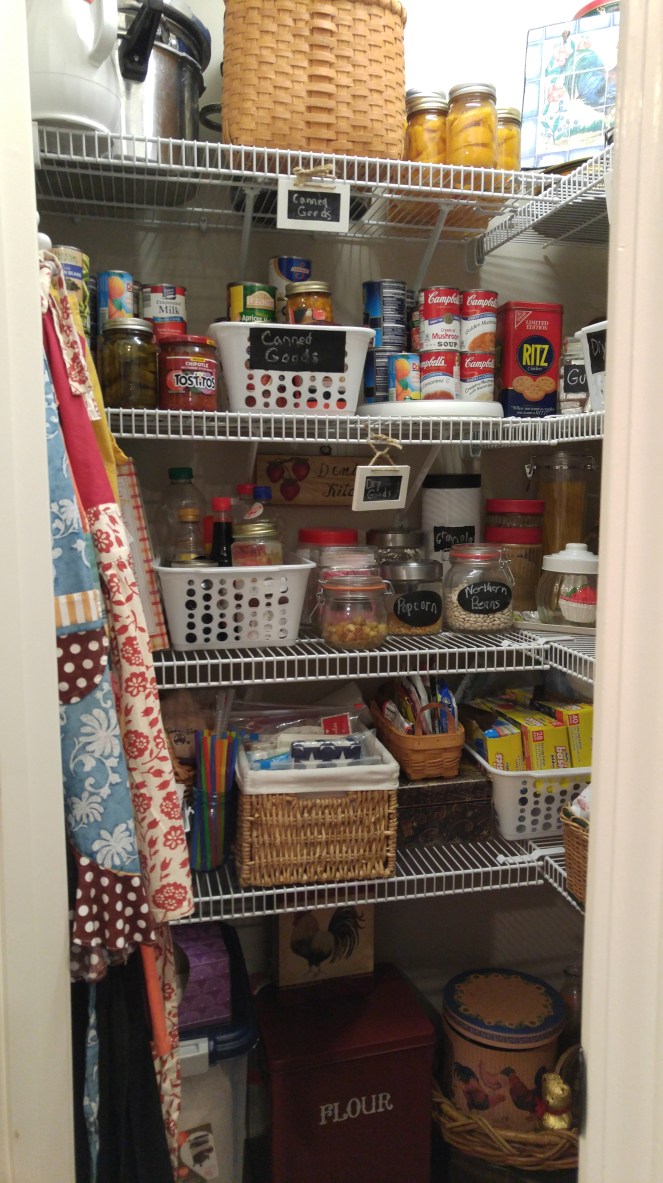
Let me give you a tour of the “After.”  It still has LOTS in it, but it’s labeled better and spread out in a way that doesn’t overwhelm me when I walk inside.

pantr11

I’ll show you each shelf:

Up above ~

pantry 8

pantry 7

I added a little decor inside the pantry.  I hung my “Denise’s Kitchen” sign and my Rooster picture above the shelves.

pantry 6


pantry 4

pantry 2

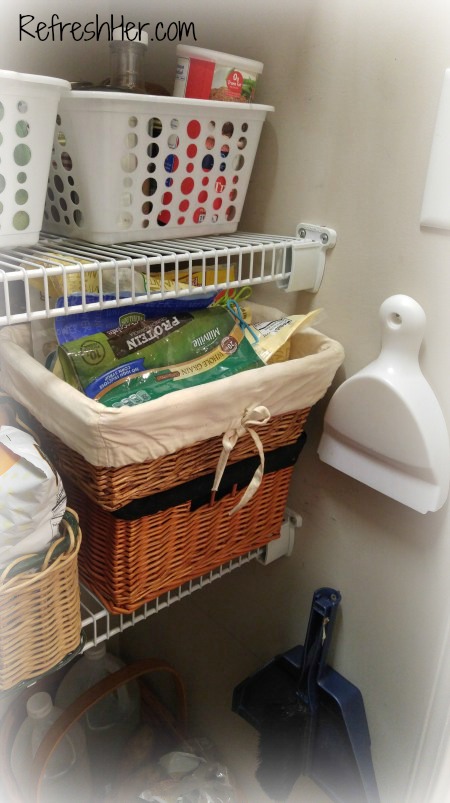
I hung my two dust pans on a wall in here.  The small one is only for sweeping crumbs off the tablecloth.  The large one is for the floor.  I was constantly going to the coat closet down the hall to sweep around the trash can and counters.  This makes life easier!

pantry9

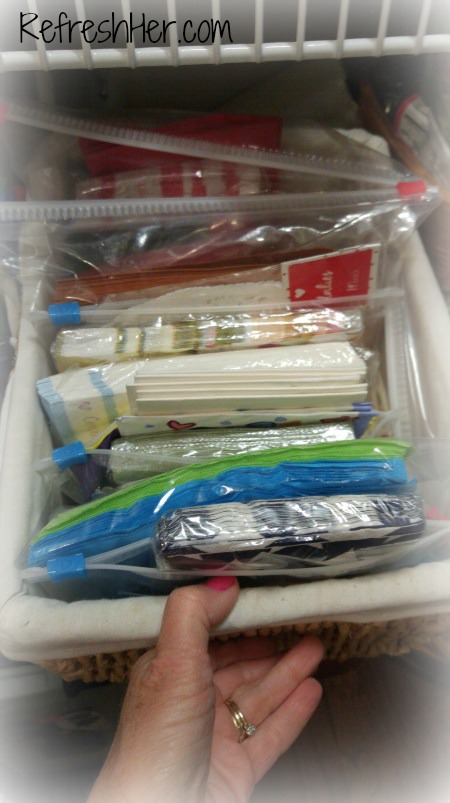
All the holiday paper napkins are in Ziploc bags and labeled.

pantry10

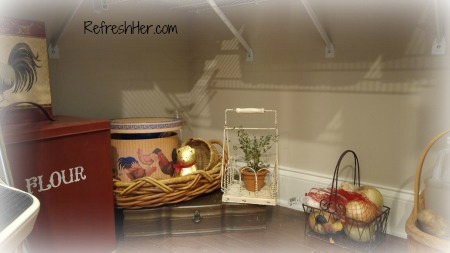
A little vignette on the floor!

pantry 1


0524171353a

While my pantry might not be the most beautiful with glass jars and empty shelves, it works for me and I enjoy stepping inside now.  My items are accessible and it makes me smile to open the door!  Mission accomplished!

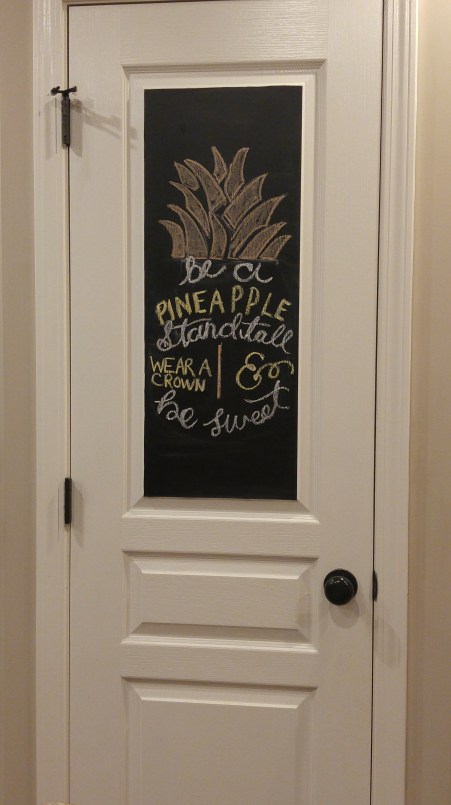
If you didn’t see this post, you can see how I used vinyl chalkboard to cover the door of my pantry!

Do you have an area in your house that makes you grimace?  I hope this inspires you to do something to that space so you’ll smile instead!

Refresh those spaces!

Denise Signature 150 px

Cooking · Dinner · Home making · main dish · Main entree · Side dish

(L)Oven Monday – “Grilled” Chicken Tenders that Taste Like Cracker Barrel’s

Chicken Tenderloin 1a

I love it when a restaurant has healthy food that’s so good you don’t feel like you’re missing out when you choose to order wisely!  That’s how I feel about Cracker Barrel’s Grilled Chicken Tenders!  They’re so juicy and flavorful that every bite is like an indulgence.  Recently I found This Copycat recipe on Southern Plate that reminds me so much of that delicious entree!  They’re not really grilled, but they have the taste of it!  Let me show you how simple this recipe is!

“Grilled” Chicken Tenderloins

Ingredients
  • 4 boneless, skinless chicken breasts, cut into strips.
  • 1 cup zesty Italian dressing
  • 2 teaspoons lime juice
  • 3 teaspoons honey
Instructions:
  1. Place chicken in gallon ziplock bag. Combine all other ingredients and pour over. Seal and marinate for at least an hour. Doing this step the night before would make supper a breeze!
  2. Pour all ingredients into a large skillet and cook over medium heat until liquid evaporates and remaining marinade becomes thick and caramelized. This can take from 30-40 minutes.
  3. Coat each piece of chicken in marinade by rubbing it around on the bottom of the pan before removing it.

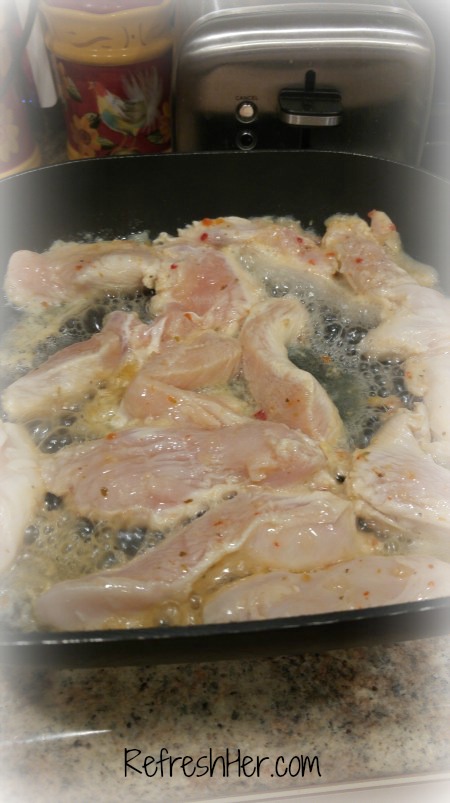
Here’s what it looked like about half way through the cooking process:

Chicken Tenderloin 3

I cooked my chicken in my electric skillet and it took about 30 minutes, so just keep an eye on the your pan to tell when it’s done.  This is so delicious!  I used the leftovers later in the week for wraps for our lunch and it was delicious cold!  This would be a great staple to keep in the freezer!

Chicken Tenderloin 1


If you need a super-simple and fast side to go with a meal, here’s something we love:

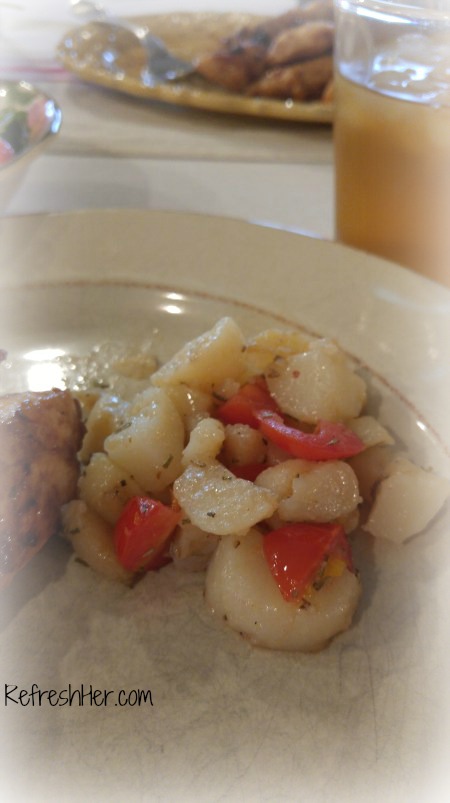
Canned Potatoes with Rosemary and Tomatoes

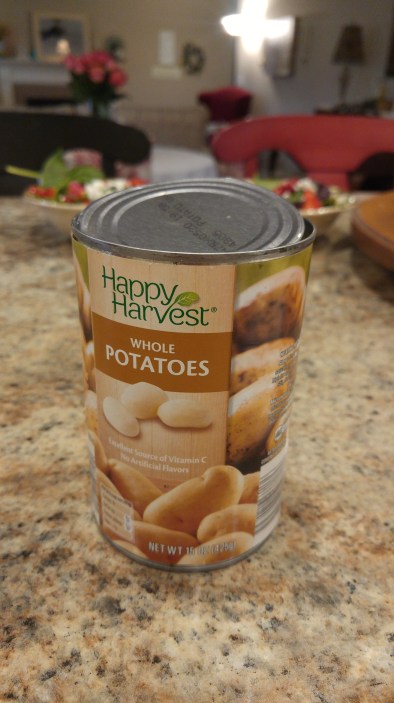
Canned potatoes, drained
1 Tbl. Butter
Grape Tomatoes, halved
Rosemary
Salt
Pepper

0523171749a

Melt butter in small skillet.  Cube the potatoes and add them to the skillet.  Let them get brown and a little “crispy.”  Add herbs and Grape tomatoes. Let cook until tomatoes are warm.

potatoes.jpg

This is a super-easy and yummy meal!  I hope you’ll put it on your menu and then let me know how you like it!

Chicken Tenderloin 2

Do you have a favorite Copycat recipe you make?

With love from my country kitchen,

Denise Signature 150 px

accessories · home · Home decor · Home making

Creating Vignettes in Your Home

vignette 2a

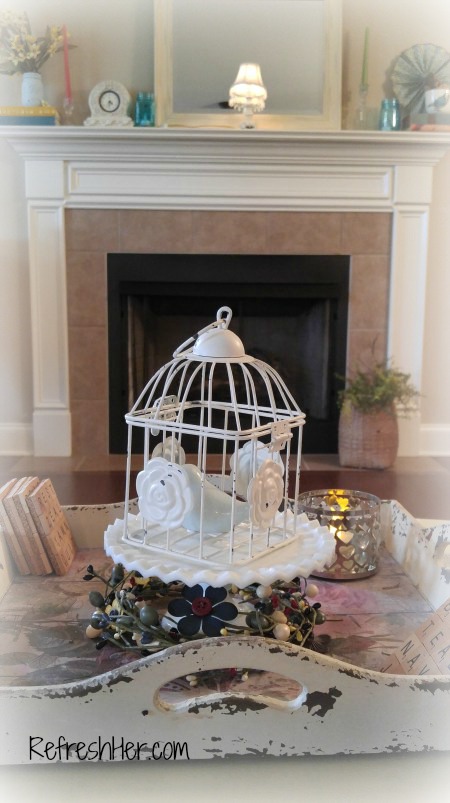
Last weekend when my daughter was here visiting, she took a picture of a vignette in my kitchen and posted it on Instagram.  As I looked at that photo, I realized that those little areas are really some of my favorite places in my home. Vignettes are  cozy little groupings that help tell my story, as I mentioned here.

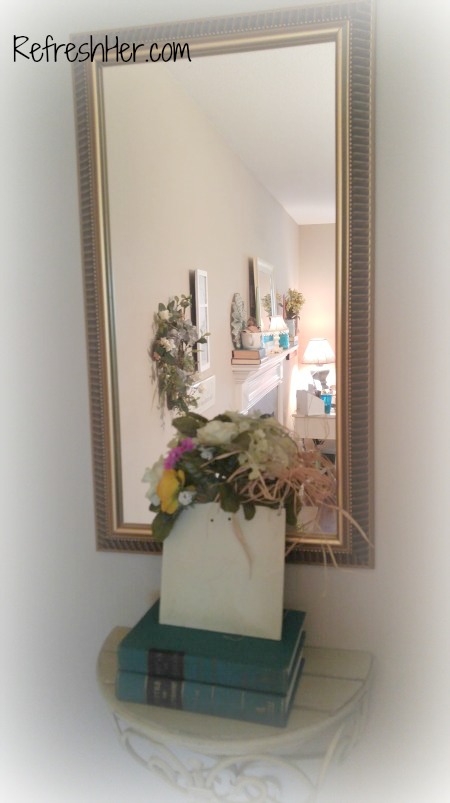
Today I thought I’d walk you through my home and share some of those vignettes with you and then tell you how I go about creating those “visual stories.”

vignette 1

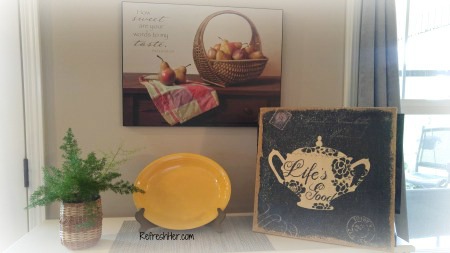
Using an odd number of items in a grouping is suggested by the experts (of which I am NOT!).  I just play with it until I like the way it looks.  Often that means doing and re-doing it!  You should also use items that are similar.  In this grouping, they are all items that are kitchen related – apples, tea pot, platter.

vignette 2

Different textures should be present – shiny candle holder, rough wood, silk leaves.

vignette 3


vignette 4

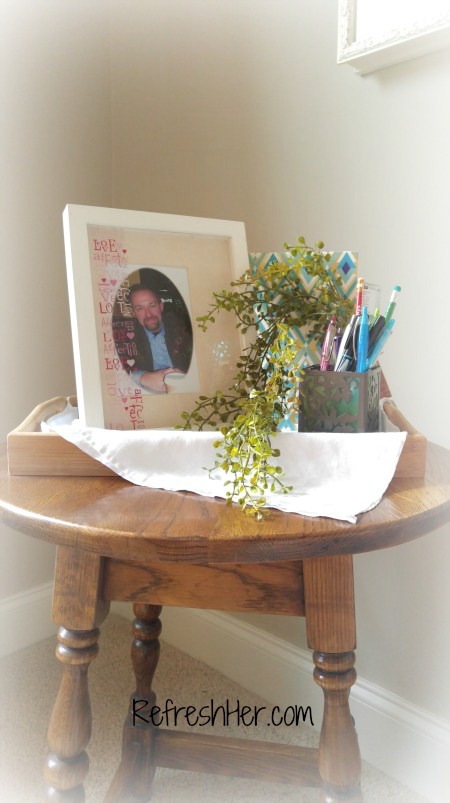
Pictures of family are part of my story that I like to include in my groupings.  When you look at the vignette above, you realize that without the fabric inside the tray, it would be all the same texture.  The cloth napkin softens it, as does the greenery.

vignette 5

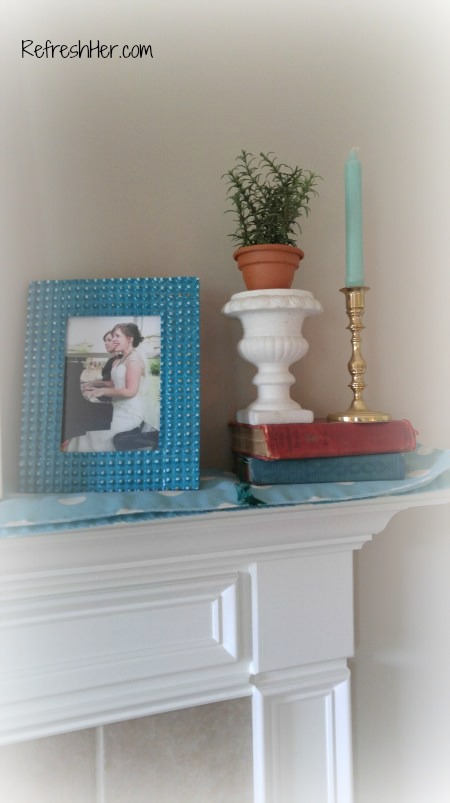
Each part of my mantle has little vignettes that all work together.  They should be the same “theme” so they flow.

vignette 6

This is a shelf over the guest bed.  The setting for a grouping doesn’t just have to be a tabletop.  The top of the fridge, a bookshelf, or even a window ledge are all places where you can create a grouping.  Vary the height of the objects you use, as well as the depth.  Lining up everything in a row on that shelf wouldn’t have the same affect.

I love to change those vignettes all year long, but I try to keep in mind those key elements:

  • Use an odd number
  • Carry the theme
  • Vary texture
  • Vary Height and depth
  • Tell my story

I hope that inspires you to create some little areas in your home that create  homeyness and tell your story!

Denise Signature 150 px


freezer · Home making · How-to Video

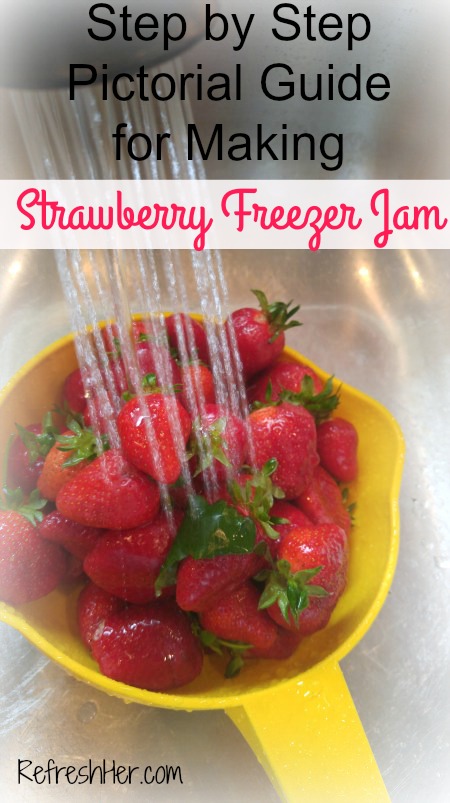
(L)Oven Monday – Pictorial Guide to Strawberry Freezer Jam

Jam3a

One of our favorite summer treats is Strawberry Freezer Jam.  I’ve made it for years and we smear it on toast, PB&J sandwiches, biscuits, and muffins (especially these).  I also love taking a jar as a hostess gift.  I make up several “runs” of the recipe each May, and we try to ration it out to make it last until the next fresh/local strawberry season.  It could be called a domestic crisis if we run out!

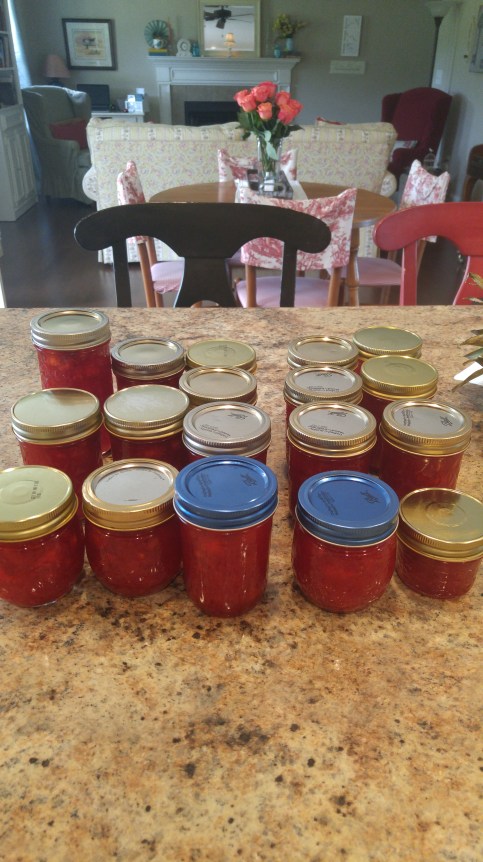
The freezer jam is quicker to make than the cooked jam, and it’s a really simple process.  Another great thing is that once you get a stash of jars stocked up your only cost is the ingredients for the jam.  This recent batch cost me $20 and I made 18 jars!  That’s a great value!

But spite the fantastic taste and the value, sometimes people are afraid to try making it for fear that it won’t set up, and then they’ll have wasted all the ingredients and money involved.  But If you’re one of those people who are afraid to try it on your own, I thought I’d walk you through each of the steps, using my pictorial guide below.

Note: I make my Strawberry Freezer Jam using the recipe on the Sure-Jell box. 

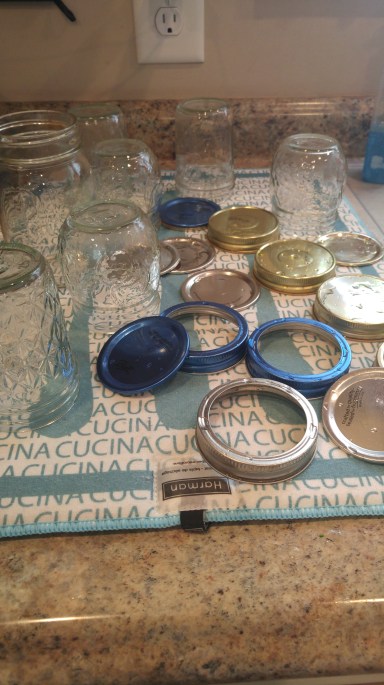
  1.  Sterilize your jars and lids in the dishwasher, or in very hot, soapy water.wp-1495049602796
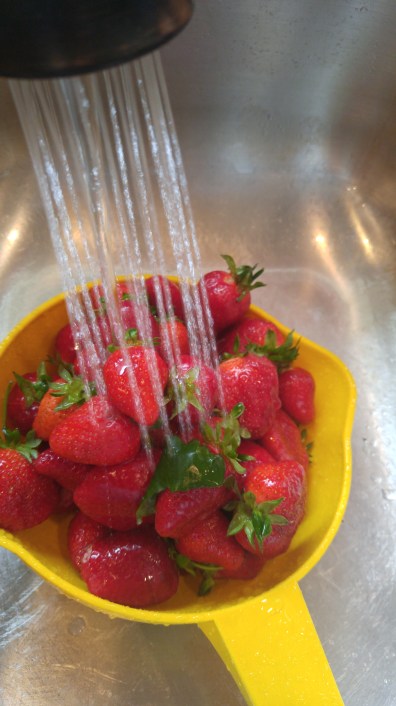
  2. Wash the strawberries before hulling.
    wp-1495049693103
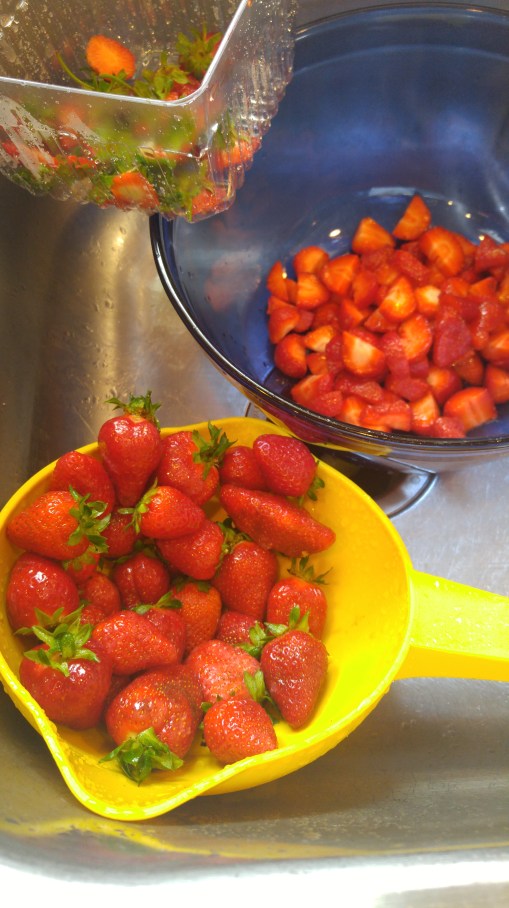
  3. Cut off the stems. Slice berries.
    wp-1495049911570
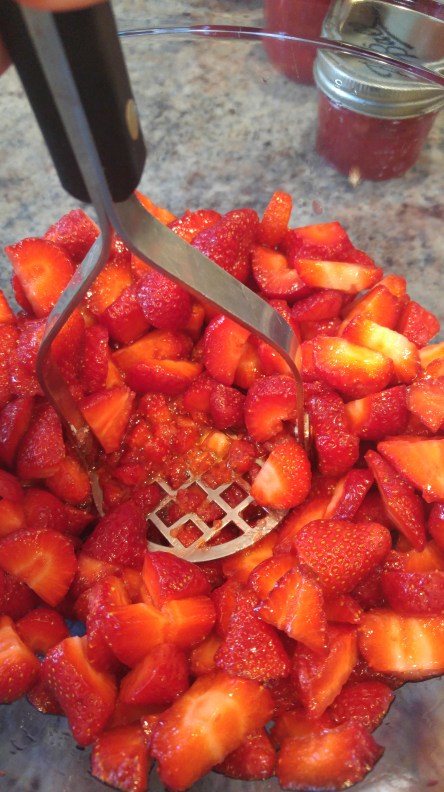
  4. Using a potato masher, mash the berries – don’t make them soup.  Leave it a little chunky  See next photo.
    wp-1495050146322
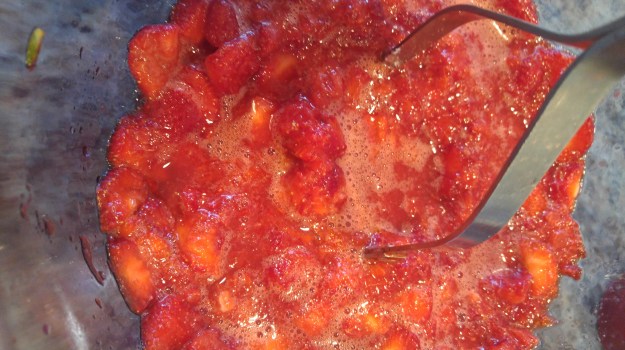
  5. There should be some chunks
    wp-1495050204654
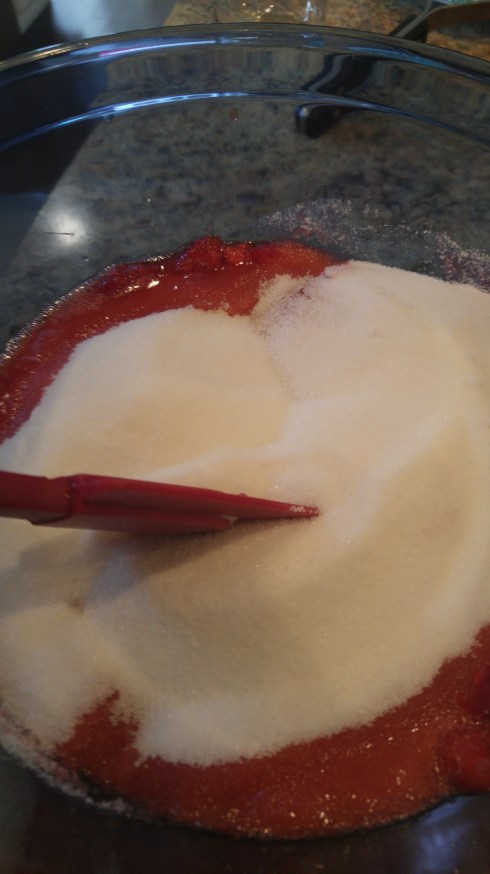
  6. Add sugar.  Be sure to measure it exactly as recipes states.  Level off cups.
    wp-1495050331595
  7. Let set for 10 minutes, stirring occasionally
    wp-1495050367731
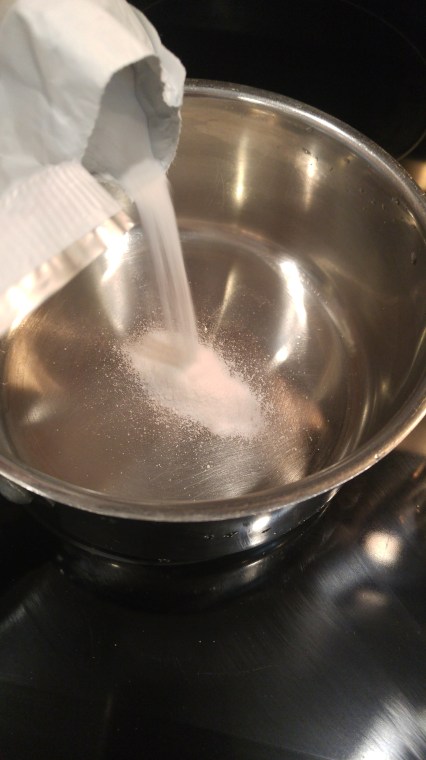
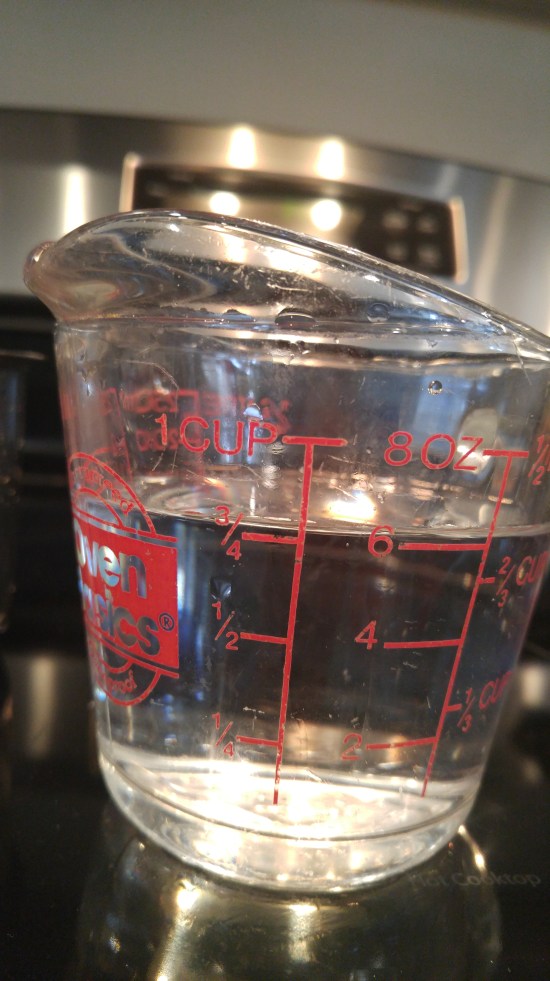
  8. Put Sure-Jell and 3/4 Cup water in a small sauce pan.wp-1495050470442
    wp-1495050500768
  9. Bring to a boil, stirring constantly and boil 1 minute —–

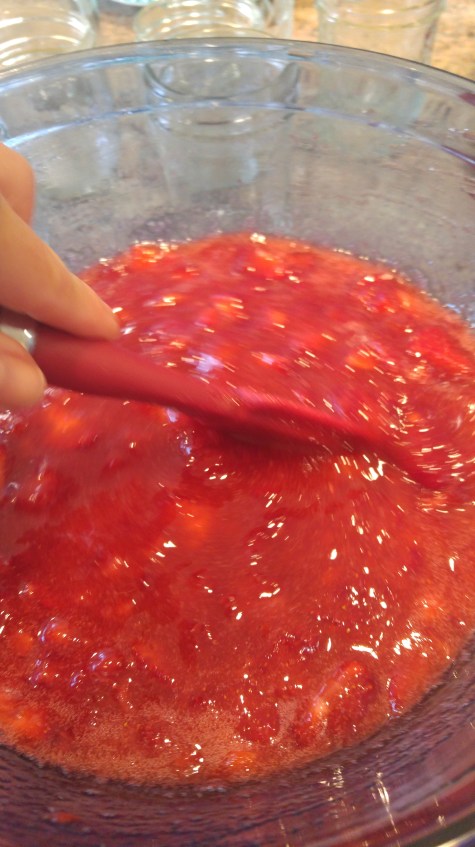
10.  Stir cooked pectin into strawberry/sugar mixture.  Stir for three minutes, or until sugar is dissolved.wp-1495050654139

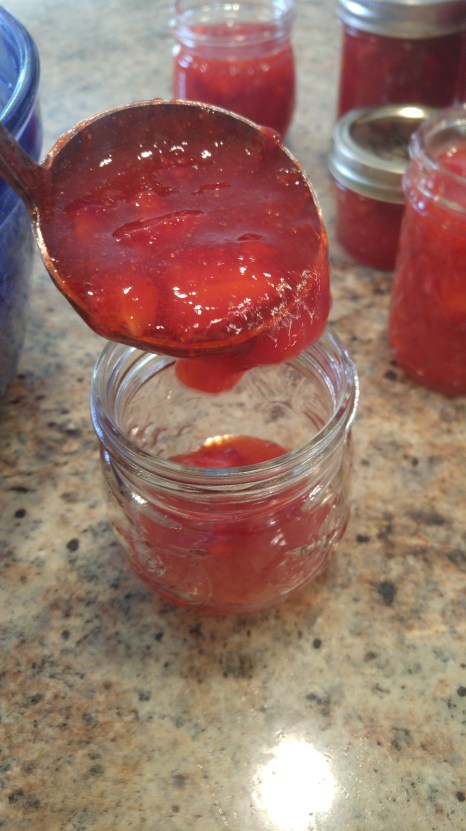
11. Ladle into jars, leaving 1/2 inch at the top.  Wipe rims and screw on lids.wp-1495051677817

12.  If you like, do a little test with a small amount of jam, just to see if it has set up —–


12.  Leave on counter for 24 hours, then either refrigerate for immediate use, or freeze up to a year.

wp-1495052194324

Enjoy the fruit of your labor!

Have you made jam?  If not, what is keeping you from trying?  Will this pictorial guide encourage you to try?  

Refresh your family and your freezer with some Strawberry Jam!

Denise Signature 150 px