baking · Christmas

(L)Oven Monday – Hungarian Nut Rolls

hungarian-nut-rolls

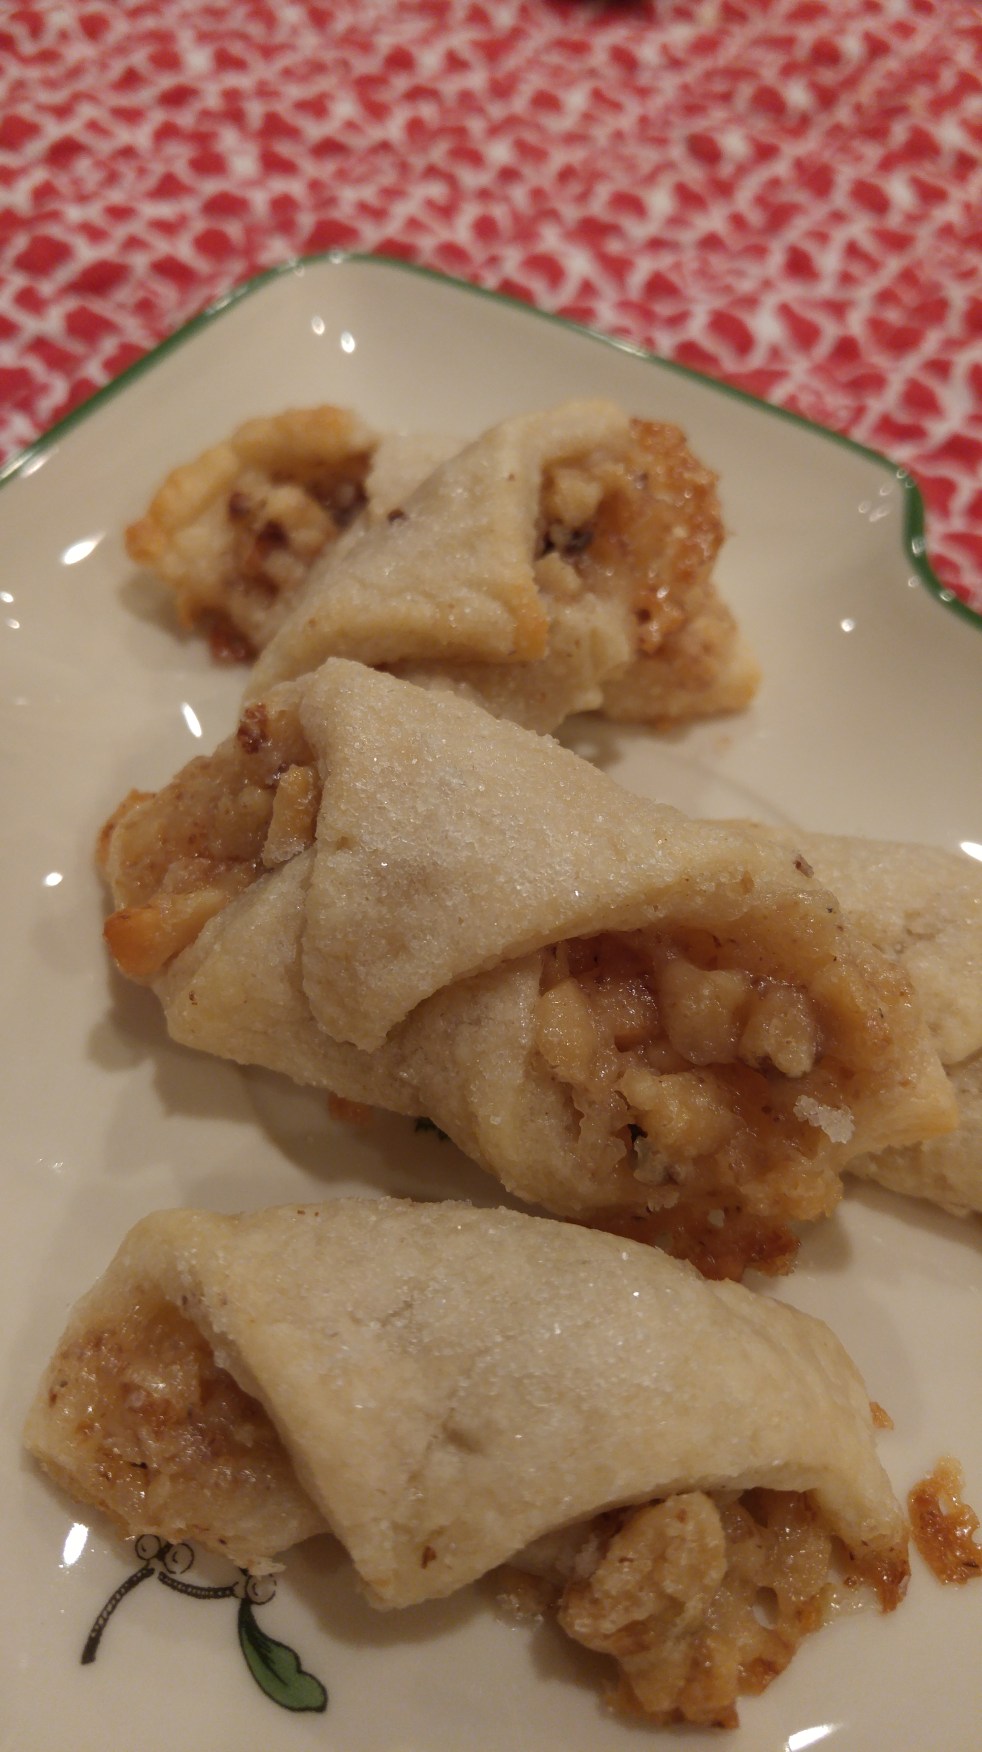
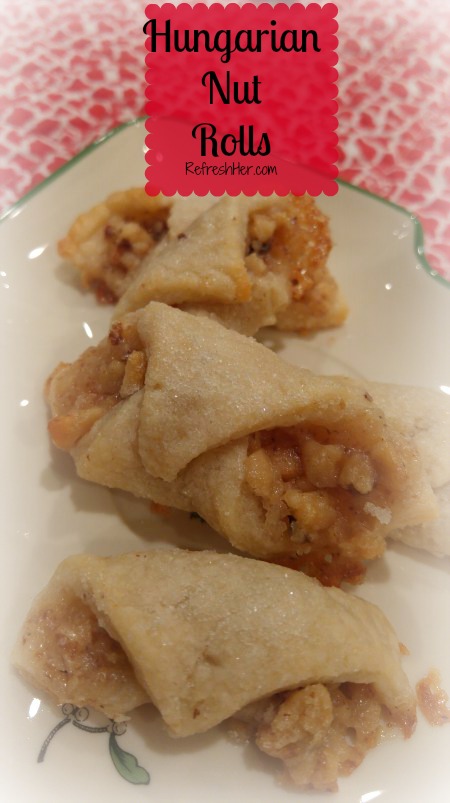
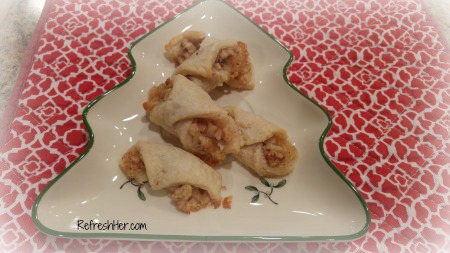
It’s the week of Christmas, Y’all!  Most of our ovens will probably be producing all kinds of yummy treats this week.  I still have a bit of baking to finish up, but let me show you what I made this weekend!  Years ago I made a cookie similar to the one pictured above. You know how it goes – the recipe gets misplaced and then forgotten.  Recently a sweet neighbor brought us a plate of Christmas goodies, and on the plate was this cookie!  We remembered how delicious they were by her kind deed!

So, my husband requested these to be added to my Christmas baking list.  They are a little time consuming, but hey, it’s Christmas!  Also, they’re totally worth it!  They’re a cute little cookie full of a flaky dough, nuts, and sugar granules that give that extra special crispy crunch.  Yum!

picmonkey-collage


Hungarian Nut Rolls

Ingredients

For the Pastry:
    • 2 ¼ cups all purpose flour
    • ½ teaspoon salt
    • 8 oz cream cheese, room temperature
    • 1 cup unsalted butter, softened
    • ½ cup granulated sugar for rolling
For the Walnut Filling:
  • ½ pound freshly ground walnuts (finely)
  • 1 cup sugar
  • ½ cup of boiled milk
  • 1/8 cup melted butter

Instructions

To make the Walnut Filling:
    1. Mix filling in a medium bowl using only ¼ cup of the boiled milk. The mixture should be thick.
    2. If the filling is not spreadable, use the rest of the milk.
    3. Note: You can make the filling ahead of time and freeze it until you are ready to use it. Just thaw at room temperature when you are ready to use. – I found that I had about half of the filling left over.  It’s in the freezer for another batch!
For the Pastry Dough:  Taking my own advice, I made the dough one day and assembled and baked the cookies another day.
    1. Sift flour and salt together in a medium bowl and set aside.
    2. Beat the cream cheese and butter together with a stand mixer or a hand mixer until completely incorporated and creamy (3-5 minutes).
    3. Reduce the speed of the mixer and slowly add in the flour. I used 5 additions and completely mixed in the flour each time. The dough will be soft but not sticky.
    4. Divide the dough into 4 equal parts and flatten each to ¾” thick. Wrap in plastic wrap and refrigerate until hard, at least 2 hours.
Assembling the Walnut Rolls:
  1. Pre-heat the oven to 375°. Move the oven rack one setting higher than the center.
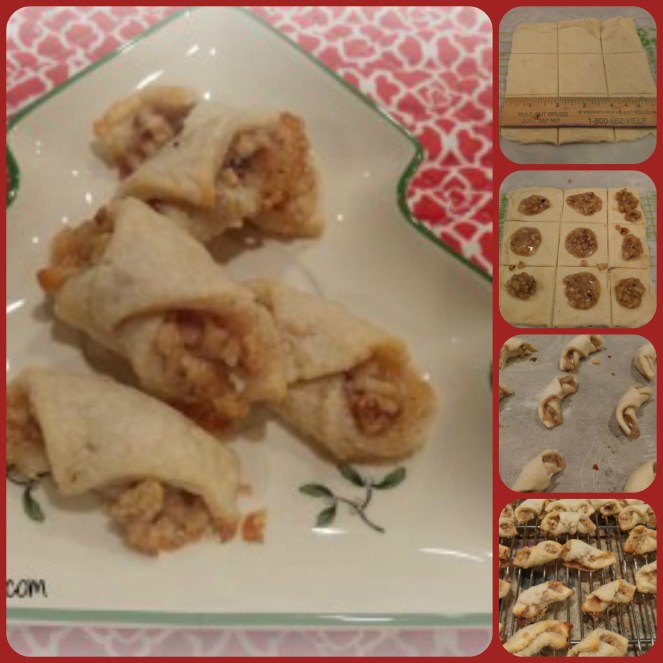
  2. Take one of the disks of dough from the refrigerator and lightly flour both sides. Spread granulated sugar on your pastry board or work surface. Place the dough on top and roll out pastry to 1/16” thick or as thin as possible. Thinner is better. If you roll them too thick, the bottom will burn before the inside has a chance to fully cook and puff up. They still taste good but they taste so much better when properly rolled. I halved the disk, and rolled it into a 6″ square, then divided it into 9 2″ squares (see photo above).
  3. With a pastry wheel or sharp knife, trim the dough into a square and then cut the square into 16 smaller squares. My dough never rolled out into a perfect circle so I would just cut as many 1 1/2 “ squares a possible, saving the scraps for later.
  4. Place a dollop of filling in one corner of each square. I used ½ teaspoon.
  5. Starting in the corner with the filling, roll the dough around the filling from corner to corner, gently pressing down as you roll. Grab the roll on both sides and pinch as you bend the roll to create a crescent shape. Gently move it to a parchment covered baking sheet, placing the Rolls no closer than 1” apart.
  6. Repeat with all remaining squares.
  7. Sprinkle the middles of the Rolls with just a touch of granulated sugar.
  8. Bake 12-14 minutes (I baked mine for 11 minutes) or until the bottom edges are a golden and you can smell them. They should puff up slightly in the middle. Let cool slightly on the pan on a wire rack and then move them gently to a wire rack to cool completely.

nut-rolls

These are so delicious!  I’m so happy to have discovered the recipe for these little gems!

What have you baked (or getting ready to bake) in your oven this week?

With love from my country kitchen,

Denise Signature 150 px

baking · dessert · Dinner · entertaining · main · Side dish

Easy Entertaining Menu

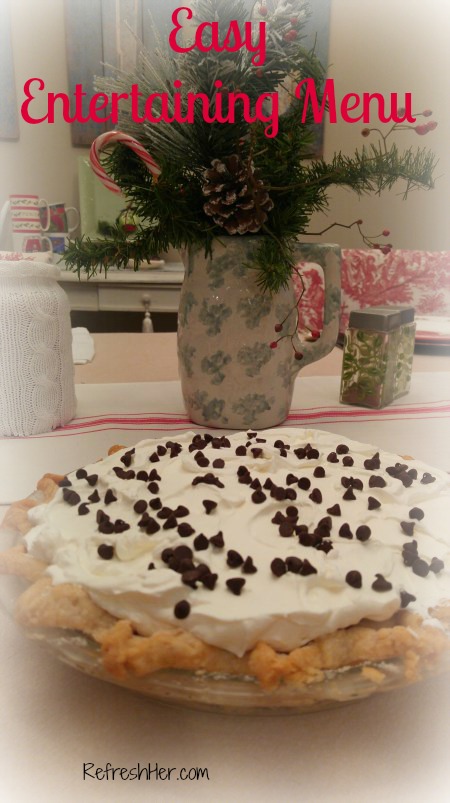
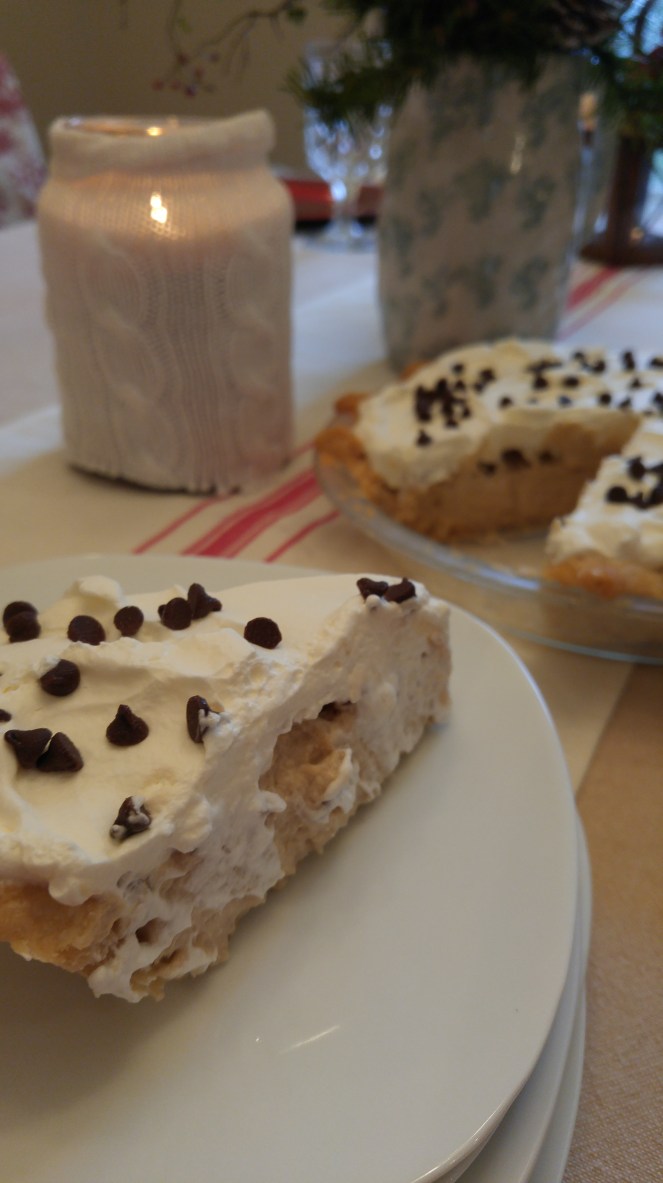
coffee-pie-1

Entertaining at any season can be overwhelming, but especially so at Christmas, right?  I came up with an entertaining menu that can be made completely ahead of time and simply warmed up when ready to serve.  This is a Mexican Food feast that is delicious and stress-free!  Talk about simplifying things – this will do just that when you invite folks over!

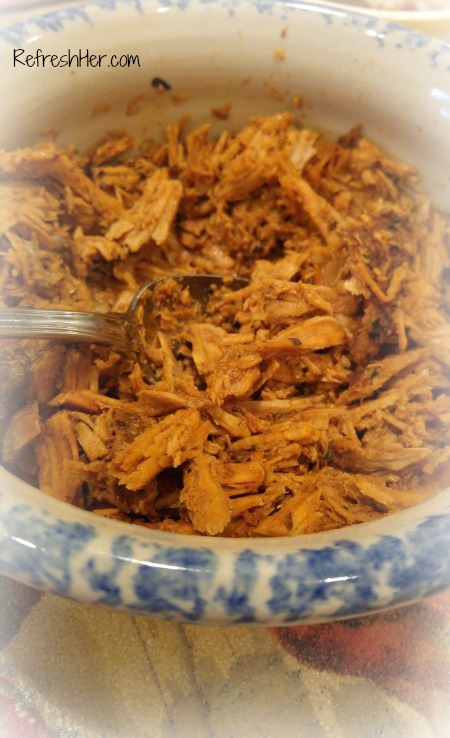
Spiced Pork Tenderloin with Avocado Salsa

Spanish Rice

Refried Beans

Coffee Pie

spiced-pork

Spiced Pork Tenderloin Tacos

  • 1 pork tenderloin (about 4 pounds)
  • 2 teaspoons smoked paprika
  • 2 teaspoons ground cumin
  • 1 teaspoon garlic powder
  • 1 teaspoon dried oregano
  • 1/2 teaspoon cinnamon
  • 2 tablespoons extra-virgin olive

Preheat the oven to 375°. Set the tenderloin on a large rimmed baking sheet. In a small bowl, mix the smoked paprika with the cumin, garlic powder, oregano and cinnamon. Rub the pork with the olive oil and season with salt and pepper. Sprinkle the spice mixture all over the pork. Roast the tenderloin until an instant-read thermometer inserted into the centers registers 145°. Transfer the tenderloins to a cutting board and let rest for 10 minutes. Using two forks, shred the tenderloin for tacos.

Salsa Ingredients

  • 1/2 small red onion, cut into 1/4-inch dice
  • 2 tablespoons red wine vinegar
  • 1 medium tomato, cut into 1/2-inch dice
  • 1 Hass avocado, cut into 1/2-inch dice
  • 1 teaspoon minced chipotle in adobo
  • 1/2 teaspoon chopped fresh oregano
  • 3 tablespoons extra-virgin olive oil
  • Kosher salt
  • Freshly ground pepper
  • Warm tortillas, for serving

For Salsa:

In a medium bowl, mix the onion with the red wine vinegar and let stand for 10 minutes. Add the tomato, avocado, chipotle, oregano and olive oil, season with salt and pepper and toss gently. Fill warm tortillas with the sliced pork, top with the salsa and serve.

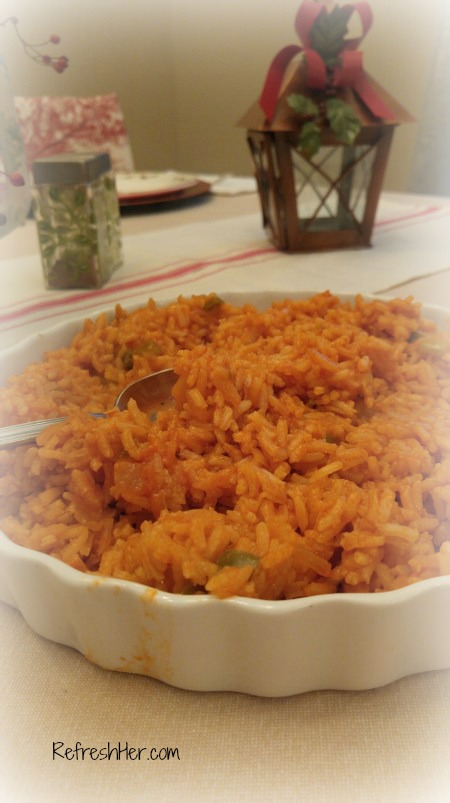
spanishrice

The Spanish Rice is every bit as easy as a boxed brand but even tastier!  You may already have every ingredient in your pantry for this recipe!

Spanish Rice

Directions:

  1. Heat oil in a large, heavy skillet over medium heat. Stir in onion, and cook until tender, about 5 minutes.
  2. Mix rice into skillet, stirring often. When rice begins to brown, stir in chicken broth and salsa. Reduce heat, cover and simmer 20 minutes, until liquid has been absorbed.

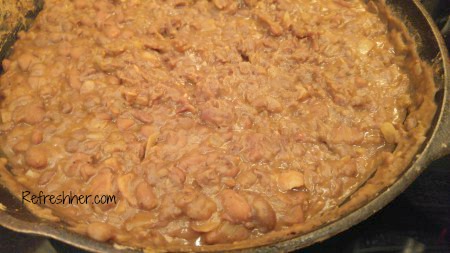
refried-beans

Refried beans are not the most beautiful dish to photograph, but when they’re made from scratch, they are a beautiful thing! This recipe is so delicious.  Here’s how I made mine using the crock pot to simplify the recipe:

Refried Beans
(I halved the recipe and it made plenty for 6-8)

6 cups dried pinto beans
4 slices thick-cut bacon, cut into 1-inch slices (or you can use salt pork, ham hock or diced ham instead)
1 tablespoon chili powder
1 teaspoon salt, plus more if needed
2 teaspoons black pepper, plus more if needed
1/2 stick butter
1 onion, diced
2 cups grated sharp Cheddar
Sliced jarred jalapenos

Put beans in a pot of water and let sit overnight.  In the morning, cook beans at medium-high temp until boiling.  Add 2 tsp baking soda.  Cook for 2 minutes. (This releases the gases in the beans and will keep tummies from feeling like they’ve eaten beans!)  Drain off water, rinse and place beans and bacon in a crock pot with enough water to cover.  Cover and cook on high for 3 hours.  Simmer butter and cook onion until tender.  Add the beans and liquid into a cast iron skillet, along with seasonings.  Cook until the sauce thickens and beans are tender.  Mash with potato masher until some beans still remain whole.  Serve with Cheddar cheese and Jalapenos.

1212161253.jpg

Coffee Pie

1 Cup Water
1 tlb instant coffee granules
30 Large marshmallows
1/2 Cup walnuts
1 cup Whipping Cream
Cool Whip
Chopped Coffee Beans or Mini Chocolate Chips
Baked pie Shell

Bake Pie shell.  Let cool.
In a medium sauce pan, boil water.  Add coffee granules and marshmallows, stirring constantly until melted.  Let cool completely.

Whip the whipping cream.  Fold into cooled coffee mixture.  Pour into bake pie shell.  Cover and refrigerate 8 hours or overnight.

Cover with Cool Whip and Coffee beans or Chocolate chips.  Serve (with coffee!)

Take the stress out of entertaining and make a menu like this one that can all be prepared ahead of time!  My guests enjoyed it, and if you invite people that love Mexican food, they’ll be really glad you invited them over!

Happy entertaining!

Denise Signature 150 px


baking · Bread · breakfast · Cooking · dessert · Gifts

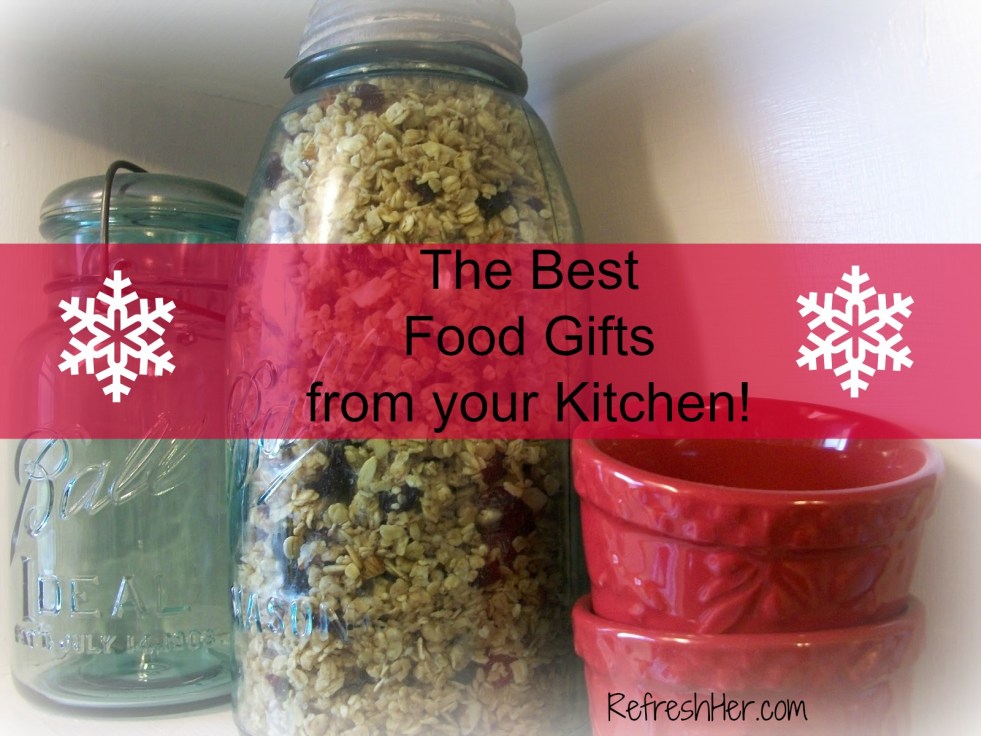
(L)Oven Monday – The Best Food Gifts from Your Kitchen

As I make my preparations for a more “simple” Christmas this year, I’m reminded that giving gifts from what you love is the best kind of gift to share.  If I do what I love – I bake and the receiver knows that it was prepared especially for them with lots of (L)oven from my oven!

I have many recipes on my blog that I have given away, and I’m going to compile a short list of some of my favorites for you today.  These are simple to make and are LOVED by those that receive them.  Let’s get shopping/baking…

  1. Nutty Orange Coffee Cake – – This is a fancier form of Monkey Bread.  It’s made from canned biscuits, cream cheese and cinnamon and sugar.  It’s pretty, it’s easy to make and is so good it became a Christmas tradition for our breakfast!Nutty orange Coffee cake.jpg
  2. Cranberry Crumble – Another great coffee cake that anyone would LOVE to receive!
    cranberry-coffee-cake
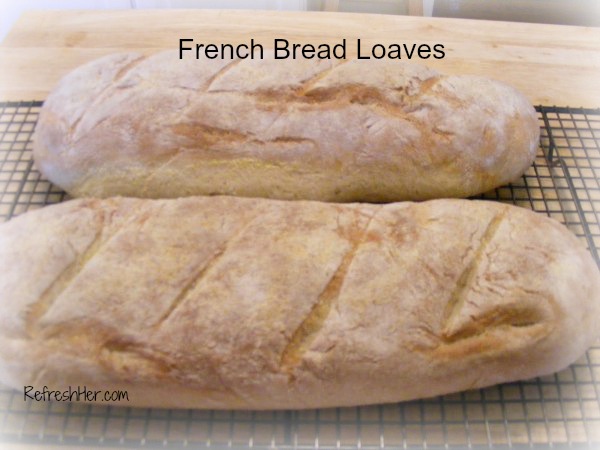
  3. French Bread Loaves – A good old crusty bread tied up in a linen kitchen towel is as lovely as it is delicious!
    French Bread 1.jpg
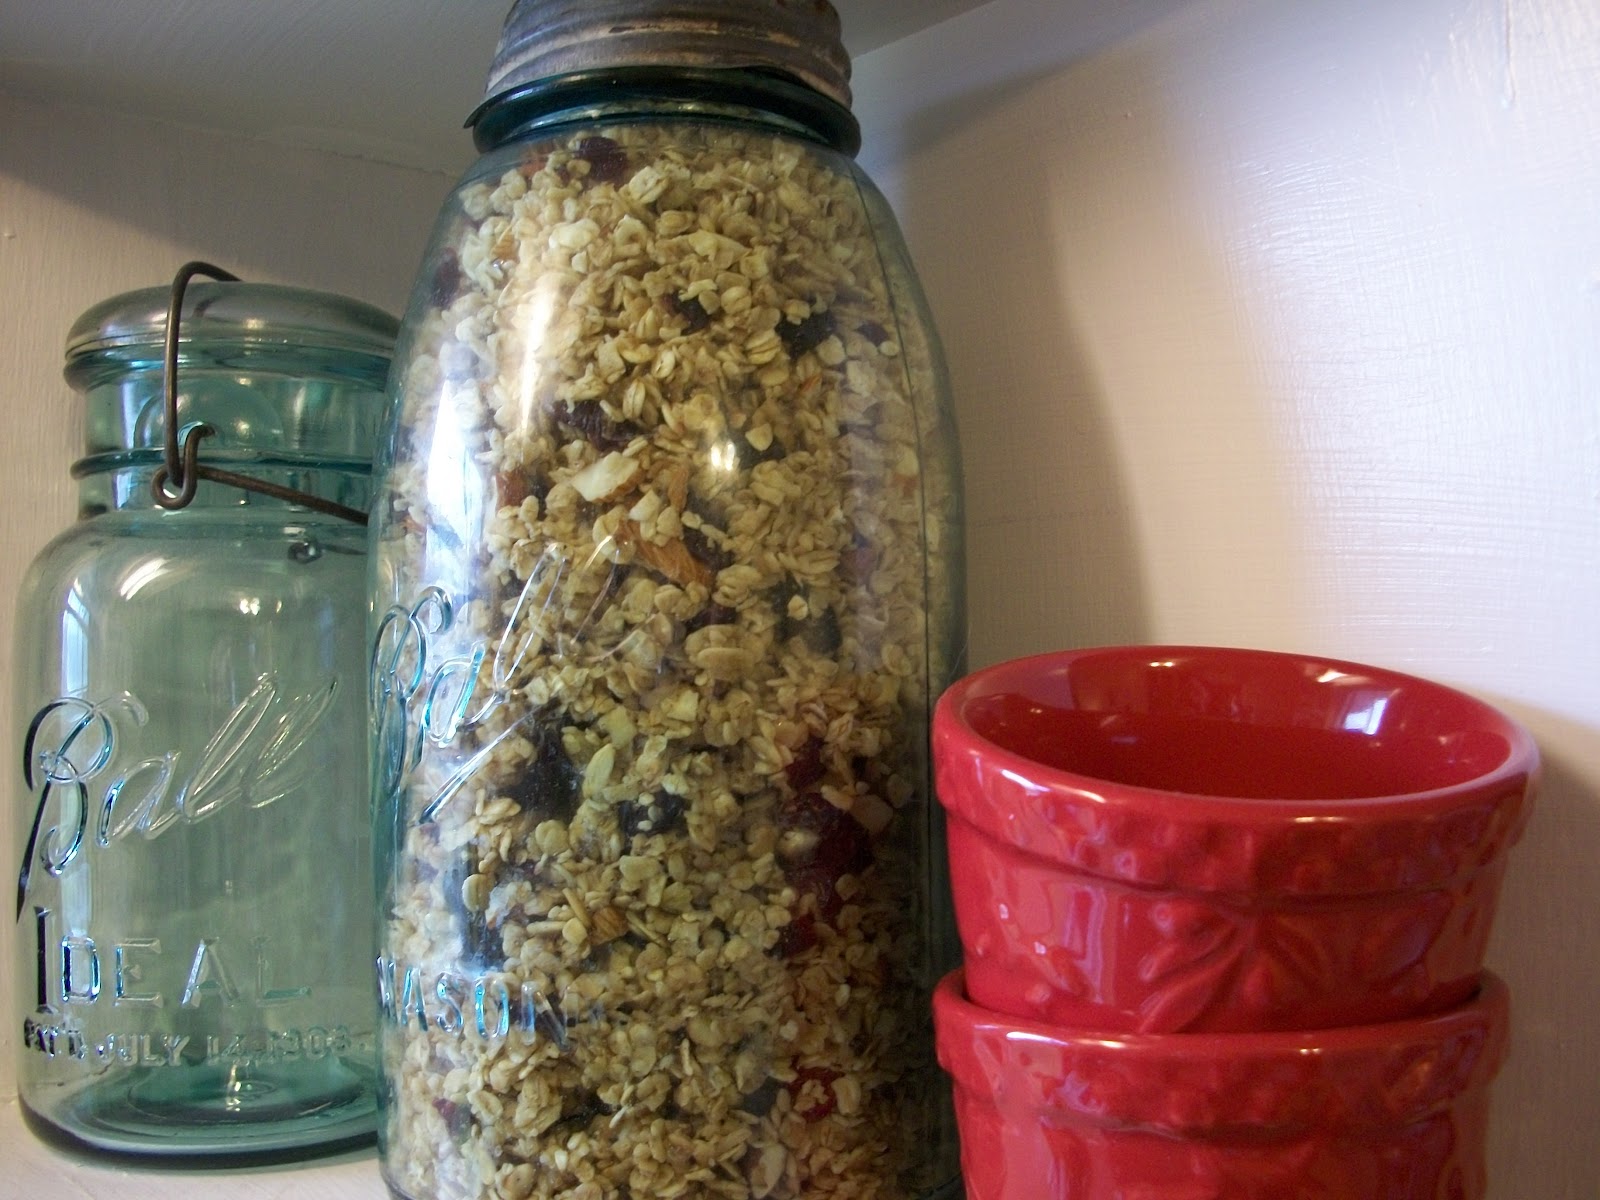
  4. Homemade Granola – Gifted in a jar with a pretty ribbon, this granola is perfect for any breakfast lover!
    Granola.jpg
  5. Cream Cheese Coffee Cakes – These are more like Danishes and who doesn’t love a Cream Cheese Danish????  This recipe makes four, so it really makes great use of your time in the kitchen!
    danish 1.jpg
  6. Deep Dish Hershey Brownies – This is my family’s favorite brownie recipe and I’ve made them for years.  Any chocolate lover will be delighted to receive a plate of these!
    Deep dish brownies.jpg
  7. Microwave Caramel Popcorn – This is the easiest caramel popcorn!  It makes a nice pile of popcorn for the snacker on your list!

caramel corn.jpg

You can also go here for a list of some fabulous cookies to bake up and place in cellophane bags or pretty Christmas tins.

Food is a wonderful gift of love from your oven to the recipient.  Get baking and finish your gift list!

Which of these recipes will you make and give away?

With love from my country kitchen,

Denise Signature 150 px

baking · dessert · entertaining · Make-Ahead

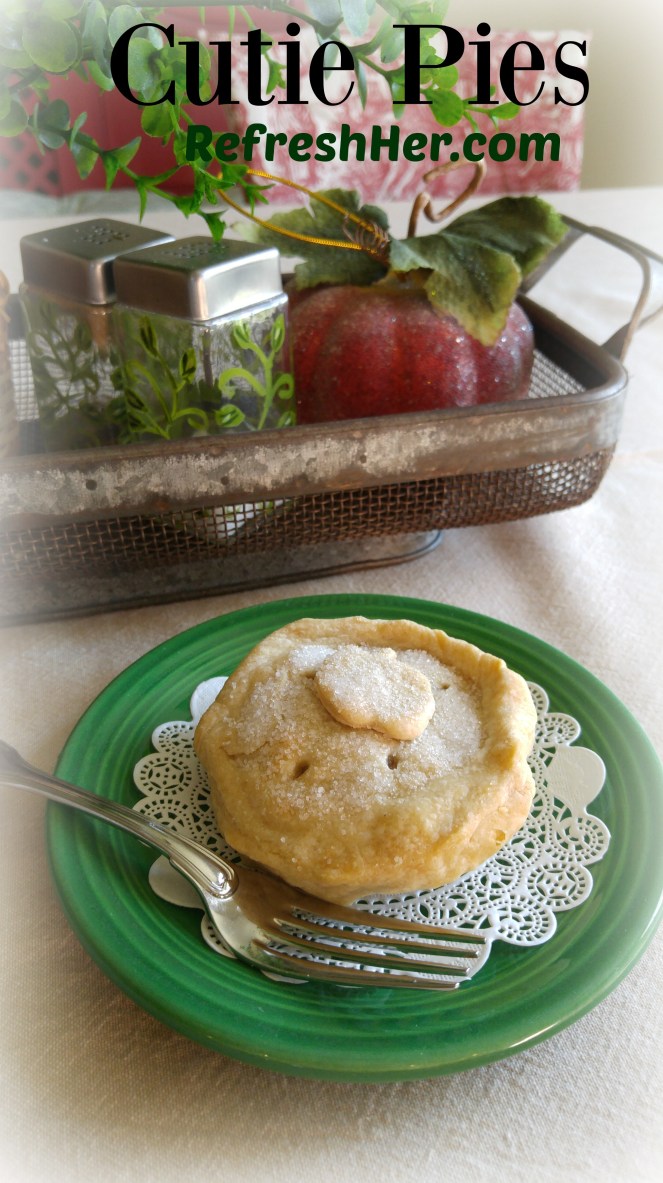
(L)Oven Monday – Cutie Pies!

Okay, so the title for these recipe Monday’s came into my head last week when I was writing my  husband a note about his breakfast being in the (L)oven! You do get it, right, or is it just my crazy mind?  I love to bake and cook, so I thought an appropriate title would be “(L)Oven Monday”  =)  My mind works words over like that.  You can vote yes or no at the end of this post!

Anyway, while I was in the kitchen last week getting ready for my Apples of Gold ladies to come, I came across the adorable idea of baking pies in Mason Jar lids. How genius is that?

mason jar pie.jpg

They make individual pies that are so stinking cute!  It’s the perfect size and they are so easy to put together.  It’s much less intimidating to  make a three-inch crust than an eight or ten inch one!  You could make any number of fillings, of course.  I made apple and Kentucky Derby pies with mine.

Here’s the Derby pie getting ready for the oven.  How good does this look…

mason-pies

Here’s the baked pie…

pie-bite

The Mason jar lids make a little spring form pan!  After they’re baked, you simply push up on the bottom of the lid and they pop right out.  Like I said – GENIUS!

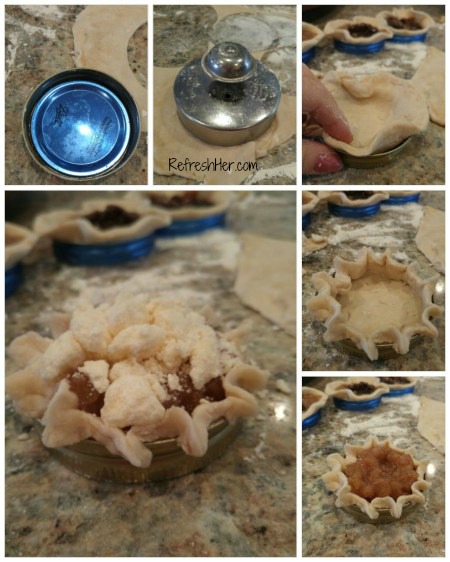
Here’s a picture tutorial on how I made them:

My Pampered Chef Crimper is a little larger than the lid, which is what you want.  Find a bowl or glass that’s about a half inch bigger than the lids and cut circles in your crust.  I made mine, but you could also purchase dough.

pie-collage

I sprayed the lids with cooking spray to ensure they’d pop out easily.  Don’t over-fill the pie – two or three tablespoons of filling will do, especially if you top it with crumb topping or dough.  I also sprinkle sugar over the crust to make it pretty and delicious!

These would be great for Thanksgiving!  No need to slice pie!  Everyone can help themselves to their own individual pie.  Pumpkin, apple, peach – whatever kind you want – just portion the filling into the crusts.

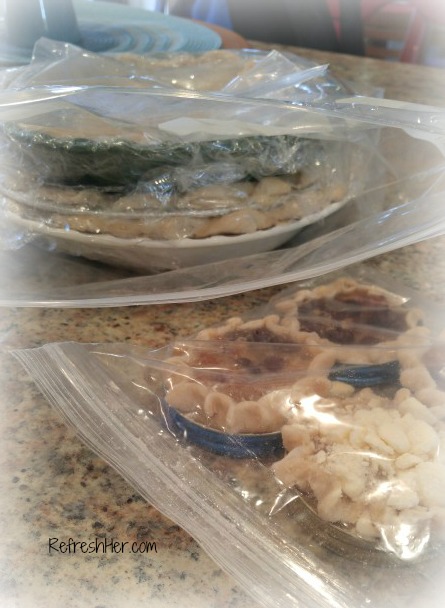
I made up extras and put them in the freezer.  All I have to do is take it out and bake it when I need a dessert.  I also freeze my large pie crusts in Ziploc bags.

mason-pies-1

I cover the crust with Syran wrap, then put it into the freezer bags.

I hope you’ll make up a whole bunch of these Cutie Pies for your Thanksgiving dinner.  I think everyone will be talking about them and copying your idea!!!  Bake up a cute little treat from your (L)oven!

What do you think…do you like”(L)Oven Monday” for these Monday posts?  Or is it like, Huh???????????????????????

With love from my country kitchen,

Denise Signature 150 px

baking · cakes · Fall · Gifts · hospitality · outfits

Friday Favorites – OOTD video and Pie Workshop!

Happy Friday, friends!  This has been a packed week, but filled with lots of fun blessings!  Let me share some of them with you:

I held my first Apples of Gold Workshop last night.  It was a class to teach how to make Pumpkin Rolls and Pies!  We had eight ladies attend and we had SOOOO much fun!
The pictures below show

  1.  The calm after the (flour) storm!  Every lady rolled out pie dough and we covered every inch of my island with our flour, dough and fillings.  It was so great!
  2. Cutie Pies as I call them, because aren’t they cute?! Each lady made a pie in a Mason Jar lid and everyone was so creative and did a fantastic job.  They got to eat the fruit of their labors, of course!
  3. I demonstrated the technique of making a sponge cake and rolling it up and filling it.  Pumpkin Roll is loved by many and can be made ahead and frozen, making it a great dessert for Thanksgiving dinner!

161111_091220_collage-1.jpg

I bought some little plastic silver coffee spoons at the Dollar Tree and turned them into Chocolate Spoons for coffee or hot chocolate for when you want to turn your beverage into a bit of a dessert.  They would make great gifts, attached to hot chocolate packets and slid into seasonal bags!

I encouraged the ladies last night to use this holiday season to share the Gospel.  Bake up something or fix these spoons up and give them to a neighbor or co-worker and tell them you trust this will be good, but one thing we can always count on is that God is good (Psalm 34:8) and share the Gospel with them!

161111_090242_collage-1.jpg

Then lastly, I did a quick video of my OOTD (Outfit of the day) .  You can check out my You tube channel under Denise Cunningham and subscribe so you’ll be notified each time I upload a video. You can just click on the You Tube Icon on the video below and it will take you to my channel. I’m thinking of adding some Christmas prep videos in the next few weeks, that you won’t want to miss!

I have a little video of the Chocolate Spoon tutorial that will be posted later today!  I hope you’ll come check it out on my channel.

What have you been up to, what are you wearing and how are you experiencing the blessings of the Lord this week?

Stay refreshed!

Denise Signature 150 px