dinner in 30 minutes · Fast meal · Sandwich

Bumping Up the Hot Dog to a Whole New Level!

“What are some of your favorite things to purchase at Sam’s Club?” I asked a friend.

“I love their chicken sausages! They make such a great supper meal!”

So upon her recommendation, I purchased some and they were good, but just “meh.” But then I realized that they would be fantastic on a bun in the place of a regular hot dog. After searching, I found this recipe for adding a sweet and savory pineapple relish on top of that sausage, and it bumped it up to be the tastiest “Hot Dog” ever!
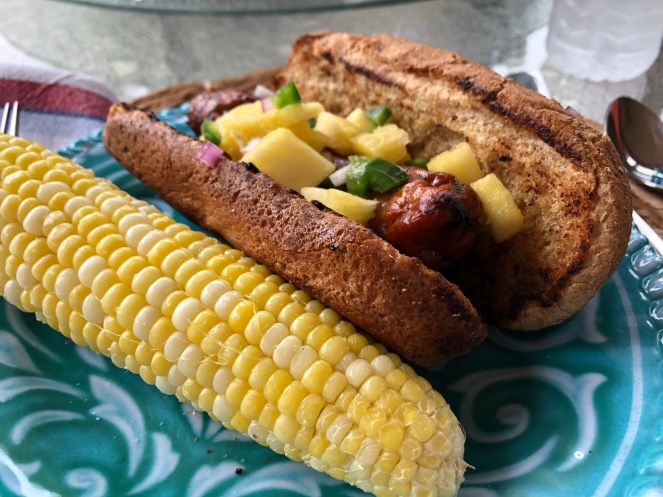
One great thing about these sausages (you can get them at any grocery store, not just Sam’s) is that most are already cooked, so you’re basically warming them up. We chose to throw them on the grill to add that smokey flavor. Good idea! Then, I also sprayed the buns with cooking spray and warmed them on the grill before placing that hot chicken sausage inside and topping it with the delicious relish. Oh my! What a yummy meal and also so much healthier than the pork version.

Chicken Sausages with Pineapple Salsa
Keep in mind you can leave out any ingredient you don’t love!

  • 4 chicken sausages (or vegetarian sausage)
  • 1 cup pineapple
  • 1/2 cup red pepper, diced
  • 1/2 jalapeno, diced
  • 1/8 cup onion, diced
  • 1/8 cup cilantro, diced
  • 1/4 tsp. cumin
  • 1/4 tsp. pepper
  • 1 lime, juice

Instructions:

Stir together the pineapple, red pepper, jalapeno, onion, cilantro, cumin, salt, pepper, and lime juice.2

Grill the sausages according to package directions, about 6-8 minutes for pre-cooked chicken sausages.

Spray buns with cooking spray and place sprayed side down on grill. Cook until lightly browned and warm.

Place sausage in buns and top with Pineapple relish.

If you’re hungry for a delicious summer meal, I encourage you to jump on the Chicken sausage bandwagon and give them a try inside a toasty bun and smothered with this relish! You’ll be saying,

Move over, hot dog, you’ve got some stiff competition!!

Two questions:
Have you ever tried chicken sausages?

What’s your favorite thing to buy at Sam’s or Costco?

With love from my country kitchen,

Cleaning · Favorites · Shopping

Favorite Products Too Good Not To Share!

I love it when someone finds a good product and shares it with me! That’s what I’m going to do here today because I’m thinking that if I’m enjoying these things, someone else might, too! I get no kick-back from this…I just think you need to know about these great items!

  1. A tub and shower “wand” This is actually called the Clorox Extendable Pole Tub and Tile Cleaner. I love a clean shower and tub, but honestly, I dislike stooping over a warm shower filled with soap and scum and scrubbing it clean, though that’s what I’ve done daily. Then I was browsing through the cleaning section at Target recently and found this handy tool that I’m calling my Shower wand.

The cleaning pad swivels so it gets well into the sides of the tub and shower. The pad can also be replaced for under $5. The wand costs about $11 and is well worth it! This has kept me from dreading this daily chore!

The pad has nice bristles that scrub the tub.

If you like a clean shower but hate bending over it to scrub it out, I”m sure you’ll love this wand at such a great price!

2. Lipstick that stays on! I’ve had lots of lipsticks that say they stay on, only to find it on the cloth napkin or nowadays on my mask. Tarte sells non-transferable lipstick, it’s called Tarteist Quick Dry Matte Lip Paint.

I’m a lipstick girl! My lips are so pale that I look like I’m sick or DEAD without it! So to find a lip color that REALLY stays on was a true win! It does come at a bit of a price – it’s $20, but it’s worth it to me. I put this color on and it stayed on my lips and not my mask, and it also stayed on through supper!! It is a bit dry, but that is probably also why it stays on so well.

If you’re tired of your lipstick fading or transferring, I highly recommend this product. I found mine at Ulta, but you can go to the Tarte web site where I hear they often offer great deals!

My shade of choice is called Bling and the box shows a bright pink, but it’s a very neutral shade.

3. Favorite Dollar Tree Purchases – I could be like Whitney and show you my great Dollar Tree hauls, but for the sake of time, I’ll just tell you a few of the items I love to buy there.! You should seriously check out Whitney’s video here. She finds the best stuff! I always want to jump in my car and run to my DT to see if I can find what she purchased! Here are things I pick up regularly…

  • Puffs Tissues – I’m very particular about tissues – it has to be Puffs! I was so happy to find them at Dollar Tree! I buy both the full-size boxes as well as the travel packs that come with two in a pack. These little packages are perfect for your purse or backpack!
  • Planner stickers – These can be super expensive even at Hobby Lobby, but are adorable and affordable here!
View Jot Journals with DIY Stickers,
  • Greeting cards – They sell Hallmark cards that are beautiful and don’t look at all like you spent .50 or a dollar on them!
  • Parchment paper – This can be so expensive in a grocery store and it’s just as good as any other brand!
  • Brillo Pads – I always keep these on hand for pans (especially the bottom of the pan! and also for cleaning the inside of my oven. This simple tool is how I keep my oven from getting nasty! A simple scrub after a spill or splatter and the mess is gone! Here’s a post about how I do that.

There are many name brand products at Dollar Tree! I love to just stroll the aisles and keep my eye open for the brands that would be much higher in a another store!

Which of the products I’ve shared in this post makes you want to check them out?

Refresh your routines with a new product!

Lightened Up Recipe · Side dish

Fried Green Tomatoes

Does every part of the country enjoy Fried Green Tomatoes like southerners do? Down here they come on BLT sandwiches, under poached eggs and also deliciously just on their own. Their batter of cornmeal/flour preceded by their bath in buttermilk makes them crispy on the outside, and tangy and soft on the inside. You just can’t beat a fried green tomato fixed this way….or at least that’s what I thought!

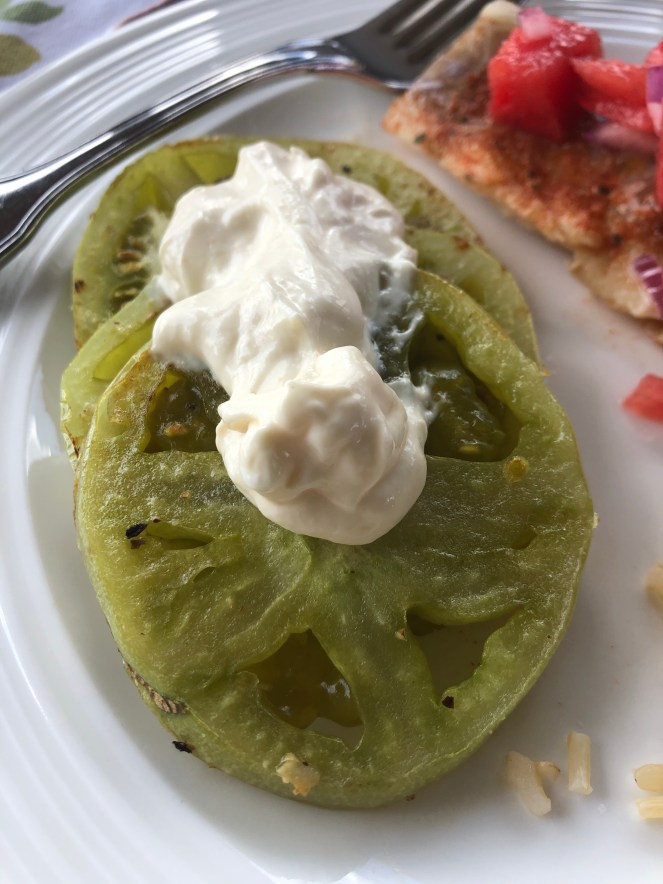
Enter this lighter version of the recipe that is browned in a pan without any batter coating its exterior. What? Is this possible? Yep. It’s simply browned in teaspoons of Canola oil and seasoned with salt and pepper. The little twist comes from the creamy Remoulade that is served with it. Oh my goodness! What a delicious combination the sauce and green tomato make! It was enough for me that I didn’t even miss the crispy batter, and I bet you won’t either! Neither did I miss the extra fat and calories! Here’s how to make them:

Pan-Fried Green Tomatoes with Cayenne Remoulade

2 Tbl. light mayo
2 Tbl. Plain fat-free Greek yogurt
1/2 tsp Dijon Mustard
1/2 tsp Creole seasoning (I used a dash of Cayenne pepper)
4 medium green tomatoes, cut into 1/2 -inch slices
1/4 tsp salt
1/4 tsp pepper
4 tsp Canola oil

Instructions:

  1. To make remoulade, stir together mayo, yogurt, mustard, and Creole seasoning in small bowl. Set aside.
  2. Sprinkle tomatoes with salt and pepper.
  3. Heat 2 teaspoons of oil in large heavy nonstick skillet over medium-high heat. Add half of tomatoes and cook, turning once, until lightly browned, about 4 minutes. Transfer to platter and keep warm. Repeat with remaining oil and tomatoes. Serve tomatoes topped with remoulade.

Slice tomatoes
Season and place in skillet with oil
Make remoulade and serve with tomatoes

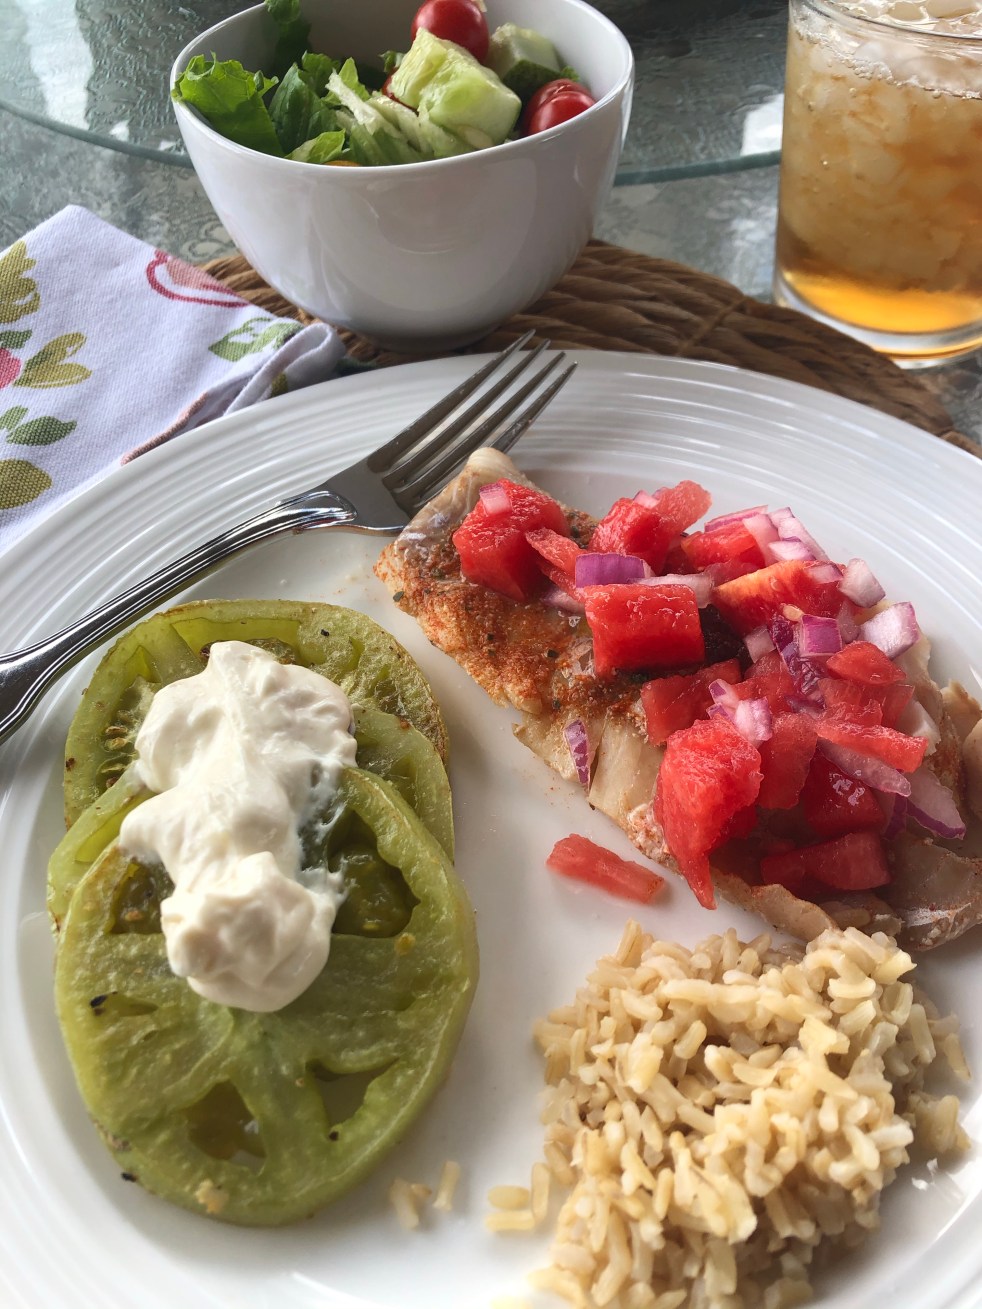
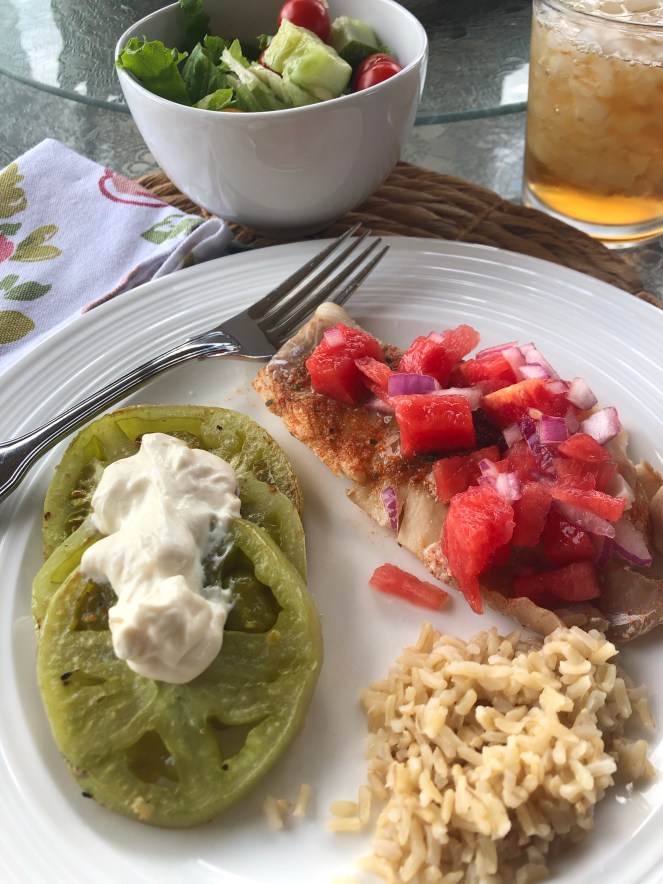
I served them with grilled chicken and brown rice and it was a wonderful summer meal! If you love green tomatoes, but still want to eat healthy, I urge you to give this recipe a try and see if you’re not converted!

Decor · Home decor

Look What a Little Paint Can Do!

I have always been a fan of transforming a room by adding some color, but it’s also amazing what a little paint can do to a piece of furniture!

This week while visiting my folks in Kentucky, I did a project – I painted their outdoor bench. Two colors of paint, a little time, and a LOT of sweat (it was Hot!), and this bench was truly given new life. It went from this…

to this…

Often it’s easy to think we need to buy new furniture because we change the colors in our home, but we fail to realize that a coat of paint might do the trick instead.

At one time I used a lot of red accents in my home, but have gone to mostly blue and white. As you can see in this old picture, the black and red bar stools just weren’t adding the right appeal to the kitchen space. So, this spring I decided to paint them an off white, the color of my cabinets.

Here are the results….

I LOVE painted furniture because it keeps you from having to buy another new piece and it helps you make the most of what you already have.

I encourage you to take a look around your house and see if there’s a piece of furniture you own that is either needing a face lift, or needs paint to add either a pop of color for accent, or a neutral shade to help blend in with your decor.

A few tips I would give before you start…

  • Clean the piece well before you start
  • Remove any hardware
  • Invest in a good brush – it doesn’t have to be expensive
  • Tape off areas where the paint should not go
  • Take your time
  • Rough up wooden furniture with sandpaper before painting
  • Take a before and after picture!
  • Don’t be afraid…it’s just paint!

A can of paint is a low cost investment in updating your home! Why not refresh your home by adding new life to an old piece of furniture you already own?!

Have you painted furniture? If not, what’s keeping you from taking the plunge?

Mexican Food · Side dish

A New Side Dish for Delicious Variety!

If there’s an area of meal planning where I find it hard to come up with new ideas, it’s the category of side dishes! It’s so easy to get into a rut of green beans, corn and baked potatoes. We like each of those things and they’re easy. They take no thought, but they get really boring after a while!

Recently when looking for something to add to my meal of Tandoori Shrimp, I came across a Brown Rice Salad and Black Beans and Corn recipe. I had all the ingredients on hand, so I went for it! Were we very happy I did! My husband raved about it the first night and when leftovers were served the next day, he exclaimed again how good this was! I heartily agree! You could serve this warm or cold and it would be perfect.

It’s hard to get a pretty picture of brown rice, so you have to trust me on this one. The flavor combinations are just so good!

Brown Rice Salad with Black Beans and Corn

1 Cup instant uncooked Brown Rice
15 oz. Black Beans, drained
1 Cup frozen corn kernels
1/4 Cup diced scallions
2 Tbl cilantro
2 tsp pickled Jalapeno peppers – I left this out
1 Tbl lime juice
1/4 tsp salt
1/4 tsp pepper

Instructions:
Cook rice according to directions on package.
While rice is warm, add all other ingredients. Serve with lime wedges.

This couldn’t be easier! It would be a great accompaniment to Mexican meals, chicken or fish.

Get out of your side dish rut and try this. You may be a long time before you look at baked potatoes again!